manuals.online logo
Brands
  1. Home
  2. •
  3. Brands
  4. •
  5. EtherWAN
  6. •
  7. Switch
  8. •
  9. EtherWAN OttoE TF100 Sereis User manual

EtherWAN OttoE TF100 Sereis User manual

Copyright 2021 EtherWAN Systems, Inc.
All Rights Reserved
OttoE
TF100/
TG100
09/23/2021 W70G-TG-TFQIG1
1Unpacking
Unpack the items. Your package should include:
One OttoE TF or TG series switch
DIN rail kit
If items are missing or damaged, notify your
EtherWAN representative. Keep the carton and
packing material. The full product manual can be
downloaded from:
https://www.etherwan.com/products/ottoe-series
2What Else You Need
Appropriate cables for data ports. To prevent damage to the switch
from electrical surges, it is recommended to use STP (Shielded
twisted pair) cabling.
Personal computer or laptop
Appropriate SFP modules for SFP ports (if applicable)
3Select a Location
Installations: DIN-Rail mount.
Select a power source within 6 feet (1.8 meters).
Choose a dry area with ambient temperature between -10 and 60ºC (-
14 and 185ºF).
For use at altitudes up to 2000 meters, indoor use only.
Humidity range (Operational): 5% to 95%, non-condensation
For use in Pollution Degree 2 environment.
4Connect to the Data Ports
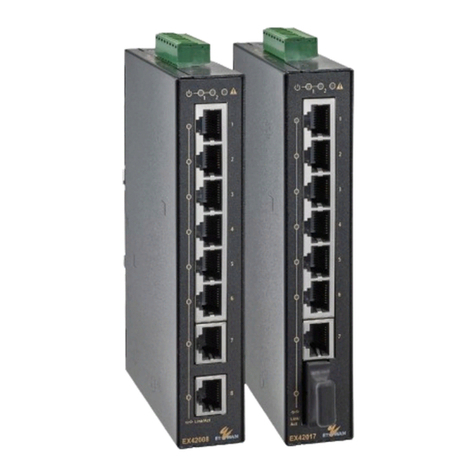
Depending on the model, your switch can have the following ports:
TF100-0800 8 port TX 10/100Mbps
TF100-0602 6 port TX 10/100Mbps & 2port
SFP 100Mbps
TG100-0800 8 port TX 10/100/1000Mbps
TG100-0602 6 port TX 10/100/1000Mbps &
2 port SFP 100/1000Mbps
To prevent damage to the switch from electrical surges, it is
recommended to use STP (Shielded twisted pair) cabling.
5Apply Power
The switch has two pairs of power inputs. Only one power input is
required to operate the switch. However, redundant power supply
functionality is supported.
Power rating:
Model TF100-0800: 9-55 VDC, 0.25-0.05 A
Model TF100-0602: 9-55 VDC, 0.35-0.1 A
Model TG100-0800: 9-55 VDC, 0.5-0.1 A
Model TG100-0602: 9-55 VDC, 0.6-0.15 A
The power input specification complies with the requirements of SELV
(Safety Extra Low Voltage), and the power supply should comply with UL
61010-1 and UL 61010-2-201.
Terminal Block
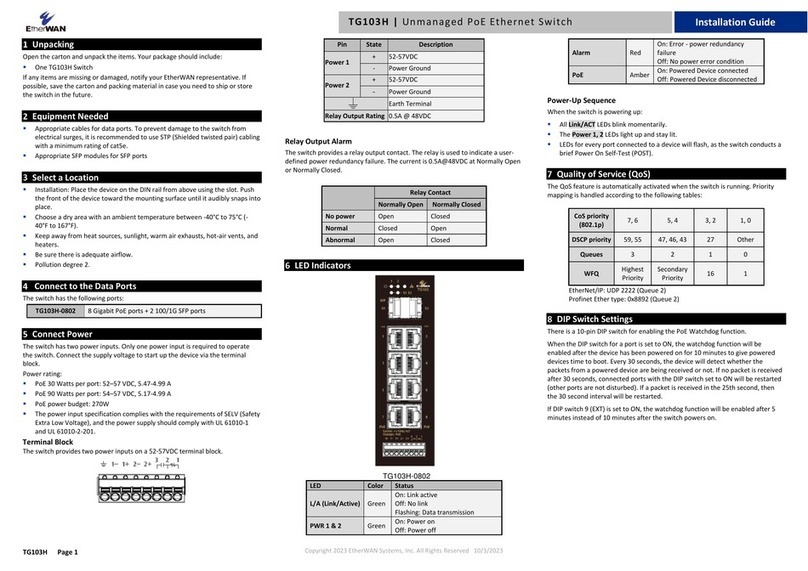
The switch provides two power inputs on a 9-55 VDC terminal block. The
terminal block has 7 terminal posts.
Pin Description
Power 1 9-55VDC
Power Ground
Power 2 9-55VDC
- Power Ground
Functional Ground
Relay Output
Rating 0.5A @30 VDC
Relay Output Alarm
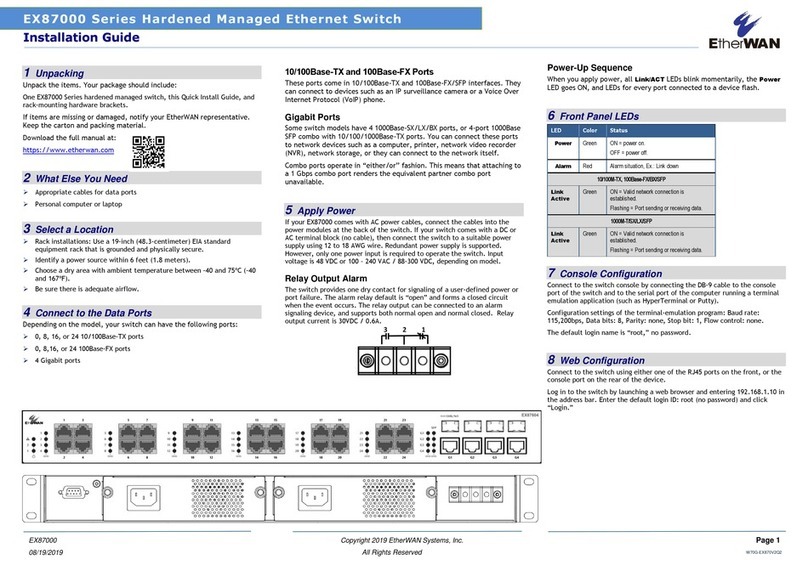
The switch provides a relay output contact. The relay is for signaling of a
user-defined power, port, or ring failure. The Current is 0.5A@30VDC at
Normal Open or Normal Close.
POWER1
INPUT
POWER2
INPUT
RELAY contact
X
X
Open, Start alarm
O
X
Open, Start alarm
X
O
Open, Start alarm
O
O
Close, Non
-
alarm
Power-Up Sequence
When you apply power:
All Link/ACT LEDs blink momentarily.
The Power 1 LED goes ON.
LEDs for every port connected to a device flash, as the switch
conducts a brief Power On Self-Test (POST).
6Front Panel LEDs
LED Color Status
L/A
(Link/Active) Green LED On: Link
LED Off: No Link
LED blinking: Data Transmission
PWR 1&2 Green LED On: Power On
LED Off: Power Off
Alarm Red LED On: Error Power Detection
LED Off: No Power Error Condition
OttoE TF100/TG100 Series Ethernet Switch
Installation Guide
T
F100
-
0800
TG100-0800
T
F100
-
0602
TG100-0602
OttoE TF100/TG100 Series Ethernet Switch
Copyright 2021 EtherWAN Systems, Inc.
All Rights Reserved
OttoE
TF100/
TG100
09/23/2021
W70G-TG-TFQIG1
7Quality of Service (QoS)
The QoS feature is automatically activated when the switch is running.
Priority mapping is handled according to the following tables:
TF100
CoS priority
(802.1p) 7, 6, 5, 4 3, 2, 1, 0
Queues 1 0
WRR 16 1
TG100
CoS priority
(802.1p) 7, 6 5, 4 3, 2 1, 0
DSCP
priority 59, 55 47, 46, 43 27 Other
Queues 3 2 1 0
WFQ Highest
Priority Secondary
Priority 16 1
8Other information
DIN-Rail Assembly Startup, and Dismantling
Assembly: Place the Switch on the DIN rail from above using the slot.
Push the front of the Switch toward the mounting surface until it
audibly snaps into place.
Startup: Connect the supply voltage to start up the Switch via the
terminal block.
Dismantling: Pull out the lower edge and then remove the Switch
from the DIN rail.
Power wiring information:
Use copper conductors only.
Use cable type - AWG (American Wire Gauge) 18-22 and corresponding
pin type cable terminals.
The rating of the power wire used must be at least 105°C.
Informations de câblage d'alimentation:
Utilisez le type de câble - AWG (American Wire Gauge) 18-22.
Le calibre du fil d'alimentation utilisé doit être d'au moins 105°C.
DESTINÉ À ÊTRE UTILISÉ AVEC DES CONDUCTEURS EN CUIVRE SEULEMENT.
Si la méthode d'utilisation de l'équipement diffère de celle décrite par le
fabricant, la protection assurée par l'équipement risque d'être altérée.
Contactez-nous pour l'entretien ou la reparation.
Label clean up:
Wipe with a dry cloth to clean up the labelling.
If the equipment is used in a manner not specified by the manufacturer,
the protection provided by the equipment may be impaired.
The product is open type, intended to be installed in an industrial control
panel or an enclosure.
SFP module specification requirement: Class 1 laser product. Complies
with CDRH 21CFR 1040.10 and 1040.11. Rated 3.3 or 5 VDC.
The installation safety of any system incorporating the equipment is the
responsibility of the assembler of the system.
Nettoyage de l’étiquette:
Nettoyez avec un chiffon doux et sec.
Si l’équipement est utilisé d’une façon non conforme aux directives du
manufacturier, il peut être endommagé.
Le produit est du type ouvert et doit être installé dans un coffret ou
panneau de contrôles industriel.
Spécification pour le module SFP : Laser classe 1 conforme aux normes
CDRH 21CFR 1040.11 Alimentation 3.3 ou 5 VCC.
La sécurité d’une l’installation d’un système incorporant l’équipement
est la responsabilité de l’assembleur du système.
Manufacturer information:
ETHERWAN SYSTEMS, INC.
33F, No. 93, Sec. 1, Xintai 5th Rd., Xizhi Dist., New Taipei City, 221
Taiwan
TEL: +886 -2- 6629-8986
Email: info@etherwan.com.tw
U.S. Office:
2301 E. Winston Road
Anaheim, CA 9280
Tel: +1-714-779-3800
Email: info@etherwan.com
This manual suits for next models

5

Other EtherWAN Switch manuals

EtherWAN EX32008 Series User manual

EtherWAN

EtherWAN EX32008 Series User manual

EtherWAN EX26484 Series User manual

EtherWAN

EtherWAN EX26484 Series User manual

EtherWAN EX17162 User manual

EtherWAN

EtherWAN EX17162 User manual

EtherWAN EX77000 Series User manual

EtherWAN

EtherWAN EX77000 Series User manual

EtherWAN EX41941 User manual

EtherWAN

EtherWAN EX41941 User manual

EtherWAN EX87000 Series User manual

EtherWAN

EtherWAN EX87000 Series User manual

EtherWAN ER59000 Series User manual

EtherWAN

EtherWAN ER59000 Series User manual

EtherWAN EX42300 series User manual

EtherWAN

EtherWAN EX42300 series User manual

EtherWAN EX32008 Series User manual

EtherWAN

EtherWAN EX32008 Series User manual

EtherWAN EX48000A Series User manual

EtherWAN

EtherWAN EX48000A Series User manual

EtherWAN EX17908A User manual

EtherWAN

EtherWAN EX17908A User manual

EtherWAN EX41922 User manual

EtherWAN

EtherWAN EX41922 User manual

EtherWAN EX78000R User manual

EtherWAN

EtherWAN EX78000R User manual

EtherWAN EX16926 User manual

EtherWAN

EtherWAN EX16926 User manual

EtherWAN EX72129A User manual

EtherWAN

EtherWAN EX72129A User manual

EtherWAN EX77900 Series User manual

EtherWAN

EtherWAN EX77900 Series User manual

EtherWAN ER52000 User manual

EtherWAN

EtherWAN ER52000 User manual

EtherWAN EX46910 User manual

EtherWAN

EtherWAN EX46910 User manual

EtherWAN EX76000 Series User manual

EtherWAN

EtherWAN EX76000 Series User manual

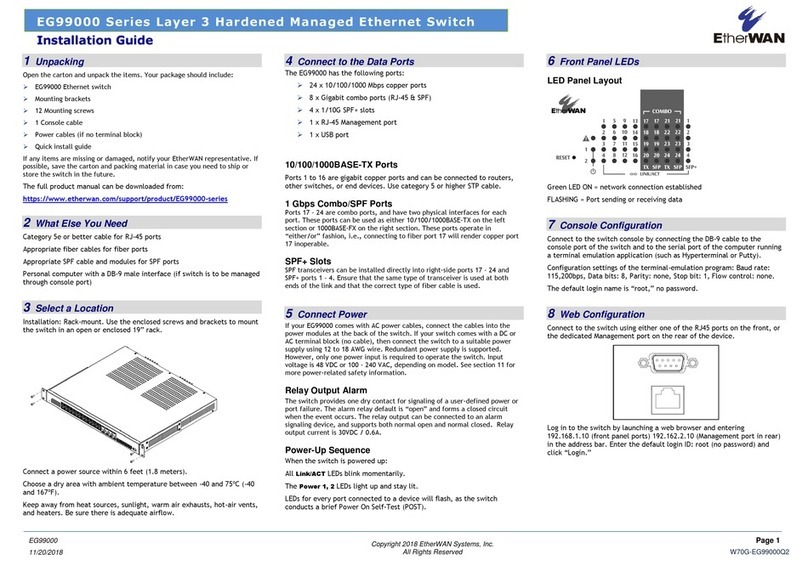
EtherWAN EG99000 Series User manual

EtherWAN

EtherWAN EG99000 Series User manual

EtherWAN TG103H User manual

EtherWAN

EtherWAN TG103H User manual

EtherWAN EX17008A User manual

EtherWAN

EtherWAN EX17008A User manual

EtherWAN EX87000 Series User manual

EtherWAN

EtherWAN EX87000 Series User manual

EtherWAN EX42008 Series User manual

EtherWAN

EtherWAN EX42008 Series User manual

Popular Switch manuals by other brands

Vega VEGASWING 61 operating instructions

Vega

Vega VEGASWING 61 operating instructions

HP StorageWorks 2/16 - SAN Switch release note

HP

HP StorageWorks 2/16 - SAN Switch release note

ZyXEL Communications Dimension ES-3124 brochure

ZyXEL Communications

ZyXEL Communications Dimension ES-3124 brochure

ABB FIP1011 Installation instruction

ABB

ABB FIP1011 Installation instruction

Geo Cosy installation instructions

Geo

Geo Cosy installation instructions

RME Audio MADI Converter user guide

RME Audio

RME Audio MADI Converter user guide

Justec 5PORT NWAY user guide

Justec

Justec 5PORT NWAY user guide

Guntermann & Drunck TradeSwitch4-USB Installation and operation

Guntermann & Drunck

Guntermann & Drunck TradeSwitch4-USB Installation and operation

Cisco Catalyst 8500 Series Regulatory compliance and safety information

Cisco

Cisco Catalyst 8500 Series Regulatory compliance and safety information

Allen-Bradley Stratix 5700 quick start guide

Allen-Bradley

Allen-Bradley Stratix 5700 quick start guide

HP ProCurve 4204vl datasheet

HP

HP ProCurve 4204vl datasheet

THOMSON Grass Valley TRITON TTN-BDS-1616RC installation manual

THOMSON

THOMSON Grass Valley TRITON TTN-BDS-1616RC installation manual

ABB TruONE ATS Installation and operating instruction

ABB

ABB TruONE ATS Installation and operating instruction

Intelix HD-4X1 installation guide

Intelix

Intelix HD-4X1 installation guide

G Trans KS-3002 user manual

G Trans

G Trans KS-3002 user manual

Inner Range 995916 installation manual

Inner Range

Inner Range 995916 installation manual

H3C S6800-2C-FC Installation, quick start

H3C

H3C S6800-2C-FC Installation, quick start

IFM Electronic ZB0052 operating instructions

IFM Electronic

IFM Electronic ZB0052 operating instructions

manuals.online logo
manuals.online logoBrands
  • About & Mission
  • Contact us
  • Privacy Policy
  • Terms and Conditions

Copyright 2025 Manuals.Online. All Rights Reserved.