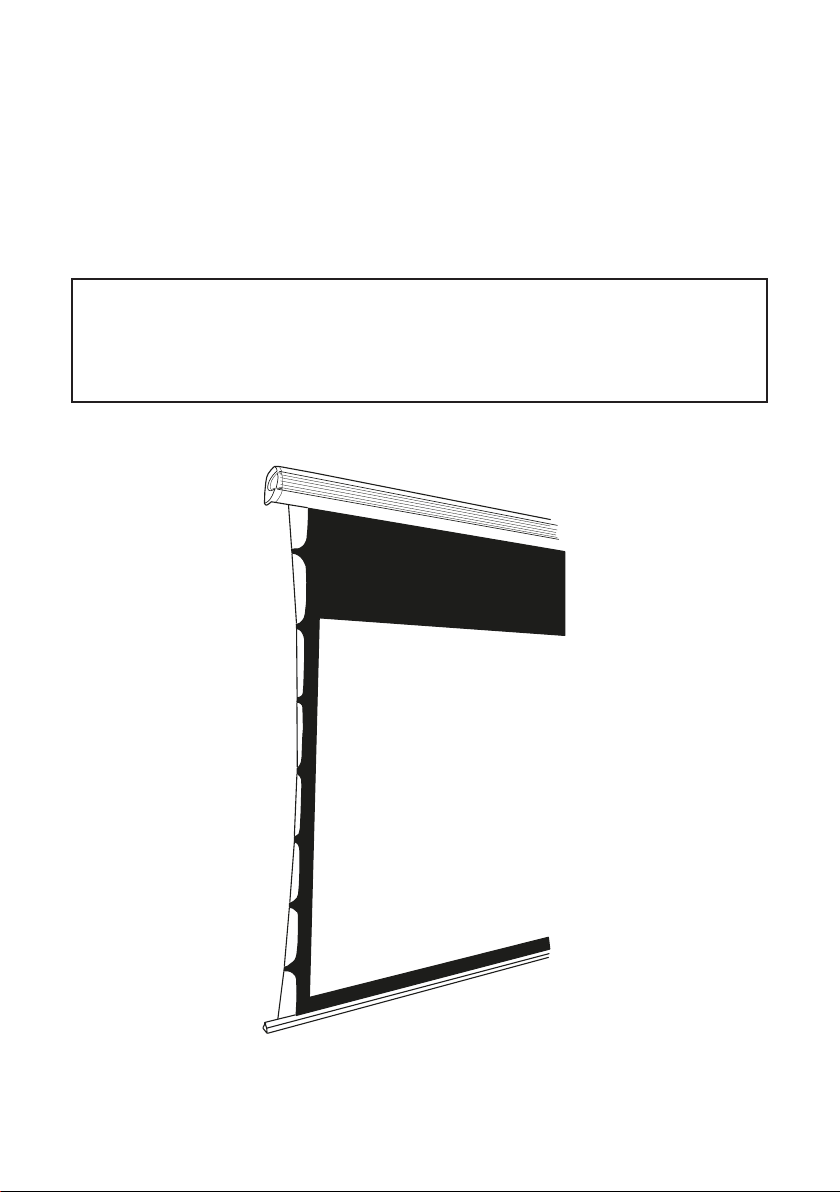
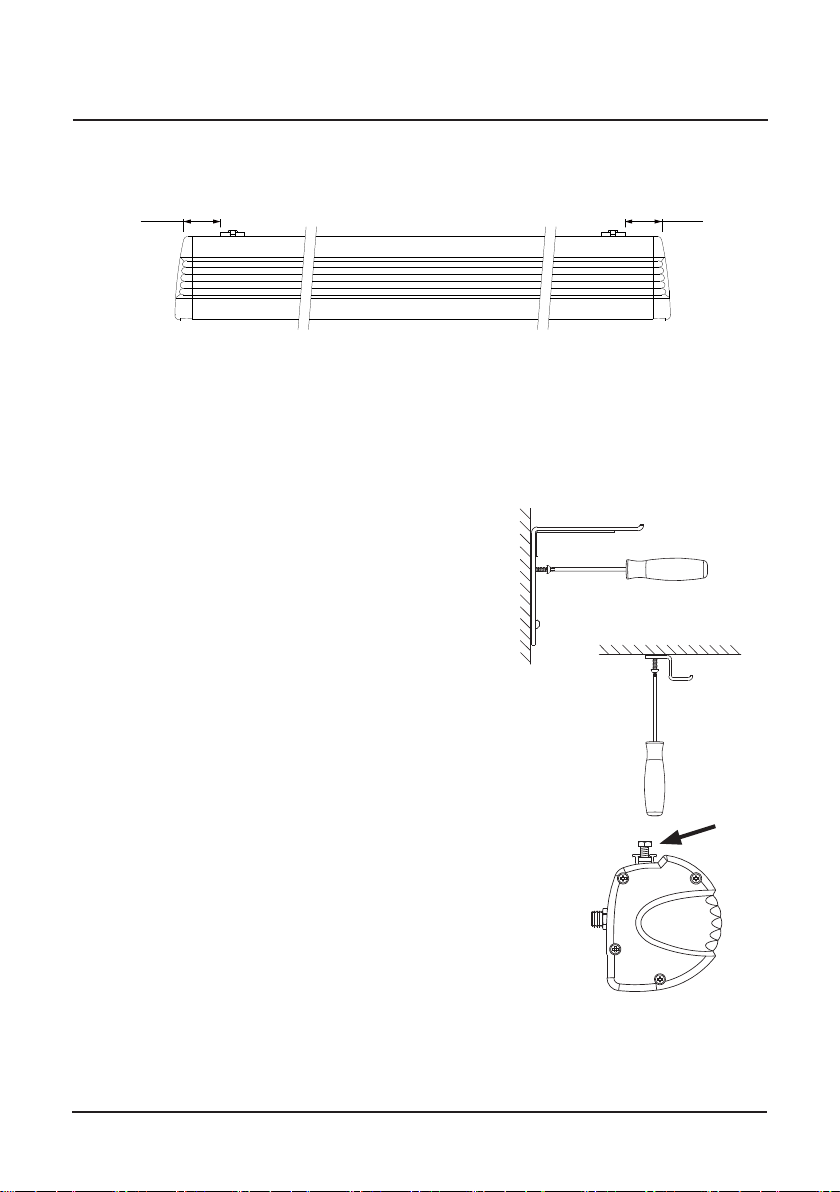
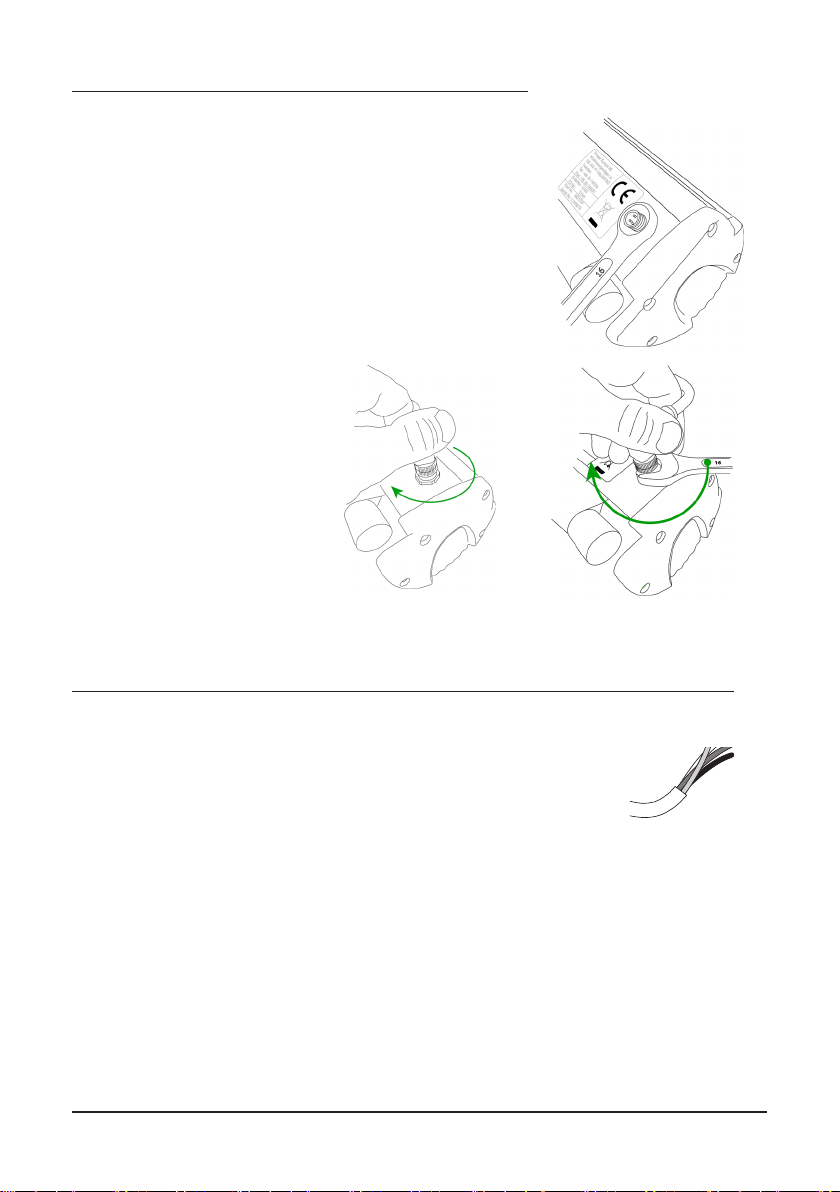
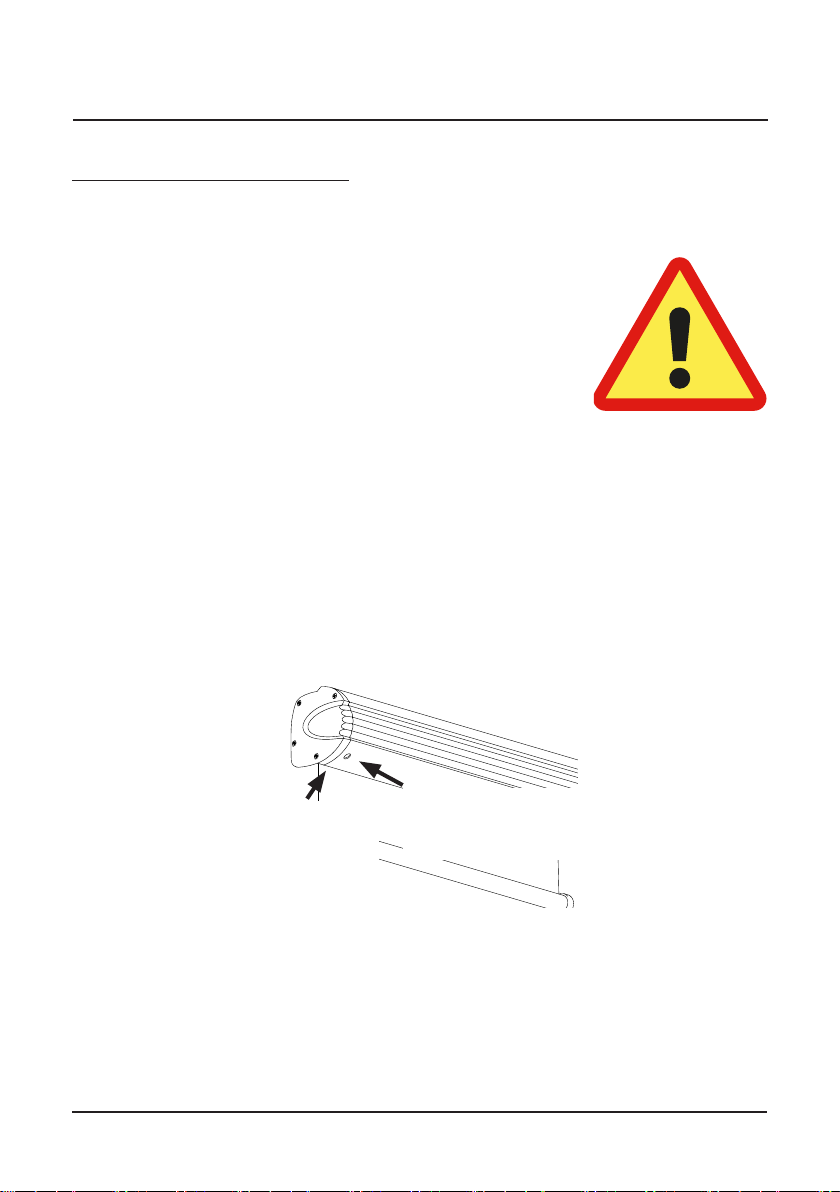
Euroscreen Diplomat TabTension User manual


Other manuals for Diplomat TabTension
1
Other Euroscreen Projection Screen manuals

Euroscreen
Euroscreen Linea TabTension User manual

Euroscreen
Euroscreen FLATMAX WRAP AROUND User manual

Euroscreen
Euroscreen Tripod Connect User manual

Euroscreen
Euroscreen Giotto Series Manual

Euroscreen
Euroscreen Diplomat Electric User manual

Euroscreen
Euroscreen Sesame 2.1 User manual

Euroscreen
Euroscreen Freja User manual

Euroscreen
Euroscreen LEONARDO FR14 User manual

Euroscreen
Euroscreen Diplomat Electric User manual

Euroscreen
Euroscreen CFW180 User manual

Euroscreen
Euroscreen LEONARDO FR37 User manual

Euroscreen
Euroscreen Connect C1520 User instructions

Euroscreen
Euroscreen Connect Electric User manual

Euroscreen
Euroscreen CANALETTO WRAP AROUND User manual

Euroscreen
Euroscreen Diplomat Electric User manual

Euroscreen
Euroscreen Vision Edgeless User manual

Euroscreen
Euroscreen Vision Light User manual

Euroscreen
Euroscreen Diplomat TabTension User manual
Popular Projection Screen manuals by other brands

Draper
Draper VCB Silhouette E series Installation and operating instructions

Berker
Berker MT 701 CT operating instructions

Da-Lite
Da-Lite EXECUTIVE ELECTROL specification

MEDIUM
MEDIUM RollFix Kurbel PRO Series Mounting instruction

Dragonfly
Dragonfly 92-145 installation manual

Kimex
Kimex 047-15 Series user manual

Screen Research
Screen Research MS2 installation manual

Da-Lite
Da-Lite TENSIONED ADVANTAGE ELECTROL Instruction book

Elite Screense
Elite Screense EB100HW2-E12 user guide

Caliber
Caliber MPD278T manual

Draper
Draper Profile+ Assembly/mounting instructions

Da-Lite
Da-Lite Cosmopolitan Electrol Instruction book

Steelcase
Steelcase Activity Projection Screen Assembly

LP Morgan
LP Morgan CineTheatre Galleria Curve manual

Draper
Draper Access/Series M Installation & operating instructions

STILFORD
STILFORD JBSC705WBK Assembly instructions

Elite Screens
Elite Screens EDGE FREE Aeon Series user guide

ICP Electronics
ICP Electronics LCD-Kit02 manual