manuals.online logo
Brands
  1. Home
  2. •
  3. Brands
  4. •
  5. Draper
  6. •
  7. Projection Screen
  8. •
  9. Draper Profile+ User manual

Draper Profile+ User manual

Other Draper Projection Screen manuals
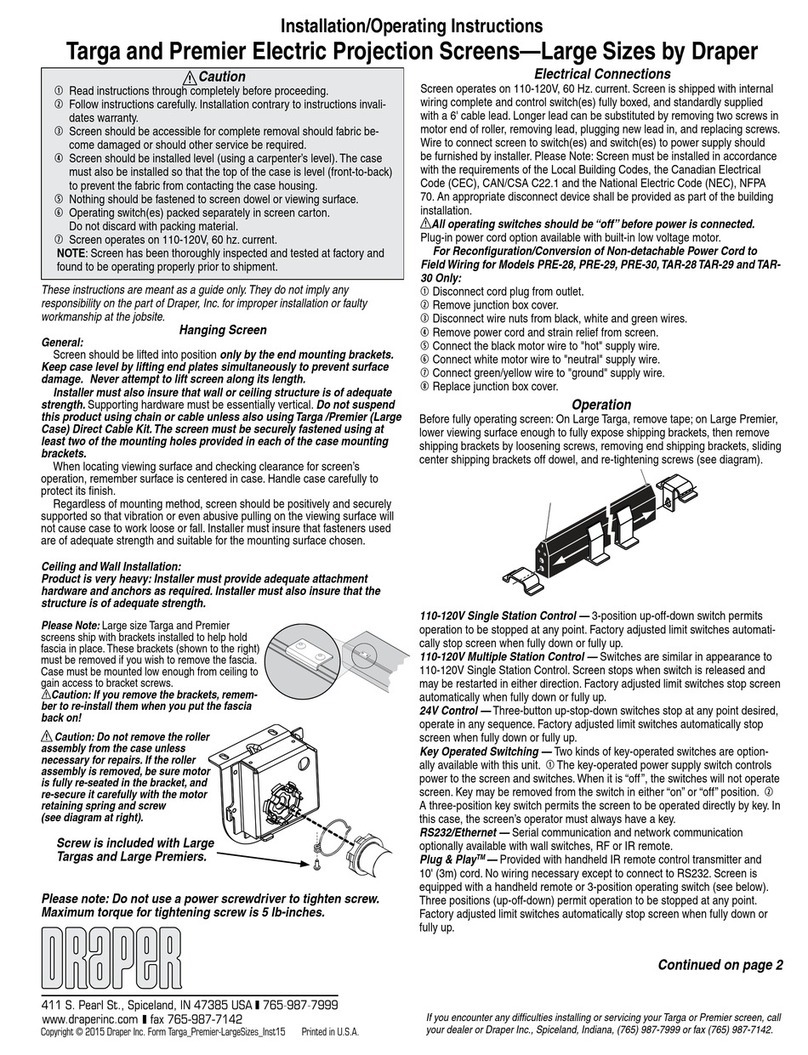
Draper Ambassador Manual

Draper

Draper Ambassador Manual

Draper Access XL Manual

Draper

Draper Access XL Manual

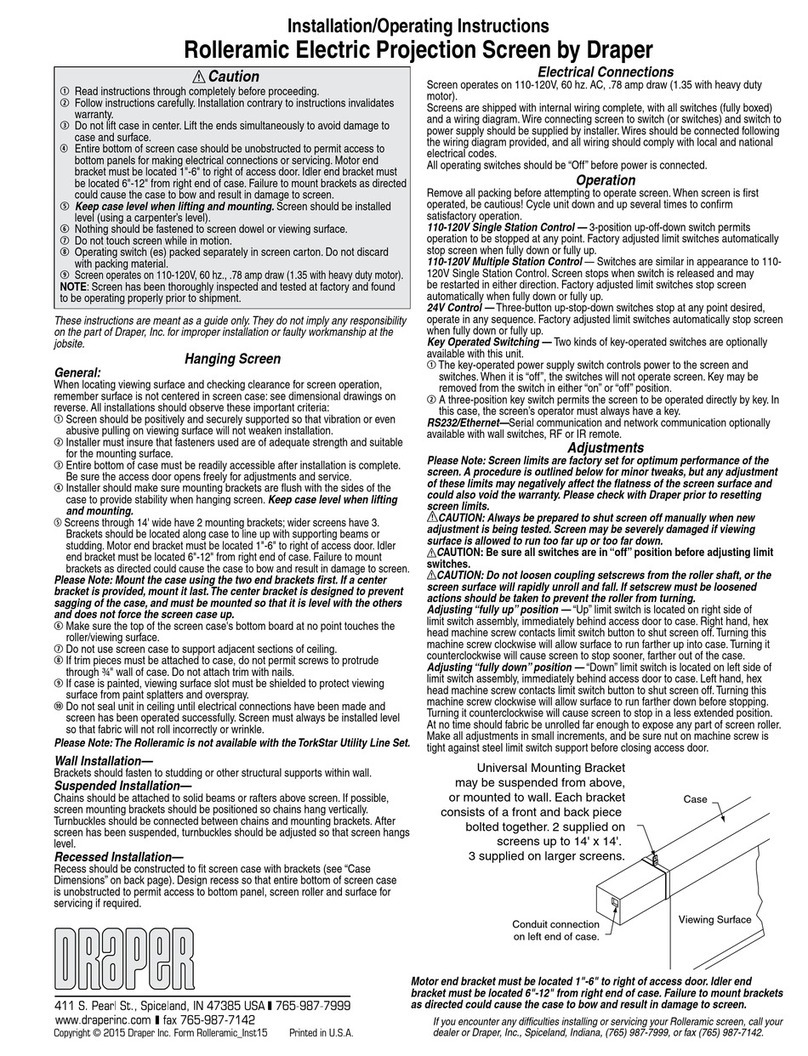
Draper Rolleramic Electric Projection Screen Manual

Draper

Draper Rolleramic Electric Projection Screen Manual

Draper Traveller User manual

Draper

Draper Traveller User manual

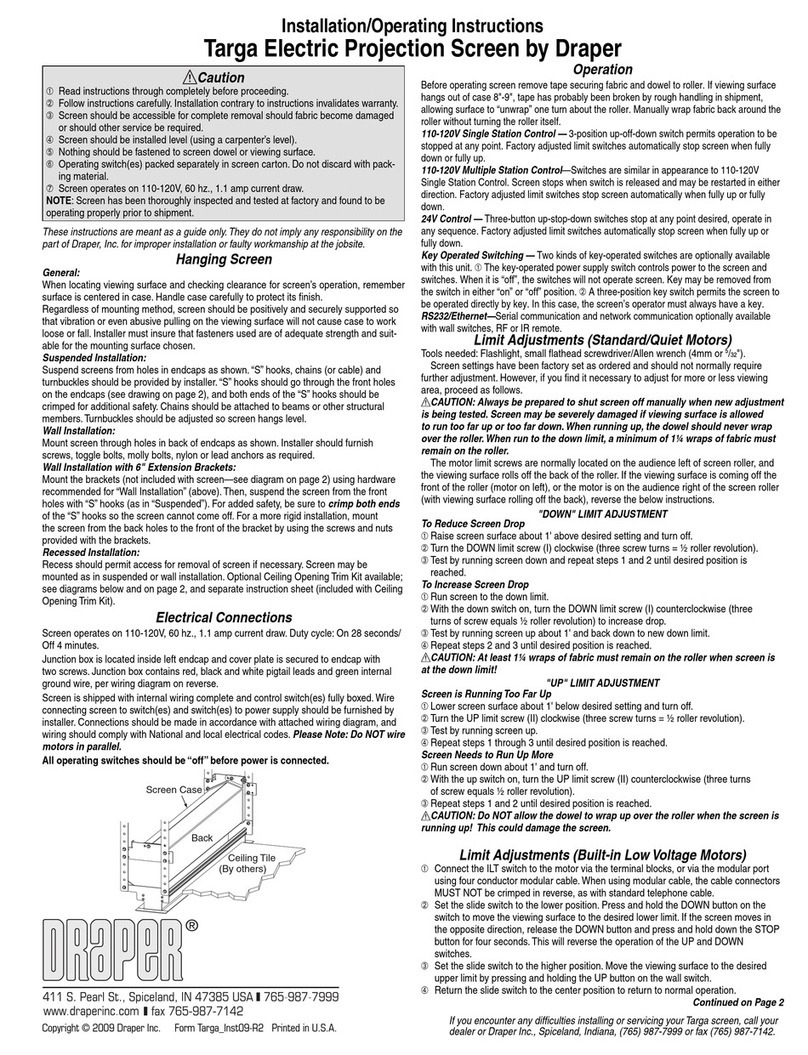
Draper Targa Manual

Draper

Draper Targa Manual

Draper Luma User manual

Draper

Draper Luma User manual

Draper Ultimate Access Series E Manual

Draper

Draper Ultimate Access Series E Manual

Draper Cinefold User manual

Draper

Draper Cinefold User manual

Draper Clarion User manual

Draper

Draper Clarion User manual

Draper Silhouette C Series Manual

Draper

Draper Silhouette C Series Manual

Draper Envoy Manual

Draper

Draper Envoy Manual

Draper Access FIT E Programming manual

Draper

Draper Access FIT E Programming manual

Draper Targa Manual

Draper

Draper Targa Manual

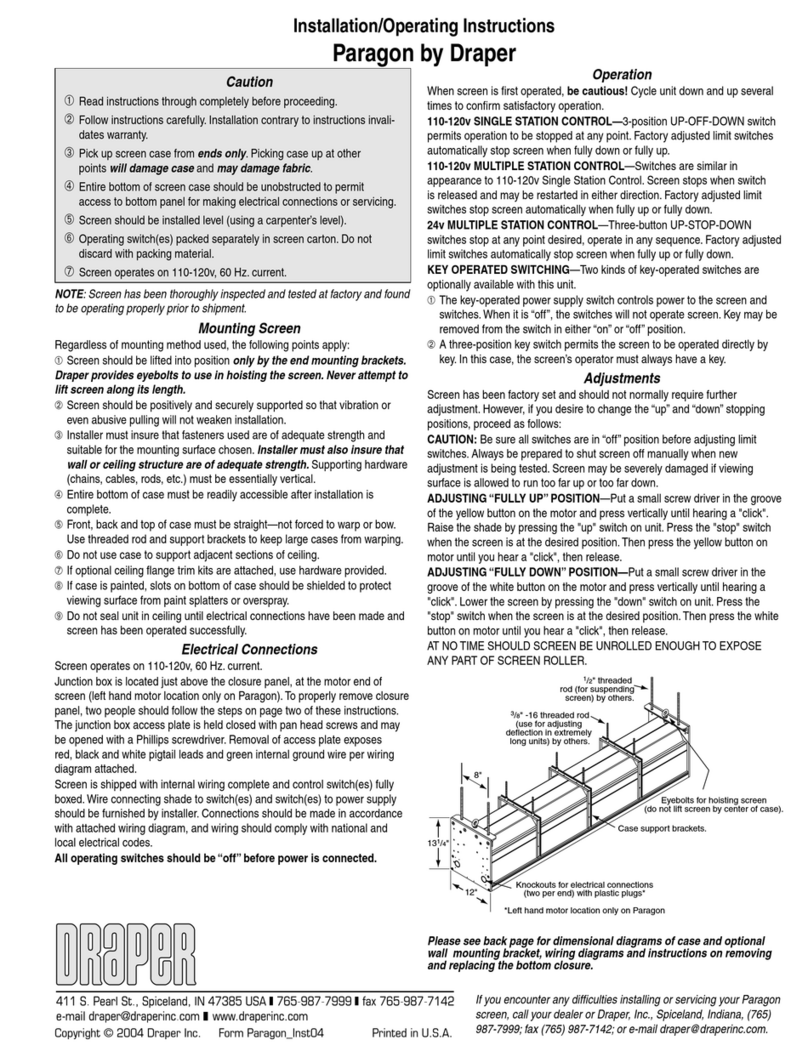
Draper Paragon Manual

Draper

Draper Paragon Manual

Draper 220V Ultimate Access User manual
Draper

Draper 220V Ultimate Access User manual

Draper Premier PRE-28 User manual

Draper

Draper Premier PRE-28 User manual

Draper Premier Series User manual

Draper

Draper Premier Series User manual

Draper Tabletop Projection Screen MicroScreen User manual

Draper

Draper Tabletop Projection Screen MicroScreen User manual

Draper Paragon E User manual

Draper

Draper Paragon E User manual

Draper Artisan Series Manual

Draper

Draper Artisan Series Manual

Draper M Series Manual

Draper

Draper M Series Manual

Draper Silhouette C Series Manual

Draper

Draper Silhouette C Series Manual

Draper Premier User manual

Draper

Draper Premier User manual

Draper Silhouette/Series E Manual

Draper

Draper Silhouette/Series E Manual

Popular Projection Screen manuals by other brands

Elite Screens Elite Tripod Series user guide

Elite Screens

Elite Screens Elite Tripod Series user guide

Laarhoven Companion II General assembly instructions

Laarhoven

Laarhoven Companion II General assembly instructions

Da-Lite ExecutiveElectrol Instruction book

Da-Lite

Da-Lite ExecutiveElectrol Instruction book

FONESTAR PPTR-43100-FA quick start guide

FONESTAR

FONESTAR PPTR-43100-FA quick start guide

Slide Clear Varro XL installation instructions

Slide Clear

Slide Clear Varro XL installation instructions

OS РХ-090Н user manual

OS

OS РХ-090Н user manual

Niko 10-845 Product information

Niko

Niko 10-845 Product information

Speaka Professional 2357532 Important information

Speaka Professional

Speaka Professional 2357532 Important information

Sima XL-72 instruction manual

Sima

Sima XL-72 instruction manual

Jasic EVO 2.0 ET-200P Fitting instructions

Jasic

Jasic EVO 2.0 ET-200P Fitting instructions

Renogy RMS-LFPS-US manual

Renogy

Renogy RMS-LFPS-US manual

Elite Screens Starling 2 Series user guide

Elite Screens

Elite Screens Starling 2 Series user guide

InFocus SC-WALL GRY-92H Instruction guide

InFocus

InFocus SC-WALL GRY-92H Instruction guide

Samsung S*H65* user manual

Samsung

Samsung S*H65* user manual

Celexon UST operating instructions

Celexon

Celexon UST operating instructions

JONSBO D31 user guide

JONSBO

JONSBO D31 user guide

Barco OverView MVL­-615 Brochure & specs

Barco

Barco OverView MVL­-615 Brochure & specs

FONESTAR PPEL-43100-FA quick start guide

FONESTAR

FONESTAR PPEL-43100-FA quick start guide

manuals.online logo
manuals.online logoBrands
  • About & Mission
  • Contact us
  • Privacy Policy
  • Terms and Conditions

Copyright 2025 Manuals.Online. All Rights Reserved.

Profile+Permanently Tensioned Projection Screen
Assembly & Mounting Instructions
Profile Components:
Tools Required:
Tape Measure Pencil Hex Head Power Drill Fastening
Screwdriver Hardware
(By others)
Caution
BRead instructions through completely before proceeding.
CFollow instructions carefully.
Installation contrary to instructions invalidates warranty.
DScreen should be accessible for complete removal should fabric
become damaged or should other service be required.
EScreen should be installed level (using a carpenter’s level).
FNothing should be fastened to screen frame or viewing surface.
GMake sure you have received all parts (see parts list below and
exploded diagram on page 3).
HInstaller is responsible for providing appropriate hardware for mounting.
I
Draper recommends using two people for assembly and installation.
When lifting assembled screen, do not lift at only one corner; lift at both
corners. Lifting by one corner could result in damage to the screen
frame, especially on large screens.
JThe ideal temperature range for assembling permanently tensioned
screens to prevent damaging the surface is 68°-78° F (20°-26° C).
Assembling below recommended temperatures may damage surface
and void warranty.
5/32"- Grade 8
Hex Screws
(several)
Mounting
Brackets
Sliding Snap
Attachments
(several)
Sliding
Hook & Loop
Attachment
(several)
Frame Extrusion
Section
Trim Frame
Section
Corner
Vertical Support
Connector
Front
View
Back
View
Copyright © 2016 Draper Inc. Form Profile+_IInst16 Printed in U.S.A.
Trim Frame
Corner
Vertical Support
For Larger Sizes
For Hook and Loop Fabric Attachment:
1-A. Insert sliding Hook & Loop attachments
into all four (4) sections of the frame
(See Fig. 1-A).
For all fabric attachment methods:
2. Insert the Frame sections onto the corners pieces
(See fig 2.) and secure them with provided screws.
5. Carefully lay the screen fabric down on a clean surface. Place
the assembled frame in the center of the fabric (see Fig. 4).
6. Slide the Hook & Loop or Snaps along the frame until they are
evenly spaced.
7. Pull the edge of the screen fabric and wrap it around the frame
(see fig 5). Attach the screen fabric on all four (4) sides.
8. Carefully, turn the entire screen assmbly over and inspect.
Adjust the position of the sliding fabric attachments to remove
any wrinkles.
For Snap Fabric Attachment:
1-B. Insert sliding snap attachments into
all four (4) sections of the frame
(See Fig. 1-B).
For Larger sizes requiring Vertical support:
3. When assembling a large frame, use the two (2) vertical support
connectors on the top and bottom sections (see fig. 3). Connect
these sections together with the Vertical Support Bar.
Secure all frame sections and connectors with provided screws.
Insert Sliding
Hook & Loop
Attachment
Approx.
3”
Spacing
Inser
t
Sliding
Snaps
Profile Permanently Tensioned Projection Screen Page 2 of 4
Back of
Fabric
Back of Fabric
Back of Fabric
Wrap the fabric
around and attach to frame
Back of
Screen Fabric Assembled Frame
centered on
Screen Fabric
(Viewing Surface Down)
Figure
1 - A
Figure
1- B
Figure CFigure D
Figure E
Figure F
Profile Permanently Tensioned Projection Screen Page 3 of 4
Front of F
abric
Front of Fabric
Back of
Fabric
Back of
Fabric
Front of Fabric
Front of Fabric
Trim Frame Attachment
1. Snap the trim frame corners onto all four (4) corners.
Adjust the fabric if needed (See fig. 6).
2. Snap the trim frame sections onto all four (4) sides of the frame.
Adjust the fabric if needed (See fig. 7).
Figure G
Figure H
Mounting On the Wall
1. Mount the Wall Brackets in the desired location. They must be installed level and have at least 2 fasteners (by others) per bracket.
2. Lift the assembled screen up and over the wall brackets. The screen will align with the channel in the frame.
3. Carefully let the screen settle on the wall brackets.
Wall Mounting
Bracket
WALLWALL
WALL
WALL
WALL
WALL
Screen Frame
Side View
Screen Frame
Side View
Mounting
Hardware
(by Others)
Wall
Mounting
Bracket
Lift Screen
Up & Over
Wall Brackets
It will align
with the Channel
in the Frame
Screen Frame
Properly Installed
3 ¾”
* Please Note:
Mounting bracket fasteners must
be positioned at least 4 ½” below
the ceiling or overhead structure.
4 ½”*
Ceiling or Overhead
Obstruction
Ceiling or Overhead
Obstruction
Ceiling or Overhead
Obstruction
¾”
B C D
(765) 987-7999
www
.draperinc.com