manuals.online logo
Brands
  1. Home
  2. •
  3. Brands
  4. •
  5. F&F
  6. •
  7. Controllers
  8. •
  9. F&F STR-2 User manual

F&F STR-2 User manual

Purpose
Functioning
The roller blind controller STR-2 is designed for controlling roller blinds
(up and down movement) or other devices (for example, gates) that
are driven by a single-phase AC electric motor and operated by means
of momentary switches (for example, bell-pushes). The controller can
operate as an independent unit (designated for opening/closing one
roller blind) as well as the controllers can be combined into groups that
enable the central controlling of many roller blinds
Supplied the relay is to sigal by shine of green LED U. The roller blind
motor is activated by the momentary switching of a current pulse (L or
N) to one of the control inputs. The motor is activated at a time
programmed previously by the user. The activation time programmed
enables the complete lifting or lowering of the roller blind. Also, there
is a possibility of stopping the rolled blind activated at a level selected
by the user (non-complete opening or closing of the roller blind).
Control inputs of relay:
Local control - buttons connected to contact 6 and control one roller
blind
-upwards (opening); - downwards (closing).
Pressing the local control push-button activates the movement of the
roller blind in a selected direction. If the roller blind is already moving,
pressing the local control push-button will stop the roller blind.
Central control - a common group of push-buttons which are connect
to contact 7 and 8 for many controllers (minimum two controllers) that
controls all roller blinds included in the central control system
- all upwards; - all downwards.
Pressing the central control push-button activates the movement of
the roller blinds in a selected direction. If one of the roller blinds is
already moving in the same direction, its movement will be continued.
If one of the roller blinds is moving in the opposite direction, this roller
blind will be first stopped and then its movement will be activated in
the direction in accordance with the command sent to the central
input.
ATTENTION! The central control enables only activating the movement
of the roller blinds in a selected direction. The roller blind will be
stopped after the programmed movement time or when any of the
local control push-buttons is pressed.
Ź 
ŹŹ 
Wiring diagram
LOCAL
CONTROL
CENTRAL
CONTROL
LOCAL
CONTROL
STR
STR
Description of connection:
1 - 2 supply 230V (L - N)
3 supply of motor - output in to direction „UPWARDS”
4 supply of motor - output in to direction „DOWNWARDS”
6 local control - to direction „DOWNWARDS/UPWARDS”
7 local control - to direction „UPWARDS”
8 local control - to direction „DAWNWARDS”
“
”
”?
““
””
Control inputs could be supplied from a phase cable (L) or
neutral cable (N). Make a choose of one control option for all
inputs.
Example of wiring diagram for installation with two roller blind controller
which work in common central control (control signal: N)
1 2 34678
M
L N L/N L/N L/N
MM
L
N
CENTRAL
CONTROL
467831 2467831 2
F&F Filipowski sp. j.
Konstantynowska 79/81 95-200 Pabianice
phone/fax: (+48 42) 215 23 83 / 227 09 71 POLAND
http://www.fif.com.pl e-mail: biuro@fif.com.pl
WARRANTY. The F&F products are
covered by a warranty of the 24 months
from the date of purchase. Effective only
with proof of purchase. Contact your
dealer or directly with us. More informa-
tion how to make a compliant can be
found on the website:
www.fif.com.pl/reklamacje
ROLLER BLIND CONTROLLER
one-button type
Do not dispose of this device in the trash along with other waste! According
to the Law on Waste, electro coming from households free of charge and can
give any amount to up to that end point of collection, as well as to store the
occasion of the purchase of new equipment (in accordance with the principle
of old-for-new, regardless of brand). Electro thrown in the trash or abandoned
in nature, pose a threat to the environment and human health.
STR-2
5 9 0 8 3 1 2 5 9 3 3 2 4
- 3 - - 4 -
- 2 -
Programming time of enclose
1. Press and hold a button PROG for time when green LED U start to pulsate.
2. When we again press a button PROG (START). Controller start count a time
which is to signal by pulsate of green LED.
3. Press again a button PROG (STOP). Controller remember a counted time.
Programmin mode is automaticly closed ( green LED U shine continually).
* If at time 30 sec from start programming mode a count of
time doesn’t to start, then controller will out from
programming mode.
* Max time for programming 10min. Test by long time than 10
min to cause controller automaticly out from programming
mode.
* Input to programming mode posible is only when motor of
roller is OFF.
* In programming mode a controller doesn’t to react for
outward control signal .
Do not install to device which is broken or incomplete.
During assembly of controller should be take special care
Wrong connection could cause to give a shock and/or break
controller or connected device
5. Controlled roller motor connect properly to contacts 3 and 4 and to N.
6. Take ON the power.
7. Programming to time of upwards/downwards of roller. Prescribed is that
programmed time should be longer than 10 sec from real time of
upwards/downwards.
4. Choose control option (control impulse L or N). Switch of local control and
central control connect with marks with function to contact to choosen
cable (accordance with choosen control option - L or N).
3. Connect power cable to contact 1-2 with marks.
Group of controllers which working with common central
control should be supplied from the same phase e.g only L1.
All control inputs of controllers which works separately or in
group should have to common control impulse option - all are
controlling from the same phase, e.g. only L1; or all from N.
Connection different phase e.g.
"zero" N to inputs of control inputs of controller can cause to
wrong work of system and break controllers.
L1 and L2; or phase L and
Choosing control option from phase (L) to control inputs
should be connect to the same phase as for supply e.g. only
phase L1.
Assembly
1. Take OFF the power.
2. Put on the controller on the wall or a roller box.
D170223
supply 230V AC
current load (AC-3) <2A
control pulse current for L/N <1mA
power supply indicator LED green
working temperature -25÷50°C
connection signal
dimensions
power consumption 1W
3×DY 1mm², l=10cm
supply 4×DY 1.5mm², l=10cm
Ø55, h=20mm
mounting under plaster box Ø60
protection level IP20
Technical data
- 7 -
- 6 -

Other F&F Controllers manuals

F&F FW-STR1P User manual

F&F

F&F FW-STR1P User manual

F&F STR-3D User manual

F&F

F&F STR-3D User manual

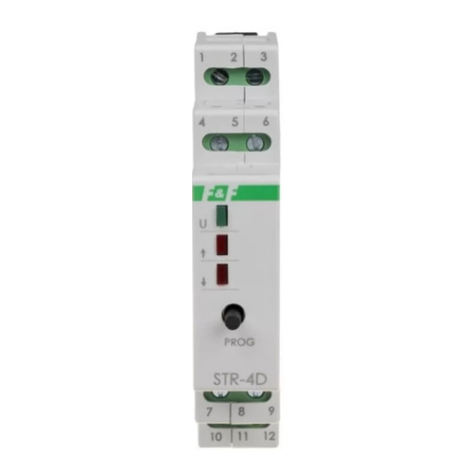
F&F STR-4D User manual

F&F

F&F STR-4D User manual

F&F FOX DOUBLE LED User manual

F&F

F&F FOX DOUBLE LED User manual

F&F STR-1 User manual

F&F

F&F STR-1 User manual

F&F AS-225D User manual

F&F

F&F AS-225D User manual

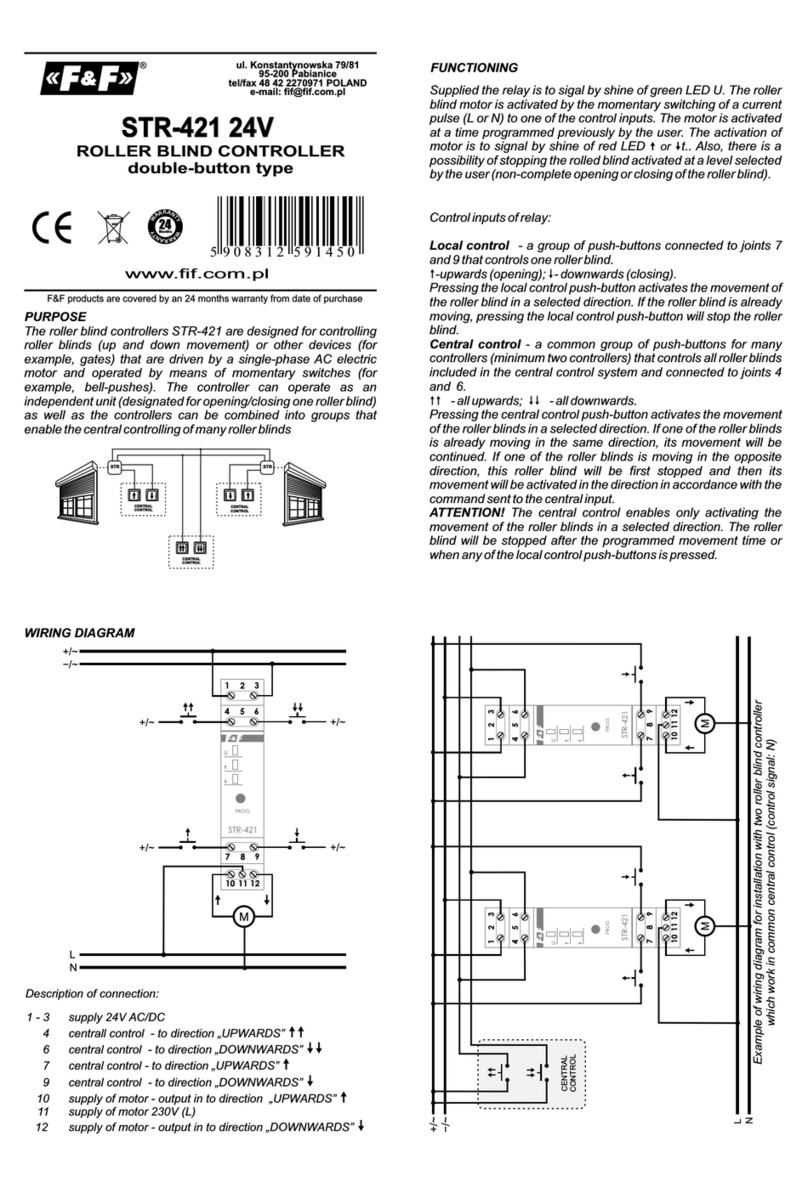
F&F STR-421 User manual

F&F

F&F STR-421 User manual

F&F CRT-06 User manual

F&F

F&F CRT-06 User manual

F&F STR-1 User manual

F&F

F&F STR-1 User manual

F&F STR-3 Pico User manual

F&F

F&F STR-3 Pico User manual

F&F FW-LED2D User manual

F&F

F&F FW-LED2D User manual

F&F Fox SHUTTER-D User manual

F&F

F&F Fox SHUTTER-D User manual

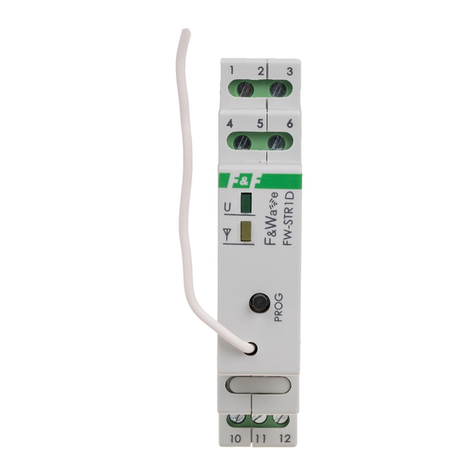
F&F FW-STR1D User manual

F&F

F&F FW-STR1D User manual

F&F STR-421 User manual

F&F

F&F STR-421 User manual

Popular Controllers manuals by other brands

Siemens PXC Series installation instructions

Siemens

Siemens PXC Series installation instructions

Cansec CP40 installation manual

Cansec

Cansec CP40 installation manual

Pyramid Technical Consultants I128r5 user manual

Pyramid Technical Consultants

Pyramid Technical Consultants I128r5 user manual

Veris Industries TWS Series installation guide

Veris Industries

Veris Industries TWS Series installation guide

Vimar Eikon 20581 manual

Vimar

Vimar Eikon 20581 manual

Emerson Tescom 44-6800 Series Operation & service manual

Emerson

Emerson Tescom 44-6800 Series Operation & service manual

Parkside PDWE 8 B2 Translation of the original instructions

Parkside

Parkside PDWE 8 B2 Translation of the original instructions

Ikelite EV-Controller instruction manual

Ikelite

Ikelite EV-Controller instruction manual

Dynamatic 4000 instruction sheet

Dynamatic

Dynamatic 4000 instruction sheet

Crane Source Space Vector SV100 Installation, Programming & Service manual

Crane Source

Crane Source Space Vector SV100 Installation, Programming & Service manual

Bluebell BC780 Operation guide

Bluebell

Bluebell BC780 Operation guide

IAI ROBO Cylinder RCP2 Series First step guide

IAI

IAI ROBO Cylinder RCP2 Series First step guide

Arbor Technology ARES-1980 Series user manual

Arbor Technology

Arbor Technology ARES-1980 Series user manual

Mircom TX3 Series Installation quick reference

Mircom

Mircom TX3 Series Installation quick reference

nVent RAYCHEM TCONTROL-CONT-03 OPERATING AND INSTALLATION Manual

nVent RAYCHEM

nVent RAYCHEM TCONTROL-CONT-03 OPERATING AND INSTALLATION Manual

Extron electronics RAC 104 user manual

Extron electronics

Extron electronics RAC 104 user manual

TECO TP03 PLC user manual

TECO

TECO TP03 PLC user manual

Micronix MMC-103 Series quick start guide

Micronix

Micronix MMC-103 Series quick start guide

manuals.online logo
manuals.online logoBrands
  • About & Mission
  • Contact us
  • Privacy Policy
  • Terms and Conditions

Copyright 2025 Manuals.Online. All Rights Reserved.