FAR DP300WDIL User manual

CONFORAMA France SA
80
Boulevard du Mandinet
L
OGNES
77432 Marne la
Vallée Cede
x 2
FRANCE
DP300WDIL
FR
GB
FAR C01
CK

Enlèvement des appareils ménagers usagés
La directive européenne 2012/19/EU sur les Déchets des
Equipements Electriques et Electroniques (DEEE), exige que
les appareils ménagers usages ne soient pas jetés dans le
ux normal des déchets municipaux� Les appareils usagés
doivent être collectés séparément an d’optimiser le taux de
récupération et le recyclage des matériaux qui les composent, et
réduire l’impact sur la santé humaine et l’environnement�
Le symbole de la poubelle barrée est apposé sur tous les produits
pour rappeler les obligations de collecte séparée�
Les consommateurs devront contacter les autorités locales ou leur
revendeur concernant la démarche à suivre pour l’enlèvement de
leur vieil appareil�
TABLE OF CONTENTS
Thank you for choosing FAR quality�This product has been developed by our
team of professional and according to European regulations� In order to get the
most out of your new appliance, we recommend that you read this instruction
manual carefully and keep it for future reference�
Safety instructions� � � � � � � � � � � � � � � � � � � � � � � � � � � � � � � � � � 38
Technical information� � � � � � � � � � � � � � � � � � � � � � � � � � � � � � � � � 43
Description of the device � � � � � � � � � � � � � � � � � � � � � � � � � � � � � � � 44
Installation � � � � � � � � � � � � � � � � � � � � � � � � � � � � � � � � � � � � � � � 45
Use� � � � � � � � � � � � � � � � � � � � � � � � � � � � � � � � � � � � � � � � � � � 46
Use the water dispenser � � � � � � � � � � � � � � � � � � � � � � � � � � � � � � � 52
Reverse door � � � � � � � � � � � � � � � � � � � � � � � � � � � � � � � � � � � � � 54
Maintenance � � � � � � � � � � � � � � � � � � � � � � � � � � � � � � � � � � � � � � 60
Cleaning� � � � � � � � � � � � � � � � � � � � � � � � � � � � � � � � � � � � � � � � 63
Troubleshooting � � � � � � � � � � � � � � � � � � � � � � � � � � � � � � � � � � � � 67
Accessories � � � � � � � � � � � � � � � � � � � � � � � � � � � � � � � � � � � � � � � 68
Disposal� � � � � � � � � � � � � � � � � � � � � � � � � � � � � � � � � � � � � � � � � 68
Removal devices household uses� � � � � � � � � � � � � � � � � � � � � � � � � . 69
36
FR
GB

3938
GB GB
-
-
-
-
-
-
-

GB
-
-
-
-
-
-
-
4140

GB
Model DP300WDIL
Category of household refrig-
erating appliance
Catalogue 7
Energy class A+
Annual energy consumption 266 kWh/an
Storage volume Refrigerator : 232L
Freezer : 76L
Defrost Refrigerator: automatic
Freezer : manuel
Autonomy 22 h
Freezing capacity 4 kg / 24h
Climate class + Ambient range ST (+16°C to +38°C)
Noise 42 dB(A) re 1pW
Rated voltage and frequency /
Input power
220V-240V / 50Hz~ 105W
Lamp 230V / 50Hz - 10W max E14 type
Technical information
Brand FAR
4342

1� Freezer shelf
2� Thermostat and Light
3� Glass shelves
4� Crisper Cover
5� Crisper
6� Watertankforwaterdispenser
7� Balconies
8� Water dispenser
NOTE:The appliance design is subject to change without prior notice�
Description of the device
5
4
3
2
1
6
7
8
Installation
Position the appliance and allow it to stand for two to three hours
before it is turned on for the rst time to allow the system to set-
tle� Do not position next to any heat source e�g� cooker, boiler or
in direct sunlight etc�
Allow at least 10 cm of space at the top and 10 cm of space on
both sides of the appliance and between the back of the appli-
ance and the wall for adequate air circulation�The appliance is
not designed for recessed installation (“building in”)�
Install on a good rm level surface, and any unevenness of the
oor should be corrected prior to installation, slight unevenness
can be overcome by adjusting the front feet�
NOTE: If the appliance is positioned on a carpet, soft oor cover-
ing you should readjust the front feet once the appliance has had
time to settle�
4544
GB GB
Refrigerant / Amount R600a / 50g
Product dimension (L x W x H) 605 x 600 x 1720 (mm)
Net weight 50 kg
Type of installation Free Standing
(1) Calculation on the basis of results for 24 hours under standard
test conditions� The actual energy consumption will depend
on use and the location of the device�

Use
• This appliance is designed to operate in ambient tempera-
ture between 16°C and 38°C� If these temperatures are ex-
ceeded, i�e� colder or warmer, the appliance will not operate
correctly� If the ambient temperatures are exceeded for long
periods, the temperature in the freezer section will rise above
-18°C and food spoilage may occur�
4746
GB GB
Position dierent od in dierent compartments according
to be below table.
Refrigerator
compartments Type of food
Crisper drawer
(salad drawer)
Fridge shelf –
bottom Chiller
(box/drawer)
Fridge shelf –
middle
Fridge shelf –top
Door or
balconies of
fridge
compartment
. Foods with natural preservatives, such
as jams, juices, drinks, condiments.
. Do not store perishable foods.
. Fruits, herbs and vegetables should be
placed separately in the crisper bin.
. Do not store bananas, onions,
potatoes, garlic in the refrigerator.
Raw meat, poultry, fish (for short-term
storage)
Dairy products, eggs
Foods that do not need cooking, such as
ready-to-eat foods, deli meats, leftovers.
Freezer drawer
(s)/shelf
. Foods for long-term storage.
. Bottom drawer/shelf for raw meat,
poultry, fish.
. Middle drawer/shelf for frozen
vegetables, chips.
. Top drawer/shelf for ice cream, frozen
fruit, frozen baked goods.
• Remove all packaging materials from the appliance�Wash
the inside of the cabinet with lukewarm water and bicar-
bonate of soda (5ml to 0�5 liter of water)� Dry the appliance
thoroughly�

• When you use the freezer for the rst time or after defrost-
ing, set the thermostat control to the maximum position for
at least 2 hours before introducing food to be stored, and
then readjust to the normal position�
• If there is a power failure, do not open the door� Frozen
food should not be aected if the failure lasts for less than
12 hours� If the failure is longer, then the food should be
checked and either eaten immediately or cooked and then
re-frozen�
Setting the thermostat knob
The refrigerator is controlled with a thermostat knob located
inside the fridge, towards the upper right-hand corner� Turn the
knob from the STOP (0) position towards the higher numbers for
colder temperatures�The knob can be adjusted from setting 1
to 7� Higher settings on the knob (higher numbers) mean lower
temperatures (colder) in all compartments of the appliance�
Changes of the ambient temperature aect temperature in the
interior of the appliance so choose a correct setting of the tem-
perature control knob, depending on your ambient conditions�
In the STOP (0) position the appliance does not operate (the cool-
ing system is switched o), but power supply is not interrupted�
Set the thermostat knob to a middle position to achieve -18°C in
the freezer compartment�
Please Note:
If the appliance is switched o you must wait at least 5 minutes
before restarting the appliance or re-inserting the plug into the
wall outlet�This is to allow the protection device in the compres-
sor to reset�
If the compressor fails to start correctly remove the plug and wait
for 5 minutes before you try again then the compressor should
restart normally�
The storage temperature may be aected by:
• The room temperature
• How often the door is opened
• How much food is stored
• Position of the appliance
When you set the correct temperature, all these factors men-
tioned above shall be taken into account�
Temperature indicate
In order to help you get the correct adjustment of your device, it
is equipped with a temperature gauge placed in the coldest area�
For the proper storage of food in your refrigerator and in particu-
lar in the coldest area, make sure that“OK”appears in the tem-
perature indicator�
The symbol on the left side indicates the location of
the coldest area of your refrigerator� It denes the
height of this area�
If“OK”is not displayed, the average temperature in
this area will be very high�You ought to adjust the
thermostat to a colder setting� 4948
GB GB

For every modication of your thermostat, you are supposed
to wait for the stabilization of the temperature inside the unit
before proceeding, if necessary, to a new setting� Do change the
position of the thermostat gradually and wait at least 12 hours
before re-checking�
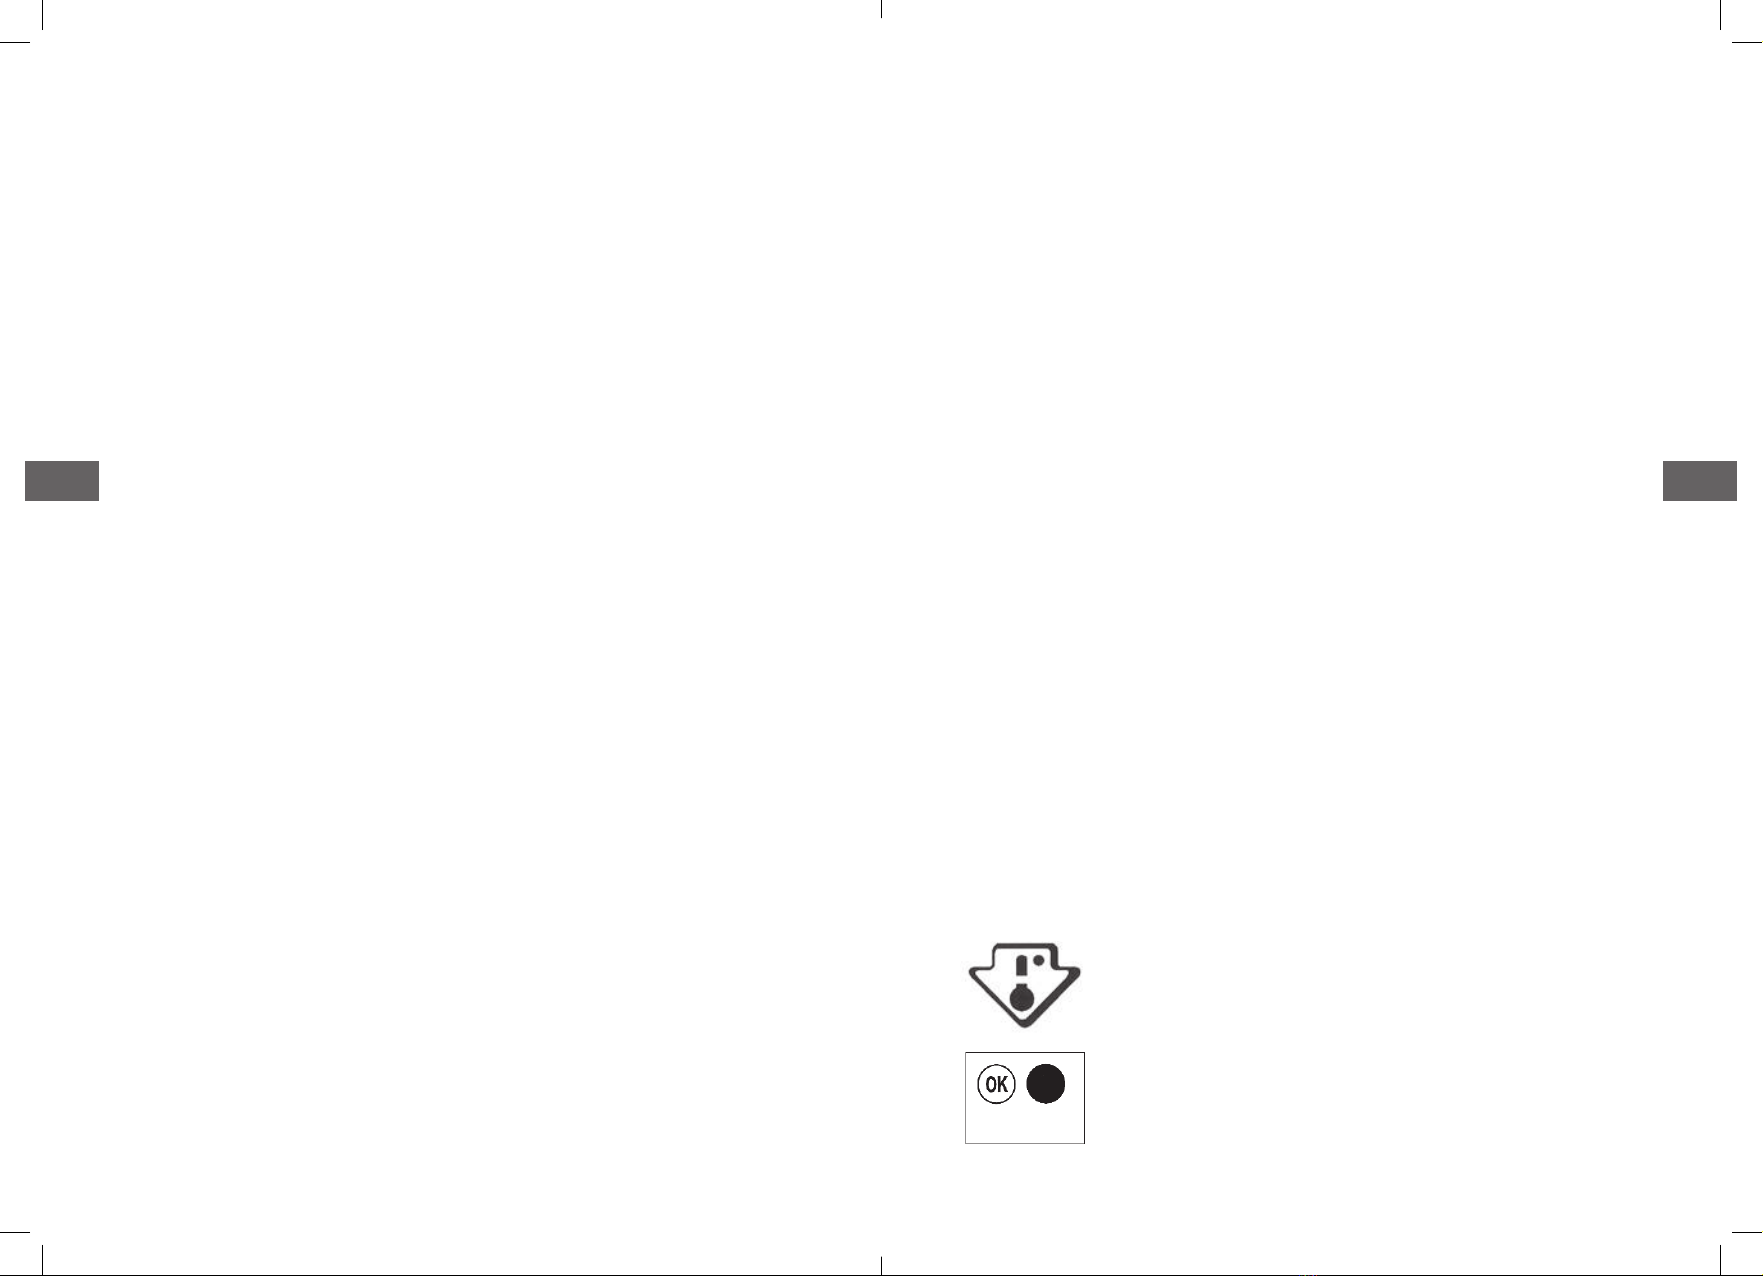
NOTE: after charging the device for fresh food or after repeated
or prolonged door openings, it is normal that the inscription“OK”
does not appear in the temperature indicator�Wait at least
12hours before readjusting the thermostat�
Shopping for frozen food
The appliance is rated as a 4 star freezer and can freeze fresh food
and store pre-frozen food�When you are buying frozen food, look
at the Storage Guidelines on the packaging�You will be able to
store each item of frozen food for the period shown against the
4star rating�
Freezing fresh food
Ensure that your freezing operations are carried out under the most
hygienic conditions as freezing alone does not improve the food�
Never put hot or even warm foodstus into the freezer�
Prior to freezing the food, food should always be covered tightly
with foil, plastic lm, placed in plastic bags or stored in airtight
containers� This will prevent food from dehydrating and to pre-
vent any strong odors of some foods transferring to milder ones�
To freeze raw meat, wrap in plastic bags or in airtight containers
and place on the lowest shelf to avoid cross contamination�
Do not allow raw meat to come into contact with cooked foods�
Fruit and vegetables should be thoroughly cleaned and placed in
the crisper�
Milk and other liquids should be sealed with lids and placed in
the bottle shelf in the door�
NOTE: The ambient temperature of the freshly stored food and
how often the door is opened aect the temperature in the
refrigerator� If required, change the thermostat temperature set-
tings�
Storing frozen food
All frozen food you purchase should be placed in the freezer
assoon as possible to avoid them from defrosting and spoiling�
All storage recommendations printed on the packaging of frozen
food by the manufacturer should always be followed�
When using the freezer for the rst time or after defrosting,
setthe thermostat knob to the maximum position for at least
2hours before introducing food to be stored, and then readjust it
to the normal position�
Energy-saving tips
Install the fridge or freezer in a cool place out of direct sunlight
and away from cookers, heaters, dishwashers or any hot air emit-
ting items�
Do not set the fridge and freezer temperatures lower than neces-
sary� Set the internal temperature within the correct range e�g�
adjust the thermostat at middle position for 4°C in the fridge
compartment and -18°C in the freezer respectively�
5150
GB GB

Let pre-cooked foods cool down before placing them in the fridge
or freezer�This will prevent the internal temperature of the fridge
from rising�
Keep your fridge full, but not over crowded, this helps reduce
“cold”air loss� Meanwhile, avoid overloading the fridge or freezer�
Try to leave about 20% free space for air circulation�
To prevent cold air escaping, limit the frequency of opening door�
When retuning from shopping, sort foods to be kept in your
fridge before opening the door� Only open the door to put food in
or take it out�
Make sure the door seal is clean and in good condition� It should
hold a piece of paper tightly in place when shut�
Defrost regularly or when ice is more than 5 mm thick�Thick ice
covering the inner sides signicantly increases energy use�
The combination of the drawers, baskets and shelves shown in
the device description is optimal for ecient energy savings�
Changing the combination proposition could alter the eciency�
Use the water dispenser
With the water dispenser, you can obtain cold water easily with-
out opening the refrigerator door�
Detach and clean water tank�
1� Hold both sides of tank to
lift out it�
2� Pull tank cover to detach it
from tank�
Tank cover
Water tank
3� Wholly clean tank balcony, cover and tank�
4� Replace water tank, cover and tank balcony�
Fill the water tank with water
1� Ensure the water tank is stable
before ll it�
2� Open the lid on tank�
3� Fill with water up to max level�
Ifit’s lled higher than this, it may
overow when the lid is closed�
CAUTION! Fix water tank to the fridge door tightly� If not,
water tank may not be operated correctly�
Using the dispenser
Place a cup underneath the water outlet and push gently against
the dispenser lever with your cup� Make sure the cup is in line
with the dispenser to prevent the water from bouncing out�
Dispenser lever
Water catcher
Lid
5352
GB GB

CAUTION! It’s normal that some drips are out of cup after you
loose the dispenser level� The water will be collected in the water
catcher� Empty the water catcher when it is full� If not, the water
catcher will overow�
Reverse door
This refrigerator can be opened either from the left or right side�
The default way of opening the door is from the right left� If you
want to open the door from the left side, please follow the in-
structions below�
Tools Required: Phillips style screwdriver / Flat blated screwdriver
/ Hexagonal spanner
• If you want to have the door swing reversed, we recommend
that you contact a qualied technician�You should only try to
reverse the door yourself if you believe that you are qualied
to do so�
• Ensure the unit is unplugged and empty�
• Adjust the two levelling feet to their highest position�
• To take the door o it is necessary to tilt the unit backwards�
You should rest the unit on something solid so that it will not
slip during the door reversing process�
• All parts removed must be saved to do the reinstallation of
the door�
• The refrigerator inclination angle should be less than 45°�
• Do not lay the unit fat as this may damage the coolant sys-
tem�
• You should rest the Appliance on something solid e�g� a chair
just below the top panel�
•We recommend that 2 people handle the unit during assembly�
Follow the following stages to reverse the door from its initial
position�
DEPOSIT DOORS
1� Unscrew top hinge cover and then screw the top hinge�Then
lift upper door and place it on a soft pad to avoid scratch and
damage�
2� Remove the pin with a screw driver and ip the hinge brack-
et�Then ret the pin to hinge bracket�
5554
GB GB

3� Remove the top left screw cover�
4� Unscrew the middle hinge�
5� Move hinge hole cover in lower door to another side�Then lift
lower door and place it on a soft pad to avoid scratch�
6� Move the hinge hole covers from the left side to right side�
7� Unscrew bottom hinge�Then remove adjustable feet from
both sides�
8� Unscrew and remove the bottom hinge pin, replace it by the
provided spare bracket and x it rmly�
unscrew screw
5756
GB GB

9� Ret the bracket tting the bottom hinge pin� Replace both
adjustable feet�Transfer the lower door to the property posi-
tion�
10� Make the middle hinge reverse direction 180°C, the transfer
it to the left property position� Make the middle hinge pin in
the upper hole of the lower door, then tight the bolts�
11� Place the upper door back on� Ensure the door is aligned
horizontally and vertically so that the seal are closed on all
side before nally tightening the top hinge�Then insert the
top hinge and screw it to the top of until and then x hinge
cover (in accessary bag) by screw�
12� Fix the screw cover�
5958
GB GB

Maintenance
FRIDGE DEFROSTING
The fridge defrosting process is carried out automatically every
time the compressor stops�
The defrost water is automatically routed to the drain port and
into a tray placed on the top of the compressor to the rear of the
appliance from which it evaporates�
Make sure the drain port on the fridge at the rear of the appliance
is kept clear�
FREEZER DEFROSTING
Frost will accumulate inside the freezer depending upon the
length of time during which the door is left open or the amount
of moisture introduced�
It is essential to ensure that no frost or ice is allowed to form at
places where it will aect the close tting of the door seal�
This might allow air to penetrate the cabinet, thus encouraging
continuous running of the compressor�
Thin frost formation is quite soft and can be removed with
abrush or plastic scraper� Do not use metal or sharp scrapers,
mechanical devices or other means to accelerate the defrosting
process� Remove all dislodged frost from the cabinet oor�
For the removal of thin frost it is not necessary to switch o the
appliance�
For the removal of heavy ice deposits disconnect the appliance
from the mains supply and empty the contents into cardboard
boxes and wrap in thick blankets or layers of paper to keep them
cold� Defrosting will be most eective if carried out when the
freezer is empty, and it should be carried out as quickly as possible�
An increase in temperature of frozen food packages during de-
frosting will shorten the storage life� Provided that the contents
are well wrapped and placed in a cool area, they should keep for
several hours�
Examine the contents when replacing them in the freezer and if
some of the packages have thawed out�
After defrosting is nished clean the inside with a solution of warm
water with a little bicarbonate of soda and then dry thoroughly�
Wash all removable parts in the same way and reassemble�
Reconnect the appliance to the mains supply and leave for 2 to
3hours on setting number 7 before introducing the food back into
the freezer and setting the thermostat to your normal setting�
NOISE FROM YOUR APPLIANCE
You may notice some rather unusual noises�The noises are caused
by circulation of refrigerant in the cooling system� It has become
more pronounced since the introduction of CFC free gases�This is
not a fault and will not aect the performance of your fridge�
6160
GB GB

PROLONGED OFF PERIODS
If the appliance is not in use for a long period of time, proceed as
follows:
1� Disconnect from the mains supply�
2� Clean and dry the inside (see“Cleaning and maintenance”)�
3� Leave the door open to prevent any unpleasant smells from
building up while the appliance is not in use�
NOTES FOR USE
Do clean and defrost your appliance regularly�
Do check contents of the compartments every so often�
Do store commercially prepared food in accordance with the
instructions given on the packets�
Do choose high quality fresh food and be sure it is thoroughly
clean before freezing it�
Do wrap all food in food quality polythene bags or air tight con-
tainers and make sure any air is excluded�
Do Not store poisonous or any dangerous substances in your
freezer� It is designed for the freezing of edible foodstus only�
Do Not consume food which has been frozen for an excessive
length of time�
Do Not leave the door open for long periods, as this will make the
appliance more costly to run and cause excessive ice formation�
Do Not use sharp objects such as knives to remove the ice from
the appliance� Only use a plastic scraper�
Do Not put hot food into the appliance� Let it cool down to room
temperature�
Do Not put liquid-lled bottles or sealed cans containing carbon-
ated liquids into the freezer as they may burst�
Do Not give children ice-cream and water ices direct from the
freezer as the low temperature may cause‘freezer burns’on the lips�
Do Not try to keep frozen food which has thawed; it should be
eaten within 24 hours or cooked and re-frozen�
CHANGING THE LIGHT BULB
1� Set the thermostat knob to the o position (0) then unplug
the appliance�
2� Remove the food�
3� Push upward to remove the light shield�
4� Unscrew the bulb and screw a new bulb of the same shape
same power (230V-10W E14 base)�
5� Attach the light shield�
Cleaning
6362
GB GB

’
GB GB
6564

Troubleshooting
Before calling for service please check the following�
THE APPLIANCE IS NOT WORKING.
Check the plug is inserted correctly into the mains socket�
Check there is power to the mains socket by plugging another
appliance in, if the other appliance do not work either, check the
fuse of the socket�
THE APPLIANCE IS NOISY WHEN OPERATING.
Check the appliance is level and it is not in contact with another
appliance or kitchen furniture�
THE APPLIANCE DOES NOT COOL SUFFICIENTLY.
If the door has been opened too often or it has been left open for a
while it will take time for the appliance to reach its set temperature�
Check the airow over the rear of the appliance has not been
reduced due to insucient clearance�
Check if a large quantity of fresh food has been introduced�
THE WATER FLOW FROM THE WATER DISPENSER IS NOT FLU-
ENT ENOUGH
If the water ow from the water dispenser is too small or not
uent enough, please follow below step to add a gasket for the
water tank�
6766
GBGB

Accessories
69
68
GB GB
1. Uninstall the water tank
2. Take the rubber gasket from the material bag and install it
on the outlet of the dispenser nozzle.
3. Reinstall the water tank
Energy label
FR/ENG manual
Rubber gasket for water tank
Kit for reversing the door
Disposal
The refrigerating gas contained in the circuit of this appliance is
isobutane (R600a); it causes a low level of pollution but is inam-
mable� Please contact your local disposal department for advice
on the correct method of disposal�
Removal devices household uses
The European directive 2012/19/EU onWaste Electrical and
Electronic Equipment (WEEE), requires that old household
electrical appliances must not be disposed of in the normal
unsorted municipal waste stream� Old appliances must be
collected separately in order to optimize the recovery and recy-
cling of the materials they contain, and reduce the impact on
human health and the environment�
The crossed out“wheeled bin”symbol on the product reminds
you of your obligation, that when you dispose of the appliance, it
must be separately collected�
Consumers should contact their local authority or retailer for in-
formation concerning the correct disposal of their old appliance�
Table of contents
Other FAR Refrigerator manuals