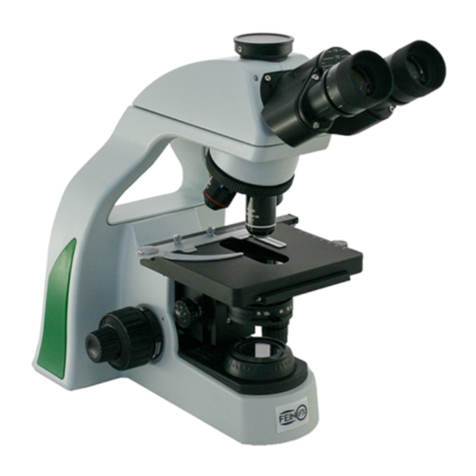
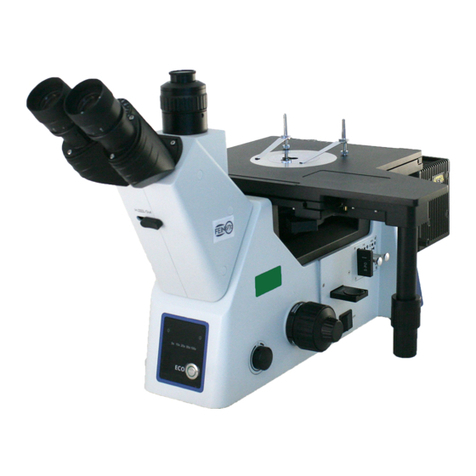
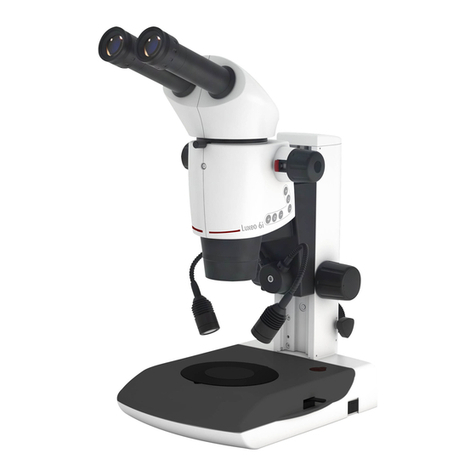
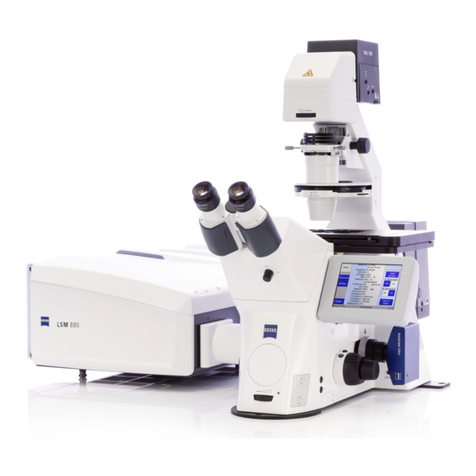
Fein Optic FZ12 User manual

Fein
FZ12 Microscope User’s Manual
info@feinoptic.com

1Fein
FZ12 Microscope Components
Beam Splitter
Fine Focusing
Knob
Main Objective
Aperture Diaphragm
Adjusting Knob
Coarse
Focusing Knob
BF/DF Reector Knob
Zoom Knob
Tension Adjustment
Knob
FZ12-BFDF

2
Fein
FZ12 Microscope Components
Lock Knob
Focus Holder
Microscope Body
Trinocular Head
Eyepieces
Stage Clips
Stage Plate
FZ12-BFDF

3Fein
FZ12-ILB
FZ12 Microscope Components
Trinocular Head
Eyepieces
Focus Holder
Fine Focusing
Knob
Coarse
Focusing Knob
Aperture Diaphragm
Adjusting Knob
LCD Display Intensity
and Color Temperature
Color Temperature
Control Stage Clips

4
Fein
FZ12 Microscope Components
Zoom Knob
Click Stop
Rheostat Control
Power On/O
Main Objective
FZ12-ILB
Ultra Thin base
Microscope Head

FZ12 Microscope Assembly
5Fein
3
5
67
1
2
8
9
4

1
2
3
FZ12 Microscope Assembly
6
Fein
Assemble the Microscope Body
Remove the decorative cover (1) of the focus
bracket. Loosen the M4 inner hexagon screw with a
M4 inner hexagon Allen key.
Match the dovetail interface (3) of the microscope
body with the dovetail groove (2) of the focus
bracket group, and insert it from top to bottom in
the direction as shown in the gure.
Tighten the M4 inner hexagon screw on the focus
bracket group with a M4 inner hexagon Allen key.
Replace the decorative cover (1).
Assemble the Objective
Attach the objective (2) into the bottom of the
microscope body (1) by rotating the objective until
objective is fully installed.
Assemble the Focusing Bracket
Loosen the lock knob (1) of the focusing bracket
group. Insert the hole (2) of focusing bracket group
into the column (3), until the focusing bracket group is
in the lowest position. Then tighten the lock knob (1)
to prevent the microscope from turning.
Ensure the focusing bracket is assembled
correctly to prevent the microscope from
tipping over.
1
2
3
2
1

FZ12 Microscope Assembly
7Fein
Assemble the Microscope Head
Loosen the head set screw (1) fully with a M4 inner
hexagon Allen key.
With the microscope head facing forward, insert the
bottom of the microscope head into the top hole
of the microscope body matching the orientation
groove (2) with the orientation pin (3) of the body.
Secure the microscope head to the microscope body
with the set screw.
Assemble the Eyepieces
Remove the eyepiece tube covers (1).
Insert the eyepieces (3) into the eyepiece
tube until the bottom of the eyepieces
touches the bottom of the eyepiece tube.
Secure the eyepieces with the set screws (2).
Assemble the Stage Plate
Place the stage plate into the well space on
the microscope stand.
To remove the stage plate, press down with
ngertips on one edge of the stage plate.
This will result in the other side of the stage
plate lifting, allowing it to be removed.
2
3
1
1
32
Assemble the Reticle
Unscrew the pressure ring from the eyepiece.
Clean the reticle, then install it into the
pressure ring with the scaled surface upward.
Screw the pressure ring with reticle into the
eyepiece until tight.
To remove the reticle, rst unscrew the
pressure ring from eyepiece, then remove
the reticle.
Scaled Surface
Screw-in
Screw-out

Assemble the Stage Clips
Insert the stage clips (1) into the two
holes on the base of the microscope
(2).
FZ12 Microscope Assembly
8
Fein
Adjust the Microscope Body Position
Loosen the lock knob (1) and rotate the
microscope body and the focusing bracket
left and right. Match the center of the zoom
body with the center of the stage plate.
Secure in place with the lock knob.
Assembling the LED Light Source
Make sure the main switch is at the“O” (o)
position.
Insert one end of the optical ber (1) into
the inner hole (2) of the power supply box
aligning the at surface with the lock screw
(3). Secure the optical ber in place with the
lock screw (3).
Insert the other end of the optical ber (1)
into the hole of the base (4), then secure in
place with the lock screw.
Insert one end of the power adapter (6) into
the inner hole (5) of the power supply box.
Insert one end of the power cable (7) into
the corresponding hole of the power adapter
(6), and the other end into the power supply
socket.
2
1
1
2
5
2
4
1
7
6
3

Before Use:
9Fein
Do no shake or drop the microscope
Do not expose the microscope to direct
sun, high temperatures, dust, or damp
environments. Use a at work surface. Indoor
operating temp 32°- 104°F (0°- 40°C), max
relative humidity of 85%.
When moving the microscope use both hands, holding
by the base and the back of the microscope.
Do not adjust the right and left focusing knob in
opposite directions simultaneously.
After use, cover the microscope with a dust cover and power o the light.
For a clear image, ensure you do not leave ngerprints
on the eyepieces or auxiliary lenses.
Wipe lenses gently with a soft tissue. Wipe o ngerprints from lens surfaces with
lens paper using a small amount of microscope cleaning solution or a 3:7 mixture
of alcohol and ether or dimethyl benzene. (Alcohol and ether are ammable, do
not place these chemicals near re and clean in a ventilated area.)
When cleaning other surfaces of the microscope use water only. A basic detergent
can be used to clean the surface if necessary, but ensure that all the detergent is
removed from the frame with a clean, damp cloth prior to drying the surface.

FZ12 Microscope Operation:
10
Fein
Set Illumination:
Plug in the LED light source and turn on the
main power switch to “ON”.
Adjust the illumination intensity knob (2)
until the illumination is comfortable for
observation. Rotate the knob clockwise
to increase the brightness and rotate
counterclockwise to reduce the brightness.
Adjust the Reector on BFDF Stand:
The reector has two surfaces, a mirrored surface
and a sandblasted aluminum surface. Both
surfaces are reective with the mirrored surface
being more reective.
Adjusting the reector knob changes which
reective surface is in the light path. The reector
knob moves forward and backward to achieve
dierent lighting eects.
12
1
Adjust the Focusing Tension:
If the handle is very heavy when coarse focusing
or the specimen leaves the focus plane soon
after focusing, or the stage declines itself, these
problems can be solved by adjusting the tension
adjustment ring (1).
Rotate the tension adjustment ring (1) according
to the arrow direction in the gure, to tighten the
focusing system; rotate the tension adjustment
ring (1) in the opposite direction to loosen the
focusing system.
1
2
Adjust Rheostat / Color Temperature on ILB Stand
The illumination intensity can be controlled by
turning the Rheostat dial.
Adjust the color temperature by inserting the color
temperature control tool and rotating to desired
setting. LCD display will provide a read out of color
temperature and illumination intensity.
1
2

FZ12 Microscope Operation:
11 Fein
Adjusting Diopters:
Turn the zoom knob to maximum
magnication. Adjust both diopter
adjustment rings to zero. Look through
the right eyepiece. If the image is not clear,
turn the focusing knob until it is clear. Turn
the zoom knob to minimum magnication.
Look through the right eyepiece. If the
image is not clear, turn the eyepiece diopter
adjustment until it is clear. Look through the
left eyepiece. If the image is not clear adjust
the left diopter adjustment to get a clear
image.
Left diopter
adjusting ring
Right diopter
adjusting ring
Adjusting the Interpupillary Distance:
Hold the left and right prism boxes and
rotate them according to the arrowhead
pointed as shown in the gure to the
right. Rotate until viewing is comfortable.
Adjustment rage: 50 - 76mm.
Adjusting the Angel of Observation Head:
Using both hands to move the binocular
components up or down to position the
eyepieces for comfortable viewing.

FZ12 Microscope Operation:
12
Fein
Right diopter
adjusting ring Engage Detents:
Detents are stop positions at every zoom
magnication value. When the detents
are engaged, there will be a “click” when
the zoom has been positioned in a zoom
magnication. Detents are ideal when the
application requires accurate repeatability.
Insert the Allen wrench into the positioning
screw (1). Rotate the positioning screw
clockwise to engage the detent function.
Rotate the positioning screw counter-
clockwise to disengage the detent function.
* Do not over rotate the positioning screw
as it will damage the hosing and internal
mechanisms of the microscope.
Click
Click Stop
1
Using the Eye-cups:
The eyepieces feature rubber eye cups that
can be used if desired during observation. To
use the eye cups, roll the edges of the rubber
eye cup up. Fold the edges downward as the
arrows indicate if not in use.
Adjust the Aperture Diaphragm:
Use the aperture diaphragm adjustment
pole to adjust the aperture diaphragm.
Position the adjustment pole to the left
to enlarge the aperture diaphragm and
position the adjustment pole to the right
to decrease the aperture diaphragm.
1

FZ12 Microscope Operation:
13 Fein
Selecting the Light Path:
When the beam splitter pole (1) is in the
innermost position, the light is directed to
the binocular head for observation through
the eyepieces. When the beam splitter pole
is in the outermost position, the light is
directed to the trinocular tube which is used
for observation using a camera.
Assembling the C-Mount Adapter:
Loosen the lock screw (1) on the trinocular tube
and remove the dust cap (2). Remove the two
dust caps (3) on the c-mount adapter. Insert the
c-mount adapter into the trinocular tube and
secure in place with the lock screw (1). Connect
the camera to the c-mount adapter. Ensure
the beam splitter pole (4) is in the outermost
position for observation using the trinocular
tube. If the image is not clear, loosen the lock
screw (5) on the c-mount adapter and rotate
the focusing portion of the c-mount (6) until the
image is clear. Once the image is clear, tighten
the lock screw (5).
Assemble and Use the Polarizer Device:
Remove the stage plate (2) from the base
and insert the polarizer (1) onto the base.
Attach the analyzer (3) to the outside
diameter of the main objective (4) and
secure it in place with the lock screw. The
analyzer (5) is adjustable by 360°. Rotate the
analyzer for adjustment.
1
1
2
3
5
6
4
1
3
2
4
5

FZ12 Microscope Trouble Shooting
14
Fein
TROUBLE POSSIBLE CAUSE SOLUTION
Bulb does not turn on. Power cord is not plugged in. Plug in power cord.
Power switch is not turned on. Turn on power switch.
Bulb turns on, but eld
of view is dark. Rheostat is too low. Increase light intensity by
rotating rheostat control.
Dust or dirt is visible in
the eld of view.
Dirt or dust is on the specimen. Clean the sample.
Dirt or dust on the eyepieces. Clean the eyepieces.
Dirt or dust on the stage. Clean the stage.
Image has glare (hot
spots).
Aperture diaphragm is closed down too much. Open the aperture diaphragm
more.
Image is not sharp,
contrast is poor and
details are poorly visible.
Objective lens is dirty. Clean objective lens.
Dirt or dust on eyepieces. Clean eyepieces.
Field of view in one eye
does not match that of
the other.
Interpupillary distance has not been set. Adjust interpupillary distance.
Incorrect diopter adjustment setting. Adjust the diopter.
Coarse / ne adjustment
knobs will not rotate
easily or at all.
Tension adjustment ring is set too tight. Adjust tension adjustment.
Image is not appearing
through eyepieces or
camera
Beam splitter is not in the proper position. Check the position of the beam
splitter.
Image is not clear on
monitor when focusing
microscope.
C-Mount adapter is not focused. Focus the C-Mount adapter.
Microscope body falls
once focused and image
falls out of focus.
Focusing knobs are too loose. Tighten focusing knob.
info@feinoptic.com
Table of contents
Other Fein Optic Microscope manuals
