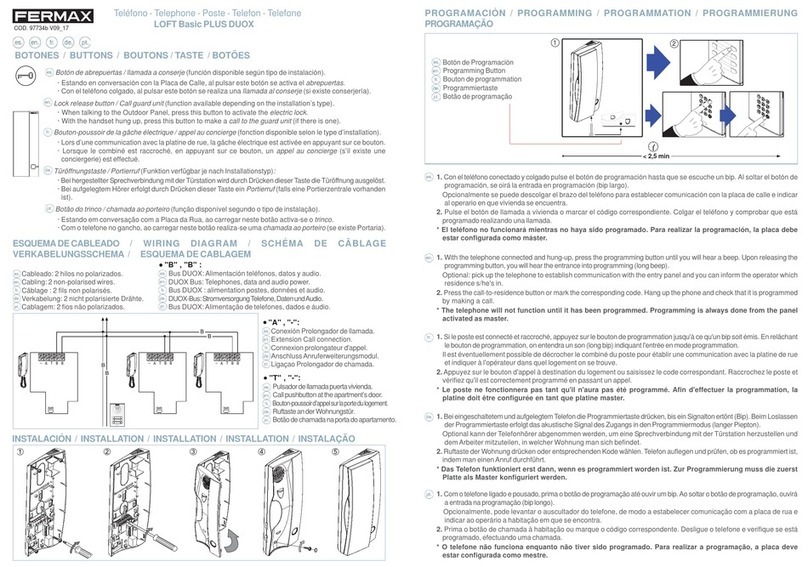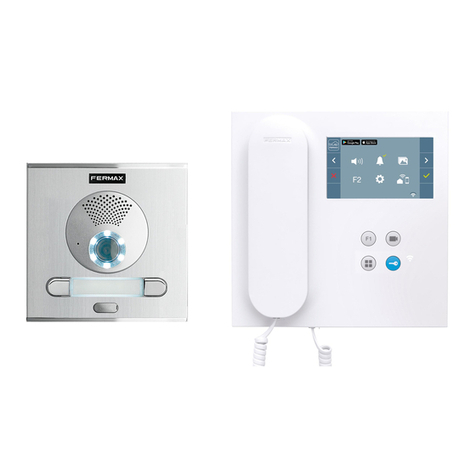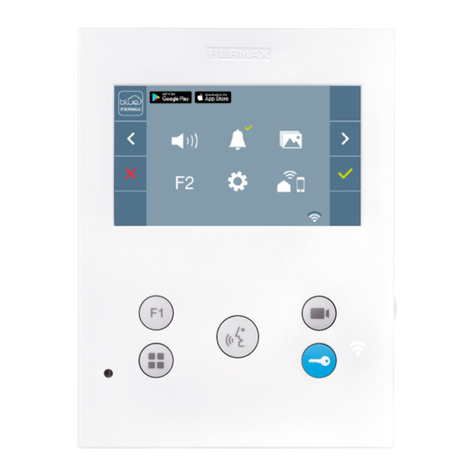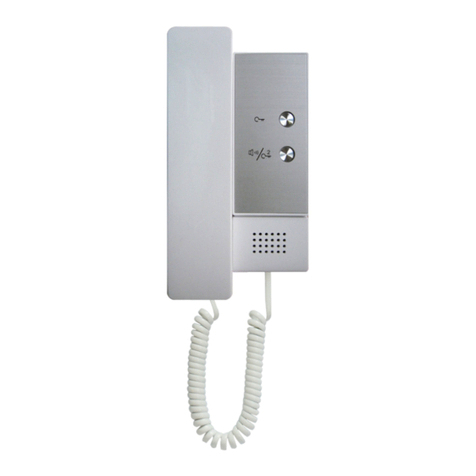
¡NO OLVIDE PROGRAMAR EL TELÉFONOAL FINALIZAR LA INSTALACIÓN!
Para la programación del sistema es necesaria la ayuda de otra persona que permanezca en la Placa de Calle (placa de calle principal en caso
de 2 accesos).
¡DON’T FORGET TO PROGRAM THE TELEPHONE ONCE IT HAS BEEN INSTALLED!
To program the system, it is recommended to have an assistant who stays at the Outdoor Panel (main outdoor panel in systems with 2
entrances).
UNE FOIS LE POSTE INSTALLE, N’OUBLIEZ PAS DE LE PROGRAMMER!
Pour programmer le système, l’aide d’une deuxième personne est nécessaire. Celle-ci restera devant la Platine de Rue (platine de rue
principale dans le cas de 2 accès).
VERGESSEN SIE NICHT, DAS TELEFON ZU PROGRAMMIEREN, SOBALD ES INSTALLIERT WORDEN IST!
Um das System zu programmieren, braucht man einen Assistenten, der bei der Türstation bleibt, (Haupttürstation in Systemen mit 2
Eingängen).
НЕ ЗАБУДЬТЕ ЗАПРОГРАММИРОВАТЬ ТРУБКУ ПОСЛЕ ЕЕ ПОДКЛЮЧЕНИЯ!
Программирование должно выполняться двумя людьми, один из них должен находиться рядом с вызывной панелью (у главной наружной
панели при наличии 2 входов в жилье).
RICORDARE DI PROGRAMMARE IL TELEFONO A INSTALLAZIONE TERMINATA!
Per la programmazione del sistema, è necessario avvalersi dell'aiuto di una seconda persona che si occuperà della piastra da strada
(piastra da strada principale, in caso di 2 accessi).
PROGRAMACIÓN / PROGRAMMING / PROGRAMMATION / PROGRAMMIERUNG /
ПРОГРАММИРОВАНИЕ / PROGRAMMAZIONE
HIGH RESOLUTION
CCD CAMERA
PAN & TILT
N PG N PG
1.Coloque el PUENTE DE PROGRAMACIÓN en la posición ‘PG’ (ver detalle de ubicación). Automáticamente, se establecerá comunicación con la
Placa de Calle.
2.Indique a su ayudante que presione el pulsador que asignará a ese teléfono (sistemas ADS CITY y KITS DIGITALES) o marque el código de vivienda
y pulse la tecla «campana» (sistema ADS DIRECT).
3.Coloque el puente en la posición N.Verifique la programación indicando a su ayudante que realice una llamada, cuelgue el teléfono para poder
recibirla.
Español
Español
English
English
1. Put the PROGRAMMING JUMPER into ‘PG’ position (see placement detail). Automatically, speech with the Outdoor Panel will be set
2.Tell your assistant to press the push-button you will assign to that telephone (ADS CITY or KIT DIGITAL systems) or dial the apartment code and
press the «bell» key (ADS DIRECT system).
3. Put the jumper into position N.Tell your assistant to make a call and hang up the telephone in order to check the programming.
1.Placez le PONTET DE PROGR. sur la position ‘PG’ (voir schéma). Il s’établira communication avec la platine de rue automatiquement.
2.Indiquez à votre assistant d’appeler le logement en pressant sur le bouton-poussoir correspondant à ce logement (systèmes ADS CITY et KITS
DIGITALES) ou bien composez le code du logement puis appuyez sur»cloche»(système ADS DIRECT) minutes se sont écoulées depuis que l’on a
appuyé sur le bouton «PROG»; le poste a été raccroché.
3. Placez le pontet sur la position N.Testez la programmation en indiquant à votre collègue d’effectuer un appel, raccrochez pour pouvoir le recevoir.
Français
Français
1.Stecken Sie die STECKBRÜCKE FÜR DIE PROGRAMMIERUNG auf ‘PG’ um (siehe Abbildung). Dadurch wird auto-matisch eine Verbindung zur
Türstation hergestellt.
2.Teilen Sie der Hilfsperson mit, dass sie die Drucktaste drückt, die Sie diesem Telefon zuweisen wollen (für das System ADS CITY sowie die
DIGITAL-SETS) oder wählen Sie den Wohungscode und drücken Sie anschließend die Klingeltaste «Glocke» (System ADS DIRECT).
3.Stecken Sie die Steckbrücke auf Num. Legen Sie den Hörer auf und bitten Sie Ihren Gehilfen einen Anruf zu tätigen um die Programmierung zu testen.
Deu sch
Deu sch
РУССКИЙ
CARACTERÍSTICAS TÉCNICAS / TECHNICAL FEATURES / CARACTÉRISTIQUES TECHNIQUES /
TECHNISCHE DATEN / ТЕХНИЧЕСКИЕ ХАРАКТЕРИСТИКИ / SPECIFICHE TECNICHE
Español
Español
Connections
Using screw connec or
Power supply
Da a & Audio
Ground
Power supply 16 ¸ 20 Vdc
Standby consumption 3 ¸ 5 mA
Call consumption 130 mA
Electronic call 8 ¸ 12 Vpp
Speaker 1.75" 16 W
Microphone Elec re
Dynamic Resis . 50 W
Working Temperature 0ºC ¸ +50ºC
English
English
+
L
-
Connexions
Connexion par bornier
Posi if alimen a ion
Données e Audio
Néga if alimen a ion
Alimentation 16 ¸ 20 Vdc
Consommation au repos 3 ¸ 5 mA
Consommation de l'appel 130 mA
Appel lectronique 8 ¸ 12 Vpp
Haut-parleur 1.75" 16 W
Microphone Elec re
Resis . dynamique 50 W
Temp rature de fonctionnement 0ºC ¸ +50ºC
Français
Français
+
L
-
Verbindungen
Anschluss mi Verbindungss ecker
Posi ive Versorgung
Da ei und Audio
Nega ive Versorgung
Versorgung 16 ¸ 20 Vdc
Estrom Verbrauch Ruhestand 3 ¸ 5 mA
Verbrauch in Betrieb 130 mA
Elektronischer Anruf 8 ¸ 12 Vpp
Sprecher 1.75" 16 W
Mikrophon Elec re
Dynamischer Widers and 50 W
Betriebstemperatur 0ºC ¸ +50ºC
Deu sch
Deu sch
+
L
-
Italiano
Italiano
Alimentación 16 ÷20 Vdc
Consumo en reposo 3 ÷5 mA
Consumo de la llamada 130 mA
Llamada electrónica 8 ÷ 12 Vpp
Altavoz 1.75" 16 Ω
Micrófono Electret
Resist. dinámica 50 Ω
Temperatura de funcionamiento 0ºC ÷ +50ºC
Conexiones
Conexión mediante regleta
Positivo alimentación
Datos y Audio
Negativo alimentación (masa)
+
L
-
Alimentazione 16 ÷20 Vdc
Consumo a riposo 3 ÷5 mA
Consumo in chiamata 130 mA
Chiamata elettronica 8 ÷ 12 Vpp
Altoparlante 1.75" 16 Ω
Microfono Electret
Resistenza dinamica 50 Ω
Temperatura di funzionamento 0ºC ÷ +50ºC
Collegamenti
Collegamento a squadra
Positivo alimentazione
Dati e audio
Negativo alimentazione (messa a terra)
+
L
-
NOTA / REMARK / REMARQUE / HINWIEIS / ПРИМЕЧАНИЕ / NOTA
- La llamada a conserjería se realiza pulsando el botón de abrepuertas cuando el teléfono está inactivo.
- En instalaciones con conserjería, no es posible programar los teléfonos desde la placa de calle, estando la conserjería en modo dia.
- Todo el proceso de programación puede realizarse con el teléfono descolgado, en este caso no escucharemos los sonidos de confirmación. Si se
cuelga durante la programación se abortará si aún no había finalizado.
- You can call to the guard unit when there is no audio communication, by pressing the door release button.
- In installations with guard unit, it is not possible to program the telephones from the outdoor panel, when the guard unit is in day mode.
- You can program the telephone if it is hung up. If the telephone is programmed being hooked off, the programming will be aborted if you hang up it.
English
English
- Pour appeler la conciergerie, il faut appuyer sur le bouton d’ouverture de la porte lorsque le poste est au repos.
- Dans les installations avec concergierie, il est impossible de programmer les postes depuis la platine de rue si la conciergerie est en mode jour.
- Vous pouvez réaliser toute la programmation avec le poste décroché. Dans ce cas, vous n’entendrez pas les bips de confirmation. Si vous
raccrochez en cours de programmation, la programmation sera annulée si elle n’était pas encore terminée.
Français
Français
Deu sch
Deu sch
- Wenn keine Audio-Kommunikation vorhanden ist, können Sie durch betätigen der Türroffnertaste die Portierzentrale anrufen.
- Ist die Portierzentrale auf Tagesmodus gestelt, ist es bei der Installation nicht möglich, die Telefone vom Außenpaneel zu programmieren.
- Sie können die Telefone nur programmierung, wenn sie aufgelegt sind. Sollte das nicht der Fall sein, wird die Programmierung gelöscht sobald das
Telefon wieder aufgelegt wird.
РУССКИЙ
Italiano
1. Установите ИНСТРУМЕНТ ПРОГРАММИРОВАНИЯ в положение ‘PG’ (см. расположение). Автоматически установится связь с
наружной вызывной панелью.
2. Попросите Вашего помощника нажать на панели кнопку вызова, заданную для работы с этой трубкой (системы ADS CITY и
КОМПЛЕКТЫ DIGITAL), или чтобы он ввел код квартиры и нажал кнопку "звонка" (система ADS DIRECT).
3. Установите джампер в положение N. Проверьте программирование трубки, повесив ее и попросив помощника нажать кнопку
вызова на наружной панели.
1. Commutare il PONTICELLO DI PROGRAMMAZIONE in posizione "PG" (vedere schema di posizionamento). A questo punto, viene
automaticamente stabilita la comunicazione con la piastra da strada.
2. Indicare all’altro operatore di premere il pulsante assegnato al telefono (sistemi ADS CITY e KIT DIGITALI) o di digitare il codice dell’abitazione, quindi
di premere il pulsante "campanello" (sistemaADS DIRECT).
3. Commutare il ponticello in posizione N. Verificare la programmazione, indicando all’altro operatore di realizzare una chiamata, quindi alzare il
telefono per rispondere.
- La chiamata in portineria si realizza premendo il pulsante dell’apriporte con il telefono disattivato.
- In caso di installazioni con portineria, non è possibile programmare i telefoni dalla piastra di strada, bensì direttamente dalla portineria in
modalità giorno.
- L’intera procedura di programmazione si realizza con il telefono attaccato, in tal caso non si udirà alcun suono di conferma. Se si alza il
telefono in fase di programmazione, la procedura sarà automaticamente terminata.
- При отсутствии разговора звонок в помещение консьержа осуществляется нажатием кнопки открытия двери.
- В конфигурациях с консьержем нельзя выполнять программирование абонентских трубок с вызывной панели, если помещение
консьержа находится в режиме дневной работы.
- Вся операция программирования может выполняться при снятой трубке, в этом случае будут отсутствовать сигналы
подтверждения. Если повесить трубку до окончания программирования, то операция будет отменена.
Español
Español
РУССКИЙ
Питание 16 ÷20В постоянного тока
Потребление в режиме ожидания 3 ÷5 mA
Потребление при вызове 130 mA
Электронный вызов 8 ÷ 12 Vpp
Динамик 1.75" 16 Ω
Микрофон Электрет
Резонансное сопротивление 50 Ω
Рабочая температура 0ºC ÷ +50ºC
PUENTE DE PROGRAMACIÓN
PROGRAMMING JUMPER
PONTET DE SELECTION DE TONALITE
STECKBRÜCKE FÜR DIE RUFTONWAHL
ИНСТРУМЕНТ ПРОГРАММИРОВАНИЯ
PONTICELLO DI PROGRAMMAZIONE
Подключение
Подключение при помощи контактной колодки
Питание
Данные и аудио
Заземление (масса)
+
L
-


