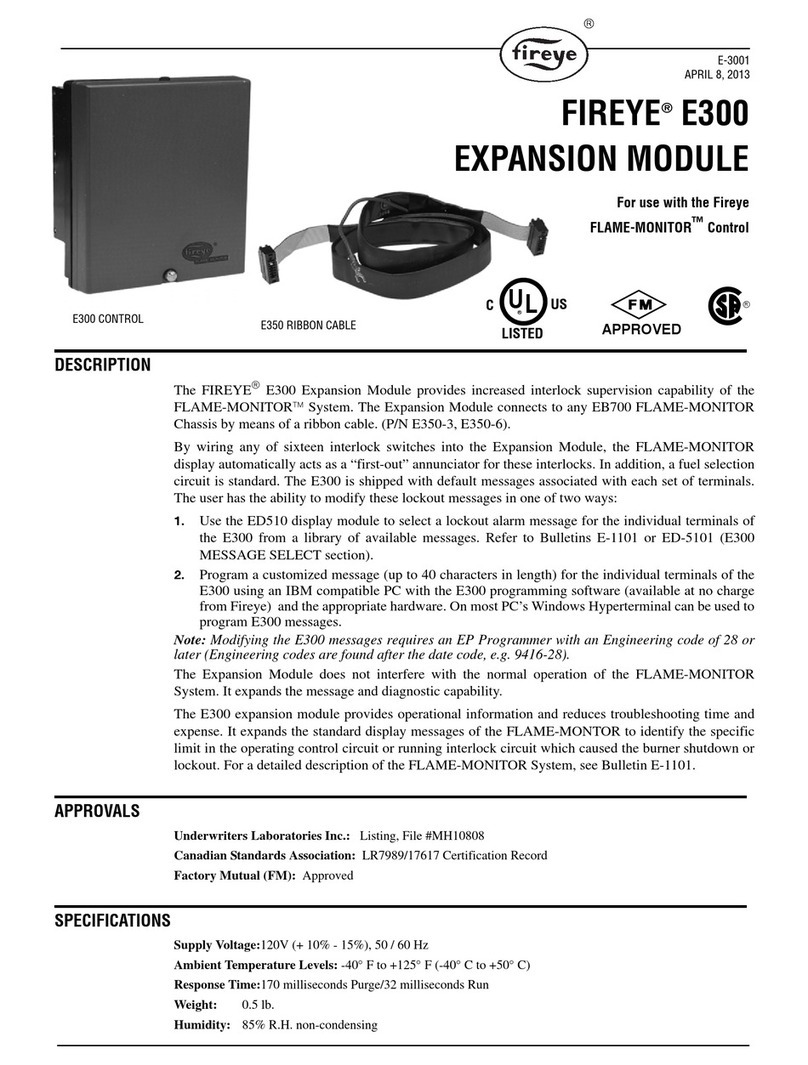
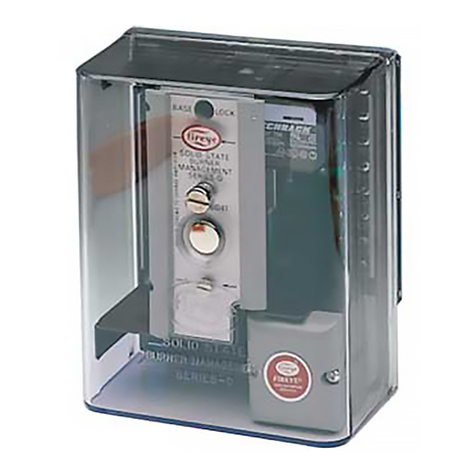
Fireye MBCE-110UV Series User manual

1
DESCRIPTION
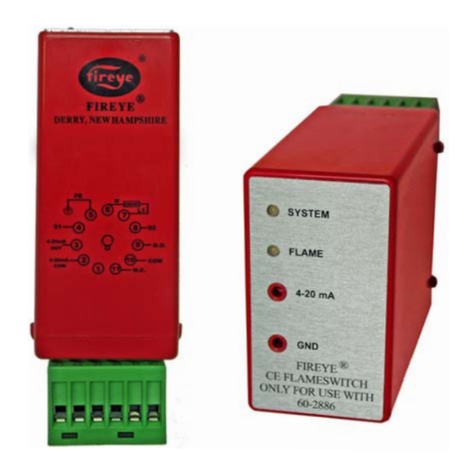
The MBCE-110/230UV modules provide visual indication and electrical outputs that
signal the user regarding flame presence in a combustion chamber. The module uses
Fireye UV scanners to sense flame presence independently or as components in a
burner management system. Many operational characteristics are provided including:
• CE certified
• Self-contained: 110 VAC, 50/60 Hz: MBCE-110UV-1, MBCE-110UV-2
MBCE-110UV-3, MBCE-110UV-4
230 VAC, 50/60 Hz: MBCE-230UV-1, MBCE-230UV-3
• UV scanner compatible*
• Flame ON/OFF LED indicator
• 4-20mA output permits direct reading of flame signal strength
• Uses CE certified 11-pin relay base
• Panel surface or DIN-rail mounting
• Flame pull-in threshold adjustment
The module provides a cost effective method of monitoring flames using UV sensing.
The MBCE-UV is intended for non-permanent operation (burner must be recycled at
least once every 24 hours). The MBCE-UV is ideally suited for flame detection in nat-
ural gas applications; however, it can be used for flame detection in propane and light
fuel oil applications.
Check with Fireye for more details by contacting your local distributor or by check-
ing the Fireye home page at: www.fireye.com.
NOTE: When the MBCE-110/230UV modules are used, additional means must be furnished to provide
those functions usually provided by flame safeguard control systems to meet local regulations (i.e.:
safe start check, valve closure, starting and running interlocks, safety timings, etc.).
The MBCE-UV shall be powered continuously from a separate source other than the Burner control
per EN 298. * see ordering information
NOTICE: When Fireye products are combined with equipment manufactured by others and/
or integrated into systems designed or manufactured by others, the Fireye warranty, as stated
in its General Terms and Conditions of Sale, pertains only to the Fireye products and not to any
other equipment or to the combined system or its overall performance.
MBCE-110/230UV
Flame Sensor
Module
MBCE-1002
FEBRUARY 3, 2017

2
ORDERING INFORMATION
PRODUCT SPECIFICATIONS
Supply Voltage:MBCE-110UV - 110 VAC (+20%, -15%), 50/60 Hz
(@ 0.02 Amp consumption)
MBCE-230UV - 230 VAC (+10%, -15%), 50/60 Hz
(@ 0.01 Amp consumption)
Flame Relay Output: SPDT 1 Amp Resistive @ 110VAC, 1 Amp @ 30VDC
SPDT 1 Amp Resistive @ 230VAC, 1 Amp @ 30VDC
Flame Failure Response Time: 1 or 3 seconds-depending on part number (-1, -3) for CE
1, 2, 3, or 4 seconds-depending on part number (-1, -2, -3, -4) for UL
Operating Temperature:-40°F to 150°F (- 40°C to 65°C)
Storage Temperature: - 58°F to 185°F (- 50°C to 85°C)
Humidity: 85% RH (max), non-condensing.
Agency Approvals: MBCE-110UV UL
MBCE-230UV CE / EN298:2012
Shipping Weight: 1 lb (.5 Kg)
UV Scanner: S1 = Terminal 4
S2 = Terminal 8
UV tube excitation Terminals 4 and 8, +300 VDC (max)
IP-Rating IP-20
Test Jacks: Standby/No flame 4mA
Flame signal (Min) 5.5mA
Flame signal (Max) 20mA
PART NUMBER DESCRIPTION BULLETIN
Flame Sensor
MBCE-110UV-1 Single channel module, 110 VAC 50/60 Hz, use with UV scanner, 1 sec. FFRT. MBCE-1002
MBCE-110UV-2 Single channel module, 110 VAC 50/60 Hz, use with UV scanner, 2 sec. FFRT. MBCE-1002
MBCE-110UV-3 Single channel module, 110 VAC 50/60 Hz, use with UV scanner, 3 sec. FFRT. MBCE-1002
MBCE-110UV-4 Single channel module, 110 VAC 50/60 Hz, use with UV scanner, 4 sec. FFRT. MBCE-1002
MBCE-230UV-1 Single channel module, 230 VAC 50/60 Hz, use with UV scanner, 1 sec. FFRT. MBCE-1002
MBCE-230UV-3 Single channel module, 230 VAC 50/60 Hz, use with UV scanner, 3 sec. FFRT. MBCE-1002
Wiring Base
60-2886 Plug in wiring base, DIN rail or panel surface mount complete with retaining kit. MBCE-1002
Mounting Rails
60-2539-12 DIN style mounting rail, 12 inches, mounts up to 4 modules.
60-2539-24 DIN style mounting rail, 24 inches, mounts up to 8 modules.
60-2539-36 DIN style mounting rail, 36 inches, mounts up to 12 modules.
UV Scanner
UV90L-1 UV scanner, front and side viewing. SC-108
UV5-1 UV scanner, front and side viewing. SC-108
UV1AL-3 UV scanner, 1/2” NPT, 36” (915mm) shielded leads. SC-108
UV1AL-6 UV scanner, 1/2” NPT, 72” (1830mm) shielded leads. SC-108
4-742-1 Replacement tube for UV90L-1.
NOTICE: MBCE-UV module does not have any user serviceable parts. If the unit has a problem,
return the unit to your local distributor, or contact Fireye directly.
Adequate disconnect means and overload protection is required. A 1 amp external fuse is
recommended on terminal 10 for over-current protection.

3
FIGURE 1. DIMENSIONS OF DIN RAILS, WIRING BASES AND FLAME SWITCH MODULES SHOWN IN INCHES (MM)
CERTIFICATION:
The MBCE-230UV-1 & MBCE-230UV-3 have been evaluated to EN 298:2012 by DIN DVGW, and
meet the Gas Appliance Directive (2009/142/EC)
CE Certificate # CE-0085CR0115
DIN DVGW Certificate # NG-4131CR0016
DIN CERTCO Certificate # 5F249
1.4
1
1.38
1.06
.2
DIN RAIL MOUNT
60-2539-12
60-2539-24
60-2539-36
L = 12" (305)
L = 24" (610)
L = 36" (914)
PART NO. LENGTH
L
(35)
.3
(7.5)
(25)
(36)
(5)
(27) DIMENSIONS IN INCHES (MM)
(50.8mm) (76.2mm)
(101.6mm)
.13
DIA. TYP.
3.18
2.96 75.06
.14 3.56
1.46 37.08
1.49 37.82
1.03 26.09
2
1
6
11
10
10
5
7
8
9
3
4
STYLE: 11 pin octal, snap-mount/surface mount
TYPE OF CONNECTION: Screw connection
STRIPPING LENGTH: 10mm
SCREW THREAD: M3
WIRE SIZE: Maximum up to 2 - #14AWG each terminal
ELECTRICAL RATING: 400V, 10A
To secure MBCE-110/230UV to socket use retaining kit P/N 60-2886
NOTICE: The MBCE-UV is designed to be used with a compatible UV scanner in order to sense
the flame activity in a combustion chamber. The MBCE-UV is not designed to replace a burner
control system, and it cannot assume the responsibilities of a burner control system, including
burner safe start check.
NOTICE: Consult national or local codes for proper selection of the MBCE-UV modules. Some
codes require that the flame failure detection time should not be greater than 1 second.
WA R N I N G : The equipment described in this manual is capable of causing property damage, severe
injury, or death. It is the responsibility of the owner or operator to ensure that the equipment is
installed, operated and commissioned in compliance with the requirements of all national and local
legislation, which may prevail.
Installation, commissioning or adjustment of this product MUST be carried out by suitably trained
engineer or personnel qualified by training or experience.

4
FLAME SCANNERS
INSTALLATION - UV SCANNERS
Where possible, obtain the burner manufacturer’s instructions for mounting the UV scanner. This
information is available for most standard burners. The UV scanner mounting must comply with the
following general instructions:
1. Position the UV1AL, UV5, or UV90L scanner within 30 inches of the flame to be monitored.
2. Select a scanner location that remains within the ambient temperature limits of the UV Scanner.
If cooling is required, use an insulating coupling (Fireye #35-69 for UV1AL to reduce con-
ducted heat).
3. The UVlAL Scanner is designed to seal off the sight pipe up to 1 PSI pressure. Higher furnace
pressures must be sealed off. To seal off positive furnace pressure up to 100 PSI for UV1AL
Scanner, install a quartz window coupling (#60-1257). Add cooling air to reduce the scanner
sight pipe temperature.
4. Install the scanner on a standard NPT pipe (UV1AL) whose position is rigidly fixed. If the scan-
ner mounting pipe sights through the refractory, do not extend it more than halfway through.
Swivel flanges are available if desired (#60-302 for UV1AL) . The sight pipe must permit an
unobstructed view of the pilot and/or main flame. Both pilot and main flames must completely
cover the scanner field of view
FIGURE 1. AIMING YOUR SCANNER.
5. Smoke or unburned combustion gases absorb ultraviolet energy. On installations with negative
pressure combustion chambers, a small hole drilled in the UV1AL sight pipe keeps the pipe
clean and free from smoke. For positive pressure furnaces, provide clean air to pressurize the
sight pipe, if necessary.
6. To increase scanner sensitivity with UV1AL, use a union with quartz lens (Fireye #60-1290).
This should facilitate the location of the scanner at twice the normal distance. Use l/2" x 1 l/2"
pipe nipple between UV1AL Scanner and the coupling.
7. Request the assistance of any Fireye field office for recommendations of a proper scanner instal-
lation on a non-standard application.
UV90L-1 UV1AL UV5-1
CAUTION: The UV90L-1, UV1AL, and UV5-1 flame scanners are non-self checking UV
sensors. Use these only on burners that cycle often (e.g.: a minimum of once every 24 hours)
in order for the external safety checking circuit to be exercised.
SCANNER MUST HAVE UNOBSTRUCTED
VIEW OF FLAME
NOT THIS NOT THIS BUT THIS
FLAME MUST COMPLETELY COVER
SIGHT OPENING
NOT THIS NOT THIS BUT THIS

5
FIGURE 2. TYPICAL SCANNER INSTALLATIONS
WIRING - UV SCANNERS
To connect the scanner to the control, the UV1AL Scanner is supplied with 36"(.9m) or 72" (1.8m)
of cable. The UV5-1 scanner is supplied with an 80” (2m) cable. The UV90L-1 provides field wire-
able terminal block.
If it is necessary to extend the scanner wiring, the following instructions apply:
Scanner wires should be installed in a separate conduit. The wires from several scanners may be
installed in a common conduit.
1. Selection of Wire
a. Wiring: For extended scanner wiring up to 500 feet, and for shorter lengths to reduce signal
loss, use a shielded wire (Belden 8254-RG62 coaxial cable, or equal) for each scanner wire of
UV1AL. The ends of the shielding must be taped and not grounded.
b. Asbestos insulated wire should be avoided.
c. Multiconductor cable is not recommended without prior factory approval.
2. High voltage ignition wiring should not be installed in the same conduit with flame detector
wires.
The maximum UV signal
from a flame is found in the
first one-third of the visible
flame taken from the point
where the flame begins. The
scanner sight pipe should be
aimed at this area.
DO NOT EXTEND
MORE THAN
HALF-WAY INTO
REFRACTORY
SCANNER
FORCED
CLEAN AIR
(FROM DISCHARGE
OF FAN)
METHODS OF COOLING SCANNER
INSULATING
TUBING
SEALING
UNION FORCED
AIR
EXTEND SIGHTING TUBE
6”(152.4) OR 8”(203.2)
DO NOT EXTEND MORE THAN
HALF-WAY INTO REFRACTORY
WARNING: Incorrect MBCE-UV scanner installation can result in the generation of a false
flame signal, causing unburned fuel to collect in the combustion chamber. The result can be
explosions, injuries and property damage. Be certain that the UV scanner detects only pilot
and/or main flames.

6
3. Route scanner wiring a sufficient distance from ignition and other high voltage or high current
wiring to avoid electrical interference. Interference from ground currents, nearby conductors,
radio-frequency emitters (wireless devices), and inverter drives can induce false flame signals.
In some applications shielded cables can help reduce interference with the shield connected to
ground at the control end only. The wire type and its capacitance (picofarads or microfarads) to
ground may cause low signal problems, so a grounded shield can decrease the signal due to the
cable's internal capacitance. Multiple sensor leads run together without shielding may cause
interference or “cross talk”, so the shield or flexible armor must be grounded to prevent this sit-
uation.
THRESHOLD ADJUSTMENT
The MBCE-UV module is equipped with a flame pull-in threshold adjustment capability. This fea-
ture allows the user to dial in the appropriate flame signal threshold for the internal flame relay to
engage. When set, the flame signal strength must be greater than the threshold before the MBCE-UV
can signal "FLAME ON".
The adjustment can be made at the front faceplate potentiometer with the aid of a small flat blade
screwdriver. A clockwise adjustment of the potentiometer decreases the flame pull-in threshold of
the MBCE-UV module allowing the MBCE to pull-in at “small” flame conditions. Likewise, a
counter-clockwise adjustment of the potentiometer increases the flame pull-in threshold of the
MBCE-UV module allowing the MBCE to pull-in at “big” flame conditions. The 4-20mA output of
the MBCE-UV module signals 5.5mA at the pull-in threshold.
0°
270°
view showing “clockwise”
adjustment - decreasing
pull-in threshold.
• Apply proper grounding technique when adjusting the threshold potentiometer
• The adjustment potentiometer is recessed about 3/8” from the surface. Do not
screw driver into the product as this may damage the product.
• Ensure that the screw driver is centered on the adjustment slot to facilitate
• Do not apply excessive force as only a minimum force is needed for adjustment.
• The overall rotational angle of adjustment is three quarter turn (270 degrees).
over extend the
proper adjustment.
NOTICE
Do not over extend.

7
INDICATION LEDS
The MBCE-UV Flameswitch contains two bi-color LEDs. These are used to provide flame status
and alarm conditions. See the following table.
View the LEDs through the cutout located on the top side of the unit.
Table 1:
NOTE: power cycling the unit should reset some system faults. If problem persists,
please contact local distributor or factory.
FIGURE 2. FLAME SIGNAL STRENGTH vs. 4-20mA OUTPUT
LED COLOR DEVICE STATUS
LED 1
(SYSTEM LED)
GREEN SYSTEM OK
BLINKING RED/ORANGE SYSTEM FAULT
SOLID RED/ORANGE
LED 2
(FLAME LED)
SOLID GREEN GOOD FLAME
BLINKING GREEN WEAK FLAME
BLINKING RED/ORANGE SYSTEM FAULT
SOLID RED/ORANGE
OFF FLAME OFF

8
WIRING BASE PINOUT INFORMATION
The following table shows the wiring information and the ratings. To guarantee proper operation, the
MBCE-UV module MUST NOT be operated above its maximum rating.
4-20mA measurements can be taken from the test jack connector located at the faceplate of the unit.
Measurements can also be taken using the dedicated 4-20mA OUT & 4-20mA COM terminals
located at the wiring base.
TERMINAL NO. TERMINAL NAME DESCRIPTION DIRECTION RATING
1(11) OPEN UNUSED N/A
2(A1) 4-20mA COM 4-20mA COMMON RETURN
3(14) 4-20mA OUT 4-20mA OUTPUT OUTPUT 28 VDC, 20mA max
4(12) S1 UV TUBE EXCITATION OUTPUT 300 VDC, 2mA max
5(22) EEARTH EARTH
GROUND
6(21) L2 NEUTRAL INPUT
7(24) L1 LINE VOLTAGE SUPPLY INPUT 110 VAC (+20%,-15%) 50/60 Hz
230 VAC (+10%-15%) 50/60 Hz
8(32) S2 UV TUBE RETURN
9(34) NO FLAME RELAY
NORMALLY OPEN (N.0.)
OUTPUT 110 VAC, 1A max
230 VAC, 1A max
30 VDC, 1A max
10 (A2) COM FLAME RELAY
COMMON
INPUT 110 VAC, 1A max
230 VAC, 1A max
30 VDC, 1A max
11 (31) NC FLAME RELAY
NORMALLY CLOSED (N.C.)
OUTPUT 110 VAC, 1A max
230 VAC, 1A max
30 VDC, 1A max
NOTICE: The 4-20mA output on the faceplate/wiring base is not evaluated for its isolation from
to the 4-20mA current loops shall be insulated from other circuits, user accessibility, and/or earth
by protective separation meeting the requirements of double or reinforced insulation (except, only
basic is required for isolation from earth) according to DIN EN/UL 61010, DIN EN 50178,
DIN EN/UL 60730-1 or DIN EN/UL 60950.
mains voltage and there is a risk of electrical shock under single fault conditions. Any connection
NOTICE: The 4-20mA return path is labeled “GND” on the faceplate. This is simply a local return
forms of ground connection. Likewise, 4-20mA COM is the return path at the wiring base and
MUST NOT be attached or referenced to earth ground or other forms of ground connection.
Only one 4-20mA loop device/PLC is allowed to be connected to the 4-20mA interface.
path for the 4-20mA current and it MUST NOT be attached or referenced to earth ground or other
The connection can be at the terminal or through the face plate. DO NOT connect loop devices
to the terminals and face plate interface simultaneously.

9
FIGURE 3. TYPICAL APPLICATION - MBCE-110/230UV
CAUTION: SPECIAL CONDITIONS OF USE
1The equipment, wiring base, and its enclosure are considered hazardous live parts and shall be
installed in compliance with the enclosure, mounting spacing and segregation requirements of
the ultimate application to protect the user against electric shock and the equipment against
ingress of water and dust.
2. Line voltage and extra-low voltage wiring to and from this device is intended to be wired in the
field to become part of a Class 1 circuit only.
3. A 1 amp external fuse is suggested on terminal 10 (flame relay common) for over-current
protection

10
NOTICE When Fireye products are combined with equipment manufactured by others and/or integrated into systems designed or man-
ufactured by others, the Fireye warranty, as stated in its General Terms and Conditions of Sale, pertains only to the Fireye
products and not to any other equipment or to the combined system or its overall performance.
WARRANTIES FIREYE guarantees for one year from the date of installation or 18 months from date of manufacture of its products to
replace, or, at its option, to repair any product or part thereof (except lamps, electronic tubes and photocells) which is found
defective in material or workmanship or which otherwise fails to conform to the description of the product on the face of its
sales order. THE FOREGOING IS IN LIEU OF ALL OTHER WARRANTIES AND FIREYE MAKES NO WAR-
RANTY OF MERCHANTABILITY OR ANY OTHER WARRANTY, EXPRESS OR IMPLIED. Except as specifically
stated in these general terms and conditions of sale, remedies with respect to any product or part number manufactured or sold
by Fireye shall be limited exclusively to the right to replacement or repair as above provided. In no event shall Fireye be liable
for consequential or special damages of any nature that may arise in connection with such product or part.
FIREYE MBCE-1002
3 Manchester Road FEBRAURY 3, 2017
Derry, New Hampshire 03038 USA supersedes May 12, 2016
www.fireye.com
This manual suits for next models
7
Table of contents
Other Fireye Control Unit manuals
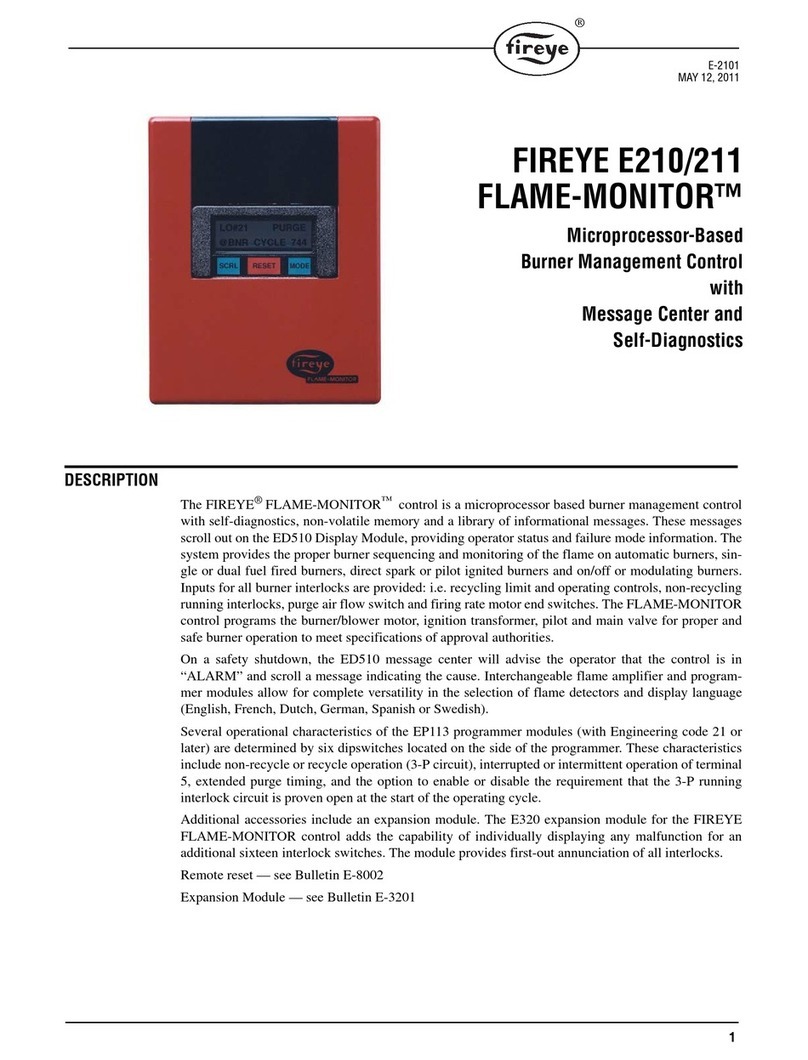
Fireye
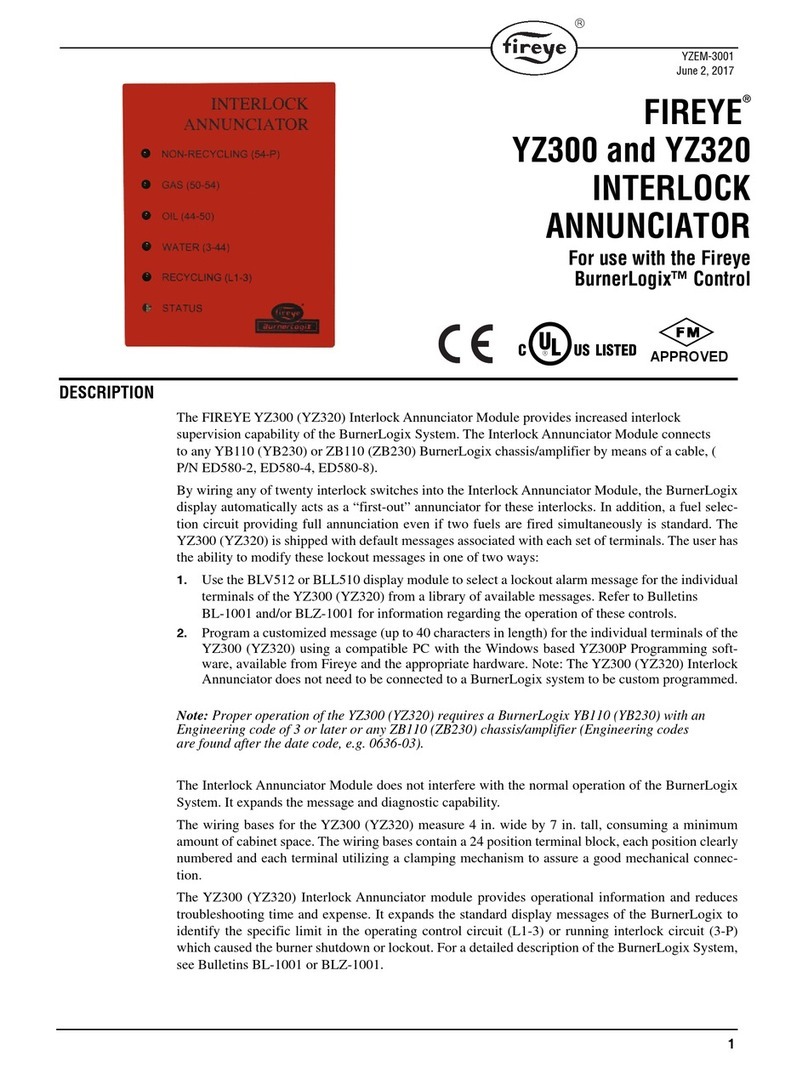
Fireye YZ300 User manual

Fireye
Fireye BurnerLogiX YB110 User manual

Fireye
Fireye MicroM Series User manual

Fireye
Fireye D30 Series User manual

Fireye
Fireye M4RT1 User manual

Fireye
Fireye FlameWorx MBUV-100D User manual

Fireye
Fireye MBCE-110FR User manual

Fireye
Fireye EP160 User manual
Fireye
Fireye E300 User manual
Fireye
Fireye D40 Series User manual