manuals.online logo
Brands
  1. Home
  2. •
  3. Brands
  4. •
  5. First Alert
  6. •
  7. Keypad
  8. •
  9. First Alert FA215KP User manual

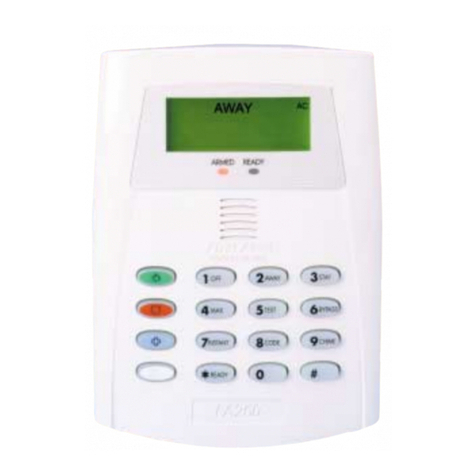
First Alert FA215KP User manual

This manual suits for next models

2

Other First Alert Keypad manuals

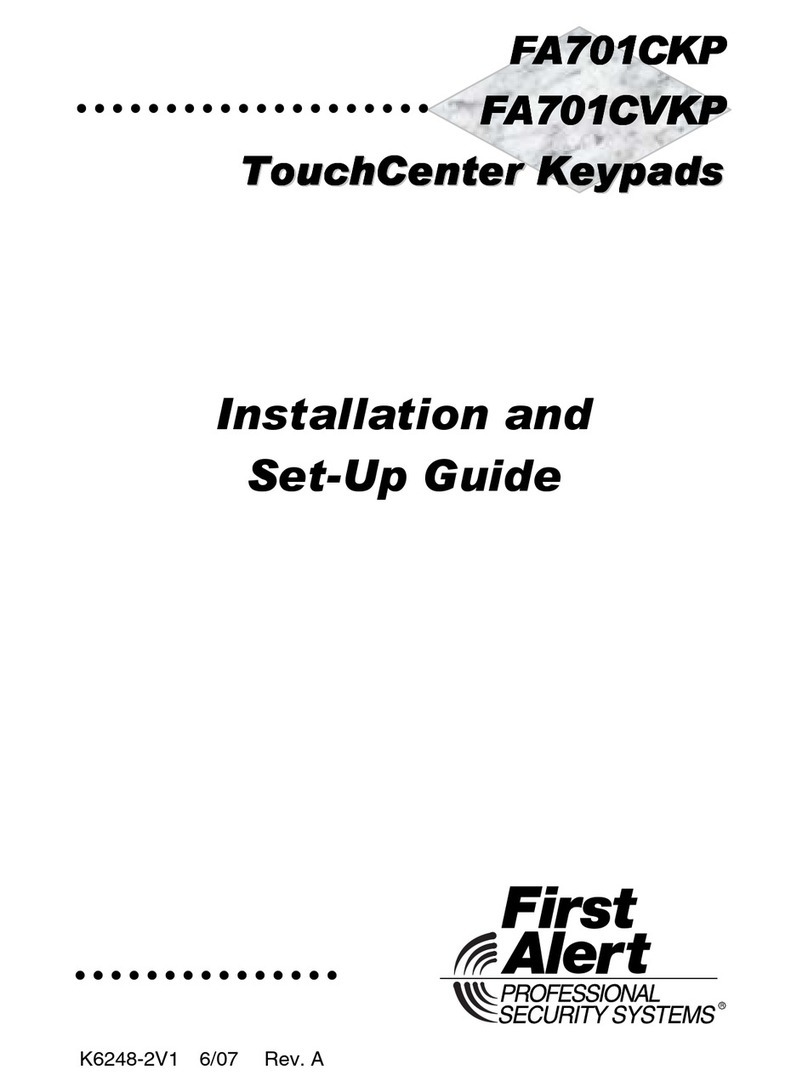
First Alert TouchCenter FA701CVKP Assembly instructions

First Alert

First Alert TouchCenter FA701CVKP Assembly instructions

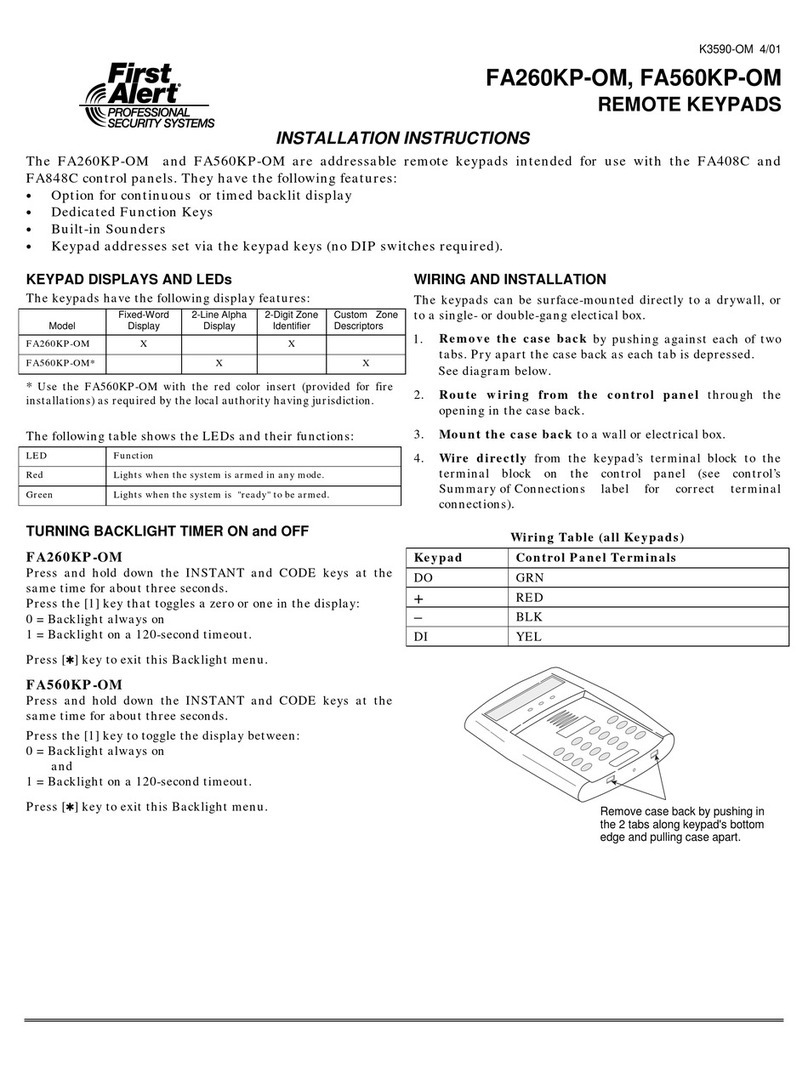
First Alert FA260KP-OM User manual

First Alert

First Alert FA260KP-OM User manual

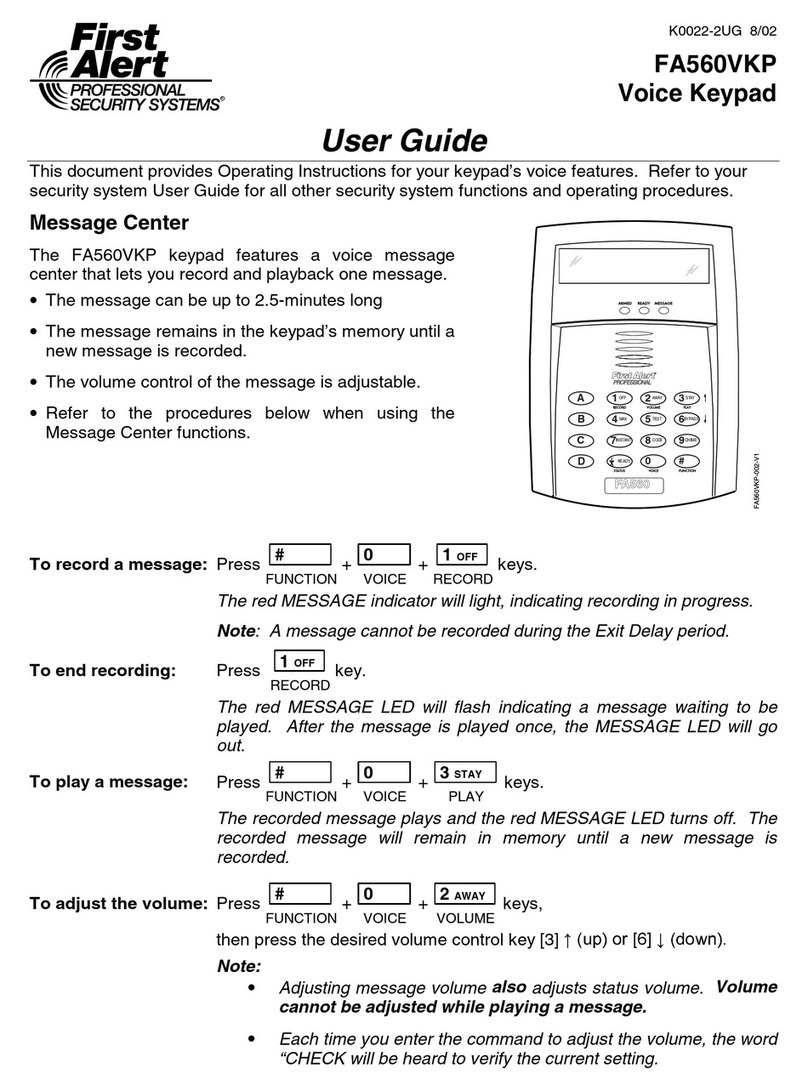
First Alert FA560VKP User manual

First Alert

First Alert FA560VKP User manual

First Alert 1220CV User manual

First Alert

First Alert 1220CV User manual

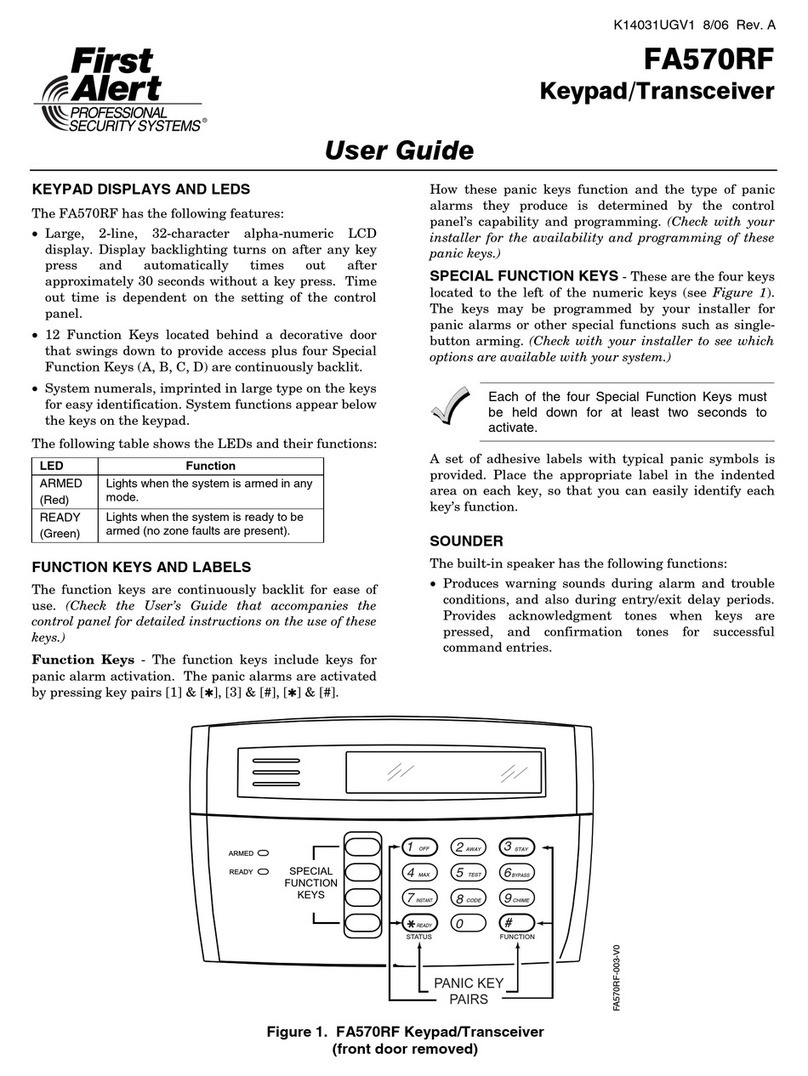
First Alert FA570RF User manual

First Alert

First Alert FA570RF User manual

First Alert FA270VKP User manual

First Alert

First Alert FA270VKP User manual

First Alert TouchCenter FA701CKP User manual

First Alert

First Alert TouchCenter FA701CKP User manual

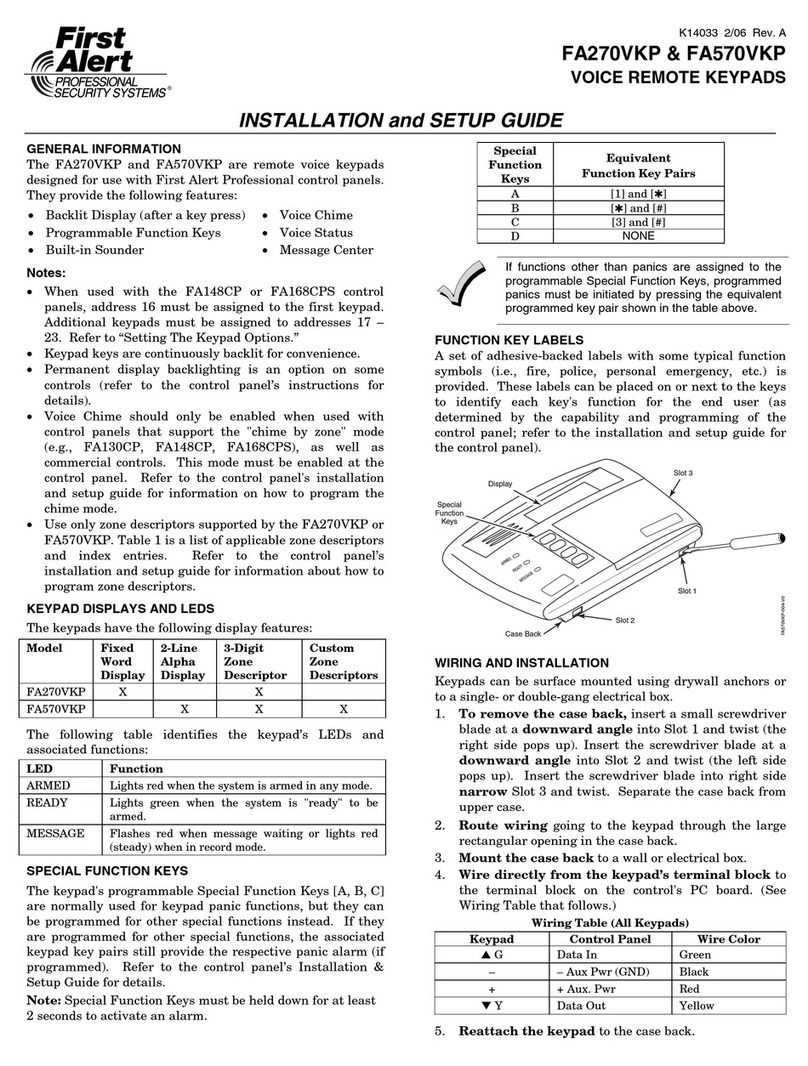
First Alert FA560VKP Assembly instructions

First Alert

First Alert FA560VKP Assembly instructions

First Alert FA6150RF Assembly instructions

First Alert

First Alert FA6150RF Assembly instructions

First Alert FA570CR Assembly instructions

First Alert

First Alert FA570CR Assembly instructions

First Alert FA220KP Assembly instructions

First Alert

First Alert FA220KP Assembly instructions

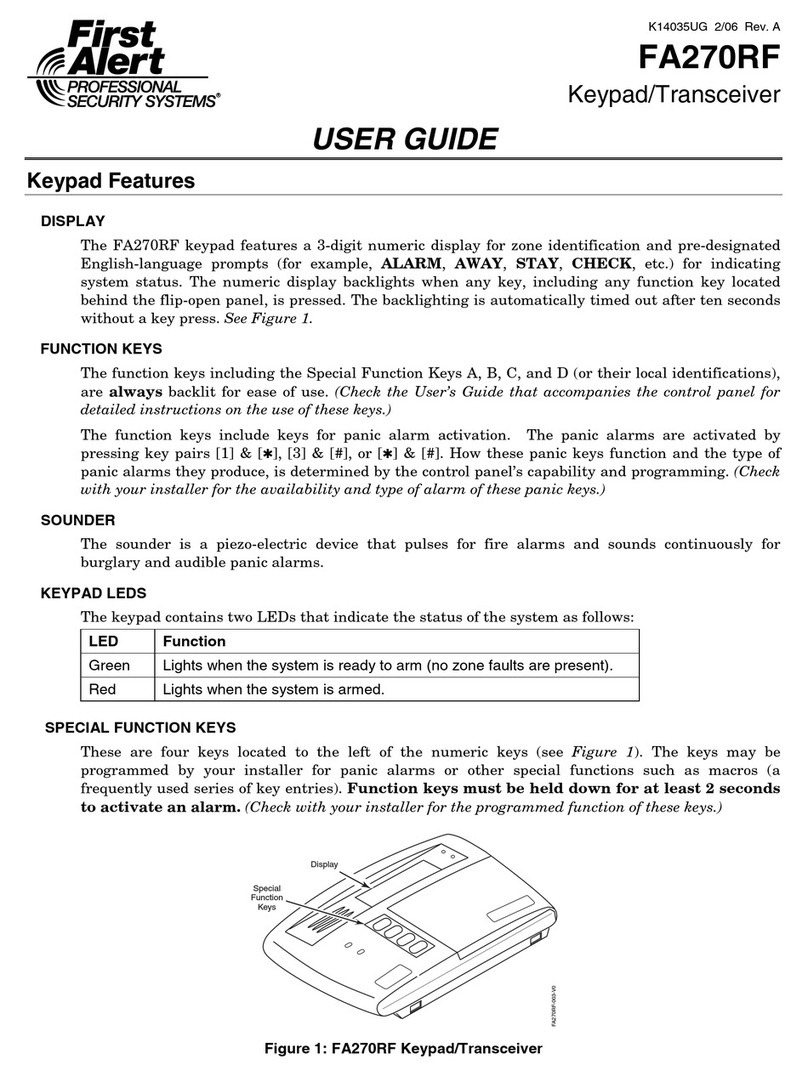
First Alert FA270RF Assembly instructions

First Alert

First Alert FA270RF Assembly instructions

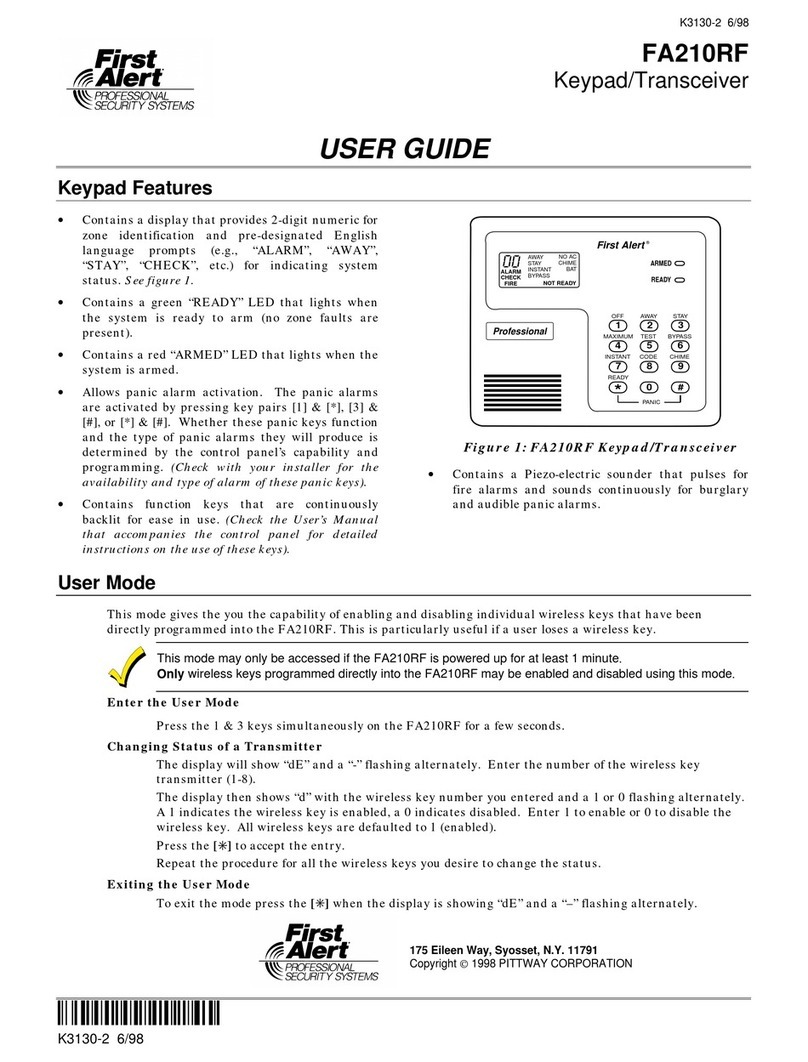
First Alert FA210RF User manual

First Alert

First Alert FA210RF User manual

First Alert FA570RF User manual

First Alert

First Alert FA570RF User manual

First Alert FA270RF User manual

First Alert

First Alert FA270RF User manual

First Alert FA260RF User manual

First Alert

First Alert FA260RF User manual

First Alert FA270VKP Assembly instructions

First Alert

First Alert FA270VKP Assembly instructions

Popular Keypad manuals by other brands

AAA 6150RFAAA Installation and setup guide

AAA

AAA 6150RFAAA Installation and setup guide

Fermax MDS Installation and programming manual

Fermax

Fermax MDS Installation and programming manual

ACT ACT PRO 1030 manual

ACT

ACT ACT PRO 1030 manual

Cardin SSB Series manual

Cardin

Cardin SSB Series manual

Harman Kardon KP 1 Specifications

Harman Kardon

Harman Kardon KP 1 Specifications

CYP CR-KP1 Operation manual

CYP

CYP CR-KP1 Operation manual

Aeware k-35 Series Quick reference card

Aeware

Aeware k-35 Series Quick reference card

Aritech CS-175 Series user guide

Aritech

Aritech CS-175 Series user guide

Lenze AC Tech MC SERIES installation instructions

Lenze AC Tech

Lenze AC Tech MC SERIES installation instructions

Burg Wächter secuENTRY 7711 operating instructions

Burg Wächter

Burg Wächter secuENTRY 7711 operating instructions

Aeware in.k450 Tech book

Aeware

Aeware in.k450 Tech book

Lenze EPM-H410 operating instructions

Lenze

Lenze EPM-H410 operating instructions

Toshiba RKP007Z user manual

Toshiba

Toshiba RKP007Z user manual

Elmes Electronic KB1 quick start guide

Elmes Electronic

Elmes Electronic KB1 quick start guide

Clare Controls ClareOne CLR-C1-PNC Installation sheet

Clare Controls

Clare Controls ClareOne CLR-C1-PNC Installation sheet

FM Electronics 4180 quick start guide

FM Electronics

FM Electronics 4180 quick start guide

AMX MIO-PRESTIGE-S Dimensional drawing

AMX

AMX MIO-PRESTIGE-S Dimensional drawing

why pro WHY-KP user manual

why pro

why pro WHY-KP user manual

manuals.online logo
manuals.online logoBrands
  • About & Mission
  • Contact us
  • Privacy Policy
  • Terms and Conditions

Copyright 2025 Manuals.Online. All Rights Reserved.

K3590-1V1 8/00
REMOTE KEYPADS
FA215KP, FA260KP, FA560KP
INSTALLATION GUIDE
Keypad Features FA215KP
Fixed-Word FA260KP
Fixed-Word FA560KP ✝
2-Line Alpha
Backlit Display NO YES (See Note 1) YES (See Note 1)
Dedicated Function Keys NO YES YES
Built-in Sounder Piezo Speaker Speaker
First Alert Pro Controls
FA110C* YES YES NO
FA120C* YES YES NO
FA142C* YES YES See Note 2
FA148C* YES YES See Note 2
FA162C* YES YES See Note 2
FA1220CV** YES YES See Note 2
FA1340C** YES YES See Note 2
FA1600C/CA/CB** NO NO See Note 3
FA2000C* YES YES See Note 2
✝The FA560KP must be used to program the FA142C, FA148C, FA162C, FA1220CV, FA1340C, FA1600C/CA/CB, & FA2000C controls.
* Use the non-addressable mode with these controls (set to address 31).
** Use the addressable mode with these controls (addresses 00-30).
Notes 1. Permanent display backlighting is an option on some controls (see the control's instructions for details).
2. The FA560KP is required for certain advanced user functions (see the control's instructions for details).
3. Use the FA560KP with the red color insert (provided for fire installations) as required by local authority having jurisdiction
GENERAL INFORMATION WIRING AND INSTALLATION
The FA215KP, FA260KP & FA560KP are addressable
Remote Keypads and are intended for use with the controls
listed in table above. Addresses are set via the keypad keys
(no DIP switches). See the table above for valid addresses.
The keys on the keypads are continuously backlit for
convenience except the FA215KP.
KEYPAD DISPLAYS AND LEDS
The keypads have the following features of the display:
Model Fixed
Word
Display
2-line
Alpha
Display
2-digit
Zone
Identifier
Custom Zone
Descriptors
FA215KP X X
FA260KP X X
FA560KP X X
The following table shows the LEDs and their functions:
LED Function
Red Lights when the system is armed in any mode
Green Lights when the system is "ready" to be armed.
SPECIAL FUNCTION KEYS
The keypads also feature function keys, see table below.
These keys may be programmed for panic alarms or other
special functions such as macros. See the control's
instructions for details. The FA215KP uses the key pairs
only. Function keys must be held down for at least 2
seconds to activate an alarm; key pairs activate
immediately.
FA260KP/FA560KP FA215KP
A ([1] & [*]) [1] & [*]
B ([*] & [#]) [*] & [#]
C ([3] & [#]) [3] & [#]
DNONE
The keypads can be surface mounted directly to a drywall, or to
a single- or double-gang electrical box.
1.
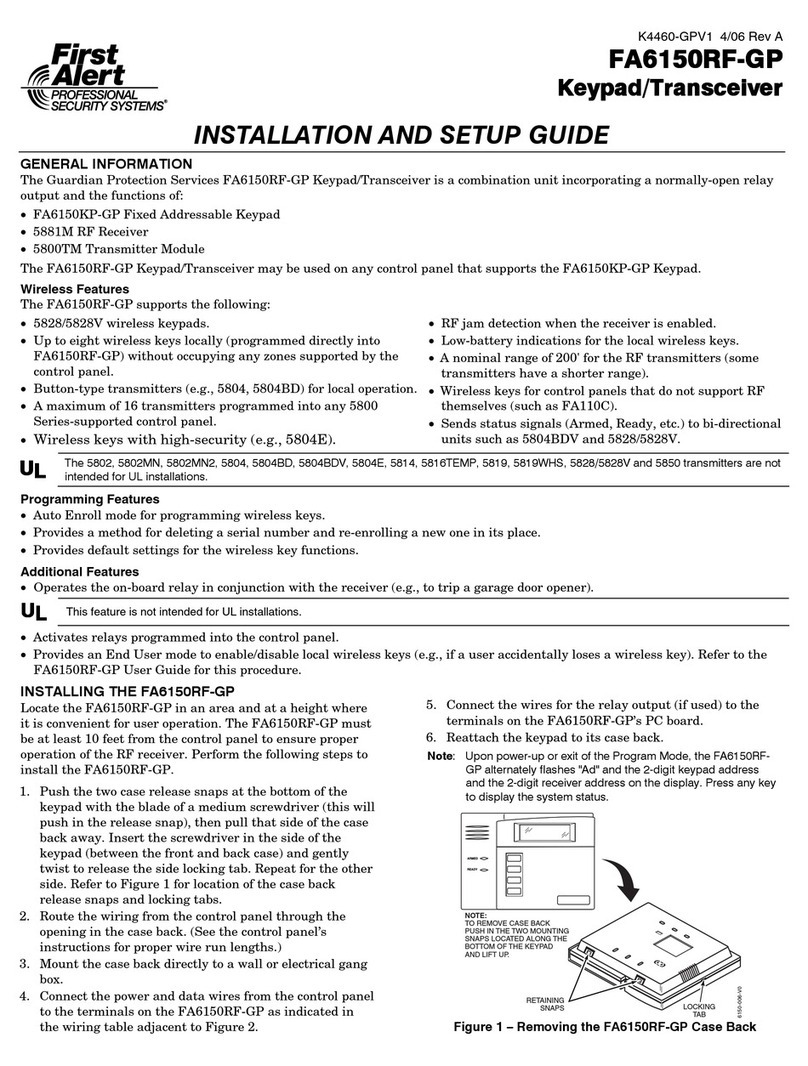
Remove the case back by pushing down two "snaps."
See diagram below.
2.
Route wiring from the control panel through the
opening in the case back.
3. Mount the case back to a wall or electrical box.
4.
Wire directly from the keypad’s terminal block to the
terminal block on the control board. Wire functions are
marked next to terminals. Labels are as follows: DI Data
In to Control Panel, - Ground, + Aux. Power Plus, DO Data
Out of Control Panel. See the control panel’s Installation
Instructions for more complete details.
5. Re-attach the keypad to its case back.
6. Remove the clear protective film from the LCD display.
Remove Case back by pushing in
the 2 "Snaps" along keypad's
bottom edge and pulling the case
apart
SETTING THE KEYPAD ADDRESS FUNCTION KEY LABELS
A set of adhesive-backed labels with some typical function
symbols (i.e., fire, police, personal emergency, etc.) is provided.
These labels can be placed on or next to the keys to identify
each key's function for the end user (as determined by the
control panel's capability and programming; see the control's
instructions).
SPECIFICATIONS
The keypad can either be set for an address of 00-30, or to
the non-addressable mode (31). The keypad's default
address is 31.
To change the keypad's address, do the following:
1. Enter address mode: Power up the keypad. Within 60
seconds of power-up, press and hold down the [1] and [3]
keys at the same time for 3 seconds. (If unable to enter
address mode, power up and try again.)
The current keypad address will be displayed, and the
cursor will be under the "tens" digit. If 10 seconds have
passed with no key entry, the keypad automatically
exits address mode. You must power down, power up
and start address mode again.
NOTE: The keypad will not enter address mode if the
panel to which it is connected is in programming mode.
2. Set the current address to "00": Press [0] to clear the
current "tens" digit. The cursor will move to the "ones"
digit position. Press [0] to clear the current "ones" digit.
The cursor will move back to the "tens" digit position.
3. Enter the keypad's address: Enter the proper "tens" digit
of the keypad's address. The cursor will move to the
"ones" digit position. Enter the proper "ones" digit of the
keypad's address. Note that address "31" sets the
keypad to non-addressable mode.
4. Exit address mode:
Press [
✱
] to save the displayed address and exit address
mode.
VIEWING THE KEYPAD ADDRESS
Press and hold down the [1] and [3] keys at the same time
for about 3 seconds. The current address is displayed. No
key entry is allowed. Press any key to exit or wait 10
seconds to exit viewing mode.
KEYPAD COLOR INSERTS
All three models include a cool gray color insert. An
additional RED label is provided with the FA560KP should
any local agency require it.
Physical:
FA215KP: 5-5/8"H x 4-3/8"W x 1-5/16"D
FA260KP: 6-5/8"H x 4-7/8"W x 1-5/16"D
FA560KP: 7-5/16"H x 5-3/8"W x 1-3/8"D
Wiring (all Keypads):
DI (Green): “Data In” to control panel
- (Black): Ground
+ (Red): +12VDC (Aux. Power)
DO (Yellow): “Data Out” from control panel.
Displays:
FA215KP, Fixed-Word LCD
FA260KP: Fixed-Word LCD (backlit).
FA560KP: 2 x 16 alpha-numeric supertwist LCD, backlit.
Sounder:
FA215KP: Piezo-electric (fire alarm is loud, pulsing single
tone; (all Keypads) burglary alarm is loud,
continuous, dual tone).
FA260KP, Speaker.
FA560KP: Speaker.
Current:
FA215KP: 55mA sounder on
35mA standby (alarm sounder off).
FA260KP: 150mA backlight and sounder on
75mA standby mode (backlight on).
FA560KP: 150mA backlight and sounder on
80mA standby mode (backlight on).
REFER TO INSTALLATION INSTRUCTIONS FOR THE CONTROL PANEL WITH WHICH THIS DEVICE IS USED
FOR WARRANTY INFORMATION AND LIMITATIONS OF THE ENTIRE ALARM SYSTEM.
175 Eileen Way, Syosset, New York 11791
Copyright 2000
¬.9Pl
K3590-1V1 8/00