05 06
This product cannot be disposed of as household waste. To prevent damage to the
environment, this product should be recycled. Please use the relevant recycling
systems available to you or contract the distributor or manufacturer for recycling
assistance.
Recycling and Disposal
FlexiSpot Limited Warranty
This limited warranty offered by FlexiSpot covers defects in material or workmanship in new
FlexiSpot products. This warranty extends to the original purchaser only and is non-
transferable. Only consumers purchasing FlexiSpot products from authorized FlexiSpot
retailers or resellers may benefit from our limited warranty.
What is Covered?
The FlexiSpot limited warranty covers our products against defects in material or workmanship
as follows:
·FlexiSpot Height Adjustable Desk Frames
All height-adjustable desks feature a 5-year warranty for the frame & motor and a 2-year
warranty for the controller, switch, electronics and other mechanisms from the year of 2019.
·FlexiSpot Sit-Stand Desktop Workstations
All sit-stand desktop workstations feature a 5-year warranty for the frame and MDF desktop and
3-year warranty for the gas spring system and other mechanisms from the year of 2019.
·FlexiSpot Desk Bikes
All desk bikes and parts, including the frame, electronics, and other mechanisms, feature a 1-
year warranty from the year of 2019.
·FlexiSpot Mini Steppers
All Mini Steppers feature a 3-year warranty from the year of 2019.
·FlexiSpot Monitor Mounts
All monitor mounts and parts, including arms, gas spring systems and other mechanisms,
feature a 5-year warranty from the year of 2019.
What are your Remedies?
FlexiSpot will replace at no charge to the consumer the defective parts only or, at FlexiSpot's
option, replace any product or part of the product that is defective because of improper
workmanship and/or material, under normal installation, use, service and maintenance. If
FlexiSpot is unable to provide a replacement and repair is not practical or cannot be completed
in a timely fashion, FlexiSpot may elect to refund the purchase price in exchange for the return
of the product. In the rare event that your FlexiSpot product is defective, we will provide you with
a replacement item shipped at no cost to you within the continental United States. The shipping
method for replacement products is FedEx Ground, but expedited shipping is available if you
choose to pay the additional expense. In addition, you will need to pay the shipping costs if any
products need to be shipped to you at an address outside the continental United States.
REPAIR OR REPLACEMENT (OR, IN LIMITED CIRCUMSTANCES, REFUND OF THE
PURCHASE PRICE) AS PROVIDED UNDER THIS WARRANTY IS THE EXCLUSIVE REMEDY
OF THE PURCHASER. FLEXISPOT NEITHER ASSUMES NOR AUTHORIZES ANY PERSON
TO CREATE FOR ANY OTHER OBLIGATION OR LIABILITY IN CONNECTION WITH THIS
PRODUCT.
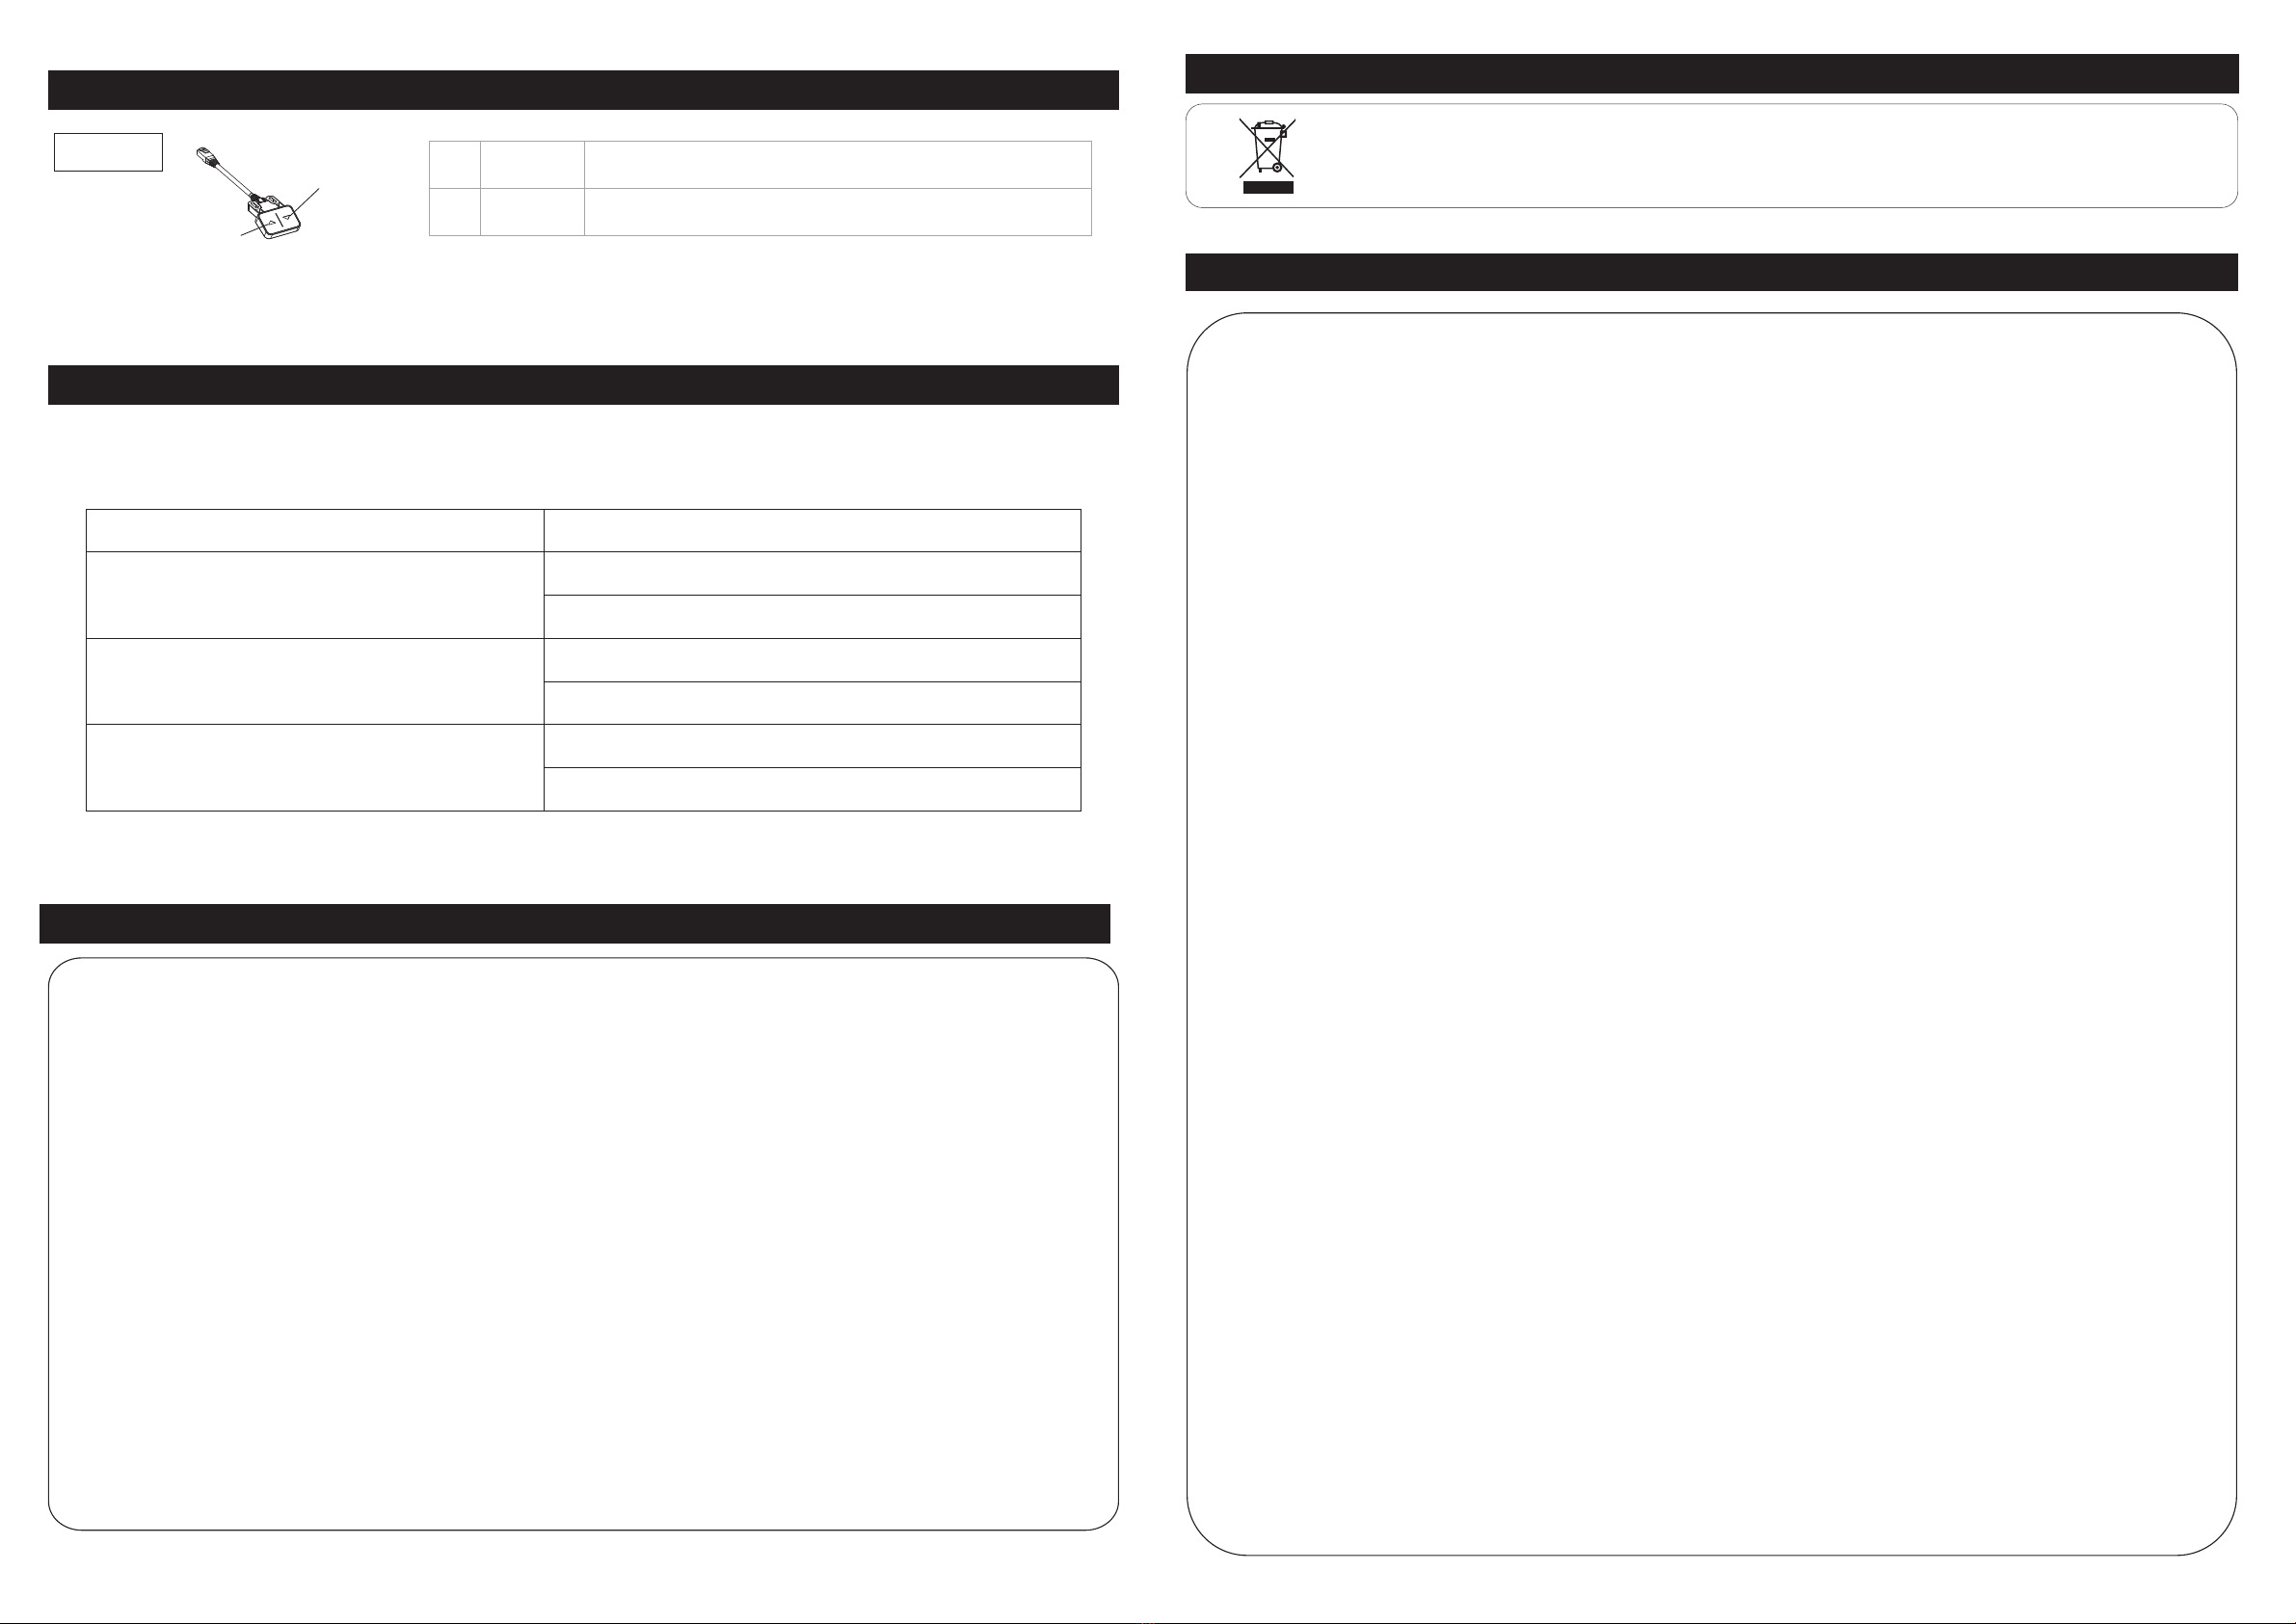
Keypad Instruction
●
●
▲
▼
UP Button, used to lift the desk surface
DOWN Button, used to lower the desk surface
DOWN Button
UP Button
Height adjusting function
Press the UP button or DOWN button to lift or lower the height of desk surface.
Troubleshooting
This list is used for checking and solving common faults and errors. Please contact the manufacturer if
problem you encounter is not on the list below.
Faults
No response when you pressing
and holding DOWN button
Overworked beyond duty cycle:
Max 2 min on/18 min off
Can not lift from the Bottom
Solution
1. Check all cables are connected well.
2. Contact the distributor or the manufacturer.
1. Keep the power on and stop working for 30 minutes
2. Contact the distributor or the manufacturer.
1. Check if the loading weights more than 506 lbs.
2. Contact the distributor or the manufacturer.
Keypad
·Power supply: AC100 - 240 V, frequency 50/60HZ;
·Working environment: 32º - 104º F;
·Before cleaning, you have to unplug the power supply cable. Clean with a slightly damp cloth to
wipe away the surface dust. Keep all electrical components away from liquids. Do not damage the
connection line and keep the plug in a safe position.
·Inside the control box, there are electronic components, metal parts, plastic parts, wires and so on.
They should be disposed in accordance with the local laws and regulations. They cannot be disposed
as household waste.
·Before using the product, please make sure the product has been installed correctly.
·Before starting use of the product, please read the instructions to fully understand all the product's
functions and settings.
·Keep children away from electric height-adjustable desks, control units and handsets.
Manufacturer is not responsible of any damages that result from children's unpredictable behaviour.
·Slight noise caused by the multi wedge belt or brake system will not impact the use of this product.
·Do not use corrosive or abrasive materials to clean this product and please dispose of cleaning
solutions in an environmentally friendly manner.
·Understand the risks associated with using this product. Children or those with cognitive impairment
should not use this product without supervision.
·Please operate in a clean and safe environment. For example, do not left around your tools. And
always be careful to deal with packaging materials, in order to avoid any kinds of possible danger.
Potential chocking risk exists when children play with plastic bags!
·If necessary, retain the original package for future transportation.
Attention