Fox F60-105 User manual

1
SPINDLE SHAPER
FOX Model F60-105
ASSEMBLY AND OPERATING INSTRUCTIONS

2
Spindle Shaper
FOX MODEL F60-105
TABLE OF CONTENTS
Safety instructions……………………………………………………………………………………………Page 3
Specific safety instructions for spindle shapers….……………………………………………………….Page 5
Specifications…………………………………………………………………………………………………Page 6
Noise conditions……………………………………………………………………………………………...Page 6
Electrical connections………………………………………………………………………………………. Page 7
Earthing instructions…………………………………………………………………………………………Page 7
Environmental protection……………………………………………………………………………………Page 8
Symbols……………………………………………………………………………………………………….Page 8
Transport and storage……………………………………………………………………………………….Page 9
Machine installation………….…………………..…………………………………………………………..Page 10
Operating and adjusting the spindle shaper………………………………………………………………Page 11
Tools………...……………………………………………………………………………………….………..Page 14
Maintenance……………………………………………………………………………………………….… Page 15
Troubleshooting………………………………………………………………………………………………Page 15
Parts diagrams and lists……………………………………………………………………………………. Page 17
DART Tool Group Guarantee……………………………………………………………………………… Page 24
Declaration of Conformity…………………………………………………………………………………...Page 25

3
ATTENTION :
- Read the instructions for use carefully before using the machine
- This device meets current safety standards for electrical machines.
- Incorrect use may result in injury. Anyone not familiar with the instructions for use should not use the
machine. Keep these instructions for use safe.
SAFETY INSTRUCTIONS
ALWAYS DISCONNECT THE MACHINE FROM THE POWER SOCKET BEFORE ATTEMPTING ANY
MAINTENANCE.
Keep a safe working zone for both staff and equipment. NO CHILDREN must be allowed in the
working zone under any circumstance.
The machine must be always disconnected when not in use. Use the on/off switches on the machine. Always
disconnect the machine by pulling the plug, do not pull the power cord.
Before using the machine, remove all tools used for setup and keep them away from your working zone. Reconnect
the machine. Check that the working zone is clear and that there is plenty room to work with the wood.
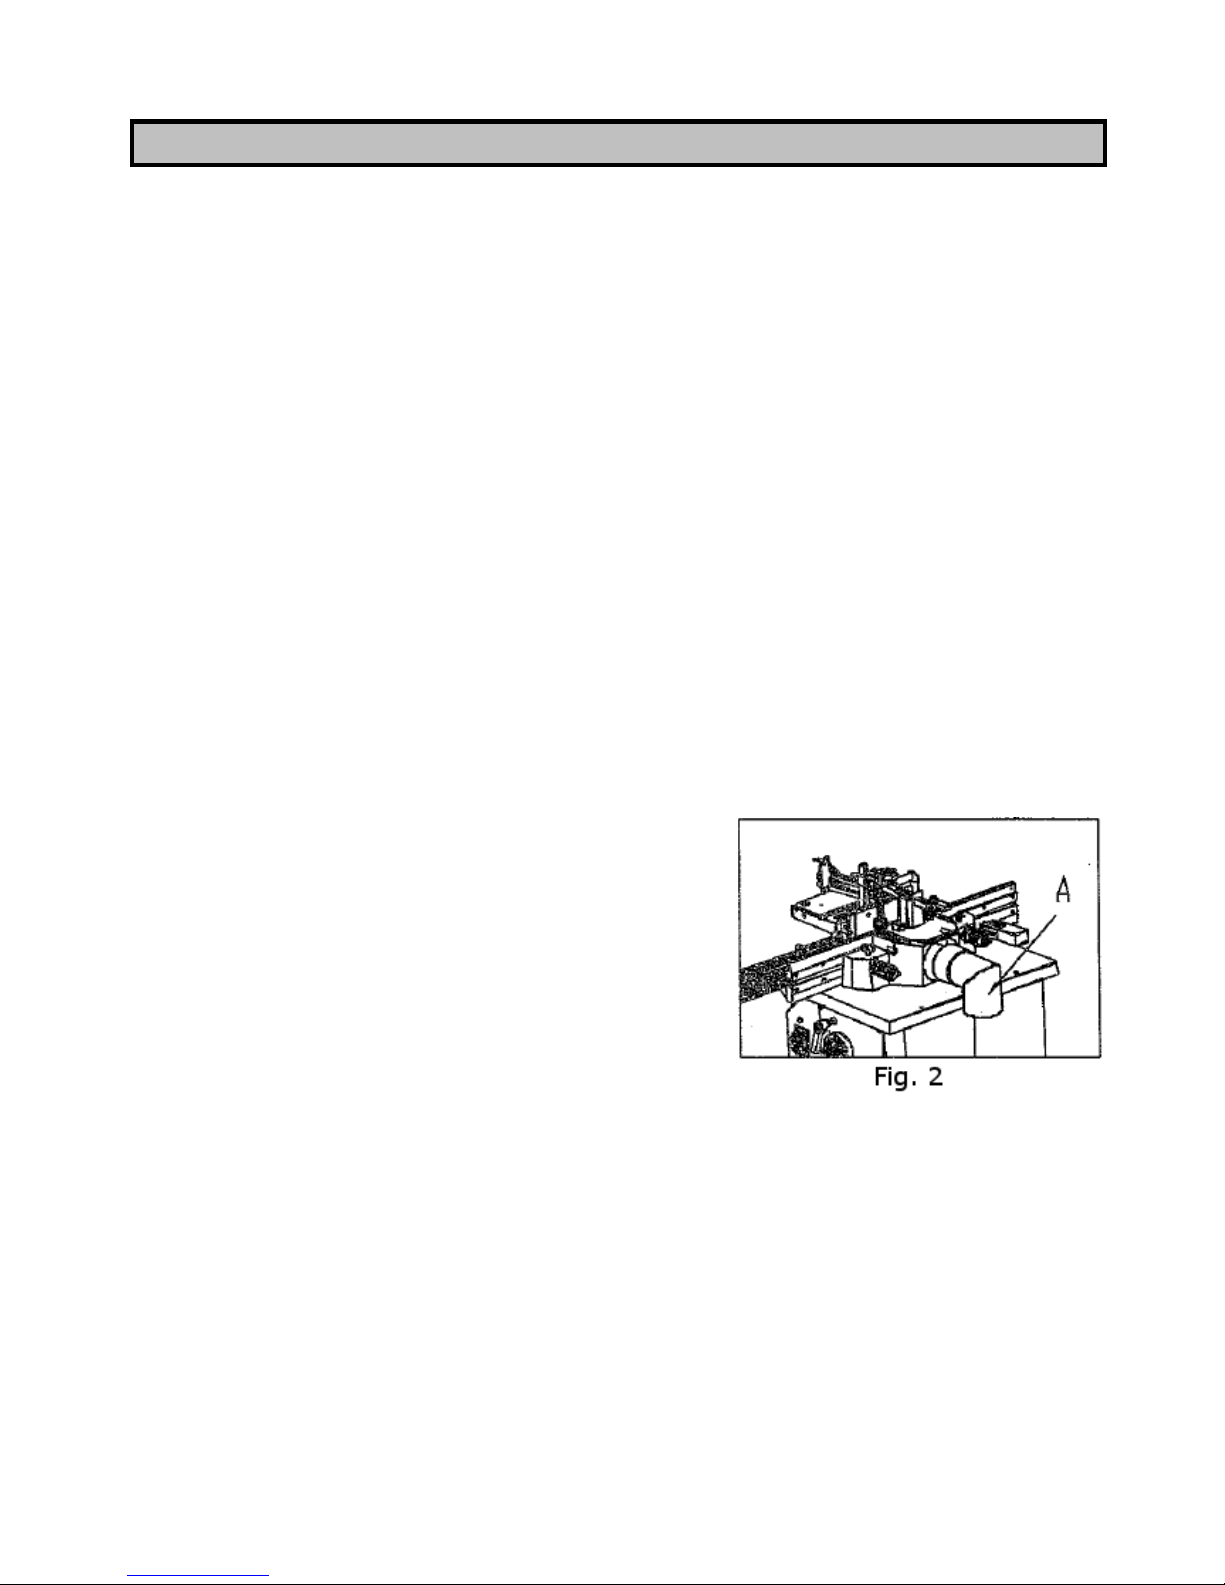
Ensure you are in good working position. If the work will produce dust or small pieces, wear safety gear, protective
glasses, gloves, a mask and ear defenders. If you have long hair, tie it up. Do not wear watches or bracelets. Wear
shoes with good grip and remember to never place your fingers too near the blade.
Do not use the machine if you are tired or distracted because you risk injury.
Do not use this machine anywhere containing flammable liquids and/or volatile gases.
1. Keep your working area clean. Untidy working zones and busy workbenches invite injuries.
2. Avoid a dangerous environment. Do not expose machines to rain and not use them in wet places. Ensure your
working zone is well lit. Do not use the machine where there is gas or flammable liquids.
3. Protect yourself from electric shocks. Avoid touching earthed surfaces.
4. Keep children and visitors well away from the working area.
5. Tidy up any tools not in use. When tools are not used, they should be kept in a dry, locked place, out of reach of
children.
6. Do not force the machine. It will work better when used with the pressure it was designed for.
7. Use the correct tools. Do not force a small tool to do the work of a bigger tool. For example, do not use a circular
saw to cut branches or logs.

4
8. Wear appropriate clothing. Avoid loose clothing, and remove jewellery which could become caught in moving parts.
Non-slip shoes are particularly recommended when working outside. Keep long hair tied up.
9. Always wear safety glasses. Also wear a mask if operating the machine creates dust.
10. Do not mistreat the power cord. Never use the power cord to pull out the plug. Keep the power cord away from
heat, oil and sharp edges.
11. Do not bend over the machine. Keep your balance at all times.
12. Keep tools in good condition. Clean tools to obtain the best results with them. Follow instructions to grease and
change accessories. Regularly check the power cord and replace it if damaged. Keep handles dry, clean and free
from oil and grease.
13. Disconnect the tool when not in use, before the maintenance and while changing accessories such as blades,
drills, etc.
14. Remove all maintenance tools. Get used to checking that all maintenance tools are removed before using the
machine.
15. Avoid accidentally starting the machine. Make sure that the switch is in the "OFF" position before connecting the
power.
16. If the machine is used outside, use only extension leads designed for outdoor use.
17. Be observant. Use common sense when operating machinery. Do not use the tool when tired.
18. Inspect parts before use. Before continuing to use the tool, inspect any protective parts) which could be damaged
to make sure that they work well. Verify that the moving parts are properly aligned, and are not jammed or broken.
Check the assembly and any other conditions which may affect the correct functioning of the machine. Any
damaged part or guard must be repaired or replaced by an approved after-sales service centre. Do not use the
tool if the switch does not work correctly.
19. Warning: the use of any non-recommended accessory can present a health risk.
20. Have the machine repaired by a qualified person. This machine is built according to relevant safety requirements.
Repairs must only be made by a qualified person using original spare parts, otherwise it may be very dangerous
for the user.
21. Keep these instructions.

5
SPECIFIC SAFETY INSTRUCTIONS FOR SPINDLE SHAPERS
1. Before connecting the machine to the power supply, ensure that all safety items are in their active positions and
check that they function correctly. If it is necessary to remove the doors or protective covers, turn off the switch
and disconnect the plug from the socket.
2. Kick-back catchers must be able to move freely and their functioning must be checked regularly.
3. Do not connect the machine to the power supply while the door or protective cover are removed.
4. Acquaint yourself fully with the locations of all switches before turning the machine on.
5. Memorise the location of the emergency stop switch so you can use it promptly at any time.
6. Take care to not touch any switches accidentally while the machine is being operated.
7. Do not touch any rotating tool by hand or any other object, under any circumstances.
8. Before performing any maintenance work inside the machine, switch it off and disconnect it from the mains
supply.
9. Do not alter the machine from its factory specification in any manner which may risk its safe operation.
10. If you are in any doubt about a procedure with the machine, contact a qualified person.
11. Ensure you regularly inspect the machine in accordance with the instructions.
12. After your work with the machine is finished, adjust and clean the machine so it is ready to be used again.
13. If the power supply fails for any reason, switch off the machine immediately.
14. Do not paint, allow to become dirty, damage, alter or remove the safety plates. If they become illegible or are
lost, contact the manufacturer for replacement plates.
15. This machine must not be used for curved work.

6
SPECIFICATIONS
Motor input : 1500W –240V (2hp)
Motor output : 1100W
Diameter of spindle : 30mm
Spindle travel : 80mm
2 speed : 4500, 6500rpm
Length of spindle : 80mm
Max. diameter of spindle : 144mm
Dimensions (h x l x d) : 1102x800x885mm
Dimensions of carriage (h x l x d) : 145x650x225mm
Weight : 106.5kg
NOISE CONDITIONS
The noise emitted, measured in conformity with the standards EN 3744 and EN 11201, is:
Sound pressure level No load - LpA = 81.7 dB(A), Load - LpA = 89.5 dB(A)
Sound power level No load - LWA = 94.5 dB(A), Load - LWA = 103 dB(A)
Noise levels are emission levels and do not necessarily indicate safe working conditions. Even if
there is a connection between emission levels and exposure levels, the first cannot be used to
determine safety if other precautions are necessary. The factors that can influence the actual
exposure level of the operator include exposure length, environment features and other sources
of noise, as for example the number of machines and operations present. Besides, exposure
levels can change from country to country. However, these instructions enable the user of the
machine to better evaluate the dangers and risks.

7
ELECTRICAL CONNECTIONS
EXTENSION CORDS
Before using an extension cord, ensure the insulation is not cut or worn. Immediately repair or replace a damaged
or frayed cord.
ATTENTION :
Extension cords must be removed from the work area or located so that they will not get caught in parts, tools or other
objects while using the tool.
ELECTRICAL CONNECTION
Your spindle shaper must be connected on an electrical supply of 240V, 50 Hz. If your machine does not work when
it is connected please check your electrical supply.
EARTHING INSTRUCTIONS
In case of malfunction or short circuit, grounding provides a path of least resistance for electric current to reduce the
risk of electric shock. This tool is equipped with a power cord with an earthing conductor and a grounding plug. The
plug must be plugged into a matching outlet that is properly installed and grounded in accordance with all local codes
and regulations.
Do not modify the plug provided. If it does not fit into the outlet, have a proper outlet installed by a qualified electrician.
Improper connection of the grounded equipment can result in a risk of electric shock. The green wire with or without
yellow stripes is the earth wire. If repair or replacement of the power cord is necessary, do not connect the grounding
conductor to a live terminal.
If the earthing instructions are not completely understood, check with a qualified electrician or a person responsible
for maintenance, or if there is any doubt that the tool is properly grounded.
If the power cable is damaged, it must be replaced by the manufacturer, after sales service or similarly qualified
persons in order to avoid a hazard. Do not operate the tool with a damaged power cable.
This machine is intended for use on an electrical circuit with a wall outlet and earthing pin.

8
ENVIRONMENTAL PROTECTION
The crossed-out wheeled bin means that within the European Union the product must be taken to separate collection at
the product end-of-life. This applies to your device but also to any enhancements marked with this symbol. Do not
dispose of these products as unsorted municipal waste.
The European directive DEEE concerning the environment, states that iIt is forbidden to dispose of used
electric or electronic devices in household waste.
They must be taken to a compatible recycling facility.
ATTENTION:
The manufacturer reserves the right to change specifications without notice.
Images are supplied for information purposes only. Actual machine and accessories may differ in appearance.
SYMBOLS
Always wear protective goggles when
using this machine.
Read and understand the instruction
manual before using the machine
Always wear a protective mask if the
operation is dusty.
Always wear ear defenders when using
the machine.
Heavy lift. Transporting the machine
requires two people.
Product meets relevant CE standards.

9
TRANSPORT AND STORAGE
While transporting or handling the machine, take utmost care.
When loading or unloading the machine, ensure that no-one is crushed by the machine! Do not walk under the machine
while it is being lifted by a crane or high-lift trolley.
During transportation, precautions must be taken to protect the machine against excessive vibration and humidity. It
should be stored in a shelter a temperatures ranging from -25°C to 55°C. The machine is packaged in a plastic tray
as standard and is transported this way.
Lifting the machine
The machine or its individual parts may only be lifted by means of an approved lifting devide with verified lifting capacity.
1. Prepare a high-lift truck (D) or a manual lifting carriage (F) with sufficient
lifting capacity.
2. Put the forks (G) below the machine as shown in Fig. 1.
If you are using a crane (E) or similar hoisting equipment, proceed as
follows :
1. Prepare four lifting belts (H) or steel ropes at least 2m long with
sufficient lifting capacity.
2. Fix the ropes to the hook of the crane with the required capacity.
3. Place the other end of the ropes on lifting rods under the machine (lifting
rods not included)
4. After lifting the machine slightly, check the stability of the machine as it hangs from the ropes.
5. Lift the machine carefully and slowly, moving it without any rapid changes of pace.

10
MACHINE INSTALLATION
Remove the protective coating from the working tables and other parts of the machine either with paraffin oil or any
similar solvent. Do not use petrol or similar solvents as they can result in reduced corrosion resistance for certain parts
of the machine.
The spindle shaper is packaged with the following parts :
Spindle ring x 18
Table ring x 2
Fence assembly x 1
22m A/F spanner x 1
Working Area
The working area size required depends on the type of machine, assumed working operations and size of material
being machined.
It is important to maintain free space of 0.8m around the machine to allow room to work. If long material is being
machined, it is necessary to have sufficient room in from the of the machine as well as behind it, where the material
enters and leaves the machine.
Ensure you leave enough space to connect a dust collector to the machine.
Connecting an Extraction System
Only use the machine with an extraction system fitted. To ensure the
proper functioning of the spindle shaper, connect an extraction system
with minimum exhaust capacity for dry particles of 570m3per hour and
minimum air flow of 20m/s, and for wet particles 790m3per hour exhaust
capacity and 28m/s minimum air flow.
Switch on the machine’s drive and extraction system at the same time.
Use a flexible hose of 100mm diameter. The exhaust hose is fitted onto
the outlet from the moulding tool cover, which also forms the exhaust
connector (A). See Fig. 2.
Connecting to the mains power supply
Damaged power supply cables must be replaced by a qualified specialist immediately. Operating the machine with
damaged cables poses a serious risk of injury.
Before using the machine, ensure the voltage and frequency specified on the machine plate comply with the value of
the main supply it is connected to.
Over voltage protection should be provided by the user.

11
Before adjusting or replacing any tools and before making any adjustments, alterations or maintenance, always turn
off the switch and disconnect the the plug from the mains supply.
This machine my be earted. Inspect it and ensure the socket is reliably earthed.
Direction of Rotation
Viewing the machine from above, the spindle rotates anticlockwise.
OPERATING AND ADJUSTING THE SPINDLE SHAPER
Spindle Height
Set the height of the spindle by means of the hand wheel located on the rear right side
of the stand and secure it with the arresting screw. Select the suitable number of table
rings according to the tool used.
Speed Change
The machine can be operated at 6500rpm (lower pulleys) or 4500rpm (upper pulleys).
To change the spindle speed, loosen the lock handle (A) and pivot the motor assembly
toward the spindle. Reposition the belt to the desired speed and tension the knob (B).
Lengthwise Moulding
Tool : use suitable tools with a defined thickness of the chip for manual
feeding.
Working cycle : while test moulding is being performed, start working with
a workpiece of sufficient length, width and height. It is important to prevent
blocking of the machine, or to use a safeguard against kickback adapted
to the workpiece dimensions. In order to prevent kickback it is necessary
to use back and/or front end stops fixed to the fence, table or extension
table.
Never set the rulers while the machine is being operated.
While working, perform the lateral adjustment of the fence plates, keep tool opening to a minimum, lock the fence
plates and adjust the fine adjusting handle to set the required chip (wood removal) and lock tghe station using the

12
locking knob.
Keep the pressure pads firmly and evenly in contact with the table and the fence plates along the guide ruler.
The cutting speed must exceed 40m/s in order to reduce the risk of kickback but must not exceed 70m/s in order to
reduce the risk of tool damage.
Adequate general or localised lighting must be used when operating the machine.
Moulding of workpieces with a small cross-section
Tool : select the tool suitable manual feeding.
Working cycle : adjust the moulding machine and put both halves of the
ruler close to the tool. Machine the material using only a pusher. Choose
the size of the pusher so that it can be help comfortably.
Protective Aids
Eye protection is required when working with the machine. It is advisable to wear ear protectors and working shoes.
Overalls should not be worn.
The user must not :
Perform any alteration of the machine’s safety items without the manufacturer’s permission.
Perform any work inconsistent with the safety instructions in this handbook.
Touch the tool or near it, or any other moving parts.
Machine materials other than wood or those based on wood.
Overload the machine while machining large, semi-finished products.
Remove any chips near the tools by hand or with any object while the machine is being operated.
Use tools other than those supplied with the machine or recommended by the manufacturer.
Using the Fence as a Guide
Shaping with the fence is the safest and most satisfactory method of working. This method should always be used
when work permits. Almost all straight work can be used with the fence.
1. For most work, where a portion of the edge of the work is not
touched by the cutter, both the front and rear fences are in a
straight line, as show in Fig. 8.

13
3. When the shaping operation removes the entire edge of the work (ie
jointing or making a full bead), the shaped edge will not be supported
by the rear fence when both fences are in line, as shown in Fig. 9. In
this case, the workpiece should be advance to the position shown in
Fig. 9 and stopped.
4. The front fence should be advanced to make contact with the work as
shown in Fig. 10. The rear fence will then be in line with the cutting
circle.
Shaping with Collars
Follow these rules when shaping with collars for safest operation and best results :
1. Collars must be smooth and free from all gum or other substances.
2. The edge of the work must be smooth. Any irregularity in the surface,
which rides against the collar, will be duplicated on the shaped
surface.
3. A portion of the work’s edge must remain untouched by the cutter so
that the collar will have sufficient bearing surface. See Fig. 11 for an
example of insufficient bearing surface.
4. Fig. 12 iillustrates sufficient bearing surface.
5. Under no circumstances should a small workpiece be shaped against
the collars as shown in Fig. 13.

14
Collar Positioning
Collars may be positioned above, below or between two cutters.
When using the collar below the cutter, as shown in Fig. 14, the progress
of the cut can be observed at all times. A disadvantage of this method is
that any accidental lifting of the work will gouge the wood and ruin the
workpiece.
Using the collar above the cutter, as shown in Fig. 15, offers the advantag
of the cut not being affected by slight variations in the stock’s thickness. However, the cuti s not visible during the
operation. Another advantage is that accidental lifting of the workpiece will
not gouge the workpiece. Simply correct the mistake by repeating the
operation.
The collar between cutters method, shown in Fig. 16, has both the
advantages and disadvantages of the first two methods. This method is
used primarily where both edges of the work are to be shaped.
The machine cannot be used for tenoning!
TOOLS
Replacement of Moulding Tools
Only use moulding tools that are designed for manual feeding and may be clamped
firmly and safely. Only tools confirming to EN847-1 :2005 and marked MAN shall be
used.
Before mounting tool (A) make sure that spacing rings (E) are clean and not
damaged. Make sure that the fastneing method is proper. The moulding tool is fixed
and clamped by bolt (nut) (C), throgh spindle ring (D) and spacing rings (E) on the
moulding spindle. Adjust the hole in the table according to the diameter of moulding
tool (A) by table rings (B).
When installing the moulding tools, the cover of guard needs to be opened. Loosen
the two locking knobs (F) to open the cover. After installation, close the cover and
lock it through the locking knobs.
WARNING! Always close the guard cover and lock it securely after tools are
installed.

MAINTENANCE
Before starting maintenance or repair work, always disconnect the machine from the mains supply. Turn off the
machine and remove the plug from the power socket.
It is necessary to ensure the V-belts are always kept tight.
The machine should be cleaned regularly. The rods, pins, threads and other parts liable to be rusty should be
lubricated with suitable oil. The interval for such maintenance will depend on the manner of work the machine is being
used for, but it should be performed at least once a month.
The bearings of the electrical motors and moulding spindle have permanent grease filling, are closed on both sides
and do not require any lubrication.
Avoid contamination of belts with oil or grease. If this occurs, clean the belt with paper only, or dry it.
Removing the dust is best done with a vacuum cleaner. Perform this activity regularly, at least once a week.
TROUBLESHOOTING
No faults should occur while the machine is used correctly and maintained duly. If the extraction hose is blocked with
chips, the machine should be switched off before handling. If a workpiece becomes jammed, turn the machine off
immediately. A blunt knofe often causes the electric motor to overheat. If the machine vibrates excessively, check its
setting and anchoring, possibly also clamping and balancing of the tools used.
Problem
Possible Causes
Solutions
Shaper will not start
Fuse blown or circuit breaker
tripped
Cord damaged
Cord unplugged from the power
supply
Reversing switch is in the OFF
position
Replace fuse or reset circuit breaker
Replace cord
Plug in power cord
Turn switch to forward or reverse
Overload kicks in frequently
Extension cord or wiring is of
inadequate size
Feeding stock too fast
Cutter head is dull
Replace cord or wiring with proper
gauge wiring
Reduce stock feed rate
Use only sharp cutters
Cutter does not come up to full speed
Shop wire gauge is too small
Extension cord too light or too
long
Power source is not adequate
Replace ord or wiring with proper
gauge wire
Replace with adequate size cord
Contact local electrical supplier
Cuts are unsatisfactory
Dull cutter
Gum or pitch on cutter
Cutterhead rotating in the wrong
direction
Feeding work in the wrong
direction
Replace cutter
Remove cutter and clean with solvent
Check for proper rotation on startup
Feed work against the cutter rotation

Machine vibrates
Cutterhead damaged
Stand is on uneven surface
Defective V-belt
V-belt incorrectly tensioned
Bent pulley
Motor mounted improperly
Replace cutterhead
Stand must rest solidly on level
surface, bolt to floor if necessary
Replace V-belt
Apply proper tension
Replace pulley
Motor must be properly mounted with
snug nuts and bolts
Edge splits off on cross grain cut
Characteristic of this type of cut
Make cross grain cuts first, then finish
cut with the grain
Use scrap block to support end of cut
Raised areas on shaped edge
Variation of pressure holding
work against cutter
Hold work firmly against table and
fence
Use holddowns
Work pulled from hand
Feeding work in the wrong
direction
Always feed work against the rotation
of the cutterhead
Depth of cut not uniform
Fence misalignment
Side pressure not uniform
Align outfeed fence
Use holddowns; keep constant
pressure against fence
Work burns
Cutting too deep on one pass
Forcing work
On hardwoods take light cuts; attain
full depth with several passes
Feed work slowly and steadily

PARTS DIAGRAMS


Table of contents
Other Fox Power Tools manuals