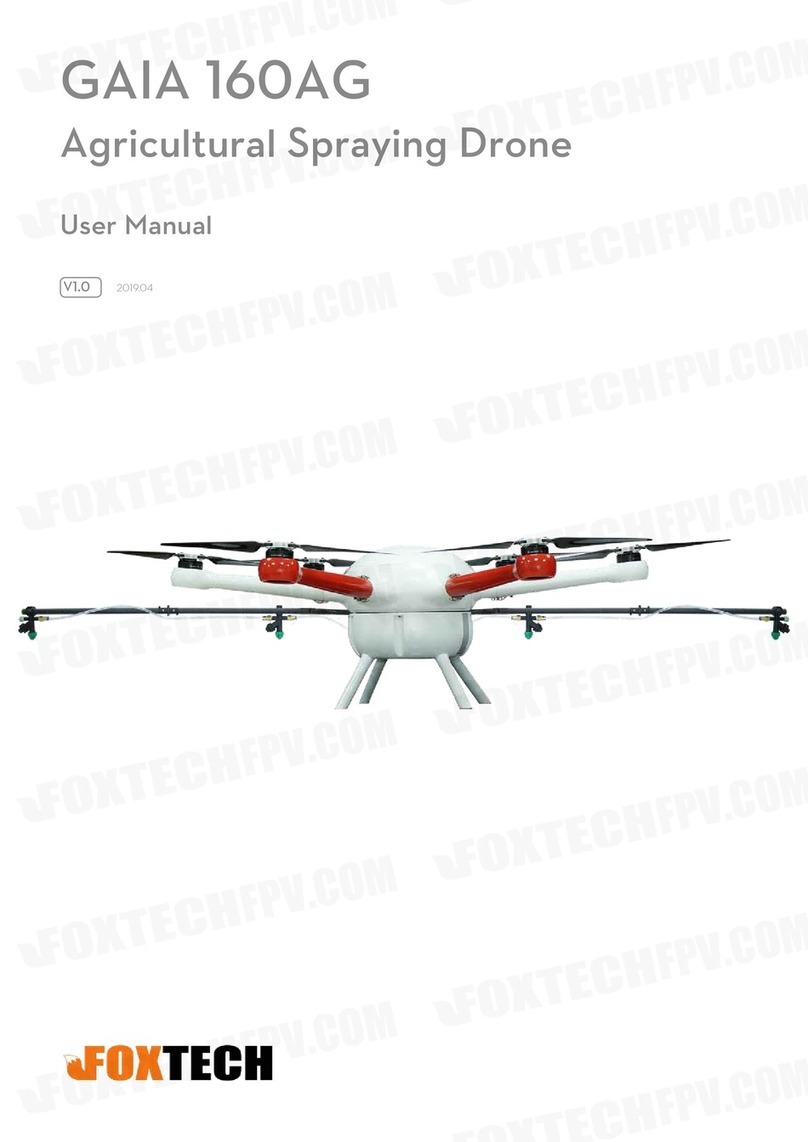
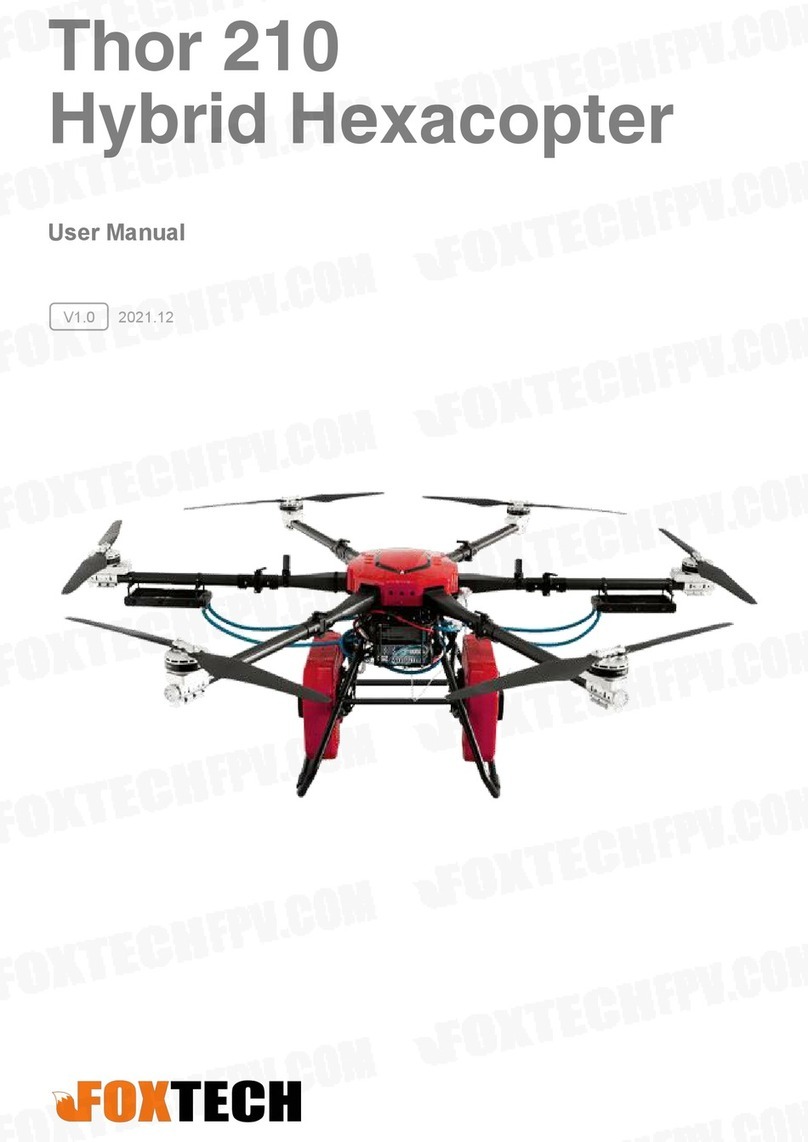
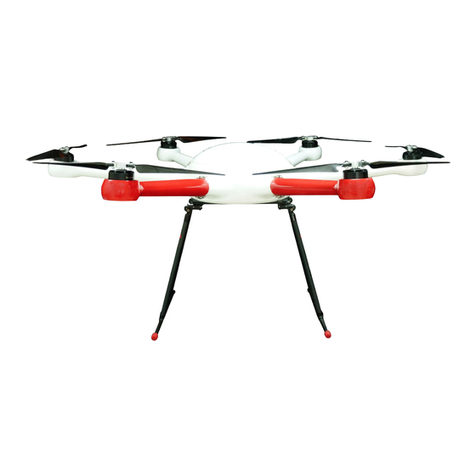
Foxtech GAIA 160AG User manual

User Manual
V2.0
GAIA 160AG
Agricultural Spraying Drone
2020.10

GAIA 160AG-Agricultural Spraying Drone User Manual
©2020 FOXTECH All Rights Reserved 1
Specications
BasicTheory
FlightOperation
Operation Environment
Pre-Flight Checklist
Compass Calibration
Flow Calibration
RemoteController
Installation
PALADINFlightControllerSet
System Supporting List
Flight Controller System Connection Diagram
Interface Denition
Status Indicator Description
GroundStationSetting
Installation
Equipment Connection
Function Introduction
Route Planning
Ready to Take O
2
4
5
5
5
5
6
8
9
10
10
11
12
14
16
16
16
18
23
26
Contents

GAIA 160AG-Agricultural Spraying Drone User Manual
©2020 FOXTECH All Rights Reserved 2
Aircraft
Structure
Item Name
Material
Shipping Dimension
Shipping Weight
Wheelbase
Max. Take-off Weight
No-load Weight
Load Pesticides
Flying-time
The Altitude of Spraying
Spraying Swath
Spraying speed
Operation Efficiency
Suggested Battery
Flight Controller
Remote Controller
GAIA 160AG-Agricultural Spraying Drone
Carbon Fiber
1260x440x460mm
35kg
1600mm
46.5kg
24kg
22.5L
18min(4x 6s 16000mah)
1-5m
>5m
2-6m/s
10ha/h(max)
Foxtech 6s 16000mah x4
PALADIN Flight Controller
DA16S+
Specifications

GAIA 160AG-Agricultural Spraying Drone User Manual
©2020 FOXTECH All Rights Reserved 3
Dimension

GAIA 160AG-Agricultural Spraying Drone User Manual
©2020 FOXTECH All Rights Reserved 4
Basic Theory
GAIA 160AG agriculture spraying drone is a high performance aircraft capable of offering comprehensive
solutions for agricultural care. GAIA 160AG is made of carbon fiber material which features light weight and
high strength, the top cover of the fuselage and the tank are made of glass fiber. The frame weight if about
7.25kg. The arm of GAIA160 series hexacopter is pluggable, both the cover and arms can be locked with
the quick locking hooks.
The big fuselage of GAIA 160AG makes it possible to install many equipments eg. battery, Gps, flight control
system. And all the wires are built into the fuselage. The closed fuselage structure can protect the GAIA
160AG hexacopter from the rain and dust, and also protect other load equipments.
This GAIA 160AG is equipped with a 2.8 meter long tube with four nozzles. The new water-saving nozzles
could save the pesticide and improve the efficiency of spraying at the same time. This GAIA 160AG has a
grid pesticide container which can prevent the liquids sloshing in the flight. The capacity of pesticide tank
is 22.5L, so do not need to add pesticide frequently. The propeller vortex can help the GAIA 160AG evenly
spraying the pesticide on the front and back of the plant leaves.
The GAIA 160AG is equipped with powerful motor and high efficiency 30 inch folding propeller, the max
lift of one rotor can reach 13kg. The total thrust is over 70kg. The GAIA 160AG supports both manual and
automatic flight, it can achieve automatic spraying by the planned flight paths. The motor and ESC use the
water-resistant design, and can be applied in different weather conditions. Because of the large liquids load
the efficiency of GAIA 160AG is twice as much as other aircraft with 10L payload.
Equipped with PALADIN flight controller set, GAIA 160AG can take off and land easily with one button.
Adopting reliable algorithm, PALADIN flight controller ensures stable flight attitude of the drone. The
microwave radar module can provide high-precision altitude information, so that GAIA 160AG will fly above
the crops at a constant spraying distance to ensure uniformity of the pesticide spraying. GAIA 160AG is able
to spray precisely by using flowmeter. The radio controller is DA16S+ with datalink and radiolink built inside,
reaching up to 8km transmission distance. All these make pesticide spraying work more efficiently and
safely.
Version Upgrade: The legs of GAIA 160AG are lengthened to provide more space for installation of various
spraying equipment.
GAIA 160AG-Agricultural Spraying Drone User Manual
©2020 FOXTECH All Rights Reserved 5
FlightOperation
Operation Environment
Pre-Flight Checklist
Compass Calibration
1.DO NOT use the aircraft in adverse weather conditions, such as heavy rain, high winds, fog, snow,
lightning, tornadoes, or hurricanes.
2.Only fly in open areas. Tall buildings and steel structures may affect the search for satellite signals.
3.Maintain line of sight of the aircraft at all times, and avoid flying near obstacles, crowds, animals, trees,
and bodies of water.
4.Avoid flying in areas with high levels of electromagnetism, including mobile phone base stations and radio
transmission towers.
5.DO NOT operate the aircraft indoors.
1. Ensure that all parts are mounted correctly and firmly.
2. Ensure that the ESCs and receiver are connected correctly and firmly.
3. Ensure that the spraying hoses are without any blockage.
4. Test if the nozzles work normally.
Ensure the compass is calibrated before every flight. Failure to calibrate may lead to poor flight performance
or a crash.
1. DO NOT attempt to calibrate your compass where there is a chance of strong magnetic interference.
This includes areas where there are massive metal objects, parking structures, steel reinforcements
underground, or under bridges.
2. DO NOT carry ferromagnetic materials with you during calibration, such as keys or mobile phones.
3. The compass should always be calibrated when moving from indoor spaces to outdoor spaces.
4. After successful calibration, the compass may become abnormal when you place the aircraft on the
ground. This may be because of underground magnetic interference. Move the aircraft to another location
and try again.

GAIA 160AG-Agricultural Spraying Drone User Manual
©2020 FOXTECH All Rights Reserved 6
Calibration Procedures
Choose an open space to carry out the following procedures.
1.Hold and rotate the aircraft horizontally 360 degrees, as shown below:
Note: During the rotation, try to keep the drone as stable as possible.
2.Hold the aircraft vertically with nose pointing downward, and rotate it 360 degrees around the center axis,
as shown below:
Flow Calibration
When spraying for the first time, be sure to perform flow calibration, otherwise it will seriously affect the
operation. Always use the measuring cup in the package for water injection to ensure accuracy. The entire
calibration process takes approximately 6 - 14 minutes, please be patient.
1. Preparation before calibration: Exclude pipe air (if it is excluded, flow calibration can be performed
directly)
((1) Add approximately 2 L of water to the work box.
((2) 2 Turn on the remote control and connect the aircraft to the power source.
((3) Open the four pressure relief valves, short press the remote control spray button to turn on the spray
until the air in the pipe is exhausted*, then close the pressure relief valve and stop spraying.
* If the air cannot be removed for a long time, completely unscrew the pressure relief valve cover to remove
it, and drain the air before replacing the cover.
2. Flow calibration
((1)(level gauge calibration
Add approximately 1 L of water to the pesticide tank. Go to the App's job interface, click > , and click
the “Calibrate” button on the right side of the flow.

GAIA 160AG-Agricultural Spraying Drone User Manual
©2020 FOXTECH All Rights Reserved 7
In the pop-up menu, select “Nozzle Model” (recommended to use the nozzles listed in the menu, otherwise
the calibration may be biased), then click “Start Calibration”, the aircraft will automatically spray until the App
prompt to enter the liquid pump L calibration.
((2)(liquid pump L calibration
Accurately measure 1 - 5 L of water using a measuring cup and add it to the pesticide tank.
Enter the amount of water in the pesticide tank on the App. It is important to ensure that the actual amount
of water is the same as the input value, otherwise the calibration will be biased. Click “Start Calibration” and
the aircraft will automatically spray to the App to enter the liquid pump R calibration.
((3)(liquid pump R calibration
Same as the liquid pump L calibration procedure. App prompt Pump R calibration is complete, wait for a
while until the App prompts “Flow Calibration Complete” and the entire calibration process is complete.
3. Perform the steps to remove the duct air again and then start the normal spray operation.
During the calibration process, click > to cancel the calibration. The flow accuracy is the data before
this calibration.
Need to recalibrate
1. Replace the nozzles of different models. Note: After replacing the nozzle, you need to select the
corresponding nozzle in the App option. Enter the operation interface, click > to select the nozzle
model.
2. Replace the liquid with different consistency.
3. After the first task is completed, the error between the actual working area and the theoretical working
area is more than 15%.

GAIA 160AG-Agricultural Spraying Drone User Manual
©2020 FOXTECH All Rights Reserved 8
RemoteController
2. Button/Switch Types
Name Type
SA 3 Positions; Alternate; Short Lever
SB 3 Positions; Alternate; Long Lever
SC 3 Positions; Alternate; Long Lever
SD 3 Positions; Alternate; Short Lever
LD Self-centering Dial
RD Self-centering Dial
Name Type
S1 Self-return Button
S2 Self-locking Button
S3 Self-locking Button
S4 Self-return Button
S5 Self-return Button
S6 Self-return Button

GAIA 160AG-Agricultural Spraying Drone User Manual
©2020 FOXTECH All Rights Reserved 9
Installation
1.Ensure all parts are in good condition.
2.Mount the parts to your airframe and connect them properly.
3.Launch the Boying Mobile Ground Station and configure the parameters.
4.Ensure the motor, remote controller channels and Failsafe settings are correct.
5.Ensure the devices connected to the flight controller are working normally and correctly set in Boying
Mobile Ground Station.
Remember to select the corresponding airframe type in Boying Mobile Ground Station after assembling the
airframe and connecting the cables.
The arrow directions in the above diagram indicate the rotation direction of the motor/ propeller. Dark
colored arm (s) indicate the direction of the aircraft’s nose.
For coaxial propellers, dark colored propellers are at the top and gray colored propellers are at the
bottom. Otherwise, all propellers are at the top.

GAIA 160AG-Agricultural Spraying Drone User Manual
©2020 FOXTECH All Rights Reserved 10
PALADINFlightControllerSet
System Supporting List
Master control
High-precision and high-sensitivity GPS with positioning and orientation module using
external compass
Power conversion and monitoring module, allowing 6S~12S
Flight indicator
Ultrasonic sensor, which is used for imitate-terrain flight and fixing height at low attitude
Level sensor, which is suitable for agriculture and plant protection unmanned aerial
vehicle users
Flowmeter for precision spraying

GAIA 160AG-Agricultural Spraying Drone User Manual
©2020 FOXTECH All Rights Reserved 11
Flight Controller System Connection Diagram
This is the schematic of flight controller and peripheral equipment during installation(you must pay attention
to the direction of interface and install the interface firmly to avoid virtual connection. Diagram 2.2 is the
schematic.
Power System Description
Power supply range of Version 2 flight controller power module: DC 24V(6S)~50V(12S);
Power supply range of RTK base station: DC 24V (6S)~50V(12S)
Power supply range of RTK board: DC 12V (3S)~50V(12S)
Power supply range of water pump module: Input DC 24V (6S), Output DC 12V

GAIA 160AG-Agricultural Spraying Drone User Manual
©2020 FOXTECH All Rights Reserved 12
Interface Denition
The panel layout of Paladin interface is as the picture shows.
Interface definition picture on the front panel

GAIA 160AG-Agricultural Spraying Drone User Manual
©2020 FOXTECH All Rights Reserved 13
Chart 2.1 interface board description
Name
BY-RTK
LEVEL1
LEVEL2
RADAR
RADIO
LED
POWER
Use Instructions
Difference airborne terminal.
Contactless level gauge.
Reserved
Radar
Data transmission radio
External indicator.
Power interface.
Remarks
It should be pasted at the bottom of
medicine box with free nail glue.
There should be nothing blocked in the
range of 15 below the radar, and it needs
to be far away from the satellite navigation
module.
It needs to be far away from the satellite
navigation module.
If the external indicator is accessed,
indicators on motherboard of the flight
controller won’t work.
Input: 6S~12S, Output: DC 5V
Interface definition picture on the back panel.

GAIA 160AG-Agricultural Spraying Drone User Manual
©2020 FOXTECH All Rights Reserved 14
Interface name
S.BUS
CH1~CH8
PUMP/NOZ
BUP-POW
Use instructions
Receiver interface.
Output Port of motor signal.
Pump/Centrifugal nozzle
signal port.
Backup power
Remarks
CH1~CH8 correspond to NO.1~8 motor. The signal
line splits into two, the shorter part links motors with
odd numbers and the longer part links motors with
even numbers.
The longer wire links the pump and the shorter links
the centrifugal nozzle.
Status Indicator Description
Here is Paladin’s status indicator,

GAIA 160AG-Agricultural Spraying Drone User Manual
©2020 FOXTECH All Rights Reserved 15
Number
1
2
3
4
5
6
7
8
9
10
11
12
13
14
15
16
17
Status of RGB
Light is not on.
Lights of all colors are always on, and
it cannot connect with the ground
station.
The red light and the white light flash
alternately.
The red light, the yellow light, the
blue light and the green light flash
alternately. (in low brightness)
The red light, the blue light and the
green light flash alternately.
Only the yellow light flashes once.
Only the yellow light flashes twice.
Only the fuchsia light flashes once.
Only the fuchsia light flashes twice.
The fuchsia light flashes quickly.
The red light is always on.
The red light and the yellow light flash
alternately.
Only the blue light flashes once.
The blue light is always on.
Only the green light flashes once.
The green light is always on.
The green light flashes quickly.
Malfunction status
It’s crashed.
The flight controller
is initializing.
The equipment is
not calibrated.
The equipment is being
calibrated or tested.
Remote control failure.
Low power.
Magnetic compass failure.
Accelerometer failure.
Other failure before unlocking.
The log storage evice failure.
GPS failure.
Cannot find GPS and
being locked.
Cannot find GPS and
being unlocked.
Can find GPS and
being locked.
Can find GPS, and
being unlocked.
GPS is working with
high precision.
Instructions
Line fault or light fault
Remote control, compass and
accelerometer.
Motor test or ESC test
The gyro is not working properly.
If the blue light is on, it means
that there is no problem with the
equipment.
If the green light is on, it means
that there is no problem with the
equipment.
Paladin has three kinds of working status: one is the normal status, one is the calibration status and
the other is the protect status. Among them, the calibration status and the protect status mean that
the equipment is not working properly, you must pay attention to it!

GAIA 160AG-Agricultural Spraying Drone User Manual
©2020 FOXTECH All Rights Reserved 16
Installation
Operating environment: WIN2000, WINXP, WIN Vista, WIN7, WIN8, WIN10
First, if you want to install it in Win10 system, it needs digital certificate authentication; the specific operation
is as follows:
1) Click “settings” ”update and safety”
2) Click ”recover”->” advanced startup” -> ”restart immediately”
3) After restart, click “troubleshooting”-> ->”advanced options”->”startup settings”->”restart” follow the
prompts to enter 7 to forbid drivers to force signatures Then, install the ground station software:
1) Click “ByAero.exe”
2) Choose the installation path
3) Follow the prompts
4) Finish
Finally, if you need to connect the flight control to the ground station using USB cable, please make sure
that you have chosen the right driver, as shown below:
GroundStationSetting
Equipment Connection
1.Click “Not connected”(will pop up the following dialog box, select “Connect” to connect the drone,
“Connect handheld mapping device” to connect the handheld mapping device, “Connect RTK mapping
device” to connect RTK mapping device, “Connect RTK onboard” to connect RTK air unit.

GAIA 160AG-Agricultural Spraying Drone User Manual
©2020 FOXTECH All Rights Reserved 17
2.Select the corresponding address based on the paired Bluetooth device.
3.Waiting for the drone to be connected (voice prompt).

GAIA 160AG-Agricultural Spraying Drone User Manual
©2020 FOXTECH All Rights Reserved 18
Function Introduction
1.Main interface function.
2.Click “Display Seetings”, the user can select the parameter item you need (up to 6 items).

GAIA 160AG-Agricultural Spraying Drone User Manual
©2020 FOXTECH All Rights Reserved 19
Click ”Setting”, then will pop up the dialog box.
Task Statistics: the cumulative number of working acres(Mu) ,Dosage (L) and time.
Frame Type Setting(Select the drone type (it has been set at the factory, please do not change it(
Motor test: Input duration (recommended 3s-5s), throttle (recommended 10%-15%), then according to
the diagram, check whether the propellers of the multi-rotor motors are normal (please test away from the
crowd to prevent accidents).
Other manuals for GAIA 160AG
1
Table of contents
Other Foxtech Drone manuals

Foxtech
Foxtech AYK-250 VTOL User manual

Foxtech
Foxtech GAIA 190MP User manual

Foxtech
Foxtech RHEA 160 User manual

Foxtech
Foxtech Thor 210 User manual

Foxtech
Foxtech Baby Shark 260 VTOL User manual

Foxtech
Foxtech THEA 160S User manual

Foxtech
Foxtech AYK-350 VTOL User manual

Foxtech
Foxtech GAIA 160MP User manual

Foxtech
Foxtech KRAKEN 130 User manual

Foxtech
Foxtech Nimbus VTOL V2 User manual