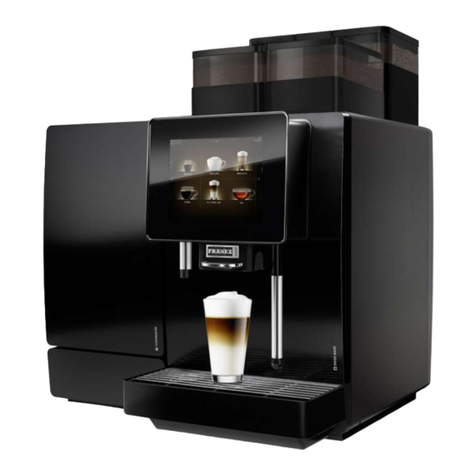
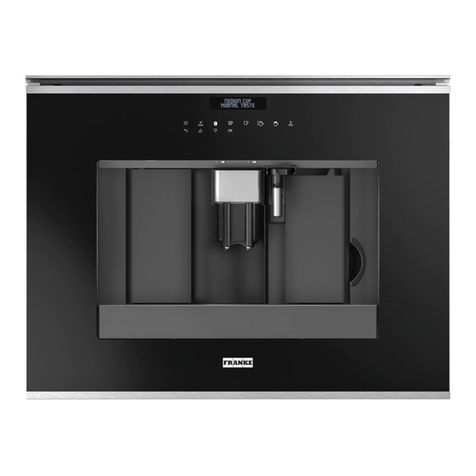
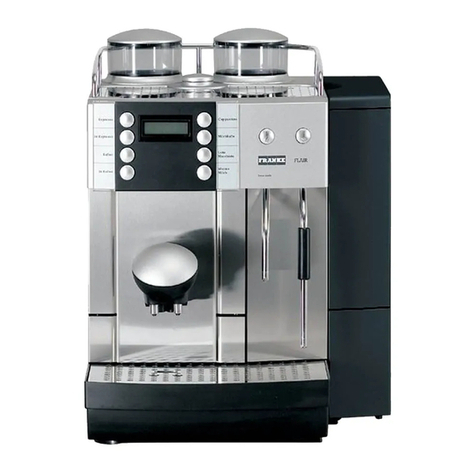
Franke H User manual

H
Original Operating Instructions
Read the operating instructions and the chapter on safety information before
operating the machine. Keep the operating instructions near the machine.


Page 3
SymbolS uSed in the operating inStructionS ........................................4
For your SaFety ...........................................................5
Scope oF delivery and identiFication..............................................7
Scope oF delivery ........................................................7
identiFication ...........................................................7
deScription oF the machine....................................................8
your Fully automatic coFFee machine ..........................................8
the controlS ...........................................................8
the SymbolS on the menu level ...............................................9
technical data .......................................................... 10
commiSSioning .......................................................... 11
preparing For commiSSioning .............................................. 11
FirSt-time commiSSioning ................................................. 14
daily commiSSioning .................................................... 16
preparing productS....................................................... 17
caring For the Fully automatic coFFee machine .................................... 19
conFiguration .......................................................... 28
Setting level menu tree .................................................. 28
decommiSSioning and diSpoSal ............................................... 33
decommiSSioning ...................................................... 33
diSpoSal ............................................................ 33
troubleShooting......................................................... 34
Table of contents

!
!
!
!
Page 4
Explanation of symbols
01 Steps displayed against a colored background must be performed according to the
mode or utilization of the machine.
01 Describes a step that you must perform.
This symbol indicates tips, shortcuts and additional information.
DANGER
Note
WARNING
CAUTION
NOTE indicates risk of damage to the
machine.
DANGER indicates potentially life-
threatening danger or the threat of
grave injury.
CAUTION indicates risk of minor
injury.
WARNING indicates risk of injury.
Explanation of symbols

Page 5
For your safety
Your coffee machine is designed exclusively for preparing coffee drinks and hot water in
accordance with these instructions and the technical data. The H is a coffee machine for
use in households, offices and similar environments. It is designed to process whole coffee
beans and fresh milk.
Important
•Do not operate the coffee machine or add-on units until you have completely read and
understood these instructions.
•Keep these instructions near your coffee machine.
•Each operator of the coffee machine must have read and understood these instructions.
•This unit can be used by children aged 8 and above and persons with reduced physical,
sensory or mental capabilities or lack of experience and knowledge when they are
supervised or with respect to the safe use of the equipment have been trained and
understand the resulting risks.
•Children are not allowed to play with the appliance. Cleaning and user maintenance must
not be carried out by children without supervision.
•Have the safety features checked regularly by our Service. Have the machine serviced
at regular intervals. Regular maintenance will ensure the safe operation and high
performance of your coffee machine.
•If the machines are sold or transferred to a third party, give the operating instructions to
the next user.
•The configuration of your coffee machine may differ from that shown in the instructions.
Please refer to your purchase agreement.
•Additional accessories may be obtained directly from your retailer or from FRANKE
Kaffeemaschinen AG in Aarburg, Switzerland.
•You will find statements regarding the conformity of your coffee machine in the
accompanying Declaration of conformity.
For your safety

!
!
Page 6
For your safety
Damage from water!
The coffee machine is not protected against water jets.
•Avoid using water jets for cleaning and do not use high-pressure cleaners.
•Do not immerse the machine under water for cleaning.
Damage to the coffee machine
•Do not expose the machine to the elements, such as rain, frost or direct sunlight.
Danger of tripping over the power supply cable
•Never let the power supply cable hang loose.
NOTES
WARNING
Risk of injury, eye injury and damage to the machine!
Objects in the bean hopper or grinder may splinter and be ejected, leading to damage to
the machine or injury.
•Never put any objects in the coffee bean hopper or grinder.
DANGER
Risk of death by electrocution!
•Never operate a machine that has been damaged or has a damaged power supply
cable.
•If you suspect damage to the machine (for instance, a hot or burning odor), unplug the
machine from the outlet and contact your service technician.
•If the power supply cable becomes damaged, then it must be replaced by a qualified
service technician in order to avoid hazards.
•Ensure that the machine and power supply cable are not near any hot surfaces such
as gas or electric stoves or ovens.
•Ensure that the power supply cable is not pinched and does not rub against sharp
edges.
•The machine contains electrically conductive parts. Opening the machine can pose
risk of death. Never open or attempt to repair the machine yourself.
•Do not make any modifications to the machine that are not described in the operating
instructions.
•Repairs should only be made by a service technician using original replacement and
accessory parts.
Page 7
Scope of delivery and identification
Scope of delivery
Identification
Basic model
Item Name Item no.
Cleaning tablets (25 pcs.) BK 328 399
Clean solution 1L 301 219
Cleaning container
Operating instructions 1P 316002
Milk container (available as
accessory)
1P316000
Scope of delivery and identification

Page 8
Description of the machine
Intake hose
Button Operation Function
Rotary button Press
• Selects option
• Confirms input
• Press briefly 2x: 2 cups will be prepared
Rotary button Rotate • Scroll through the menu level
• Change value
Button >Press Jumps to next adjustable value
Exit button Press • Cancels procedure
• Goes up one level
The controls
Milk hose and drip
grid connection
Outlet (manually
adjustable height)
Outlet cover
(behind: frother)
Exit button
Rotary button
Bean hopper and
powder lid
(under cover)
On/Off switch
Drip tray and grounds
container
Button >
Display
Water tank
Standby button
Your fully automatic coffee machine
Description of the machine

01
06
07
08
12
02 03 04 05
15
14
13
11 0910
Page 9
Description of the machine
09 Number of cups
10 Coffee split
Milk foam split
11 Beverage size
12 Coffee strength
13 My Coffee
14 Hot water
15 Hot milk
Reference
no. Explanation of symbols
01 Espresso (selected)
02 Café Crème
03 Caffè Lungo
04 Cappuccino
05 Latte Macchiato
06 Care level
07 Maintenance level
08 Product selection and message
display
Reference
no. Explanation of symbols Effect / Information
09 Number of cups One or two cups can be prepared simultaneously
10 Coffee split For Cappuccino, Latte Macchiato and My Coffee
Hot milkMilk foam split
11 Beverage size Beverage becomes larger or smaller
12 Coffee strength 1 bean (very weak) - 5 beans (very strong)
Adjustable values during drink preparation
The symbols at the menu level

Page 10
Technical data
Bean hopper 250 g
Water tank 1.8 l
Grounds container 10 cakes
Electrical connection 220-240 V 50-60 Hz 1,465 kW Fuse: 7 A
Electric cable 1.20 m
Noise emission < 70 dB (A)
Weight 9.3 kg
Width 241 mm
Depth 491 mm
Height 334 mm
Water hardness max. 70 mg CaO/1 l water (7 dH, 13 °fH)
Chlorine content max. 0.1 mg/lWorld Health Organization: max. 0.5 mg/l
Ideal pH value 7
Ambient conditions Humidity: max. 80%
Ambient temperature: 10 - 35 °C
Technical data

i
!
Page 11
Commissioning
Commissioning
Risk of injury, eye injury and damage to the machine
Objects in the bean hopper or grinder may splinter and be ejected, leading to damage to
the machine or injury.
Never put any objects in the coffee bean hopper or grinder.
WARNING
02 Raise bean lid and add beans.
03 Replace bean lid and close cover.
01 Open cover on the right.
02
Fill bean hopper
01
Place fully automatic coffee machine on a stable, level
surface.
Keep the packaging for servicing tasks.
Remove fully automatic coffee machine from packaging.
Preparing for commissioning

i
!
Page 12
Commissioning
Connect milk container
CAUTION
Health risks due to spoiled milk!
If the machine is not cleaned regularly, milk residue may accumulate in the machine, clog
the dispensers or find its way into drinks.
Clean the refrigeration unit and the milk system at least once a day using the automatic
cleaning program.
Note
The quality of the milk may be impaired.
•Only use pre-cooled milk.
•Touch the intake hose only after sanitizing your hands, or wear disposable gloves.
You can also prepare milk products with your fully automatic coffee machine. Use
the milk container or the milk hose supplied and a container of your choice.
03 Replace grounds container and drip tray.
02
01 Pull the drip tray towards the front and take out the
grounds container.
Formation of mildew due to coffee residue
Empty and clean the grounds container at least once daily.
Note
Empty, clean and dry the grounds container.
Empty grounds container
Trays missing

i
i
Page 13
Commissioning
03 Screw the CLARIS water filter onto the thread in the
water tank.
02 Remove CLARIS water filter from the packaging.
Use the assembly aid on the powder spoon to install and remove the filter more
easily.
Use CLARIS water filters to protect your fully automatic coffee machine against
scale. The fully automatic coffee machine will then require descaling less often.
Fill water tank
05 Replace water tank and close the cover.
04 Fill water tank with fresh water up to "max." marking.
01 Open the cover on the left and remove the water tank.
Note
The water quality may have a negative influence on the taste of the drinks!
Always rinse out the water tank before filling. Use fresh water without carbonation.
Clean the water tank regularly.
02 Suspend the milk hose in the milk-filled container.
01 Connect milk hose on the right to the outlet.

i
i
Page 14
Commissioning
03
02
Confirm fill system.
System is filled. System is rinsed.
Confirm filter rinsing.
Filter is rinsed.
If no marking is displayed, set level 1.
If you are not using a water filter, then you must enter the water hardness being
used. To accomplish this, test the water hardness with the test strip provided.
04
Read off the level with the help of the following table.
Enter value and confirm.
Select language.
Setting filter operation
05
03 Fully automatic coffee machine is in Standby mode.
Press Standby button to finish Standby mode.
04
02
01
01
Confirm or deny insert filter.
Pull the power supply cable out of the cable compartment
and connect to the electrical power using correctly
installed power socket.
Immerse test strip briefly in water.
Markings appear after approx. one minute.
Switch on the fully automatic coffee machine with the
On/Off switch.
First-time commissioning
First Start
Water
Hardness
Insert Filter
YES / NO
Set Language
Rinsing
Filter
Fill up
Pipe system

i
!
Page 15
Commissioning
02 Select product with coffee.
Danger of scalding!
From hot water, splatters and hot steam.
Do not touch the machine below the outlets or the outlets themselves.
WARNING
01 Remove right side.
The grind coarseness can only be changed during the grinding process. The bean
symbol flashes on the display during the grinding process.
Setting the grind coarseness
Rinsing the fully automatic coffee machine
Your test strip Water hardness
°dH Water hardness °fH Input
1 marking 1-7°dH 1-12.6°fH Level 1
2 markings 8-14°dH 12.7-25.2°fH Level 2
3 markings 15-21°dH 25.3-37.8°fH Level 3
4 markings > 21°dH > 37.8°fH Level 4
02
01
06
Product level appears.
Fully automatic coffee machine is ready for operation.
Confirm rinse system.
System rinses.
Fully automatic coffee machine heats up.
Heating up
Please rinse

i
i
!
Page 16
Commissioning
You can select between three grinding levels.
The larger the point, the coarser the grind.
03 Adjust the grinding level during the grinding process.
Add beans, milk and water, if necessary.
03 The fully automatic coffee machine is ready for operation.
Danger of scalding!
From hot water, splatters and hot steam.
Do not touch the machine below the outlets or the outlets themselves.
WARNING
02 Confirm rinse system.
System rinses.
01 Press Standby button to finish the Standby mode.
The fully automatic coffee machine heats up.
Daily commissioning
Please rinse
Heating

i
i
!
Page 17
Preparing drinks
05 Menu appears.
Product is ready.
04 Confirm product selection.
Preparation begins.
03 Adjust settings.
Depending on the beverage, you can adjust the following beverage settings
individually with each preparation.
•Coffee strength
•Amount of milk foam
•Beverage size
•Number of beverages
The settings can be adjusted before or during the preparation. The adjustable
option flashes.
Danger of scalding!
From hot water, splatters and hot steam.
Do not touch the machine below the outlets or the outlets themselves.
WARNING
Preparing drinks
02
01
Select the desired product with Rotary.
Press the >button to change the beverage settings.
•If you have not used the fully automatic coffee machine for a prolonged time,
then the first coffee should not be drunk.
•If you wish to offer beverages with milk, make sure that a full milk container is
connected at all times.
•Use the hot water outlet for preparing hot water.
•The preparation can be interrupted with the exit button.
Place the appropriate cup or glass under the outlet.

i
!
Page 18
Preparing drinks
05 Menu appears.
Product is ready.
04 Confirm product selection.
Preparation begins.
05 Adjust settings.
Depending on the beverage, you can adjust the following beverage settings
individually with each preparation.
•Amount of milk foam
•Beverage size
•Number of beverages
Information about beverage settings can be found in the Configuration chapter.
04 Highlight the desired product.
Press the >button to change the beverage settings.
Danger of scalding!
From hot water, splatters and hot steam.
Do not touch the machine below the outlets or the outlets themselves.
WARNING
03 Add powder.
Close cover on right and powder lid.
02
01 Place the appropriate cup or glass under the outlet.
Open cover on right and powder lid.
Preparing drink with ground coffee.
Fill in
coffee powder
Powder is
ready

19
Caring for the fully automatic coffee machine
Frequency Task Information
Several times a day Rinse the frother See page 30
Several times a day Rinse the outlet See page 32
Daily Clean the frother See page 24
Daily and when indicated Clean the fully automatic coffee machine See page 19
Monthly Clean the brewing unit
Every two months Change the water filter
Every six months or when
indicated Descale the system
Every six months Replace the frother See page 32
Every six months Replace the milk intake hose See page 32
Annually or as necessary Maintenance by service technician Contact a service
technician
Maintenance plan
Caring for the fully automatic coffee machine

i
i
!
!
20
Caring for the fully automatic coffee machine
CAUTION
Health risks due to spoiled milk!
If the machine is not cleaned regularly, milk residue may accumulate in the machine, clog
the dispensers or find its way into drinks.
Clean the refrigeration unit and the milk system at least once a day using the automatic
cleaning program.
04 Menu level appears.
The frother is rinsed.
Do not remove the milk hose until the rinsing is completed.
Danger of scalding!
From hot water, splatters and hot steam.
Do not touch the machine below the outlets or the outlets themselves.
WARNING
03
02
The frother is being rinsed.
Remove milk hose from the milk container and stick into
drip grid.
Press the Rotary button.
•Use the milk hose provided for rinsing.
•The function can be interrupted with the exit button.
01 Switch over to Maintenance level.
Select "Rinse frother".
Rinsing the frother
Rinsing frother
Do not remove h.p.
Connect hose pipe with
spout and drip plate
Table of contents
Other Franke Coffee Maker manuals

Franke
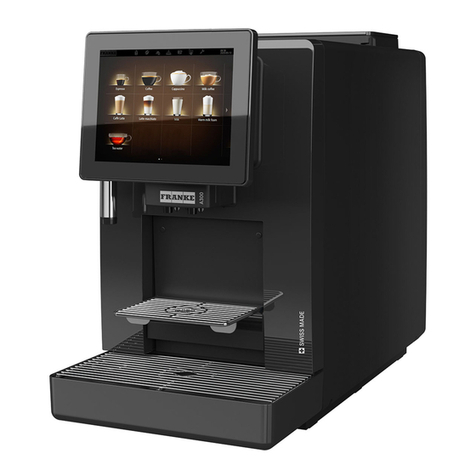
Franke A300 User manual

Franke
Franke Coffee machine Ecolino User manual

Franke
Franke Flair User manual

Franke
Franke Frames CM FS 45 BK User manual

Franke
Franke FCS4060 User manual

Franke
Franke SPECTRA X User manual

Franke
Franke MYTICO DUE User manual

Franke
Franke FM800 User manual

Franke
Franke SU05 User manual

Franke
Franke Flair User manual

Franke
Franke SPECTRA X User manual

Franke
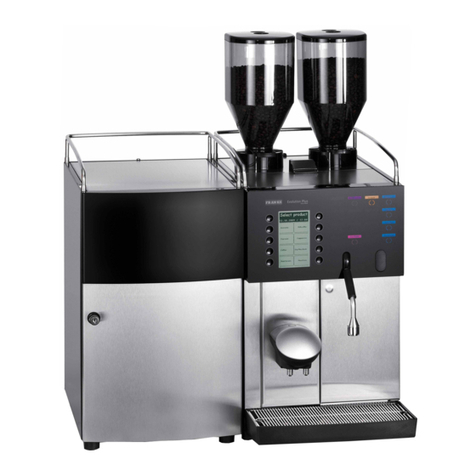
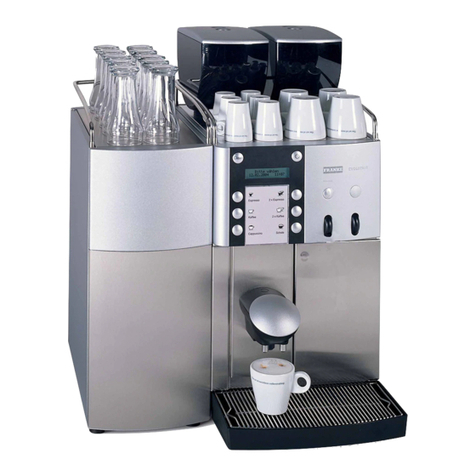
Franke Evolution User manual

Franke
Franke A1000 User manual

Franke
Franke EVOLUTION PLUS User manual

Franke
Franke Spectra S Configuration guide

Franke
Franke Flair User manual

Franke
Franke A300 User manual

Franke
Franke SB1200 User manual

Franke
Franke T 200 User manual

Franke
Franke EVOLUTION PLUS User manual