manuals.online logo
Brands
  1. Home
  2. •
  3. Brands
  4. •
  5. Frontgate
  6. •
  7. Indoor Furnishing
  8. •
  9. Frontgate CASSARA ROUND DINING TABLE 159589 NAT User manual

Frontgate CASSARA ROUND DINING TABLE 159589 NAT User manual

159589 NAT –CASSARA 60” ROUND DINING TABLE
Page 1of 4
159589 NAT –CASSARA 60” ROUND DINING TABLE
Page 2of 4
PART LIST : HARDWARE
TOLS NEEDED (INCLUDED)
T.1 ALLEN KEY 5mm (Include)
T.2 ALLEN KEY 4mm (Include)
NUMBE R OF PEOPLE TO INSTALL : ASSEMBLY TIME
RECOMMENDED 2 PEOPLE UNDER 30 MINUTES
PRE ASSEMBLY INSTRUCTIONS :
1. Do not throw away packaging materials until the assembly is complete. Part might be accidentally thrown away.
ASSEMBLY INSTRUCTION:
STEP 1 :
1a. Lay the Top Table (A) on the floor with underside facing up. Use the packaging material to protect the Top Table
against the floor to avoid scratches.
1b. Insert the Legs (B), DETAIL 1. Lock the Legs and the top by using Allen Head Bolt with Sleeve nut (H1), 2pcs in
each legs then tighten them with Allen Keys (T1), DETAIL 2. Legs can be used in any corner. Repeat the Step
1.b on all corners.
Part #
Description
QTY
H1 .
ALLEN HEAD BOLT and
SLEEVE NUT
8 pcs
H2 .
ALLEN HEAD BOLT M6 X 70
mm
4 pcs
H3 .
UMBRELLA PLUG and BRASS
COLLAR
1 SET
Part #
Description
QTY
A .
TABLE TOP
1 pc
B .
LEGS
4 pcs
C .
STRETCHER
1 pcs
DETAIL 1
B
A
B
A
DETAIL 2
H1
T1
B
B
B
159589 NAT –CASSARA 60” ROUND DINING TABLE
Page 3of 4
STEP 2 :
2a. Attached the Sretcher ( C) to the Legs (B) by aligning the holes and tenon, and lock by the use of Allen head Bolt
(H2), then tighten it by the Allen key (T2), DETAIL 3
ASSEMBLY IS COMPLETE
Let the table stand. Insert Brass Collar and Umbrella Plug (H3) to the predrilled center part of the part of the table,
DETAIL 4
T2
B
C
A
DETAIL 3
H2
B
DETAIL 4
H3
159589 NAT –CASSARA 60” ROUND DINING TABLE
Page 4of 4
Teak is an extremely durable wood and naturally requires little maintenance or care, making it an ideal material for
outdoor patio furniture. It is typically sold in one of two conditions: finely sanded in it's natural form and treated with
teak oil. If left untreated, teak will weather to a silver-gray tone which is preferable to many people. Some prefer to
maintain the wood's original golden honey tone. To achieve this look, there are a few easy methods to help you treat
your furniture that you can employ. Regardless of the look, teak remains a strong and high-quality material choice for
outdoor furniture and accents.
Use this guide to help easily maintain and care for your teak furniture. Teak wood has a natural resistance to mold
and rot; however, unsightly mildew can still form on the surface of the wood if not cared for. Regular cleanings will
help prevent discoloration on both treated and untreated wood.
Cleaning Teak Furniture
Regular cleaning of your teak will help prevent mildew build-up and potential discoloration. A quick wash with mild
soap and water and some bleach or vinegar mixed in usually does the trick. Make sure to use a soft plastic brush as
metal brushes can scratch and damage the wood's surface.
Some harder to clean stains can be removed with a store-bought teak cleaner. When cleaning your teak, always
start with the most mild cleaning solution. If that doesn't work, try something more concentrated.
2 Easy Homemade Cleaning Solutions: Mix 1 cup each of chlorine bleach and laundry detergent with 1 gallon of
warm water Mix 1 cup of vinegar with 1 gallon of warm water
To begin, clear a space to clean your furniture. For most outdoor furniture this shouldn't be a problem, for indoor teak
furniture make sure to use a drop cloth and clean in a well ventilated space. Apply your cleaning mixture to the teak
item using a soft plastic brush and scrub into the wood as you apply. Allow the mixture to sit for about 15 minutes.
Rinse thoroughly with clean water. This cleaning method may not work for teak furniture that has been left outside to
the elements for a long period of time. You may find that a more aggressive store bought solution is needed.
Oiling Teak Furniture
Oiling teak furniture is not a method for protecting the wood but rather a way to retain and enhance the wood's
natural golden color. Some people prefer this look to the natural weathering of the wood when left untreated. Oiled
teak furniture is best for indoor use as the environment is more stable. If you choose to oil furniture that will be
outside you will need to be more regular with the maintenance, by oiling the furniture every 2 to 3 months and
keeping the furniture out of direct sunlight.
Tung oil is preferred by most professionals for teak furniture but Linseed oil is also common. There are also
specialized teak oils for purchase that use additives such as UV blockers and mildew retardants. Only oil teak
furniture once it has been completely cleaned. Cleaning will remove any natural oils built up on the surface and
applying a new coat of oil will restore the original character of the wood.
When applying teak oil use a paint brush to paint the oil into the wood in even strokes. A cloth dampened with
mineral spirits should be used to wipe up any excess oil as you go. Oil that drips onto other surfaces such as painted
wood or fiberglass should be wiped away immediately to avoid staining. The amount of oil required for each teak
piece will differ. You should continue to paint on the oil until the wood no longer soaks it in, leaving oil pooled on the
surface of the wood. At this point the wood should have a matte finish without any shiny spots.
Oil should be reapplied every 2 to 3 months. With each application the teak furniture should be washed and cleaned
and fully dry before you begin.
Please contact one of Our Product Specialists for assembly assistance of questions at 1-800-537-8484 or email
[email protected]. Specialists are available weekdays 8:00 a.m. to 8:00 p.m. EST or Saturday 9:30 a.m. to 6:00 p.m.
21064 - CASSARA STACKING SIDE CHAIR
F R O N T G A T E *
O U T F I T T I N G A M E R I C A ' S F I N E S T H O M E S
Page 1 of 3
21064 - CASSARA STACKING SIDE CHAIR
PART LIST : HARDWARE :
Part # QTY Part # QTY
A. BACK REST 1 PC H1 ALLEN HEAD BOLT M6X50mm 4 PCS
ASSEMBLY
H2 ALLEN HEAD BOLT M6X30mm 2 PCS
BSEAT 1 PC H3 WOODEN SCREW, 40mm 4 PCS
CFRONT LEG 1 PC H4 WOODEN SCREW, 25mm 2 PCS
H5 WOODEN PLUG 6 PCS
NUMBER OF PEOPLE TO INSTALL : TOOLS NEEDED (INCLUDED) :
RECOMMENDED 1 to 2 Persons T1 ALLEN KEY (Included)
ASSEMBLY TIME : T2 PHILLIP HEAD SCREW DRIVER (Not Included)
APPROX 30 MINS
PRE ASSEMBLY INSTRUCTIONS: T3 GLUE PACKET (Included)
1Do not throw away packaging materials until the assembly is complete. Part might be
accidentally thrown away.
ASSEMBLY INSTRUCTION :
STEP 1 :
1a Lay the Front Leg (C) on the floor facing up the holes. Attach the Seat Rest (B) thru the
holes and the tenon, Detail 1. Be sure to protect the Front Leg againts the floor. Figure 1
1b Attach 2pcs Allen Bolt M6x30mmL (H2) to the inner side of the Seat Rest (B) thru the hole
and tighten it with Allen Key (T1) Detail 2
1c Install 1pcs Wooden Screw (H4) to the hole on the middle part of the leg apron and tighten
it with Phillips head Screw Driver (T2), Detail 3
Description Description
D
Figure 1
B
D
C
D
F R O N T G A T E *
O U T F I T T I N G A M E R I C A ' S F I N E S T H O M E S
DETAIL 1
DETAIL 2
DETAIL3
B
C
C
B
B
T1 T2
H3
H2
Page 2 of 3
STEP 2:
2a Attach the Back Rest Assembly (A) to the seatrest (B) thru the holes and dowel, Detail 4
Figure 2
2b Install the 4pcs Allen Head Bolt M6 x 50mm (H1), and tighten it with Allen key (T1),Detail 5
2c Install the 3pcs Wooden Screw (H4) to the hole on the leg apron and tighten it with Phillips
Head Screw Driver (T2), Detail 6
2d Let the Side Chair stand, and attached the Wooden Screw (H3) to the upper part of the
front leg and tighten it with Phillips Screw Driver (H2), Detail 7, Figure 3
2e Apply a glue (T3) on the edge of the Wooden Plug (H5) by a hand brush (not included)
then insert it to the holes where the(H1) and (H4) were installed, Detail 8
ASSEMBLY IS COMPLETE
CARE & MAINTENANCE : Use mild detergent and water to clean. Store in dry, covered area
when not in use and at the end of the season. Occassionally check the nuts and bolts and re tighten if
needed.
Please contact one of Our Product Specialists for assembly assistence of questions at 1-800-537-8484
or email [email protected]. Specialists are available weekdays 8:00 a.m. to 8:00 p.m. EST or
Saturday 9:30 a.m. to 6:00 p.m.
21064 - CASSARA STACKING SIDE CHAIR
Figure 2 Figure 3
H5
DETAIL 7
H3 T2
DETAIL 8
B
A
DETAIL 4
A
B
DETAIL 8
F R O N T G A T E *
O U T F I T T I N G A M E R I C A ' S F I N E S T H O M E S
DETAIL 5
H2
H2
DETAIL 6
H2
H5
Page 3 of 3
20123 - CASSARA DINING ARM CHAIR
F R O N T G A T E *
O U T F I T T I N G A M E R I C A ' S F I N E S T H O M E S
Page 1 of 3
20123 - CASSARA DINING ARM CHAIR
PART LIST :
HARDWARE :
Part #
QTY
Part #
QTY
A. BACK REST 1 PC H1 ALLEN HEAD BOLT M6X50mm 4 PCS
Description Description
F R O N T G A T E *
O U T F I T T I N G A M E R I C A ' S F I N E S T H O M E S
H2 WOODEN SCREW, 25mm 2 PCS
B SEAT 1 PC H3 WOODEN SCREW, 40mm 2 PCS
H4 WOODEN PLUG 4 PCS
C RIGHT END FRAME 1 PC
TOOLS NEEDED (INCLUDED) :
T1 ALLEN KEY (Included)
D LEFT END FRAME 1 PC T2 PHILLIP HEAD SCREW DRIVER (Not Included)
T3 GLUE PACKET (Included)
NUMBER OF PEOPLE TO INSTALL :
ASSEMBLY TIME :
RECOMMENDED 1 to 2 Persons APPROX 30 MINS
PRE ASSEMBLY INSTRUCTIONS:
1 Do not throw away packaging materials until the assembly is complete. Part might be
accidentally thrown away.
ASSEMBLY INSTRUCTION :
STEP 1 :
1a Lay the Right End Frame , (a sticker on the seat base is attached to differentiate the
2 end frames) on the floor facing up the holes, DETAIL 1. Use the packaging material
the protect the End Frame against the floor. See Figure 1a
1b Attached the 2 pcs of Allen Head Bolt (H1) and tighten it with the Allen Key (T1), DETAIL 2
see Figure 1b
1c
Align the Left End Frame's mortise hole(D), to the tenon of the Seat (B) and Back Rest(A)
See Figure 1c, then follow step 1b
Figure 1a
B
Figure 1b Figure 1c
Sticker "LH"
A
D
Sticker "RH"
A
C
DETAIL
2
A
T1
H
1
DETAIL
1
H
1
Page 2 of 3
STEP 2:
2a Let the Arm Chair stand on the floor. Press the End frame (C, D) manually againts the
Backrest (A) until no gap on the connections. Attach the Wooden Screw 25mmL(H2)
20123 - CASSARA DINING ARM CHAIR
F R O N T G A T E *
O U T F I T T I N G A M E R I C A ' S F I N E S T H O M E S
Backrest (A) until no gap on the connections. Attach the Wooden Screw 25mmL(H2)
on the upper part of the Endframe(C,D) by using a Phillip head Screw Driver (not included)
Detail 3, do the same on the other ends. On the middle part of the frame, attach the
Wooden Screw 40mmL(H3) and follow as per Detail 3
2b Apply a glue (T2) on the edge of the Wooden Plug (H4) by a hand brush (not included)
then insert it to the holes where the Wooden Screws (H2/H3) were installed, Detail 4
DETAIL
3
H2
H3
DETAIL
4
T2
H2/3
H4
ASSEMBLY IS COMPLETE
T3
CARE & MAINTENANCE
: Use mild detergent and water to clean. Store in dry, covered area
when not in use and at the end of the season. Occassionally check the nuts and bolts and re tighten if
needed.
Please contact one of Our Product Specialists for assembly assistence of questions at 1-800-537-8484
or email p[email protected]. Specialists are available weekdays 8:00 a.m. to 8:00 p.m. EST or
Saturday 9:30 a.m. to 6:00 p.m.
Page 3 of 3
21064 - CASSARA STACKING SIDE CHAIR
F R O N T G A T E *
O U T F I T T I N G A M E R I C A ' S F I N E S T H O M E S
Page 1 of 3
21064 - CASSARA STACKING SIDE CHAIR
PART LIST : HARDWARE :
Part # QTY Part # QTY
A. BACK REST 1 PC H1 ALLEN HEAD BOLT M6X50mm 4 PCS
ASSEMBLY
H2 ALLEN HEAD BOLT M6X30mm 2 PCS
BSEAT 1 PC H3 WOODEN SCREW, 40mm 4 PCS
CFRONT LEG 1 PC H4 WOODEN SCREW, 25mm 2 PCS
H5 WOODEN PLUG 6 PCS
NUMBER OF PEOPLE TO INSTALL : TOOLS NEEDED (INCLUDED) :
RECOMMENDED 1 to 2 Persons T1 ALLEN KEY (Included)
ASSEMBLY TIME : T2 PHILLIP HEAD SCREW DRIVER (Not Included)
APPROX 30 MINS
PRE ASSEMBLY INSTRUCTIONS: T3 GLUE PACKET (Included)
1Do not throw away packaging materials until the assembly is complete. Part might be
accidentally thrown away.
ASSEMBLY INSTRUCTION :
STEP 1 :
1a Lay the Front Leg (C) on the floor facing up the holes. Attach the Seat Rest (B) thru the
holes and the tenon, Detail 1. Be sure to protect the Front Leg againts the floor. Figure 1
1b Attach 2pcs Allen Bolt M6x30mmL (H2) to the inner side of the Seat Rest (B) thru the hole
and tighten it with Allen Key (T1) Detail 2
1c Install 1pcs Wooden Screw (H4) to the hole on the middle part of the leg apron and tighten
it with Phillips head Screw Driver (T2), Detail 3
Description Description
D
Figure 1
B
D
C
D
F R O N T G A T E *
O U T F I T T I N G A M E R I C A ' S F I N E S T H O M E S
DETAIL 1
DETAIL 2
DETAIL3
B
C
C
B
B
T1 T2
H3
H2
Page 2 of 3
STEP 2:
2a Attach the Back Rest Assembly (A) to the seatrest (B) thru the holes and dowel, Detail 4
Figure 2
2b Install the 4pcs Allen Head Bolt M6 x 50mm (H1), and tighten it with Allen key (T1),Detail 5
2c Install the 3pcs Wooden Screw (H4) to the hole on the leg apron and tighten it with Phillips
Head Screw Driver (T2), Detail 6
2d Let the Side Chair stand, and attached the Wooden Screw (H3) to the upper part of the
front leg and tighten it with Phillips Screw Driver (H2), Detail 7, Figure 3
2e Apply a glue (T3) on the edge of the Wooden Plug (H5) by a hand brush (not included)
then insert it to the holes where the(H1) and (H4) were installed, Detail 8
ASSEMBLY IS COMPLETE
CARE & MAINTENANCE : Use mild detergent and water to clean. Store in dry, covered area
when not in use and at the end of the season. Occassionally check the nuts and bolts and re tighten if
needed.
Please contact one of Our Product Specialists for assembly assistence of questions at 1-800-537-8484
or email [email protected]. Specialists are available weekdays 8:00 a.m. to 8:00 p.m. EST or
Saturday 9:30 a.m. to 6:00 p.m.
21064 - CASSARA STACKING SIDE CHAIR
Figure 2 Figure 3
H5
DETAIL 7
H3 T2
DETAIL 8
B
A
DETAIL 4
A
B
DETAIL 8
F R O N T G A T E *
O U T F I T T I N G A M E R I C A ' S F I N E S T H O M E S
DETAIL 5
H2
H2
DETAIL 6
H2
H5
Page 3 of 3

This manual suits for next models

1

Other Frontgate Indoor Furnishing manuals

Frontgate LACINA 159849A User manual

Frontgate

Frontgate LACINA 159849A User manual

Frontgate 62333 User manual

Frontgate

Frontgate 62333 User manual

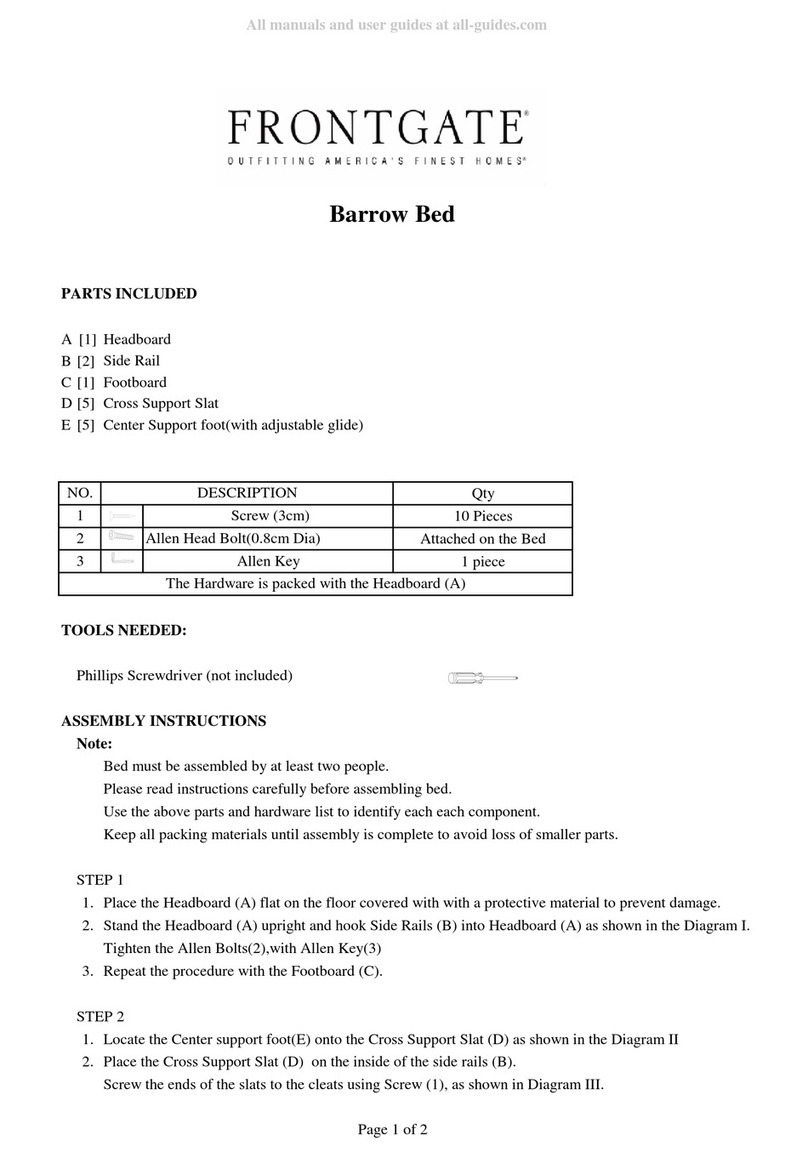
Frontgate Barrow S3277-20 User manual

Frontgate

Frontgate Barrow S3277-20 User manual

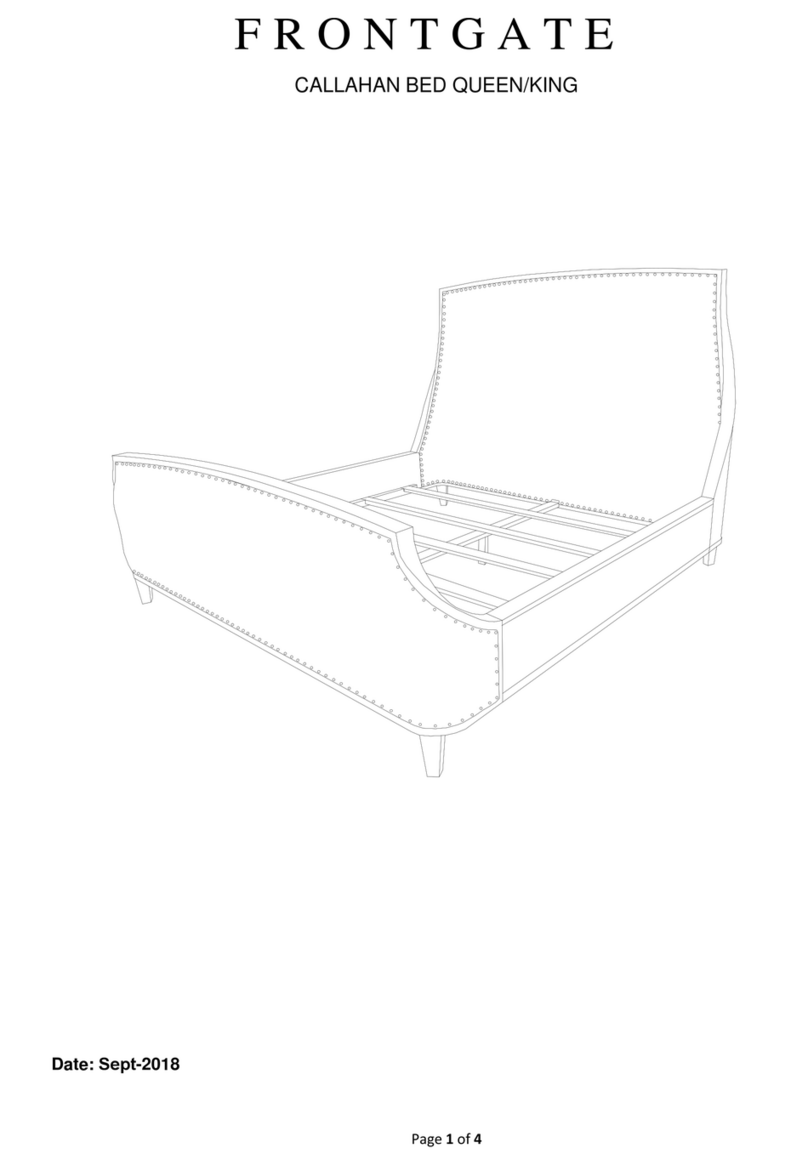
Frontgate Callahan Bed Queen/King User manual

Frontgate

Frontgate Callahan Bed Queen/King User manual

Frontgate Alden 167126A MIN User manual

Frontgate

Frontgate Alden 167126A MIN User manual

Frontgate Livorno 166282 MWH User manual

Frontgate

Frontgate Livorno 166282 MWH User manual

Frontgate CASSARA PETITE 162987A NAT User manual

Frontgate

Frontgate CASSARA PETITE 162987A NAT User manual

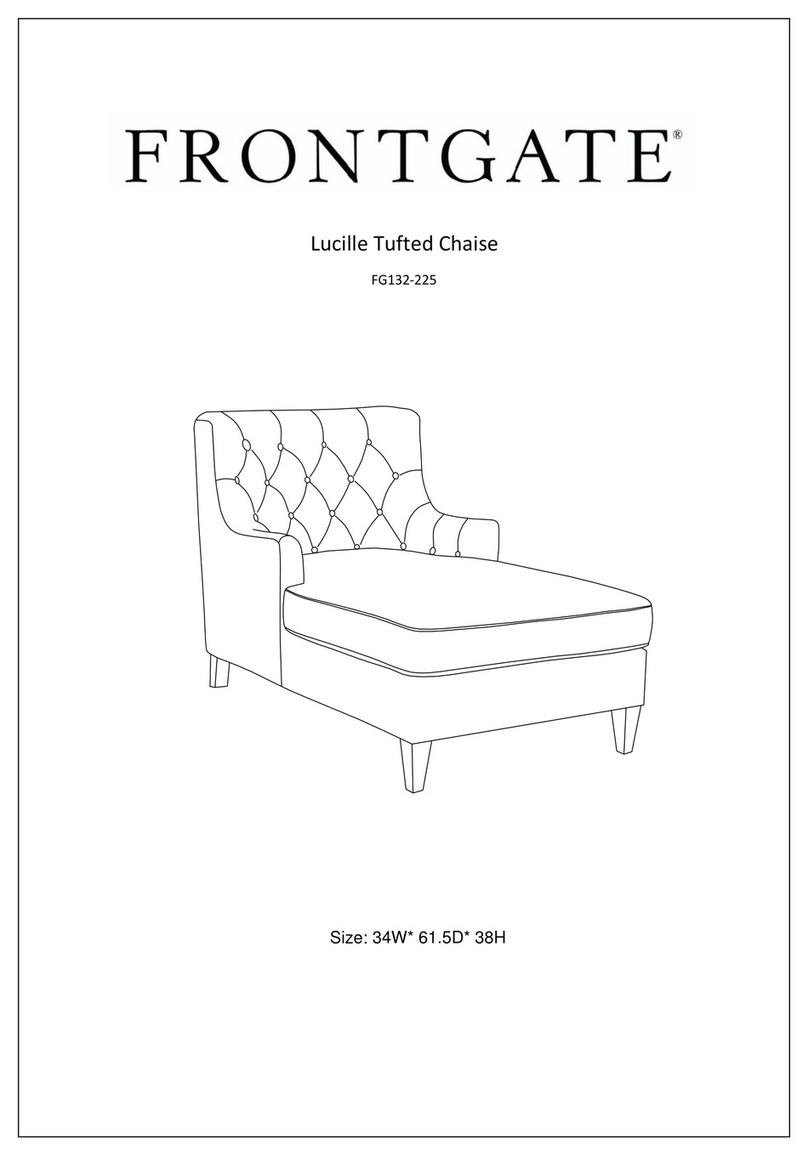
Frontgate Lucille FG132-225 User manual

Frontgate

Frontgate Lucille FG132-225 User manual

Frontgate LYNNE 165033 User manual

Frontgate

Frontgate LYNNE 165033 User manual

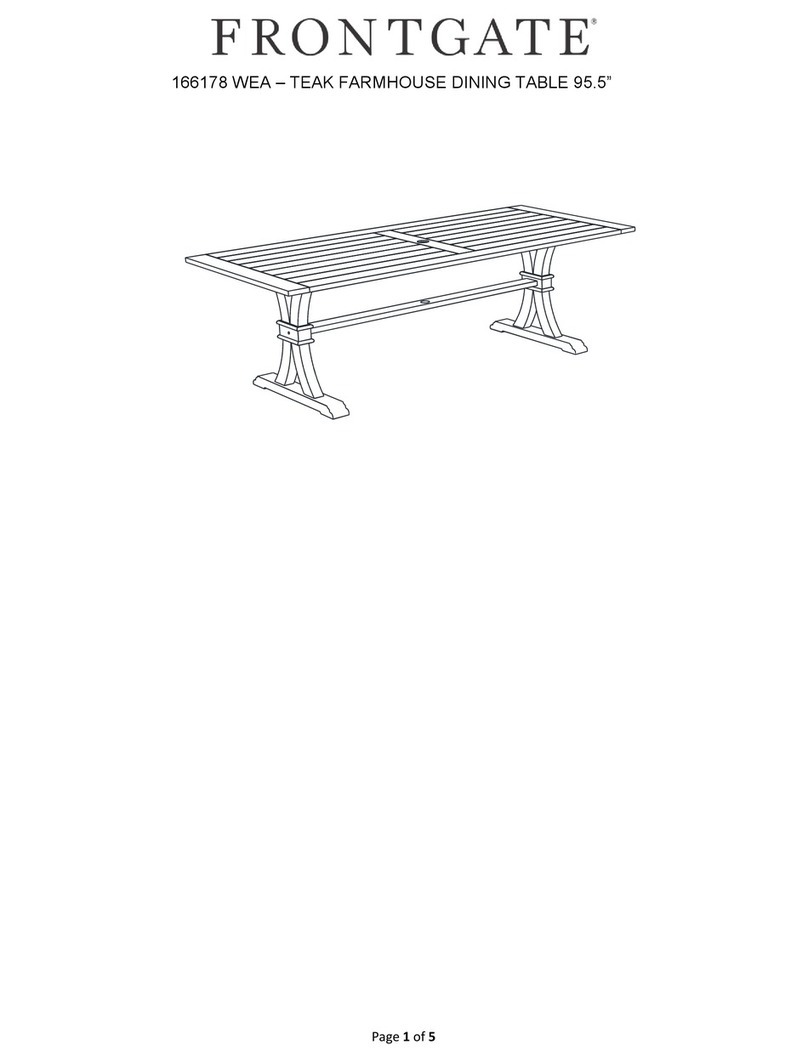
Frontgate WEA 166178 User manual

Frontgate

Frontgate WEA 166178 User manual

Frontgate Arlo Daybed Frame User manual

Frontgate

Frontgate Arlo Daybed Frame User manual

Frontgate BCW Milwaukee dinning table 148904 User manual

Frontgate

Frontgate BCW Milwaukee dinning table 148904 User manual

Frontgate Regency Bow User manual

Frontgate

Frontgate Regency Bow User manual

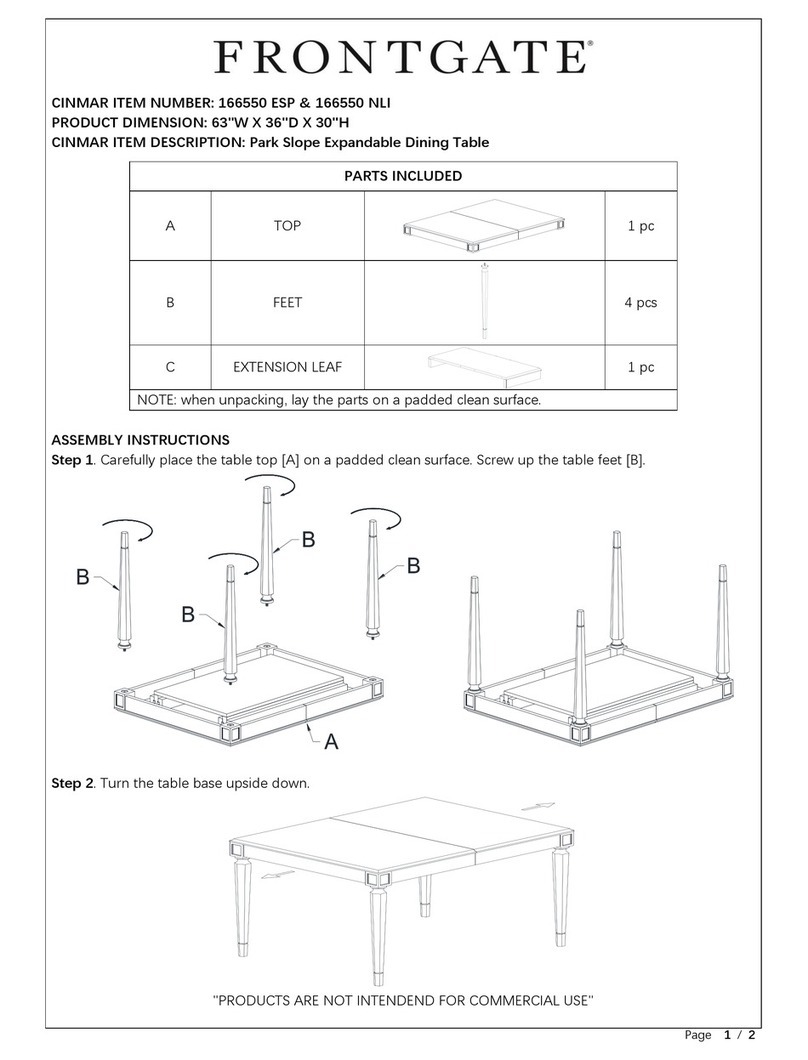
Frontgate Park Slope 166550 ESP User manual

Frontgate

Frontgate Park Slope 166550 ESP User manual

Frontgate Kensington FG045-10-P User manual

Frontgate

Frontgate Kensington FG045-10-P User manual

Frontgate Kensington Recliner User manual

Frontgate

Frontgate Kensington Recliner User manual

Frontgate 61491 User manual

Frontgate

Frontgate 61491 User manual

Frontgate Marchand Upholstered Carved Bed User manual

Frontgate

Frontgate Marchand Upholstered Carved Bed User manual

Frontgate LOREN 163359 User manual

Frontgate

Frontgate LOREN 163359 User manual

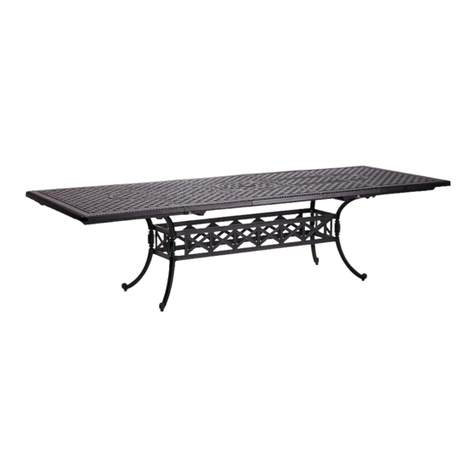
Frontgate Carlisle Cast Rect. Dining Table User manual

Frontgate

Frontgate Carlisle Cast Rect. Dining Table User manual

Frontgate CAMPBELL DINING TABLE 162764 User manual

Frontgate

Frontgate CAMPBELL DINING TABLE 162764 User manual

Frontgate Barrow S3223-30 User manual

Frontgate

Frontgate Barrow S3223-30 User manual

Frontgate 160879 NAT User manual

Frontgate

Frontgate 160879 NAT User manual

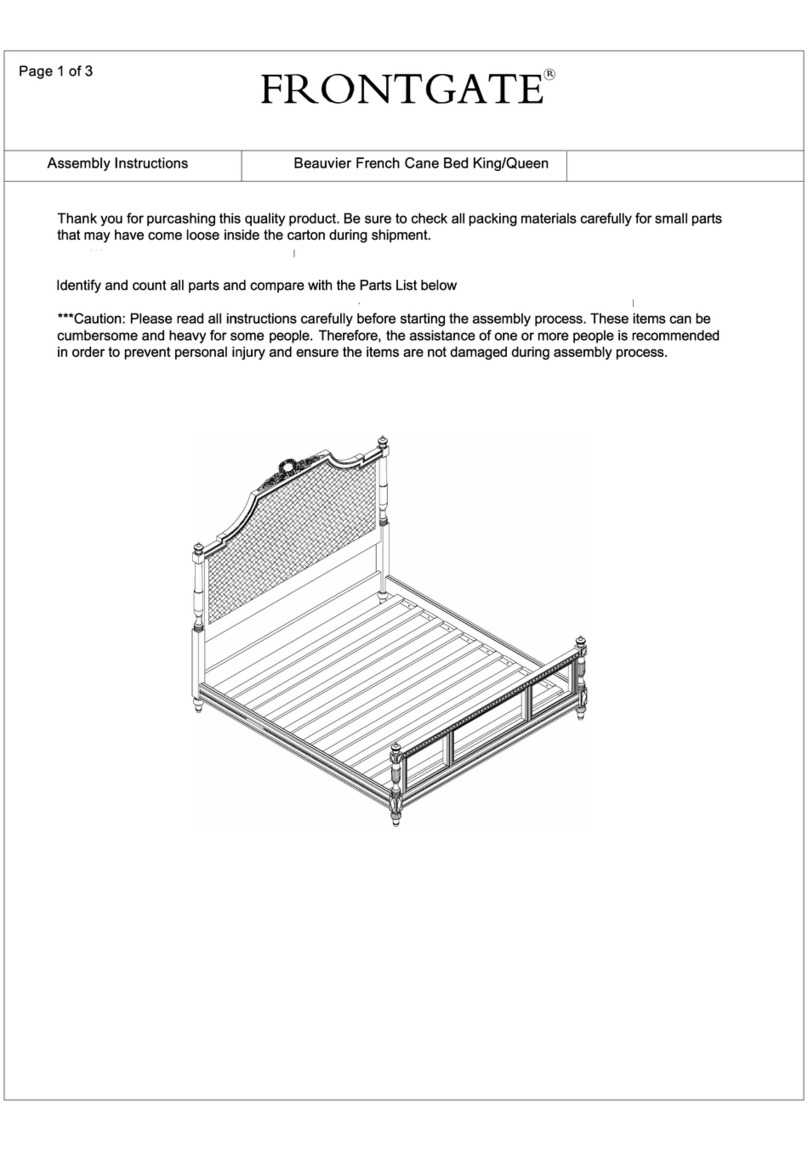
Frontgate Beauvier 149069 User manual

Frontgate

Frontgate Beauvier 149069 User manual

Popular Indoor Furnishing manuals by other brands

HOMCOM 370-164 Assembly instruction

HOMCOM

HOMCOM 370-164 Assembly instruction

Carmelli NG2729 Assembly instructions

Carmelli

Carmelli NG2729 Assembly instructions

Draper FlexStyle MO Installation & operation instructions

Draper

Draper FlexStyle MO Installation & operation instructions

Opti-Med JM023-016 user manual

Opti-Med

Opti-Med JM023-016 user manual

Ballard Designs MO230 quick start guide

Ballard Designs

Ballard Designs MO230 quick start guide

LIMELIGHT Beds PICASSO BED 4FT Assembly instructions

LIMELIGHT Beds

LIMELIGHT Beds PICASSO BED 4FT Assembly instructions

Desalto 25 Assembly instruction

Desalto

Desalto 25 Assembly instruction

Bestar 85183-2 manual

Bestar

Bestar 85183-2 manual

Cheyenne Products FT1275-COF-SWO Assembly instructions

Cheyenne Products

Cheyenne Products FT1275-COF-SWO Assembly instructions

Ofs Riff Assembly instructions

Ofs

Ofs Riff Assembly instructions

Tramontina SUMMA KAPA 92393 ASSEMBLY AND GENERAL INSTRUCTIONS

Tramontina

Tramontina SUMMA KAPA 92393 ASSEMBLY AND GENERAL INSTRUCTIONS

dorra 715-050 Assembly instructions and warranty information

dorra

dorra 715-050 Assembly instructions and warranty information

Winners Only BFC2001K Assembly instructions

Winners Only

Winners Only BFC2001K Assembly instructions

Next BRIGITTE T15867 Assembly instructions

Next

Next BRIGITTE T15867 Assembly instructions

modway EEI-3025 quick start guide

modway

modway EEI-3025 quick start guide

Allied MOBILE ADMIN/TEACHER DESK MTSP2454 Assembly instructions

Allied

Allied MOBILE ADMIN/TEACHER DESK MTSP2454 Assembly instructions

Songmics LGD001 manual

Songmics

Songmics LGD001 manual

ASH & EMBER Grade A Teak 25" Barstool user manual

ASH & EMBER

ASH & EMBER Grade A Teak 25" Barstool user manual

manuals.online logo
manuals.online logoBrands
  • About & Mission
  • Contact us
  • Privacy Policy
  • Terms and Conditions

Copyright 2025 Manuals.Online. All Rights Reserved.