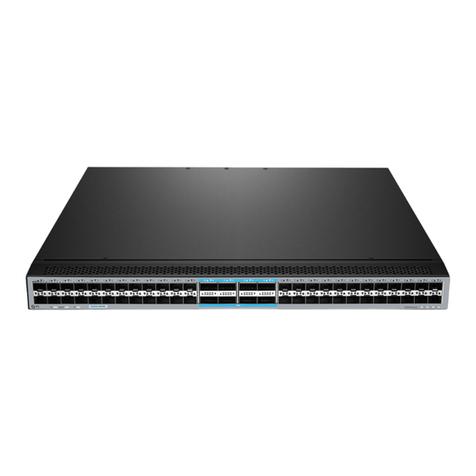
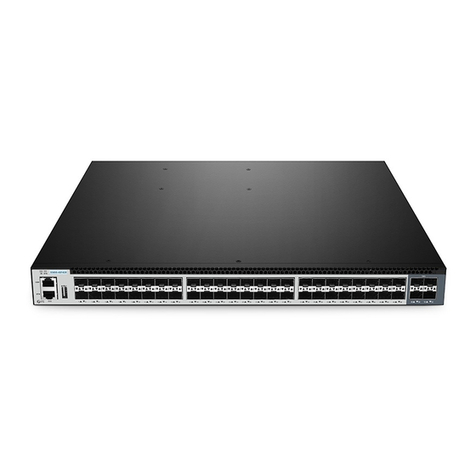
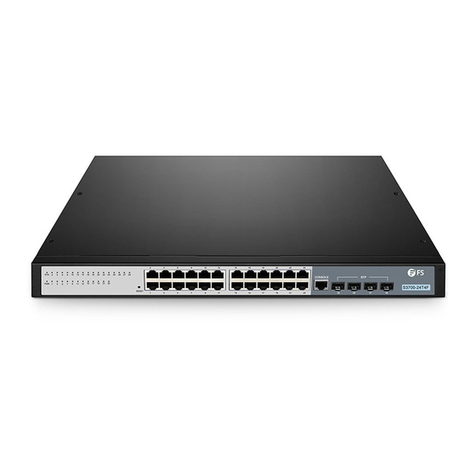
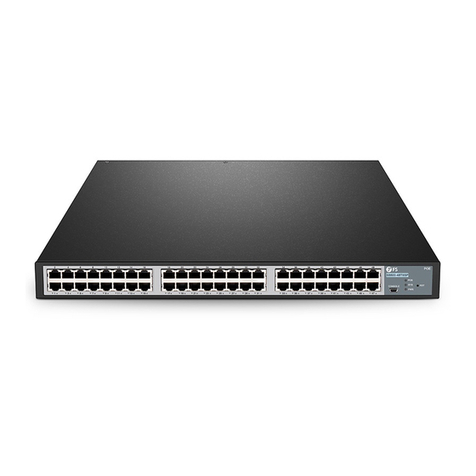
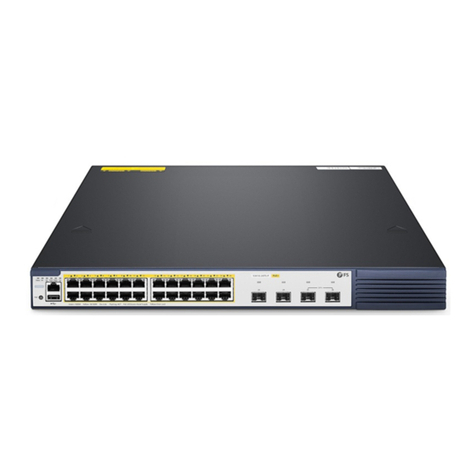
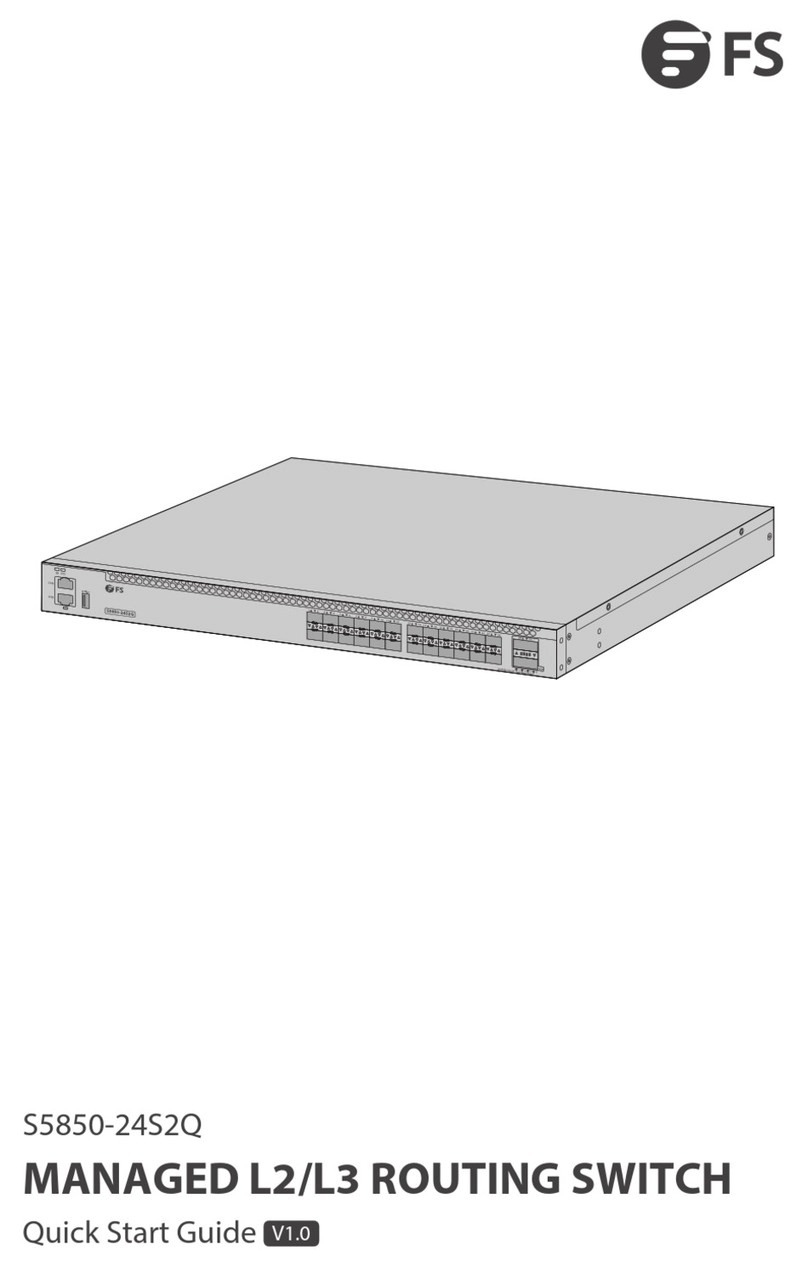
FS S5300-12S User manual

クイックスタートガイド
Guide de Démarrage Rapide
V1.0
Quick Start Guide
Quick Start Anleitung
ETHERNET SWITCH
S5300-12S
ETHERNET-SWITCH
SWITCH ETHERNET
S5300-12S
CONSOLE
SYS
4
159
812
PWR
13
2417
68910 11 12

1
Introduction
EN
Thank you for choosing the S5300-12S Switch. This guide is designed to familiarize you with the
layout of the switch and describes how to deploy it in your network.
Accessories
Console Cable x1Power Cord x2
Grounding Cable x1
Ethernet Cable x1
M3 Screw x8
S5300-12S
Rubber Pad x4 Mounting Bracket x2
M6 Cage Nut x4M6 Screw x4
S5300-12S 1 5 9
4 8 12
PWR
SYS
CONSOLE
2 3 41 6 7 85 10 11 129

2
Hardware Overview
Front Panel LEDs
Front Panel Ports
EN
LEDs State Description
SYS
PWR
Link/ACT
The system is operating normally.
The device is powered on.
The port is sending and receiving trac.
SFP+
NOTE: The accessories may vary from illustration, please prevail in kind.
S5300-12S 1 5 9
4 8 12
PWR
SYS
CONSOLE
2 3 41 6 7 85 10 11 129
S5300-12S 1 5 9
4 8 12
PWR
SYS
CONSOLE
2 3 41 6 7 85 10 11 129
SYS
Link/ACT
PWR
CONSOLE
Blinking Green
Solid Green
Blinking
NOTE: This power cord cannot be used with other devices, and other power cords should
not be used with this device.

3
EN
Installation Requirements
Before the installation, make sure that you have the following conditions
ready:
Phillips screwdriver, related bolts and ESD tools.
Standard-sized, 19" wide rack with a minimum of 1U height available.
Fiber optic cables and ber transceivers.
Site Environment
Ensure that the operating temperature is maintained at 0°C~45°C.
Ensure that the operating humidity is maintained at 5%~95%.
The installation site must be free from leaking, dripping water, heavy dew, or humidity.
Keep the installation site dust-free.
The installation site must be well-ventilated. Ensure that there is adequate airow around the
switch.
Ensure that the switch is level and stable to avoid any hazardous conditions.
Ensure that the rack and the working platform are well-earthed.
Do not disassemble the enclosure of the device.
Cut o the power supply before cleaning the device. Do not use any liquid to wipe the device.
Keep the device away from electric lines of force, lamps and power grids.
Ensure that the rack and the working platform are rm enough to support the weight of a switch
and its accessories for installation.
Ports Description
SFP+
CONSOLE
SFP+ ports for 10G connection
An RJ45 console port for serial management
S5300-12S
2 3 41 65

4
EN
Mounting the Switch
1. Attach four rubber pads to the bottom of the switch.
2. Place the switch on a stable desk.
Desk Mounting
NOTE: Do not place heavy objects on the switch.
S5300-12S
1 5 9
4 8 12
PWR
SYS
CONSOLE
2 3 41 6 7 85 10 11 129
IES5100-24FS
1. Secure the mounting brackets to the two sides of the switch with screws.
Rack Mounting
1 5 9
4 8 12
PWR
SYS
CONSOLE
7 8 10 11 129

5
EN
S5300-12S
1 5 9
4 8 12
PWR
SYS
CONSOLE
2 3 41 6 7 85 10 11 129
2. Install the switch on the rack with screws and cage nuts.
1. Connect one end of the grounding cable to a proper earth ground, such as the rack in which the
switch is mounted.
2. Secure the grounding lug to the grounding point on the switch back panel with the screw and
washers.
Grounding the Switch
CAUTION: The earth connection must not be removed unless all supply connections have
been disconnected.
POWER
Input: 100-240Vac
Freq:50/60Hz

6
EN
1. Plug the compatible SFP+ transceiver into the SFP+ port.
2. Connect a ber optic cable to the ber transceiver. Then connect the other end of the cable to
another ber device.
1. Insert the RJ45 connector into the RJ45 console port of the switch.
2. Connect the DB9 female connector of the console cable to the serial port on the computer.
Connecting the SFP+ Ports
S5300-12S
1 5 9
4 8 12
PWR
SYS
CONSOLE
2 3 41 6 7 85 10 11 129
Connecting the Console Port
S5300-12S
1 5 9
4 8 12
PWR
SYS
CONSOLE
2 3 41 6 7 85 10 11 129

7
EN
WARNING: Do not install the power cord while the power is on.
1. Plug the AC power cord into the power port on the back panel of the switch.
2. Connect the other end of the power cord to an AC power source.
Connecting the Power
Configuring the Switch
Step 1: Connect a computer to an Ethernet port of the switch using the network cable.
Step 2: Set the IP address of the computer to 192.168.1.x ("x" is any number from 2 to 254). Set the
subnet mask of the computer to 255.255.255.0.
Conguring the Switch Using the Web-Based Interface
POWER
Input: 100-240Vac
Freq:50/60Hz

8
EN
Step 3: Open a web browser, type http://192.168.1.1 and enter the default username and password,
admin/admin.
?x
OK Cancel
General
IP address:
Subnet mask :
Default g a te w a y :
Yo u c an get IP settings assigneda u t omatically i f y o u r n e t w o r k
supports this capabilit y . Othe r wis e , y o u need to a s k y our net w o r k
administrator for thea ppropriate IP settings .
In ter net Protoco l Version 4 ( TC P/IPv4) Proper ties
Use the foll owing IP address:
Obtainan IP addres s automatically
Preferred DNS server:
Alternate DNS server:
Validate settings upon exit Advanced...
. . . 21168192
0255
255255
. . .
. . .
. . .
. . .
ObtainDNS ser ver addre ss automatically
Use the foll owing DNS s erv er addr esses:
Step 4: Click Login to display the web-based conguration page.
Username
Password
Sign in Cancel
admin
*****
*
*

9
EN
Conguring the Switch Using the Console Port
Step 1: Connect a computer to the console port of the switch with the console cable.
Step 2: Start the terminal simulation software, such as HyperTerminal on the computer.
Step 3: Set the parameters of the HyperTerminal: Baud rate to 115200, Data bits to 8, Parity to None,
and Stop bits to 1.
Step 4: After setting the parameters, click Connect to enter.
Troubleshooting
The Power System Is Not Working
x
Quick Connect
Protocol: Serial
Flow Control
DTR/DSR
RTS/CTS
XON/XOFF
Save sessionShow quick connect on startup
The port may be manually entered or selected from the list.
Open in a tab
Cancel
COM3
115200
8
None
1
Port:
Baud rate:
Data bits:
Parity:
Stop bits:
Name of pipe:
Connect
1. Check if the switch power cable is connected correctly.
2. Check if the power supply of the switch matches the required power supply.

10
EN
Download
Help Center
Contact Us
https://www.fs.com/products_support.html
https://www.fs.com/service/fs_support.html
https://www.fs.com/contact_us.html
Product Warranty
Online Resources
Return: If you want to return the item(s), information on how to return can be found at
https://www.fs.com/policies/day_return_policy.html
Warranty: The product enjoys a 5-year limited warranty against defects in materials or
workmanship. For more details about the warranty, please check at
https://www.fs.com/policies/warranty.html
5
FS ensures our customers that for any damage or faulty items due to our workmanship, we will oer a
free return within 30 days from the day you receive your goods. This excludes any custom-made items
or tailored solutions.
The Power System Is Not Working
1. Check if the cable is correctly connected.
2. Check if the peer connection is normal.
3. Check if the switch power cable is connected correctly.
4. Check if the power supply of the switch matches the required power supply.

11
Einführung
DE
Vielen Dank, dass Sie sich für den S5300-12S Switch entschieden haben. Diese Anleitung soll Sie mit
dem Aufbau des Switches vertraut machen und beschreibt, wie Sie ihn in Ihrem Netzwerk einsetzen
können.
Zubehör
Console-Kabel x1Netzkabel x2
Erdungskabel x1
Ethernet-Kabel x1
M3-Schraube x8
S5300-12S
Gummipad x4 Montagehalterung x2
M6-Kägmutter x4M6-Schraube x4
S5300-12S 1 5 9
4 8 12
PWR
SYS
CONSOLE
2 3 41 6 7 85 10 11 129

12
Hardware-Übersicht
LEDs an der Vorderseite
Ports an der Vorderseite
DE
LEDs Status Beschreibung
SYS
PWR
Link/ACT
Das System funktioniert ordnungsgemäß.
Das Gerät ist eingeschaltet.
Der Port überträgt und empfängt Daten.
SFP+
HINWEIS: Wir können nicht garantieren, dass die dargestellten Abbildungen genau mit
den tatsächlichen Objekten übereinstimmen.
S5300-12S 1 5 9
4 8 12
PWR
SYS
CONSOLE
2 3 41 6 7 85 10 11 129
S5300-12S 1 5 9
4 8 12
PWR
SYS
CONSOLE
2 3 41 6 7 85 10 11 129
SYS
Link/ACT
PWR
CONSOLE
Blinkt Grün
Durchgehend Grün
Blinkt
HINWEIS: Dieses Netzkabel kann nicht mit anderen Geräten verwendet werden, und
andere Netzkabel sollten nicht mit diesem Gerät verwendet werden.

S5300-12S
2 3 41 65
13
DE
Installationsvoraussetzungen
Vergewissern Sie sich vor der Installation, dass Sie die folgenden
Voraussetzungen erfüllen:
Kreuzschlitzschraubendreher, entsprechende Schrauben und ESD-Werkzeuge.
Ein 19"-Rack in Standardgröße mit einer Mindesthöhe von 1 HE.
Glasfaserkabel und Glasfasertransceiver.
Betriebsumgebung
Stellen Sie sicher, dass die Betriebstemperatur bei 0 °C ~ 45 °C gehalten wird.
Stellen Sie sicher, dass die Luftfeuchtigkeit im Betrieb zwischen 5 % und 95 % liegt.
Der Installationsort muss frei von Leckagen, Tropfwasser, starkem Tau oder Feuchtigkeit sein.
Halten Sie den Aufstellungsort staubfrei.
Der Aufstellungsort muss gut belüftet sein. Stellen Sie sicher, dass ein ausreichender Luftstrom
um den Switch herum vorhanden ist.
Vergewissern Sie sich, dass der Switch eben und stabil steht, um gefährliche Bedingungen zu
vermeiden.
Stellen Sie sicher, dass das Gestell und die Arbeitsbühne gut geerdet sind.
Nehmen Sie das Gehäuse des Geräts nicht auseinander.
Unterbrechen Sie die Stromzufuhr, bevor Sie das Gerät reinigen. Verwenden Sie keine
Flüssigkeiten zum Abwischen des Geräts.
Halten Sie das Gerät von elektrischen Leitungen, Lampen und Stromnetzen fern.
Vergewissern Sie sich, dass das Gestell und die Arbeitsplattform stabil genug sind, um das
Gewicht eines Switches und seines Zubehörs für die Installation zu tragen.
Ports Beschreibung
SFP+
CONSOLE
SFP+-Ports für 10G-Verbindung
Ein RJ45-Console-Port für die serielle Verwaltung

1 5 9
4 8 12
PWR
SYS
CONSOLE
7 8 10 11 129
14
DE
Montage des Switches
1. Befestigen Sie vier Gummipads an der Unterseite des Switches.
2. Stellen Sie den Switch auf einen stabilen Tisch.
Tischmontage
HINWEIS: Stellen Sie keine schweren Gegenstände auf den Switch.
S5300-12S
1 5 9
4 8 12
PWR
SYS
CONSOLE
2 3 41 6 7 85 10 11 129
IES5100-24FS
1. Befestigen Sie die Montagehalterungen mit Schrauben an den beiden Seiten des Switches.
Rack-Montage

15
DE
S5300-12S
1 5 9
4 8 12
PWR
SYS
CONSOLE
2 3 41 6 7 85 10 11 129
2. Montieren Sie den Switch mit Schrauben und Kägmuttern am Rack.
1. Schließen Sie ein Ende des Erdungskabels an eine geeignete Erdung an, z. B. an das Rack, in dem
der Switch montiert ist.
2. Befestigen Sie die Erdungslasche mit der Schraube und den Unterlegscheiben am Erdungspunkt
an der Rückwand des Switches.
Erdung des Switches
ACHTUNG: Der Erdungsanschluss darf erst dann entfernt werden, wenn alle
Versorgungsanschlüsse getrennt wurden.
POWER
Input: 100-240Vac
Freq:50/60Hz

16
DE
1. Stecken Sie den kompatiblen SFP+-Transceiver in den SFP+-Port.
2. Schließen Sie ein Glasfaserkabel an den Glasfaser-Transceiver an. Schließen Sie dann das andere
Ende des Kabels an ein anderes Glasfasergerät an.
1. Stecken Sie den RJ45-Stecker in den RJ45-Console-Port des Switches.
2. Verbinden Sie die DB9-Buchse des Console-Kabels mit dem seriellen Anschluss des Computers.
Anschließen der SFP+ Ports
S5300-12S
1 5 9
4 8 12
PWR
SYS
CONSOLE
2 3 41 6 7 85 10 11 129
Anschließen des Console-Ports
S5300-12S
1 5 9
4 8 12
PWR
SYS
CONSOLE
2 3 41 6 7 85 10 11 129

17
DE
WARNING: Schließen Sie das Netzkabel nicht an, während das Gerät eingeschaltet ist.
1. Stecken Sie das Netzkabel in den Netzanschluss auf der Rückseite des Switches.
2. Schließen Sie das andere Ende des Netzkabels an eine Netzstromquelle an.
Anschließen der Stromversorgung
Konguration des Switches
Schritt 1: Schließen Sie einen Computer über ein Netzwerkkabel an einen Ethernet-Port des
Switches an.
Schritt 2: Stellen Sie die IP-Adresse des Computers auf 192.168.1.x ein ("x" ist eine beliebige Zahl von
2 bis 254). Setzen Sie die Subnetzmaske des Computers auf 255.255.255.0.
Konguration des Switches über die webbasierte Schnittstelle
POWER
Input: 100-240Vac
Freq:50/60Hz

18
DE
Schritt 3: Önen Sie einen Webbrowser, geben Sie http://192.168.1.1 ein und geben Sie den
Standard-Benutzernamen und das Passwort admin/admin ein.
?x
OK Cancel
General
IP address:
Subnet mask :
Default g a te w a y :
Yo u c an get IP settings assigneda u t omatically i f y o u r n e t w o r k
supports this capabilit y . Othe r wis e , y o u need to a s k y our net w o r k
administrator for thea ppropriate IP settings .
In ter net Protoco l Version 4 ( TC P/IPv4) Proper ties
Use the foll owing IP address:
Obtainan IP addres s automatically
Preferred DNS server:
Alternate DNS server:
Validate settings upon exit Advanced...
. . . 21168192
0255
255255
. . .
. . .
. . .
. . .
ObtainDNS ser ver addre ss automatically
Use the foll owing DNS s erv er addr esses:
Schritt 4: Klicken Sie auf Login, um die webbasierte Kongurationsseite anzuzeigen.
Username
Password
Sign in Cancel
admin
*****
*
*

19
DE
Konguration des Switches über den Console-Port
Schritt 1: Schließen Sie einen Computer über das Console-Kabel an den Console-Port des Switches an.
Schritt 2: Starten Sie die Terminalsimulationssoftware, z. B. HyperTerminal, auf dem Computer.
Schritt 3: Stellen Sie die Parameter von HyperTerminal ein: Baudrate auf 115200, Datenbits auf 8,
Parität auf Keine und Stoppbits auf 1.
Schritt 4: Nachdem Sie die Parameter eingestellt haben, klicken Sie auf Connect, um die Verbindung
herzustellen.
Fehlerbehebung
Das Stromversorgungssystem funktioniert nicht
x
Quick Connect
Protocol: Serial
Flow Control
DTR/DSR
RTS/CTS
XON/XOFF
Save sessionShow quick connect on startup
The port may be manually entered or selected from the list.
Open in a tab
Cancel
COM3
115200
8
None
1
Port:
Baud rate:
Data bits:
Parity:
Stop bits:
Name of pipe:
Connect
1. Prüfen Sie, ob das Stromkabel des Switches richtig angeschlossen ist.
2. Prüfen Sie, ob die Stromversorgung des Switches mit der erforderlichen Stromversorgung
übereinstimmt.
Table of contents
Languages:
Other FS Switch manuals

FS
FS S3700-24T4F Instruction Manual

FS
FS S1900-16T User manual

FS
FS PoE+ Series User manual

FS
FS S5500-48T8SP User manual

FS
FS TAP Series User manual

FS
FS S3900 Series User manual

FS
FS S5860-20SQ User manual

FS
FS S5850-24XMG-U Series User manual

FS
FS S3270 Series Operating manual

FS
FS S2800S Series User manual
Popular Switch manuals by other brands

Sun Microsystems
Sun Microsystems Sun Fire B1600 Administration Administration guide

Zonet
Zonet ZUH2214L - QUICK INSTALLATION GUIDE REV 01 Quick installation guide

CyberData
CyberData 10807 Quick reference guide

Lanpro
Lanpro LP-SGW2404FP installation guide

SMC Networks
SMC Networks SMCGS26C-SMART - FICHE TECHNIQUE Product overview

Ask
Ask HDSW0024M1 user manual