manuals.online logo
Brands
  1. Home
  2. •
  3. Brands
  4. •
  5. GAGEMAKER
  6. •
  7. Measuring Instrument
  8. •
  9. GAGEMAKER MIC TRAC MT-3000 User manual

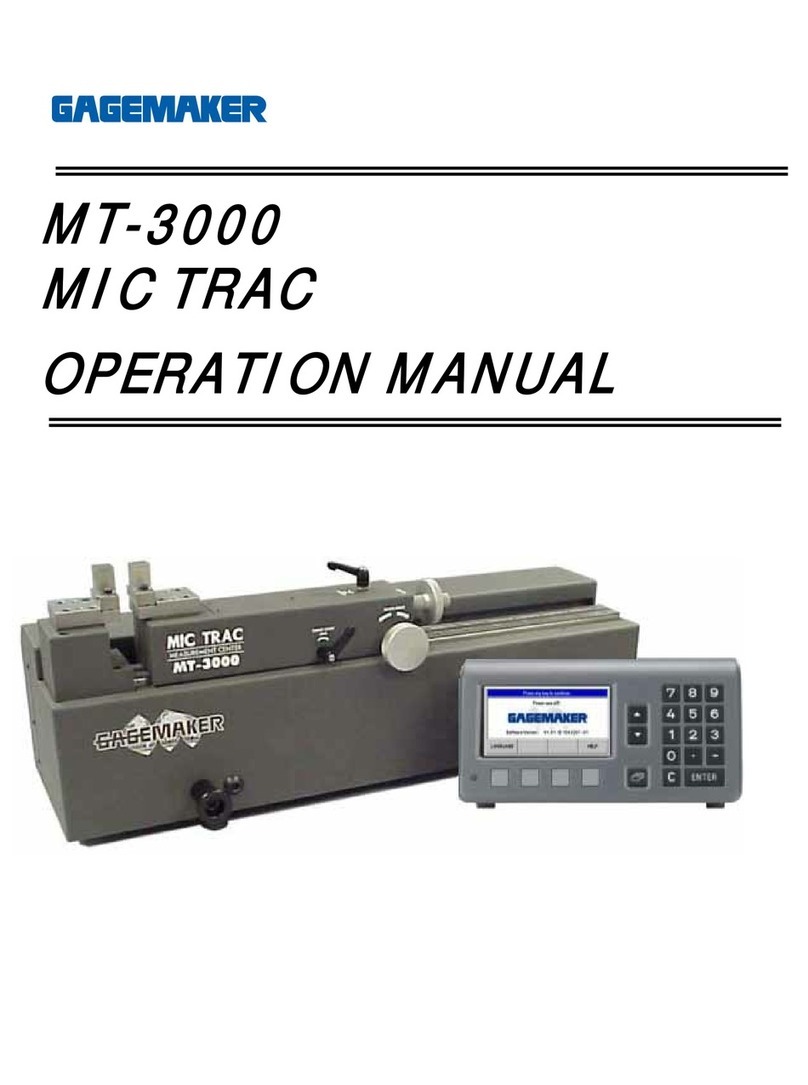
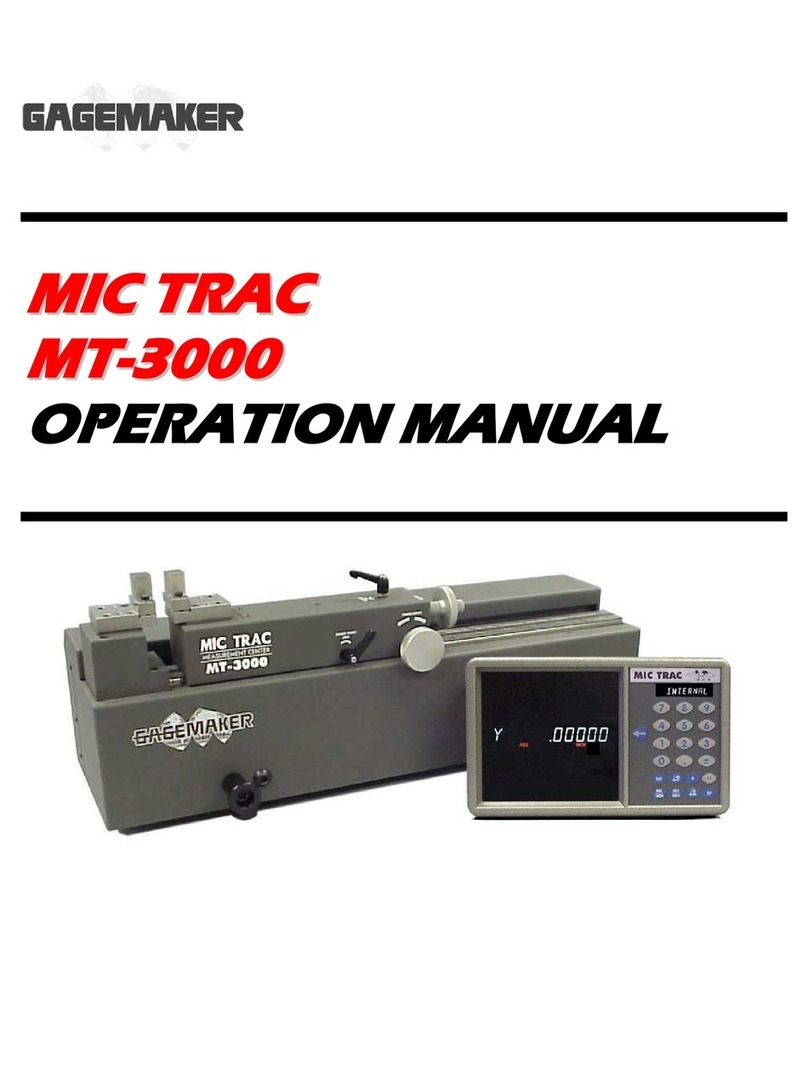
GAGEMAKER MIC TRAC MT-3000 User manual

M
MI
IC
C
T
TR
RA
AC
C
M
MT
T-
-3
30
00
00
0
T
TF
F-
-D
DG
G
D
De
ep
pt
th
h
M
Mi
ic
cr
ro
om
me
et
te
er
r
F
Fi
ix
xt
tu
ur
re
e
C
CA
AL
L-
-P
PA
AK
K
F
Fi
ix
xt
tu
ur
re
e
M
Ma
an
nu
ua
al
l
T
TF
F-
-D
DG
G
C
CA
AL
L-
-P
PA
AK
K
F
Fi
ix
xt
tu
ur
re
e
M
Ma
an
nu
ua
al
l
MIC TRAC MT-3000
2 2010 Gagemaker, LP
RCDMMT300010-10
T
TF
F-
-D
DG
G
C
CA
AL
L-
-P
PA
AK
K
F
Fi
ix
xt
tu
ur
re
e
M
Ma
an
nu
ua
al
l
MIC TRAC MT-3000
3 2010 Gagemaker, LP
RCDMMT300010-10
Materials Needed:
•MIC TRAC MT-3000 base unit and CPU readout •5/32" hex wrench
•Depth micrometer •50 in/lb torque wrench
•
Depth gage fixture (TF-DG) and cap screws
•
Cloth
•Flat face anvil (TF-1F Block) cap screws and washers •ZEP I.D. Red cleaner
•Depth gage support (TF-SS Block), for rods 6” and up
1. Inspect the depth micrometer visually as
follows:
•Check for damage and excessive wear.
•Check for burrs, nicks and wear on measuring
faces.
•Check for damage to measuring rods, rod
seating surfaces, and rod reading surfaces.
•Inspect for slack in the spindle thread by
pushing the assembly in and out. Adjust to
remove excess play.
•Check for proper function of the friction or
ratchet stop and spindle locking device.
•Check for smoothness of travel by rotating the
thimble throughout the range.
•Ensure all rods are straight.
2. Clean both of the receiver pads and the
mounting surfaces of the flat face anvil using
the cloth and ZEP I.D. Red cleaner.
3. Locate the left flat face anvil. Place the
shoulder side of the anvil against the left
receiver pad shoulder.
Setup
T
TF
F-
-D
DG
G
C
CA
AL
L-
-P
PA
AK
K
F
Fi
ix
xt
tu
ur
re
e
M
Ma
an
nu
ua
al
l
MIC TRAC MT-3000
4 2010 Gagemaker, LP
RCDMMT300010-10
4. While holding the anvil against the receiver pad
shoulder, insert the two cap screws with
washers into the holes on either side of the
fixture.
5. While applying pressure toward the receiver
pad shoulder, use a 5/32" hex wrench to
slightly tighten the screws.
6. Use a 50 in/lbs torque wrench to secure the
cap screws.
7. Locate the depth gage fixture and clean the
mounting surfaces with the cloth and ZEP I.D.
Red cleaner.
8. Place the depth gage fixture against the right
receiver pad shoulder with the thumb screws
facing to the right. Insert the cap screws.
Setup
T
TF
F-
-D
DG
G
C
CA
AL
L-
-P
PA
AK
K
F
Fi
ix
xt
tu
ur
re
e
M
Ma
an
nu
ua
al
l
MIC TRAC MT-3000
5 2010 Gagemaker, LP
RCDMMT300010-10
9. While applying pressure toward the receiver
pad, use a 5/32" hex wrench to slightly tighten
the screws.
10. Use a 50 in/lb torque wrench to secure the cap
screws.
11. Clean the depth micrometer using the cloth and
ZEP I.D. Red cleaner.
Setup
T
TF
F-
-D
DG
G
C
CA
AL
L-
-P
PA
AK
K
F
Fi
ix
xt
tu
ur
re
e
M
Ma
an
nu
ua
al
l
MIC TRAC MT-3000
6 2010 Gagemaker, LP
RCDMMT300010-10
12. Zero the depth micrometer on a flat surface
and lock the spindle.
13. Retract the thumb screws on the depth gage
fixture enough to fit the depth micrometer.
14. Mount the depth micrometer in the depth gage
fixture, aligning the depth micrometer’s rod with
the center of the flat face anvil.
Setup
T
TF
F-
-D
DG
G
C
CA
AL
L-
-P
PA
AK
K
F
Fi
ix
xt
tu
ur
re
e
M
Ma
an
nu
ua
al
l
MIC TRAC MT-3000
7 2010 Gagemaker, LP
RCDMMT300010-10
15. Secure the depth micrometer by holding down
on the base and tightening the thumb knob on
each side of the depth gage fixture.
16. Turn the coarse adjust knob counterclockwise
until the depth micrometer barely touches the
flat face anvil.
17. Apply slight pressure until the in the
axis display lights up. The display will read
0.00000 and the gaging force will be preset to
2.0 lbs of force.
Setup
T
TF
F-
-D
DG
G
C
CA
AL
L-
-P
PA
AK
K
F
Fi
ix
xt
tu
ur
re
e
M
Ma
an
nu
ua
al
l
MIC TRAC MT-3000
8 2010 Gagemaker, LP
RCDMMT300010-10
Materials Needed:
•MIC TRAC MT-3000 base unit and CPU readout •5/32" hex wrench
•Seiko printer (optional) •Lightweight gage oil
•Depth Micrometer •Gage Calibration Record
1. Turn the fine adjust knob clockwise to bring the
depth micrometer face in contact with the flat
face anvil.
2. Verify that the readout on the CPU displays
0.00000.
3. Loosen the coarse adjust lock and turn the
coarse adjust knob clockwise to slide the
movable carriage to the right.
4. Adjust the depth micrometer to the first
calibration value.
Note: If you pass the calibration value, turn the
spindle back and approach the value again,
from the same direction. This practice will
increase the accuracy of the calibration.
If using a computer with
the MT-3000, go to page 11.
Calibration
T
TF
F-
-D
DG
G
C
CA
AL
L-
-P
PA
AK
K
F
Fi
ix
xt
tu
ur
re
e
M
Ma
an
nu
ua
al
l
MIC TRAC MT-3000
9 2010 Gagemaker, LP
RCDMMT300010-10
5. Turn the coarse adjust knob counterclockwise
until the depth micrometer rod barely touches
the flat face anvil.
6. Secure the coarse adjust lock.
7.
Turn the fine adjust knob clockwise until the
-in the axis display lights up. If you
have a Seiko Printer attached to your MIC
TRAC a permanent record of the measurement
prints.
8. Record any deviations on the Gage Calibration
Record or in-house calibration report. Continue
with remaining measurements for the first
depth rod.
Note: It is recommended that depth rods 6” and
longer be supported during calibration.
9. Locate and mount the TF-SS support. With the
thumbscrew facing forward, slide the support
over the flat face anvil.
10. Remove the depth rod from the depth
micrometer and insert the next depth rod.
Adjust the height of the depth gage support to
hold the end of the depth rod, so it does not
bend during calibration. Tighten the thumb
screw.
Calibration
T
TF
F-
-D
DG
G
C
CA
AL
L-
-P
PA
AK
K
F
Fi
ix
xt
tu
ur
re
e
M
Ma
an
nu
ua
al
l
MIC TRAC MT-3000
10 2010 Gagemaker, LP
RCDMMT300010-10
11. Adjust the height of the depth gage support to
hold the end of the depth rod, so it does not
bend during calibration. Tighten the thumb
screw.
12. Turn the coarse adjust knob counterclockwise
until the depth micrometer rod barely touches
the flat face anvil. Secure the coarse adjust
lock.
13. Continue turning the fine adjust knob until the
. in the axis display lights up. Record any
deviations on the Gage Calibration Record or
in-house calibration report. Continue with the
same calibration process for all remaining
depth rods.
14. Remove the depth micrometer and continue
with the same calibration process for the next
depth micrometer.
15. After calibrating all depth micrometers, be sure
to remove the depth gage fixture and flat face
anvil from the MT-3000. Oil the fixture and anvil
and return them to the storage case.
Calibration
T
TF
F-
-D
DG
G
C
CA
AL
L-
-P
PA
AK
K
F
Fi
ix
xt
tu
ur
re
e
M
Ma
an
nu
ua
al
l
MIC TRAC MT-3000
11 2010 Gagemaker, LP
RCDMMT300010-10
Materials Needed:
•MIC TRAC MT-3000 base unit and CPU readout •Depth Micrometer
•Computer •
5/32" hex wrench
•CERTIFI software •Lightweight gage oil
•MT-4-USB Digital Data Acquisition Card •
Brother P-Touch Label Printer (optional)
1. Start Certifi by double clicking the Certifi icon.
CERTIFI Icon
2. Click the New Calibration Report icon.
New Report Icon
3. With the cursor in the Gage Template field,
press the Enter key.
4. Highlight the Depth Micrometer line and click
on the OK button.
Calibration
If using a computer with
the MT-3000, begin here.
T
TF
F-
-D
DG
G
C
CA
AL
L-
-P
PA
AK
K
F
Fi
ix
xt
tu
ur
re
e
M
Ma
an
nu
ua
al
l
MIC TRAC MT-3000
12 2010 Gagemaker, LP
RCDMMT300010-10
5. Complete the following Client information:
•Company name and address.
•OEM #
•Contact name.
•PO/Account - purchase order or account
number.
•Calibration Date - automatically displays,
but can be changed by typing over the
displayed date.
•Print #
6. Enter the following information about the gage
you are calibrating:
•Serial Number
•Location
•Gage Manufacturer
•Model
•Description
7. You may change the tolerances for the caliper
if you wish.
8. You can enter additional master values by right
clicking your mouse over an existing master
value. Select Insert to insert a new line. Then
type in the new master value in that line.
Calibration
T
TF
F-
-D
DG
G
C
CA
AL
L-
-P
PA
AK
K
F
Fi
ix
xt
tu
ur
re
e
M
Ma
an
nu
ua
al
l
MIC TRAC MT-3000
13 2010 Gagemaker, LP
RCDMMT300010-10
9. Click on the CERTIFI Monitor icon to open the
CERTIFI Monitor Window.
10. Choose the “Y” axis from the pull down box.
11. Bring the MIC TRAC jaws together and click
the Zero button twice.
12. Turn the X axis adjust knob clockwise and pull
out.
13. Turn the Y axis adjust knob counterclockwise
until the depth micrometer contacts the flat face
anvil.
Calibration
T
TF
F-
-D
DG
G
C
CA
AL
L-
-P
PA
AK
K
F
Fi
ix
xt
tu
ur
re
e
M
Ma
an
nu
ua
al
l
MIC TRAC MT-3000
14 2010 Gagemaker, LP
RCDMMT300010-10
14. Enter the first measurement in the Measured
column as follows:
•Continue turning the Y axis adjust knob
until the X axis moves approximately ½
inch. Secure Locks 1 and 2.
•Click the Send to Table bar.
CERTIFI records the value and displays a
green box in the Pass/Fail column if the value
is within tolerance. A red box displays if the
value is not within tolerance. The Deviation
column shows the deviation of the measured
value from the master value.
15. Adjust the depth micrometer to the first
calibration value.
Note: If you pass the calibration value, turn the
spindle back and approach the value again,
from the same direction. This practice will
increase the accuracy of the calibration.
Calibration
T
TF
F-
-D
DG
G
C
CA
AL
L-
-P
PA
AK
K
F
Fi
ix
xt
tu
ur
re
e
M
Ma
an
nu
ua
al
l
MIC TRAC MT-3000
15 2010 Gagemaker, LP
RCDMMT300010-10
16. Turn the Y axis adjust knob counterclockwise
until the depth micrometer rod contacts the flat
face anvil.
16. Enter the gage measurements in the Measured
column as follows:
•Continue turning the Y axis adjust knob
until the X axis moves approximately ½
inch. Secure Locks 1 and 2.
•Click the Add Value button.
17. Then, using each master value, continue
measuring the depth micrometer until the
values for the first depth rod are recorded in
CERTIFI.
18. Loosen Lock 1 and 2 and turn the Y axis adjust
knob clockwise to slide the Y axis to the right.
Note: It is recommended that depth rods 6” and
longer be supported during calibration.
19. Locate the depth gage support. With the
thumbscrew facing forward, slide the support
over the left flat face anvil.
20. Remove the depth rod from the depth
micrometer and insert the next depth rod.
Calibration
T
TF
F-
-D
DG
G
C
CA
AL
L-
-P
PA
AK
K
F
Fi
ix
xt
tu
ur
re
e
M
Ma
an
nu
ua
al
l
MIC TRAC MT-3000
16 2010 Gagemaker, LP
RCDMMT300010-10
21. Adjust the height of the depth gage support to
hold the end of the depth rod, so it does not
bend during calibration. Tighten the thumb
screw.
22. Turn the Y axis adjust knob counterclockwise
until the depth micrometer rod touches the flat
face anvil.
23. Enter the gage measurement for the depth rod
in the Measured column as follows:
•Continue turning the Y axis adjust knob
until the X axis moves approximately ½
inch. Secure Locks 1 and 2.
•Click the Add Value button.
•Continue calibrating the remaining depth
rods as in the previous five steps.
.
25. Change the Next Calibration Date, if
necessary, by typing over the displayed date.
Calibration
T
TF
F-
-D
DG
G
C
CA
AL
L-
-P
PA
AK
K
F
Fi
ix
xt
tu
ur
re
e
M
Ma
an
nu
ua
al
l
MIC TRAC MT-3000
17 2010 Gagemaker, LP
RCDMMT300010-10
Enter NIST information as necessary. With the
cursor in the single box press the Enter key to
bring up a list of current NIST information. For new
NIST information select Edit from the menu and
press the Preferences box. Select the NIST tab to
enter new information.
26. Click the Save button.
Note: CERTIFI automatically assigns a filename
to each calibration. DO NOT change the
filename to avoid problems with the
CERTIFI database.
Calibration
T
TF
F-
-D
DG
G
C
CA
AL
L-
-P
PA
AK
K
F
Fi
ix
xt
tu
ur
re
e
M
Ma
an
nu
ua
al
l
MIC TRAC MT-3000
18 2010 Gagemaker, LP
RCDMMT300010-10
27. When the confirm window displays, click the
Yes button if you want to print the calibration
report.
Note: If you have a Brother P-Touch Label Printer
for printing calibration stickers, the Confirm window
for printing a calibration tag displays.
28. Click the Yes button to print the calibration tag.
Affix the Calibration Tag to the caliper.
29. Continue with the same calibration process for
the next caliper.
30. After calibrating all depth micrometers, be sure
to remove the depth gage fixture and flat face
anvil from the MT-3000. Oil the fixture and anvil
and return them to the storage case.
Calibration
T
TF
F-
-D
DG
G
C
CA
AL
L-
-P
PA
AK
K
F
Fi
ix
xt
tu
ur
re
e
M
Ma
an
nu
ua
al
l
MIC TRAC MT-3000
19 2010 Gagemaker, LP
RCDMMT300010-10
Notes:
Gagemaker, LP, P.O. Box 87709, Houston, Texas 77287-7709
710 East Southmore Ave., Pasadena, Texas 77502
Phone: 713-472-7360
Fax: 713-472-7241
Website: www.gagemaker.com

Other manuals for MIC TRAC MT-3000

3

Other GAGEMAKER Measuring Instrument manuals

GAGEMAKER MIC TRAC MT-3000 User manual

GAGEMAKER

GAGEMAKER MIC TRAC MT-3000 User manual

GAGEMAKER PD-6001 User manual

GAGEMAKER

GAGEMAKER PD-6001 User manual

GAGEMAKER BXG-1000 User manual

GAGEMAKER

GAGEMAKER BXG-1000 User manual

GAGEMAKER MIC TRAC MT-3000 User manual

GAGEMAKER

GAGEMAKER MIC TRAC MT-3000 User manual

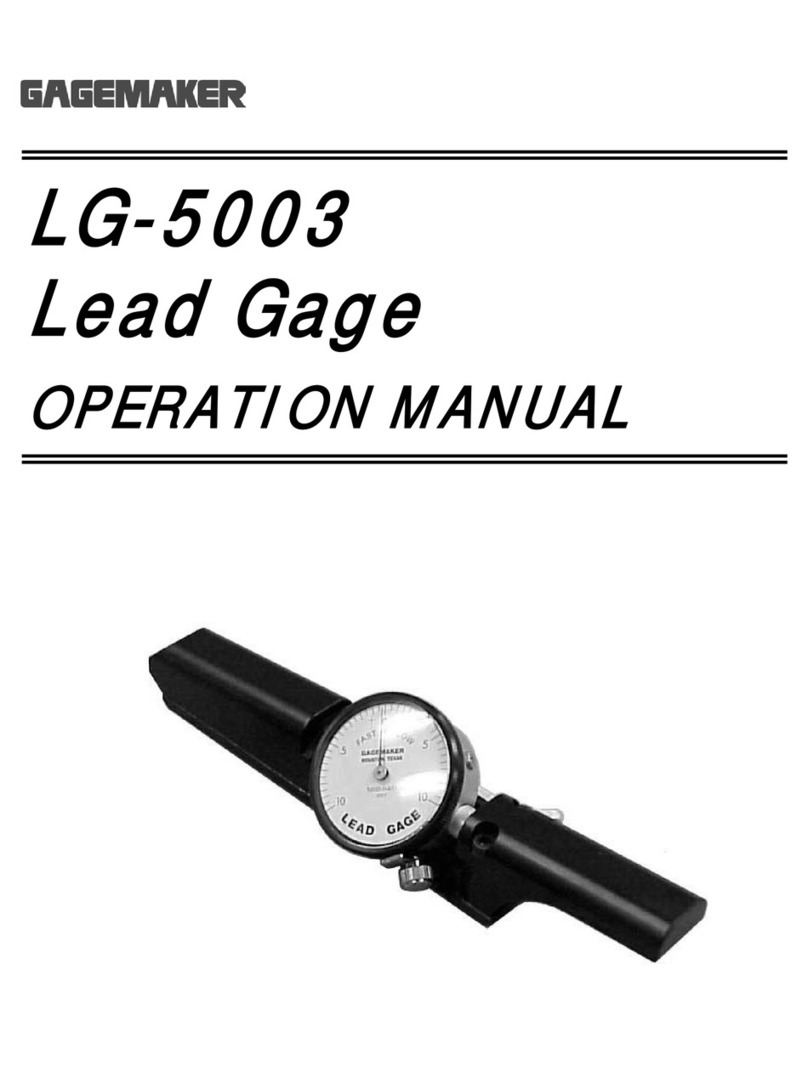
GAGEMAKER LG-5003 User manual

GAGEMAKER

GAGEMAKER LG-5003 User manual

GAGEMAKER PD-8000-RSC User manual

GAGEMAKER

GAGEMAKER PD-8000-RSC User manual

GAGEMAKER MRP-1500 User manual

GAGEMAKER

GAGEMAKER MRP-1500 User manual

GAGEMAKER PG-6000 User manual

GAGEMAKER

GAGEMAKER PG-6000 User manual

GAGEMAKER RG-7000 User manual

GAGEMAKER

GAGEMAKER RG-7000 User manual

GAGEMAKER MIC TRAC MT-3000 User manual

GAGEMAKER

GAGEMAKER MIC TRAC MT-3000 User manual

GAGEMAKER LG-6001 User manual

GAGEMAKER

GAGEMAKER LG-6001 User manual

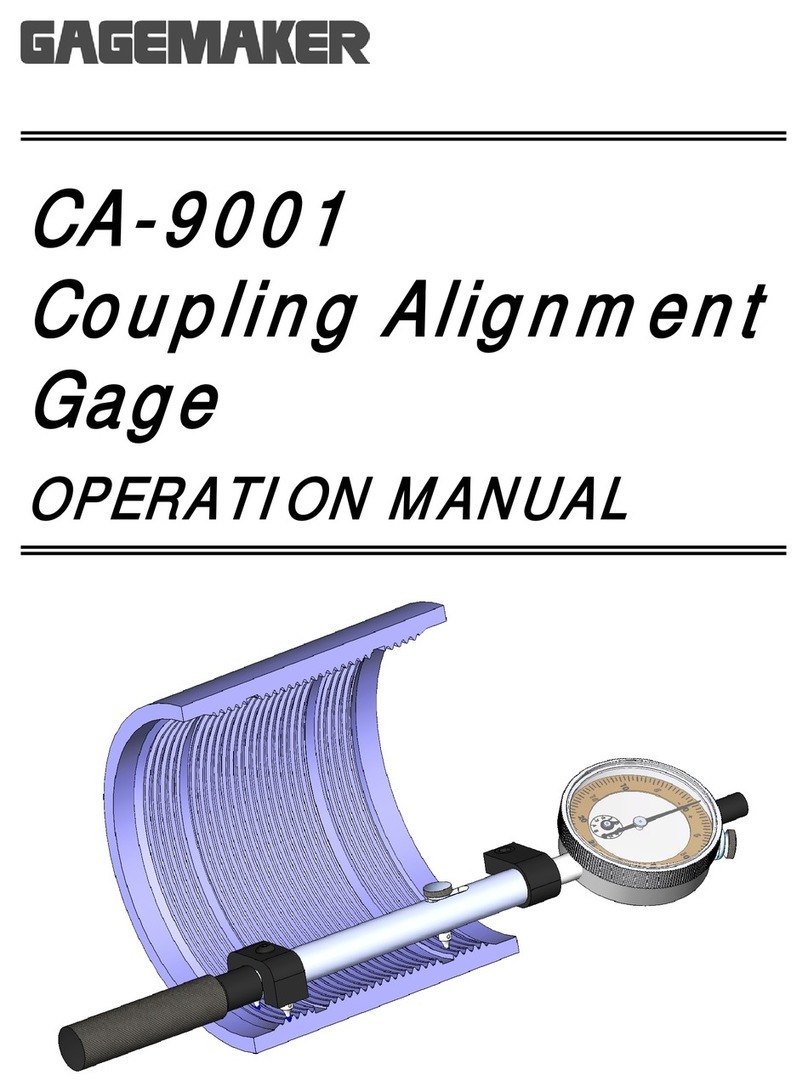
GAGEMAKER CA-9001 User manual

GAGEMAKER

GAGEMAKER CA-9001 User manual

GAGEMAKER IT-5100 User manual

GAGEMAKER

GAGEMAKER IT-5100 User manual

Popular Measuring Instrument manuals by other brands

Agreto HFM II user manual

Agreto

Agreto HFM II user manual

Omega DPG1000L Series instruction sheet

Omega

Omega DPG1000L Series instruction sheet

GE Wiring Devices & Specialty Products GE5805WS6 user manual

GE Wiring Devices & Specialty Products

GE Wiring Devices & Specialty Products GE5805WS6 user manual

Dwyer Instruments CSG user guide

Dwyer Instruments

Dwyer Instruments CSG user guide

AOR SR2000A instruction manual

AOR

AOR SR2000A instruction manual

AEMC instruments 5070 user manual

AEMC instruments

AEMC instruments 5070 user manual

MFJ MFJ-834 instruction manual

MFJ

MFJ MFJ-834 instruction manual

Pittsburgh 64202 Owner's manual & safety instructions

Pittsburgh

Pittsburgh 64202 Owner's manual & safety instructions

CNC CNCWL- 5136-XN Operator's manual

CNC

CNC CNCWL- 5136-XN Operator's manual

Elcometer 121/2 operating instructions

Elcometer

Elcometer 121/2 operating instructions

Thermo Scientific Orion Star A113 instruction sheet

Thermo Scientific

Thermo Scientific Orion Star A113 instruction sheet

WINTACT WT85 instruction manual

WINTACT

WINTACT WT85 instruction manual

Thermo Scientific AutoXP manual

Thermo Scientific

Thermo Scientific AutoXP manual

Exotek Instruments BDD mini user manual

Exotek Instruments

Exotek Instruments BDD mini user manual

NeurOptics NPi-300 quick start guide

NeurOptics

NeurOptics NPi-300 quick start guide

Orbis CONTAX D-6331 S0 user manual

Orbis

Orbis CONTAX D-6331 S0 user manual

Topkodas GTalarm2 Installation & programming manual

Topkodas

Topkodas GTalarm2 Installation & programming manual

ETS-Lindgren 5225 Series manual

ETS-Lindgren

ETS-Lindgren 5225 Series manual

manuals.online logo
manuals.online logoBrands
  • About & Mission
  • Contact us
  • Privacy Policy
  • Terms and Conditions

Copyright 2025 Manuals.Online. All Rights Reserved.