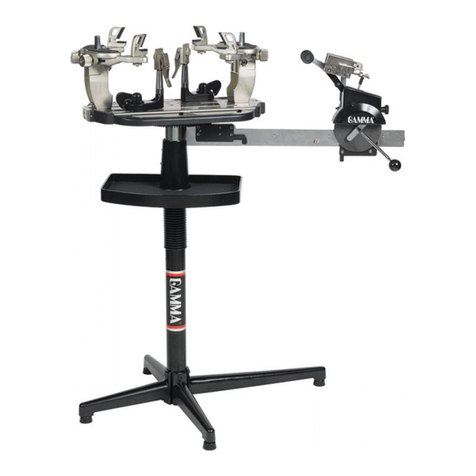
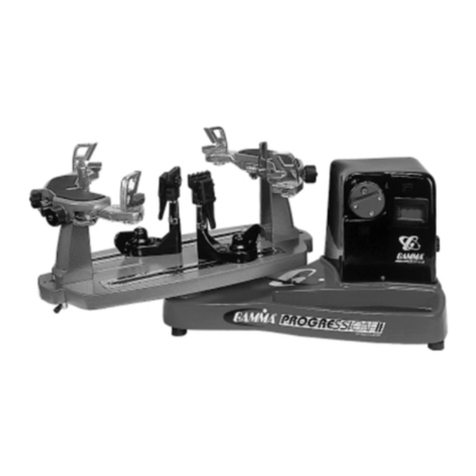
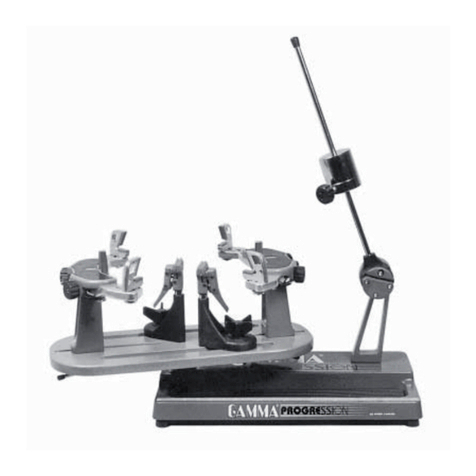
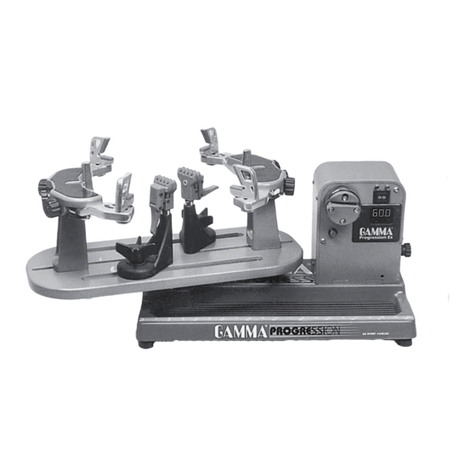
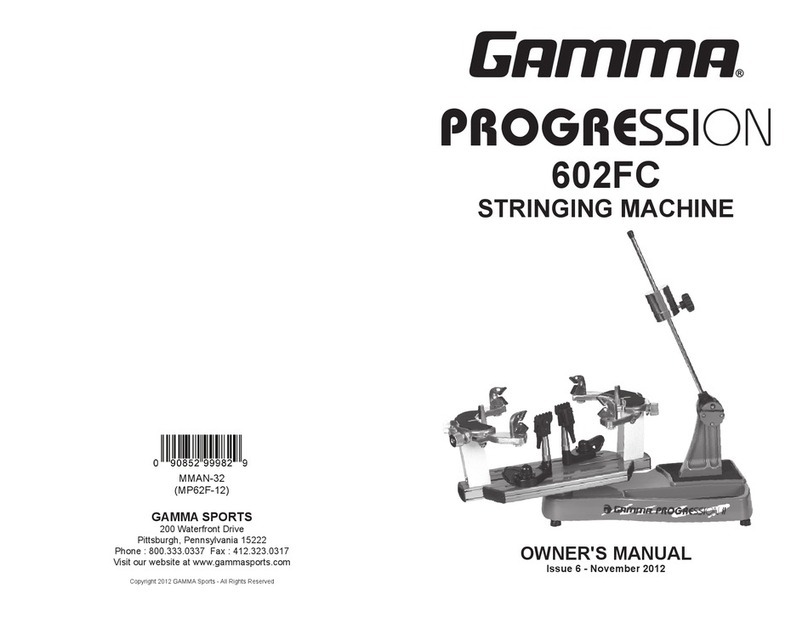
Gamma+ PROGRESSION 602 User manual

602602
602602
602
OO
OO
OWNER'S MANUWNER'S MANU
WNER'S MANUWNER'S MANU
WNER'S MANUALAL
ALAL
AL
Issue 1- April 2000Issue 1- April 2000
Issue 1- April 2000
PROGRESSION
Copyright 2000 GAMMA Sports - All Rights Reserved
STRINGING MASTRINGING MA
STRINGING MACHINECHINE
CHINECHINE
CHINE

1
TABLE OF CONTENTS
PAGE 1 ................................................................................... WARRANTY
PAGE 2 .....................................................................................FEATURES
PAGE 3 ...........................................................ASSEMBLY INSTRUCTIONS
PAGE 4 ................................................................ MOUNTING THE FRAME
PAGE 5 ................................................................ STRINGING THE FRAME
PAGE 8 ......................................................................... PATHFINDER AWL
PAGE 9 ..............................................................................MAINTENANCE
PAGE 10 ................................................................................. PARTS LIST
PAGE 11 ............................................................. EXPLODED PARTS VIEW
PROGRESSION
602
STRINGING MACHINE
LIMITED WARRANTYLIMITED WARRANTY
LIMITED WARRANTY
GAMMA SPORTS ("GAMMA") warrants to the original purchaser that the GAMMA PROGRESSION stringing machine ("EQUIPMENT") purchased is free
from defects in materials and workmanship for a period of five (5) years from the date of original purchase for mechanical parts (excluding electrical parts
and string clamps), and for a period of one (1) year from the date of purchase for all electrical parts and string clamps. Should any defects develop under
normalusewithinthespecifiedtime periods, GAMMAwillat its option,repairor replace thedefectiveEQUIPMENT provided itisreturnedto GAMMA prepaid
at the purchaser's expense. This warranty does not apply to any damage or defect caused by negligence, abuse, misuse, unauthorized alteration, shipping,
handling, or part wear and tear as a result of normal use.
GAMMA's obligation under this warranty is limited to repair or replacement of defective EQUIPMENT, and no one is authorized to promise any other liability.
GAMMA shall in no event be liable for any incidental or consequential damages.
Toreturn defectiveEQUIPMENT,a returnauthorization(RA#) mustbeobtained fromaGAMMA customerservicerepresentative bycalling1-800-333-0337.
TheRA# mustbemarked ontheoutside ofthe shipping cartonbeing returned.Allreturns mustbeshipped prepaidbythe customertoGAMMA. Pleaseretain
the original shipping carton and packing materials for any future shipments. GAMMA will not be responsible for machines which are not sent in the original
undamaged packaging.
2
FEATURES
!Drop Weight Tensioner w/ 8lb. to 90lb. range and Permanently Engraved
Weight Scale
!Professional Six Point “Quick Mount” Racquet Mounting System -
Accomodates All Racquets Without Adapters
!Patented Parallel Jaw Rotating Ratchet Gripper w/ Diamond Dust Coated
Gripping Surfaces - U.S. Patent #4,491,322
!Two Composite Floating Clamps w/ Thumb Screw Adjustment
!Durable Polystyrene Base Cover w/ Convenient Padded Tool Tray
!Strong, Light Weight, Powder Coated Molded Aluminum Construc-
tion
!Easily Upgradeable to Progression 600FC w/ Professional Dual Action Fixed
String Clamps

3
ASSEMBLY INSTRUCTIONS
Installing the Turntable
Remove the turntable from the foam packing of the
shipping carton. Insert the center post of the turntable
into the bushing of the stringing machine base.
Engaging the Drop Weight Bar Stop
The stringing machine is shipped with the drop weight
bar in the horizontal position. To prevent racquet
damageduringstringing,thebarstopmustbeengaged.
Remove the machine base from the shipping carton
being careful to avoid lifting by the plastic cover.
Holdthedropweightbarintheverticalpositionasshown
while turning the stop screw clockwise with the supplied
5mm hex wrench.
Installing the Frame Support Posts
The Progression 602 support post assemblies are pre-
cision aligned at the factory and are marked for proper
installation on the turntable.
Install the support post with the dot on its base to an
identical dot on the turntable. Align the threaded hole in
the bottom of the frame support post with the slot in the
turntable. Screw the lever lock bolt with washer into the
bottom of the support post and tighten gently.Position
the washer the rounded side toward the turntable.
Repeat procedure on the opposite side of the turntable

4
MOUNTING THE FRAME
Adjusting the Frame Support Posts
Place the racquet frame over the center posts and onto
the frame support. Loosen the lever lock bolt on one
support post. Slide the post outward until the center
support of the racquet support slide is positioned near
theinsidesurfaceoftheracquetframe. Securelytighten
the lever lock bolt.
Adjust the opposite post using the same procedure.
Caution: To avoid racquet damage, the center posts
should not contact the racquet prior to fixing the support
posts.
Adjusting the Frame Shoulder Supports
Being sure the shoulder supports are free to swivel in
thier mountings, simultaneously rotate the shoulder
support adjustment knobs clockwise until both shoulder
supports gently and squarely contact the frame.
TightentheFrameSupportSlidesatthe headandthroat
of the racquet until they gently contact the frame be-
tween the two center main string grommets.
Securing the Frame
Lock the shoulder supports in position by turning the
knob at the base clockwise.
Repeat the adjustment procedure for the remaining
support post.
Re-tightenalloftheframesupportsinthesameorderas
before.
Do not overtighten any of the supports as racquet
damage may occur.
The supports should be tightened to the point where the
racquet frame will not move in the mounting system
when the handle is grasped and attempts are made to
moveit. Shouldanysupports losecontactwith theframe
while stringing, they should be re-tightened.

5
STRINGING THE FRAME
The drop weight is of a two piece design. When
assembled, it will accomodate tensions from 20 lbs. to
90 lbs. For tensions from 8 to 20 lbs., remove the 5mm
bolt on the face of the drop weight, and use the smaller
portion of the weight as described above.
Note:Tensionsabove77lbs.requireremovalofthedrop
weight bar endcap.
Setting Tension
To set the stringing tension, loosen the locking knob on
the side of the drop weight. Slide the weight in the
appropriate direction until the face closest to the string
gripper is indexed with the desired tension mark on the
tension bar.
Clamping the First Main String
To begin stringing the main strings, thread the two ends
of the string through the two center holes at the appro-
priate end of the frame and continue through the oppo-
site center holes. Thread one end of the string through
the adjacent grommet hole and pull excess by hand.
Using a floating clamp, secure the center and the
adjacent string to each other on the inside of the frame.

6
STRINGING THE FRAME
Gripping the String
While holding the tension bar slightly above horizontal,
wrap the free string clockwise around the gripper drum
once and position between the gripper jaw.
Gently turn the gripper clockwise while squeezing the
jaws together until all slack in the string is removed.
Note:Note:
Note:Note:
Note: For proper operation, the string gripper jaw must
be in the position shown. The tension in the string
provides the clamping force to the jaws.
Pulling Tension
While securely holding the string gripper drum with your
hand, lift the tension bar above horizontal and gently
lower the bar under its own weight. If the tension bar
dropsbelow horizontal, repeat the aboveactionuntil the
bar comes to rest parallel to the racquet.
Whenthe correcttensionis attained,thedropweightbar
will rest horizontally as shown. For accurate tensioning,
itmustbeloweredandcome to rest at horizontal without
assistance. Manually forcing the tension bar to the
horizontal position will greatly increase the string ten-
sion and may result in racquet damage.
Ifthetensionbarcomestorestabovehorizontal,release
the string by lifting the bar and re-pull the string.
7
STRINGING THE FRAME
Clamping the String
Clamp the tensioned string to the next adjacent string
using the second string clamp. Release the string from
the gripper by raising the tension arm.
Repeat the procedure for all of the remaining main
strings and tie off following the racquet manufacturers
recommendations.
Starting the Cross Strings
Follow the manufacturer's recommended stringing pat-
ternforoneortwopiecestringing.Thiswilldeterminethe
starting point for the cross strings. If applicable, tie the
first cross string using an appropriate starting knot.
Weavethecrossstringsoverandunderthemainstrings
beingcareful toalternatethe weaveofeach consecutive
cross string so as to be opposite of the previously
installed cross string.
Once the final cross string is tensioned and clamped, tie
off at the appropriate hole specified by the racquet
manufacturer.

8
PATHFINDER AWL
The Gamma 602 includes the new Pathfinder stringing
awl which creates a pathway between or around strings
to make inserting a string through tight gromets easier
and quicker.
Insert the awl through the grommet hole in the same
manneras for traditional awls. The Pathfinder awlmust
be in the closed position before insertion.
Once the awl is inserted, pull the handle of the awl
outward while holding the tip section in place, leaving
the outer sheath in the grommet hole.
Insert the end of the string into the center of the sheath.
While holding pressure on the string, slowly pull the
sheath out of the grommet hole to leave the end of the
string exposed.

Adjusting the Clamps
The clamps provided with your stringing machine will
need minor adjustments according to what string type,
construction, and gauge you are using.
To adjust, route the string through the racquet as if you
were beginning the main strings. Clamp the strings and
pull tension. If the string slips through the jaws of the
clamp, tightentheclampbyturningtheadjustmentknob
opposite of the handle, in the clockwise direction. If the
clampleavesimpressionsordamagesthestring,itistoo
tight and must be adjusted by turning the adjustment
knob counterclockwise.
Theclampjawsmustbecleanandfree from dirt, oil, and
any string coating for them to grip properly. Clean the
clamp jaws with alcohol.
Note: The string clamps supplied with your stringing machine can accomodate tight string patterns such as
badminton. Depending on the string pattern, the clamp will spread the strings slightly which will not compromise the
quality of the string job.
9
MAINTENANCE
Your GAMMA Progression 602 stringing machine is adjusted for optimum performance at the factory and needs no
further adjustments before use. After extensive use however, the machine may need minor adjusments as follows
:
Adjusting the Turntable Bushings
There are two adjustment points on the machine base.
Oneislocatedbeneaththepolystyrenebasecoverwhile
the other is accessed from below the machine.
Using the supplied 3mm hex wrench, tighten both set
screws slightly until the turntable rotates smoothly with-
out excessive free play.
Repeat procedure until final adjustment is reached.
Adjustment
Knob

10
PARTS LIST
TOOLS AND ACCESSORIES
PART #
4
5
6
7
8
9
10A
13
14
15A
21
22
23
24
25
25A
26
27
28
29
30
30A
31
32B
33B
34
35
36
37
40
42
43
44
45
46
47
DESCRIPTION
TURNTABLE BUSHING
RUBBER FEET
CAP SCREW
FOOT NUT
BUSHING SET SCREW
WASHER - M8
WINDER STAND - B/S
POST LOCK LEVER
WASHER - M10
2021 SUPPORT POST
FRAME SUPPORT SLIDE
BADMINTON ADAPTER
TENNIS ADAPTER
SUPPORT SLIDE KNOB
TENSION BAR
SET SCREW
TENSION BAR CAP
DROP WEIGHT KNOB
FRONT WT. - BADMINTON
BACK WIEGHT - TENNIS
TENSION BAR DRUM
SET SCREW
STRING GRIPPER DRUM
UPPER JAW w/ INSERT
LOWER JAW w/ INSERT
RATCHET TEETH
RATCHET TEETH SPRING
GRIPPER JAW SPRING
CAP SCREW
CAP SCREW
FLOATING CLAMP ASSBLY.
LEVER JAW
INNER JAW
KNOB JAW
LEVER
KNOB
PART #
48
49
50
51
75
122
140
141
142
143
144
145
146A
147
148
161
162
163
172
179
181
187
188
189
190
70
72
73
108
109
167
170
196
DESCRIPTION
SWING BOLT
RETURN SPRING
PIVOT PIN
RETAINING RING
TURNTABLE - 1070
SHOULDER PADS (RED)
MTNG. STAND TOP PLATE
MTNG. STAND PAD
SUPPORT ARM - LEFT
SUPPORT ARM - RIGHT
SUPPORT LOCK KNOB
ARM RETURN SPRING
ARM ADJUSTMENT KNOB
ARM ADJUSTMENT SCREW
SHOULDER V-CLAMP
WINDER BEARING
GRIPPER PIVOT PIN -B/S
PIVOT PIN RTNG. COLLAR
2020-25 TURNTABLE
GLIDE BAR - ALUM.
COMP. FIXED CLAMP - RED
PII ALUMINUM BASE
PII BASE COVER
PII LOWER TRAY PAD
PII UPPER TRAY PAD
HEX WRENCH - 5MM
PATHFINDER AWL
STRINGERS AWL
PLIERS
UTILITY KNIFE
BOX WRENCH - 17MM
M10 SUPP - POST SCREWS
10 PC. HEX WRENCH SET

11
EXPLODED PARTS VIEW
Other manuals for PROGRESSION 602
1
Table of contents
Other Gamma+ Stringing Machine manuals

Gamma+
Gamma+ X-6FC User manual

Gamma+
Gamma+ Progression ES II+ User manual

Gamma+
Gamma+ 9900 Els User manual

Gamma+
Gamma+ 5800 Els User manual

Gamma+
Gamma+ 5002 User manual

Gamma+
Gamma+ 6004 User manual

Gamma+
Gamma+ 5800 Els User manual

Gamma+
Gamma+ 6900 Els User manual

Gamma+
Gamma+ 6900 Els User manual

Gamma+
Gamma+ Progression STII User manual

Gamma+
Gamma+ 5003 User manual

Gamma+
Gamma+ X-ST User manual

Gamma+
Gamma+ Progression Els User manual

Gamma+
Gamma+ 5003 User manual

Gamma+
Gamma+ 5003 User manual

Gamma+
Gamma+ 7900 Els User manual

Gamma+
Gamma+ X-2 User manual

Gamma+
Gamma+ 6004 User manual

Gamma+
Gamma+ X-6 User manual

Gamma+
Gamma+ Progression Els User manual