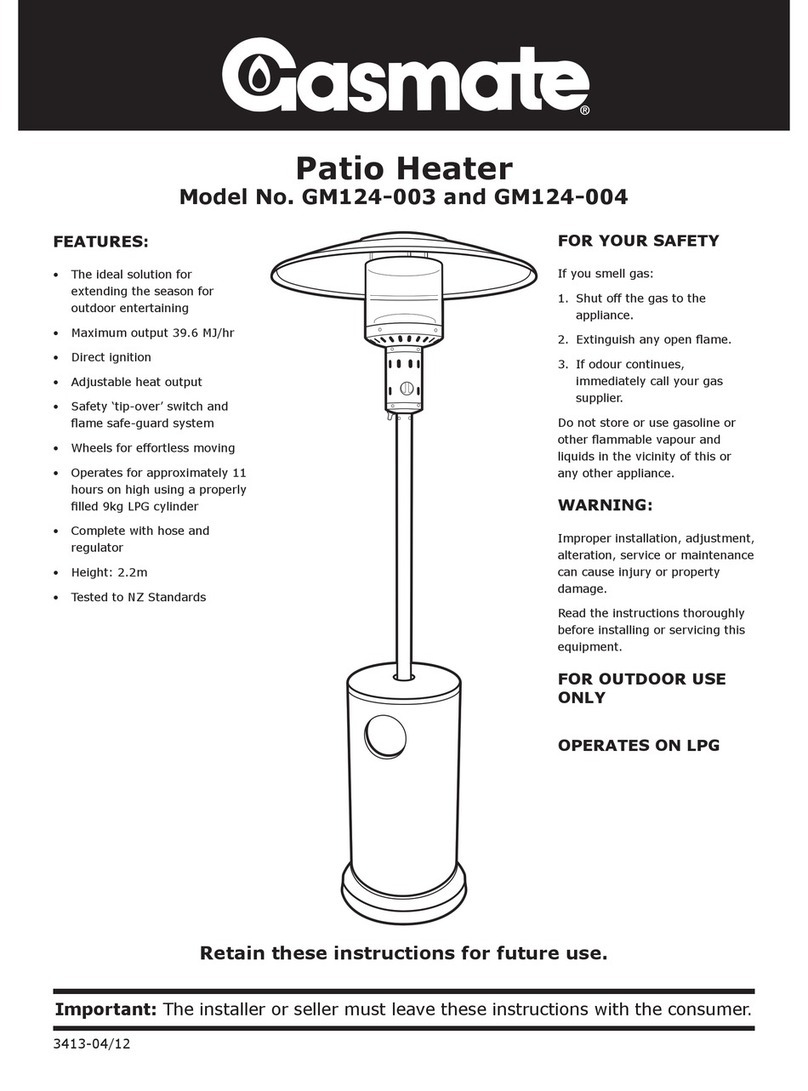
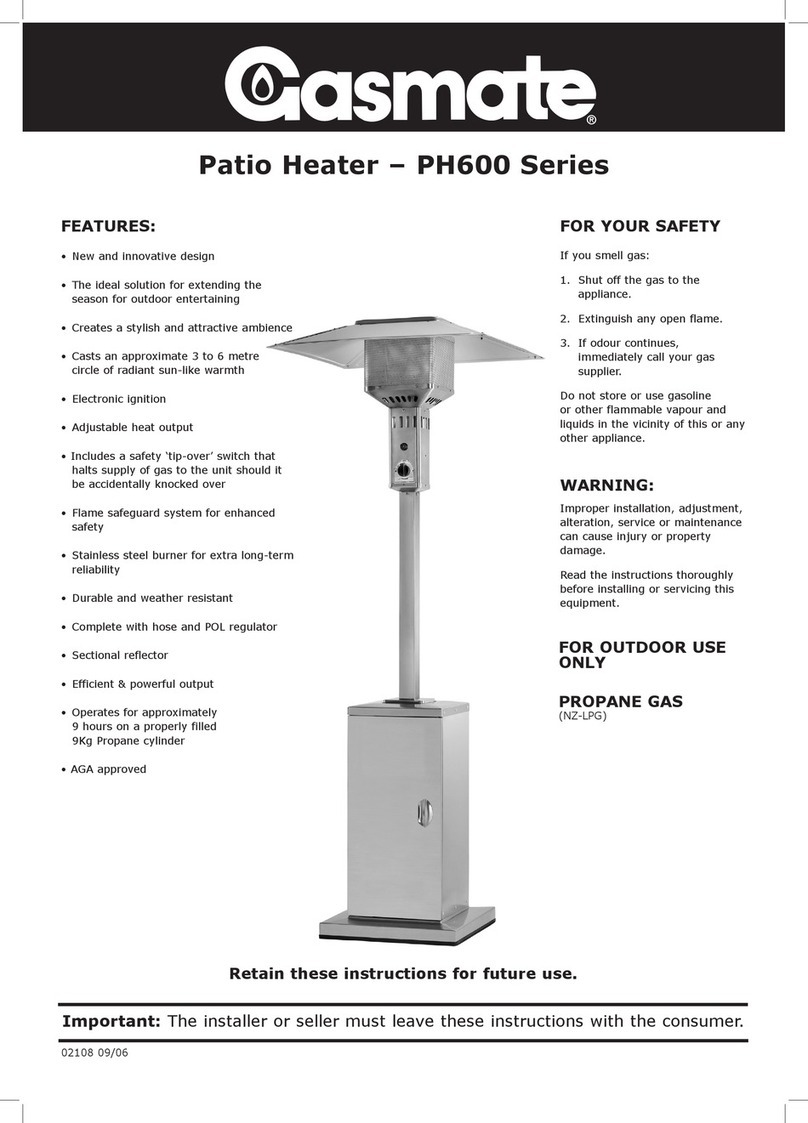
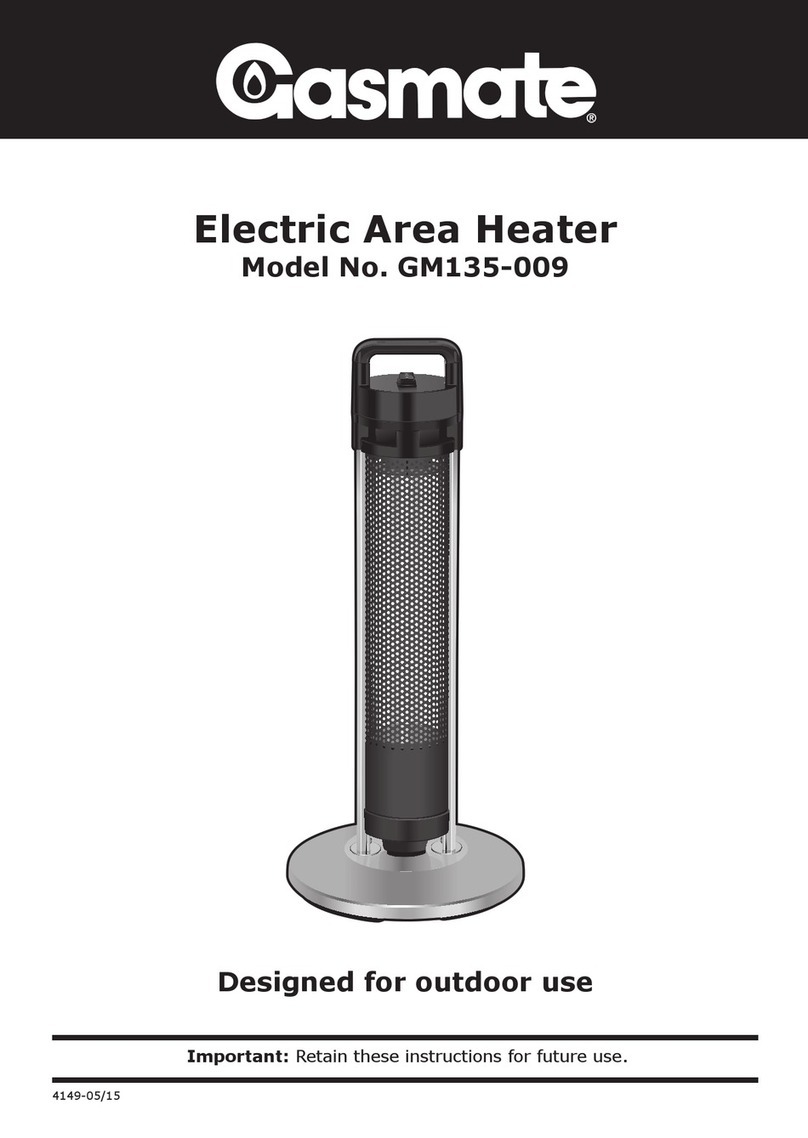
Gasmate EH305 User manual

Electric Patio Heater – EH305
01973 12/05
Important: Retain these instructions for future use
FEATURES:
• Attractive slender and modern design
• Easy to operate, plug in and go
• The ideal solution for extending the outdoor
entertaining season
• Can be used indoors as well
• Safe odourless infrared technology, no UV rays
and silent operation
• Efficient and economical operation with 100%
heat production within seconds
• Use where a low roof prevents the use of a gas
patio heater
• Ideal for use under verandahs and near work
benches
• Provides soft lighting that is both practical and
creates ambience
2 SET UP OPTIONS
Fix to a wall with the mounting bracket provided or
mount heater onto the stand

IMPORTANT SAFEGUARDS
To reduce the risk of personal injury or damage to
property, follow basic safety precautions when using
this product, including the following:
READ THESE INSTRUCTIONS CAREFULLY BEFORE USING
THE PRODUCT. KEEP THE INSTRUCTIONS HANDY FOR
FUTURE REFERENCE.
Important: Always operate the Product from a power source
of the same Voltage, Frequency and Rating as indicated on the
Product Identication Plate.
• Close supervision is necessary when any Electrical Product
is used or operated near children or inrm persons;
DO NOT leave the Product unattended when in use; young
children should be supervised to ensure that they
DO NOT play with the Product.
• DO NOT operate any product which has been/or appears
damaged in any manner or after the Product malfunctions,
or is dropped. Return the complete Product immediately to
your place of purchase.
• If it is necessary to use an Extension Cord with this
Product, prior to its use, make sure the extension Cord is
safe to use, capable of handling the electrical load of the
Product (refer to Product Identication Plate) and has been
checked and tested by your electricity supplier or qualied
technician.
• To avoid becoming entangled in the cord, NEVER lay it
through or along a walkway or thoroughfare.
• DO NOT use this heater with a programmer, timer or other
device that switches the heater on automatically, since
a re risk exists if the heater is covered or positioned
incorrectly.
• The glass reguard of this heater is intended to prevent
direct access to the heating elements and must be in place
when the heater is in use.
CAUTION: DO NOT use in the immediate
surrounds, or leave this Product in a position
where it may be pulled or fall into a Bath, Shower,
Sink, Swimming Pool or Trough etc. There is a
danger of Electrocution under these conditions
even with the Product Switch in “OFF” position.
Switch “OFF” at the Socket Outlet and remove the
Plug when not in use. If the Product accidentally
falls into water, UNPLUG it immediately; DO
NOT REACH INTO THE WATER. Important: Prior
to reconnecting the Power Supply, the complete
Product should be inspected by a qualied
WARNING: To avoid overheating the Power Supply
Cord, completely unwind all the cord, including from
the cord storage area of the heater, if tted.
CAUTION: To reduce risk of electric shock, DO
NOT IMMERSE the Product in any liquid, or use
the Product near baths, basins, swimming pool,
shower area or other vessels containing water or
other liquids, or when standing in or on damp
or wet surfaces. If any Electrical Product falls into
water, UNPLUG it immediately; DO NOT REACH
INTO THE WATER. Do not immerse or expose
the Flexible Cord or Plug to rain, moisture or any
liquid. Important: Prior to reconnecting to the
Power Supply, the Product should be inspected by a
qualied technician.
• Always arrange the Cord so that it cannot be pulled or
tripped over.
• DO NOT operate this Product immediately below an
electrical Socket Outlet.
• Avoid operating the Product on long pile carpet or uneven
surfaces. Use only on at, level and stable surfaces.
• DO NOT operate this Product in the presence of explosive
and/or ammable liquid or fumes such as where aerosol
(spray) Products are being used or where Oxygen is being
administered.
• Avoid leaving the Product unattended when in use.
• Switch OFF and UNPLUG from Power Outlet when not in
use, allow to cool before shifting the Product from one
location to another, and before cleaning.
• DO NOT disconnect the Product from the Power Supply
by pulling on the Cord. Never move, carry or hang the
Product by the Cord.
• When storing the Product, gently wind the Cord around
the Cord Wrap if provided, otherwise loosely coil the cord.
Avoid wrapping the Cord around the Product.
• DO NOT operate or place any part of this Product on
or near any hot surfaces such as a gas ame, electric
element, or in a heated oven, or let the Cord hang over the
edge of a table or bench.
• Avoid touching hot surfaces, use Handles or Knobs.
• Avoid contacting moving parts. Keep hands, hair, and
clothing, well away from the Product while it is in
operation.
• DO NOT use the Product for other than its intended use as
described in these instructions. This Product is intended
for Normal Domestic Household Use only. The use of
accessory attachments other than those recommended by
the manufacturer may cause safety hazards.
CAUTION: This Product should not be used/
operated in a conned space. Always use/operate
this Product well away from walls and curtains. A
re may occur when this Product is in operation,
if it is covered, or is close to ammable materials,
such as curtains, drapes or wall coverings, etc.

CAUTION: To reduce the risk of shock or damage
to the Product, DO NOT disassemble. No user
serviceable parts inside.
CAUTION: DO NOT immerse the Product, its
Flexible Cord or Plug in water or any other liquid.
BEFORE FIRST USE
Unpack the Product
• Carefully unpack the Product making sure you keep all
the packing material until all the parts of the Product
have been found and the Product has been used. We
recommend keeping all the packing material in a safe place
for re-use at any time you wish to repack the Product for
shipping purposes.
• To remove any dust that may have accumulated during
unpacking, simply wipe the exterior of the Product with a
clean, soft, slightly dampened (not wet) cloth, then allow
to thoroughly dry. Do not use any abrasive cleaners as
they may scratch the surface.
Service & Safety
• This Product is shipped to you in a factory sealed carton.
Should the Product be damaged, dropped, or malfunctions
in any way, or its Flexible Cord is damaged, return the
complete Product to the place of purchase.
• Always operate the Product as described in these
instructions.
Important: In some Products the replacement by the user of
the Flexible Cord is not intended. Special Tools are required
to disassemble the Product or to replace the Cord, or a special
Cord is required.

Assembly of wall mount
bracket to heater (Fig 1)
1. Assemble screw (6) and washer (10) through heater (1)
and bracket (2) and securely tighten with washer (11) and
nut (4).
2. Assemble screw (7) and washer (13) through heater (1)
and bracket (2) and securely tighten with washer (12) and
nut (5).
Fixing bracket clamp to wall (Fig 3)
The bracket clamp must be rigidly tted to a solid wall with
supplied hardware. Recommended height of bottom xing
hole of bracket clamp is 230cm above oor surface, and a
MINIMUM distance of 30cm (refer Fig 2) from any surface
above the heater location and 50cm from a wall (refer Fig 1).
1. Select the location, hold the bracket clamp against the wall
and with a sharp pencil, mark the mounting holes.
2. Drill two holes for xing screws (wooden wall)
or wall plugs (solid wall).
3. Fix bracket clamp to wall with screws and
wall plugs (if a solid wall).
Assemble heater to bracket clamp (Fig 2)
1. Slide the heater and bracket assembly into the bracket
clamp on the wall.
Important: Installation must face the heat direction to the
oor as in Fig 4, NOT AS IN Fig 5. Power Cable must be on
the lower portion of the heater as in Fig 6, NOT AS IN Fig 7.
50cm
200cm
1
FLOOR
25cm
30cm
2
CEILING
230cm
3
938
FLOOR
Correct
4
Wrong
5
Control Box
6 7
Control Box
Ceiling Ceiling Ceiling Ceiling
CAUTION: When drilling, take care to avoid any
electrical wiring, gas or water pipes located in or
behind the wall. Safety glasses should be worn
anytime a drill is being used.
WALL MOUNTING ASSEMBLY INSTRUCTIONS

Stand Mounting Assembly (Fig 8)
1. Assemble 2 screws (5) and washers (4) through
heater (1) and bent tube (6) and securely tighten
with washers (3) and nuts (2).
2. Assemble lower tube (11) into base (12) and
securely tighten with thumb screw (14) and
washer (13).
3. Place the smaller end of the center tube (10) into
lower tube (11) and securely tighten with
screw (17).
4. Place the smaller end of the top tube (9) into the
center tube and securely tighten with screw (18).
5. Place Collet (8) into top tube, and screw on
(not tightly) Collet nut (7).
6. Slide the bent tube (with the heater attached)
into the Collet and tighten the Collet nut.
7. Using the clips provided attach the cord to the
tubes.
Important: Installation must face the heat direction
to the oor and the power cable must be on the lower
portion of the heater as Fig. 8.
5
6
1
4
3
2
7
8
9
10
11
12
18
17
13
14
8

OPERATING INSTRUCTIONS
1. Always operate the Stand Mounted Heater on a dry, stable
and level oor surface, well away from curtains, drapes and
soft furnishings.
DO NOT operate this Product immediately below an
electrical Socket Outlet.
DO NOT operate this Product if the glass front is damaged
or removed.
2. Plug the Power Cord into a Power Outlet and turn ON. To
avoid damage to the Power cord, make sure it is kept away
from the Product when in use.
Note: Dark points may exist on the surface of the heating
element during the rst few minutes after it is switched on.
This is normal, and does not affect the heating performance.
Important: Always operate the Product from a power source
of the same Voltage, Frequency and Rating as indicated on the
Product Identication Plate.
3. When unattended, we recommend you make sure the
Product is turned OFF and DISCONNECTED from the Power
Supply.
Important: Avoid any possibility of a re hazard by never
covering, positioning or arranging any material near, or restrict
the airow of the Heater. This Heater is not intended to be
used as clothes or towel dryer.
4. Be sure the Product is turned OFF, DISCONNECTED from
the Power Supply and allowed to cool before moving.
5. When storing the Product, loosely coil the cord. It is
important to allow the Product to cool before storage.
6. When you are not using the appliance, store in a dry place.
CARE & CLEANING
1. After each use, make sure the Product is turned OFF and
DISCONNECTED from the Power Supply. Let the Product
cool after use before moving, cleaning or storage.
2. Clean the exterior of the Product by wiping with a slightly
dampened (not wet) soft cloth. Avoid the use of scouring
pads, harsh detergents, solvents, polish, abrasive or
aerosol cleaners as they may damage the surfaces of the
Product. Dry with a clean, soft cloth before storage, or
reconnecting to the Power Supply.
3. When storing the Product, loosely coil the Power Cord.
Avoid wrapping the Power Cord around the Product. Store
in a cool, dry place. NEVER move, carry or hang the
CAUTION: This Product should not be used or
operated in a conned space. Always use or
operate this Product well away from walls and
curtains. A re may occur when this Product is in
operation, if it is covered, or is close to ammable
materials, such as curtains, drapes or wall
coverings, etc.
CAUTION: To reduce the risk of electric shock,
do not immerse the Product in any liquid, or use
the Product near baths, basins, swimming pool,
shower area or other vessels containing water or
other liquids, or when standing in or on damp
or wet surfaces. If any Electrical Product falls into
water, UNPLUG it immediately; DO NOT REACH
INTO THE WATER. Do not immerse or expose
the Flexible Cord or Plug to rain, moisture or any
liquid. Important: Prior to reconnecting to the
Power Supply, the Product should be inspected by a
qualied technician.
WARNING: To avoid becoming entangled in the
Power Cord, do not locate the Product so the Cord
has to be laid through, or along a walkway or
thoroughfare to the Power Outlet.
WARNING: To avoid overheating the Power
Supply Cord, completely unwind all the cord,
including from the cord storage area of the heater,
if tted.
CAUTION: Burns can occur from touching or being
in close proximity with hot metal parts. Avoid
touching hot surfaces, use handles and knobs.
CAUTION: Do not immerse or expose the
Product, its Flexible Cord or Plug to water or any
other liquid. If any Electrical product falls into
water, or if water should accidentally enter the
Product, UNPLUG it immediately; DO NOT
REACH INTO THE WATER. Important: Prior to
reconnecting to the Power Supply, the Product
should be inspected by a qualied technician.
ELEMENT REPLACEMENT
1. Unplug the power cord and remove the heater head, place
on a suitable working surface.
2. Remove the ten screws from the front face, the glass
retention plate and the glass (including the seal).
3. Carefully unclip the heating element and remove the screw
from each end.
4. Attach the new heating element ensuring it is fastened
securely, and clip into place.
5. Locate the glass ensuring the seal is in place before
positioning the retention plate and secure with screws.

Gasmate® is a registered trademark of: Sitro Group Australia Pty Ltd www.sitro.com.au
AberGas Ltd - Hamilton, N.Z www.abergas.co.nz

Table of contents
Other Gasmate Patio Heater manuals

Gasmate
Gasmate PH2160 User manual

Gasmate
Gasmate STELLAR BLACK PH7056 User manual

Gasmate
Gasmate STELLAR BLACK PH7056 User manual

Gasmate
Gasmate GM124-003 Manual

Gasmate
Gasmate NG1P45 Manual

Gasmate
Gasmate PH2063 Manual

Gasmate
Gasmate Blaze Manual

Gasmate
Gasmate PH600 Series User manual

Gasmate
Gasmate PH2260 User manual

Gasmate
Gasmate GM120-001 User manual
Popular Patio Heater manuals by other brands

PartySpace
PartySpace LIGHTHOUSE 2100 manual

Hiland
Hiland HLDS01-GTHG owner's manual

Heat Outdoors
Heat Outdoors LONDON manual

Endless Summer
Endless Summer Endless Summer EWUR810SP owner's manual

Heat Outdoors
Heat Outdoors Shadow Nirvana Safety instructions and user manual

EAST OAK
EAST OAK TORCH EO-PH001 owner's manual