GE Vital Signs enFlow Instructions for use

enFlow
IV Fluid / Blood Warming System
Preventive
Maintenance
Record
Serial No. ________________
Vital Signs
a GE Healthcare Company
Please consult O
p
erator’s Manual for E
q
ui
p
ment S
y
mbol List

4400-0108 enFlow Preventive Maintenance Record Rev. C Apr-2011 Page 2 of 8
Employ local regulations to determine the frequency of required testing (i.e. Earthing Impedance,
Leakage Current) for the enFlow Warmer (Model 100), Controller (Model 121), and AC Power Pack
(Model 120).
Frequency
Functional and Operational Testing
Protocols
As required by
accrediting body or
once a year
As required by
accrediting body or
once every 5 years
Inspections x
Temperature Readout Display and Status Indicator
Lights
x
Electrical Safety x
Simulated Use Performance Testing: enCheck Model
400 or alternate method
x
Alarm Test: enCheck Model 400 or alternate method
x
Functional and Electrical Procedure
Inspection
1. Ensure that all cords and connectors are in good condition and void of any cuts, cracks, or frays.
Discoloration from cleaning solutions and disinfectants is normal and to be expected.
2. Ensure that the unit is clean and void of any cracks or other signs of damage. If signs of damage are
visible, remove it from service; and contact the service center as soon as possible.
Temperature Readout Display and Status Indicator Lights
1. Plug the Controller/AC Power Pack into a functioning power supply. Set the MAINS power to ON.
Confirm the Controller/AC Power Pack power indicator is illuminated and displaying a “green” color.
Confirm the display panel (Controller only) shows in yellow the conditional message “not heating.”
2. Connect the Warmer without a Disposable Cartridge inside to the Controller/AC Power Pack.
Confirm the “beep” signaling connection. Confirm the display (Controller only) continues to show the
conditional message “not heating.” Confirm the Warmer power LED is flashing green.
Electrical Safety Tests
1. Ground wire resistance
Equipment
enFlow Controller/AC Power Pack
Safety analyzer with test lead –
Purpose
The purpose of this test is to check the resistance in ohms of the ground pin to the chassis. For
purposes of this check the pole screw will be considered to be the ground pin, and the chassis is the
Controller/AC Power Pack.
Procedure
A. USA (Tests the equipment inclusive of its power cord.)
1. Remove the Controller/AC Power Pack off the IV pole.
2. Reinsert the pole clamp screw; screw in finger tight snug against the case. (Do not over-
tighten.)
3. Attach the banana end of the ground lead on the safety analyzer to the pole clamp screw.
4. Plug the power cord of the Controller/AC Power Pack into the safety analyzer.
5. Set the function knob on the safety analyzer to Ground wire resistance.
6. Set the ground switch to normal.
7. Set the polarity switch to the off position.
8. Power the safety analyzer by plugging in and setting the MAINS power to ON.
9. Record the resistance reading. An acceptable reading is a maximum of 500.0 mΩ.
B. TUV (Tests the equipment exclusive of its power cord.)
1. Follow steps 1-3 in Procedure A

4400-0108 enFlow Preventive Maintenance Record Rev. C Apr-2011 Page 3 of 8
2. Plug the cord of the safety analyzer into the Controller/AC Power Pack.
3. Follow steps 5-8 in Procedure A
4. Record the resistance reading. An acceptable reading is a maximum of 100.0 mΩat a
current of 25 A.
2. Leakage current at the AC power cord
Equipment
Safety analyzer with test lead
enFlow Controller/AC Power Pack
Purpose
This test is run to check the chassis leakage in microamps. For the purpose of this test the
Controller/AC Power Pack is the chassis.
Procedure
1. Plug the power cord of the Controller/AC Power Pack into the safety analyzer.
2. Turn the knob on the safety analyzer to the chassis leakage function.
3. Power the safety analyzer by plugging in and setting the MAINS power to ON.
4. Record the polarity and ground readings for the Controller/AC Power Pack for both power on
and off scenarios for the following configurations:
Allowable values of continuous LEAKAGE CURRENTS, in µA.
ENCLOSURE LEAKAGE CURRENT TYPE BF
Normal polarity — normal ground Normal
Condition
100
Reverse polarity — normal
ground
Single Fault
Condition
500
Reverse polarity — open ground Double Fault
Condition
500
Normal polarity — open ground Single Fault
Condition
500
3. Leakage current of the Warmer to the
saline in the IV line
Equipment
enFlow Warmer and Disposable Cartridge
Safety analyzer with ECG leads
Saline
Wire
Extension set with a non-venting cap
Purpose
The purpose of this test is to check the leakage of
current from the Warmer into saline. As IV fluids are
generally conductive, a fluid warmer is considered to be
electrically connected to the patient similar to an ECG
lead; therefore, the leakage needs to be tested. The
setup for this procedure is described below.
Procedure
1. Leave the cap on the female end of the
cartridge.
2. Put an extension set on the male end.
3. Insert a piece of wire into the extension set tubing.
4. Fill the cartridge and extension set tubing with saline. NoteIt doesn’t matter which way the

4400-0108 enFlow Preventive Maintenance Record Rev. C Apr-2011 Page 4 of 8
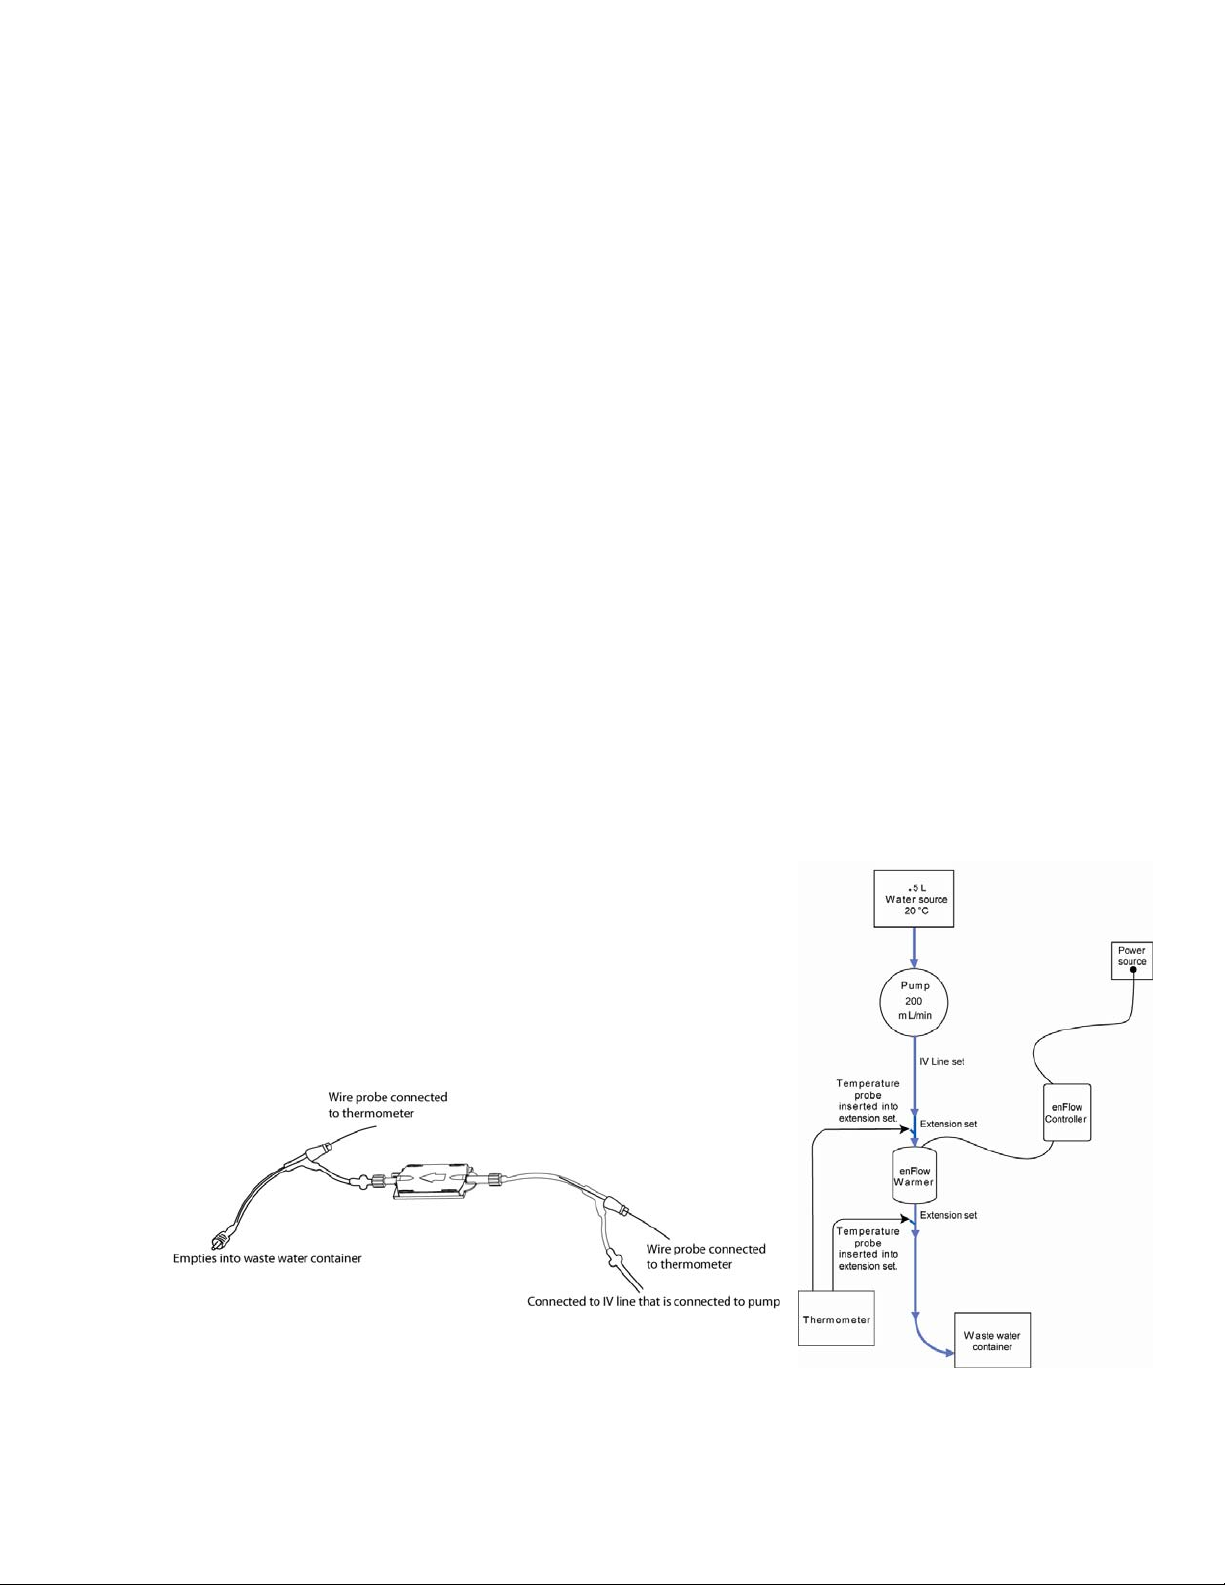
wire is inserted into the tubing just be certain that the wire is in contact with the fluid.
5. Next, put a non-venting cap on the open end of the extension set.
6. Place the cartridge setup in the warmer.
7. Connect the ECG lead from the leakage tester to the wire inserted into the extension set
tubing.
8. Perform the “ECG” lead leakage test.
Functional Tests
1. enCheck Model 400
Equipment
enCheck (Includes “K” type probe.)
Thermal thermocouple meter with ± 5 °C accuracy
enFlow Controller/AC Power Pack
enFlow Warmer
Purpose
The enCheck Tester was developed to quickly and reliably trigger the over-temperature alarm
condition on the enFlow Warmer. Within seconds, the enCheck unit will heat the Warmer to an over-
temperature scenario causing the alarm to sound. Additionally, the enCheck is designed to verify the
Warmer operation at the enFlow’s installation site.
Procedure
A. Normal Mode - Simulated Use Performance Testing
When the enCheck is connected and running in the normal mode, the heat is generated from the
warmer unit using the same technology as when a cartridge is installed. This mode allows for
confirmation of the temperature output of the Warmer.
1. Plug the Controller/AC Power Pack into a hospital grade outlet.
2. Connect the enCheck to the Controller/AC Power Pack by inserting the male plug end of the
enCheck Hubbell connector into the female receptacle on the front face of the Controller/AC
Power Pack. Push it in so that the plug cover is tight against the receptacle.
3. Next, connect the Warmer to the enCheck by inserting the male plug end of the Warmer into
the enCheck female receptacle.
4. Take the temperature probe connector on the enCheck and insert into a thermometer. Set
thermometer to “K” type setting.
5. Insert the enCheck unit into the Warmer. The end of the unit is keyed similar to the Cartridge
so it will only fit in the correct orientation. Close the covers.
6. Confirm the enCheck is set to the normal mode.
7. Move the MAINS power switch on the back of the Controller/AC Power Pack to the ON
position. Wait for the thermometer to stabilize, ≈30 to 60 sec. assuming all equipment is
close to 20 °C.
8. The temperature on the thermometer should be 40 °C ± 2 °C.
B. Overheat Mode – Alarm Test
When operated in the overheat mode, the heat is generated from the contact plate on the underside
of the enCheck unit. The enCheck heats the Warmer to > 45 °C. This temperature range simulates an
over-temperature situation demonstrating the functionality of the alarm (audible, LED’s, and display
(Controller only).
1. Setup is the same as in the above steps 1-7 with the exception of step 4. Skip step 4. (In the
Overheat mode, it is only important to review the temperature of the Warmer, which is
Current Normal
Single Fault
Earth leakage 5 mA 10 mA
Touch/chassis leakage 100 µA 500 µA
Patient leakage 100 µA 500 µA
From Table I. Leakage current limits (from IEC 60601-1).

4400-0108 enFlow Preventive Maintenance Record Rev. C Apr-2011 Page 5 of 8
displayed on the Controller/AC Power Pack front panel. This circumstance obviates the need
for the thermometer on this test.)
2. Always run in the normal mode first before switching to the overheat mode.
3. Next, switch to the overheat mode.
4. Temperatures of > 42 °C are shown in Yellow on the Controller display and Warmer Temp LED
indicating above normal conditions. These are visual alarms alerting to a potential over
temperature condition.
5. After reaching temperatures of > 45 °C, the Warmer LED will blink red, temperatures shown
on the Controller display will be in Red, and the audible alarm will sound.
6. Move the MAINS power switch on the back of the Controller/AC Power Pack to the OFF
position.
7. Open the Warmer covers and carefully remove the enCheck. Use caution as the surface of
the contact plate on the underside of the enCheck may still be hot.
2. Alternate Method - Simulated Use Performance Testing
Equipment
enFlow system
Power source
Infusion pump capable of maintaining up to 200 mL/min
IV line set
Water Bath
Source of distilled water or normal fluid - 0.5 L at 20 °C ± 2.0 °C
2 Extension sets - 22.9 cm (9 in.)
Thermometer - capable of measuring 10 °C to 60 °C accurate to ± 0.1 °C, plus 2 external “K” type
probes
Timer
Waste water container
Alternative equipment
Graduated cylinder, 100 to 500 mL.
Purpose
This test is performed to ascertain that the output fluid temperature
of the enFlow Warming System, while using a 22.9 cm (9 in.)
extension set, is 40 °C ± 2.0 °C when the input fluid is 20 °C through
the flow rates of 25-100 mL/min. Additionally, it is run to determine
that the rise in fluid temperature is >16.5 °C when the input fluid is
20 °C utilizing flow rates of 100-200 mL/min.
Procedure
Measure Input and Output Temperatures of Fluid
1. Set up the enFlow system for normal operation. (See Operator’s Manual “To Begin Operation
of the enFlow IV Fluid/Blood Warming System”.)
2. Attach an IV line set to a 0.5 liter source of fluid maintained at a temperature of 20 °C ± 2 °C.
Then run the IV line through a pump capable of maintaining up to 200 mL/min, or determine
flow rate using the graduated cylinder and timer.
3. Next, attach the IV line to the enFlow system.
Expanded
view o
f
A.
A

4400-0108 enFlow Preventive Maintenance Record Rev. C Apr-2011 Page 6 of 8
4. The temperatures for this test should be measured within 22.9 cm (9 in.) of both the input and
output connections of the Disposable Cartridge. This step is done by inserting T connectors in
the direct fluid paths, which will accommodate a temperature probe. Connect the
temperature probes to a thermometer capable of measuring between 10 °C and 60 °C with ±
0.1 °C accuracy.
5. Prime the IV line setup according to standard IV protocols.
6. Remember to confirm that the output end of the extension set empties into the waste water
container.
7. Power on the enFlow system, and establish a fluid flow of 100 ± 20 mL/min. Then allow at
least 20 seconds for the power-on self-test to complete, the temperature display to read a
stable temperature, and for the temperature probes to stabilize.
8. Record the input fluid temperature. The acceptable temperature range is 20 °C ± 2.0 °C.
9. Record the output fluid temperature. The acceptable temperature range is 40 °C ± 2.0 °C
10. It is recommended to repeat steps 1-9 for the flow rate of 60 ± 20 mL/min.
High Flows
11. Repeat steps 1-7 for the high flow rates of 125 ± 20 mL/min, 175 ± 20 mL/min, and 200
mL/min. However, in place of steps 8 and 9, measure the rise in temperature of the output
fluid over the input fluid value. The rise should be >16.5 °C.
3. Alternate Method - Alarm Test
Equipment
enFlow system
Power source
Infusion pump capable of maintaining up to 100 mL/min
IV line set
Water Bath
Source of distilled water or normal fluid - 0.5 L at 50 °C ± 2.0 °C
2 Extension sets - 22.9 cm (9 in.)
Thermometer - capable of measuring 10 °C to 60 °C accurate to ± 0.1 °C, plus 2 external probes
Waste water container
Purpose
The purpose of this test is to determine that the over-
temperature alarm on the Warmer is working properly.
Procedure
1. Use the performance testing setup described in steps 1-
5 above.
2. Use a clamp to stop the flow in the IV line.
3. Change the source fluid’s temperature to 50 °C ± 2 °C. Take extra care while working with
hot fluids.
4. Power on the enFlow system.
5. Allow at least 20 seconds for the power-on self-test to complete and the temperature display
to read a stable temperature. Confirm all LEDs are illuminated green.
Expanded
view o
f
A.
A

4400-0108 enFlow Preventive Maintenance Record Rev. C Apr-2011 Page 7 of 8
6. Release the clamp, and establish a fluid flow of 100 ± 20 mL/min.
7. With the thermometer, confirm the temperature of the fluid at both the input and output end
of cartridge.
8. The Over-Temperature alarm sounds within approximately 20 seconds or less of the output
fluid temperature reaching that of the input fluid level.
a. Confirm the Controller/AC Power Pack produces an audible beep and displays a red “Over-
Temp” message on the display (Controller only).
b. Confirm the temperature LED on the Warmer flashes red indicating that the fluid has gone
over-temperature.
Customer Service
E-mail: [email protected]
Phone: 973.956.5300 800.932.0760
Technical Support
Email: [email protected]
Phone: 781.862.7008
FAX: 781.862.7018
Service Center Address
Enginivity, LLC.
1 Militia Dr., LLA
Lexington, MA 02421
GE Medical Systems SCS,
283 rue de la Miniere,
78530 BUC, FRANCE
Tel: +33 130704040
Fax: +33 130704440
© 2010 General Electric Company – All rights reserved.
All specifications subject to change without notice.
GE, GE Monogram, Vital Signs and enFlow are trademarks of General Electric Company.
Enginivity, LLC., a subsidiary of Vital Signs, Inc.
Vital Signs, Inc., a General Electric company, doing business as GE Healthcare.

4400-0108 enFlow Preventive Maintenance Record Rev. C Apr-2011 Page 8 of 8
enFlow IV Fluid/Blood Warming System Operational Checklist
Warmer Serial No__________________ Controller or AC Power Pack Serial No__________________
Warming System Location/Identifier____________________ Date:
Test Pass/Fail
or
Recorded
Value
Date &
Initials
Pass/Fail
or
Recorded
Value
Date &
Initials
Pass/Fail
or
Recorded
Value
Date &
Initials
Pass/Fail
or
Recorded
Value
Date &
Initials
Inspections
Temp
readout
display and
LED’s
Electrical
Safety
enCheck
Alarm
enCheck
Temperature
Output
Alarm
Performance
Comments
Other manuals for Vital Signs enFlow
1
Table of contents
Other GE Medical Equipment manuals

GE
GE Vivid 7 User manual

GE
GE Vivid P3 User manual

GE
GE Lullaby Warmer Manual

GE
GE Logiq 500 User manual

GE
GE Optima XR200amx User manual

GE
GE LOGIQ 7 Pro User manual

GE
GE LOGIQ E10 Series User manual

GE
GE TruSat Product manual

GE
GE LOGIQ E9 User manual

GE
GE PD MiniTrap G-25 Installation and operation manual
Popular Medical Equipment manuals by other brands

Lowenstein Medical
Lowenstein Medical NV Instructions for use

Arjo
Arjo LGMAT/13 Instructions for use

AngelSounds
AngelSounds JPD-100S instruction manual

Allard
Allard BOSTON SCOLIOSIS NIGHT BRACE user guide

Gima
Gima QDC-8010+P3000A2QB3 user manual

Enabling Devices
Enabling Devices Wrist Talker 3037 user guide