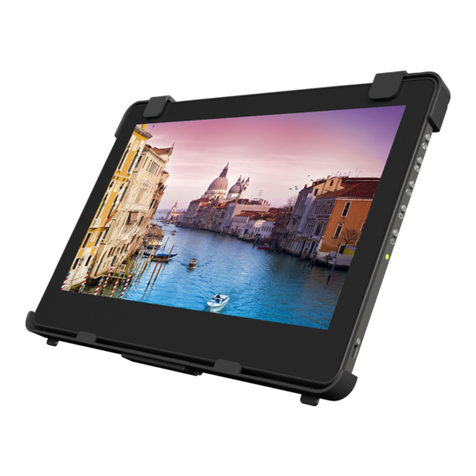
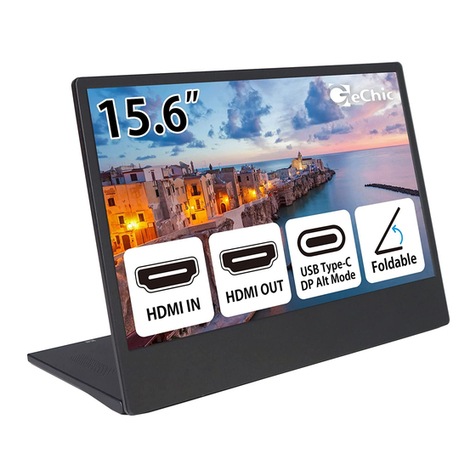
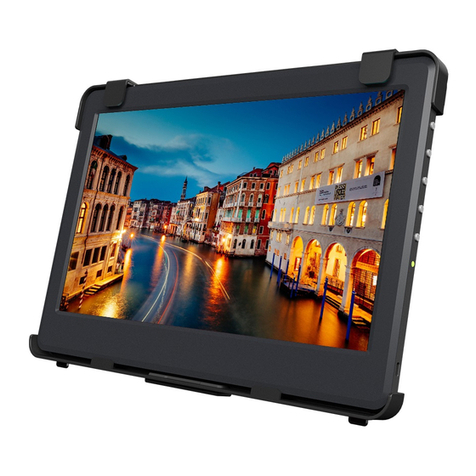
GeChic OnLap 1302 User manual

GeChic Corporation
13F-4, No.367, Gongyi Road,
West District, Taichung City 403
Taiwan (R.O.C.)
Customer Service: service@gechic.com
www.gechic.com
Facebook Page : www.facebook.com/gechicen
1302 / 1501 User Manual
Monitor
MonitorMonitor
Monitor

Table of Contents
Chapter 1 Content Descripon
P1
P2
P2
P2
P2
P2
P2
Chapter 2 Installaon Instrucons
P4
P4
P5
P6
P7
Chapter 3 Power On and Off the On-Lap onitor
P11
P11
P11
Chapter 4 Using with other 3C Products
P15
P16
P16
P19
Chapter 6 Specificaon
P20
P20
P20
P21
P21
Chapter 5 Hot Keys and OSD Instrucons
P16
P10
Chapter 1 Content Description
Section 1 Notices for using On-Lap Monitor
●
●
●
●
●
1

Section 2 Safety Instructions
Section 3 Safety Precautions
Section 4 Product Maintenance
●
●
●
●
Section 5 LCD Pixel Statement
Section 6 On-Lap Monitor and Accessories
2
2.
●
●
●
●
●
●
●
●
●
3.
● Stand Bricks I
I
II
●
● Stand Bricks II
3

Chapter 2 Installation Instructions
Section 1 Horizontal Display
Step1. Install the video and USB power cable
Step2. Install Stand Bricks
Step3.Connect On-Lap Monitor to the laptop
4
Step4. Make the laptop and monitor extension setting
Display.
Resoluon
Orientaon
ulple
monitors
Section 2 Vertical Display
Step1.
Install the video and USB power cable
Step2. Install Stand Bricks
5

Step3. Connect On-Lap Monitor to the laptop
Step4.Make the laptop and monitor extension setting
Display
Resoluon
Orientaon
ulple
displays
Section 3 Upward Extension Display
Step1. Install the video and USB power cable
Note: Viewing On-
,
, ,
,
6
Step2. Install Stand Bricks
Step3. Connect On-Lap Monitor to the laptop
Step4.Make the laptop and monitor extension setting
Section 4 Dual Monitor Display
Step1. Install the Holder Plate to the back cover of the laptops mon-
itor
°
7

[Note: Do not reverse the direcon of the Holder Plate as this will reverse the direcon
of the On-Lap onitor a1er installaon.]
Step2 Install the video and USB power cable
Step3 Install On-Lap Monitor to the laptop’s monitor
1.
The posioning clip protrudes at the first
posioning hole
8
[Note: If your laptop is smaller than On-Lap onitor, the cable may get stuck when
flipping the onitor (see upper right figure). Follow the steps above to adjust the
monitor height.]
Step4.Make the laptop and monitor extension setting
Display
Resoluon
Orientaon
ulple
displays
°°
9

Step5.Remove On-Lap Monitor from the laptop
1.
Section 5 Remove On-Lap Monitors Holder Plate
10
Chapter 3 Power On and Off the On-Lap Monitor
Section 1 Operating Instructions
Section 2 Monitor Display Setting
Windows 7 system
●
●
Control Panel
●
Appearance
and Personalizaon
●
DisplayConnect to an external display
●
Detect
11

●
●
●
●
●
2.
●
●
●
●
12
●
3.
●
●
●
●
13

●
●
●
●
●
●
●
14
Chapter 4 Using with other 3C Products
Note: Some smartphone or tablet only support HD I output and does not support DVI
output, thus is unable to use with On-Lap.]
15

Section 1 Hot Keys Description
Section 2 OSD Description
●
.
●
●
Chapter 5 Hot Keys and OSD Instructions
Note: The hot keys are capacive sensing bu2ons which are acvated by gentle touch-
ing. Do not press too hard or too fast connuously. Repeated pressing of a bu2on will
make the bu2on slow down in responding. For connuous adjustment of "Increase/
Up" or "Decrease/Down", press and hold the corresponding bu2on for automac con-
nuous increase/decrease.
●
●
●
Contrast
→
●
16
●
●
●
Brightness
→
●
●
●
●
Color temperature
adjustment
●
→
→
→
●
●
●
●
Color Temperature
●
→
→
→
●
17

●
●
●
Clock→
Phase→
Sharpness→
H Posion→
V Posion→
●
●
●
●
OST Timer →
Language →
Reset →
Version→
●
●
●
●
VGA →
DVI →
Auto Search →
●
18
Section 3 Other functions of OSD
●
●
●
●
●
●
Scenario
onitor State
19

Chapter 6 Specification
Section 1 Plug and Play
Section 2 Pin Assignment
1TMDS Data2+11TMDS Clock Shield
2TMDS Data2 Shield12
TMDS Clock
3TMDS Data2 13
Reserved
4TMDS Data1+14
Reserved
5TMDS Data1 Shield15SCL (IC Serial Clock for DDC)
6TMDS Data1 16SDA (IC Serial Data Line for DDC)
7TMDS Data0+17DDC Ground
8TMDS Data0 Shield18+5 V Power
9TMDS Data0 19Hot Plug Detect
10TMDS Clock+
1 RED 6 RGND 11 NC
2 GREEN 7 GGND 12 SDA
3 BLUE 8 BGND 13 HSYNC
4 NC 9 +5V 14 VSYNC
5 GND 10 SGND 15 SCL
3.
1Vcc(+5V)
2NC
3NC
4Ground
20
1 MAC 640x480 60 Hz
2 VESA 720x400 60 Hz
3 SVGA 800x600 56 Hz
4 SVGA 800x600 60 Hz
5 XGA 1024x768 60 Hz
6 WXGA 1366x768 60 Hz
Section 3 Standard Default Modes
Section 4 Troubleshooting
1.
2.
21
3.
This manual suits for next models
1
Other GeChic Monitor manuals

GeChic
GeChic On-Lap 1002 User manual

GeChic
GeChic On-Lap M505T/I User manual

GeChic
GeChic On-Lap 2501 Series User manual

GeChic
GeChic On-Lap 1302 User manual

GeChic
GeChic On-Lap 2101H User manual

GeChic
GeChic On-Lap M505E User manual

GeChic
GeChic M161H-R1 User manual

GeChic
GeChic 1102 User manual

GeChic
GeChic On-Lap 1306H-R User manual

GeChic
GeChic 1102 User manual