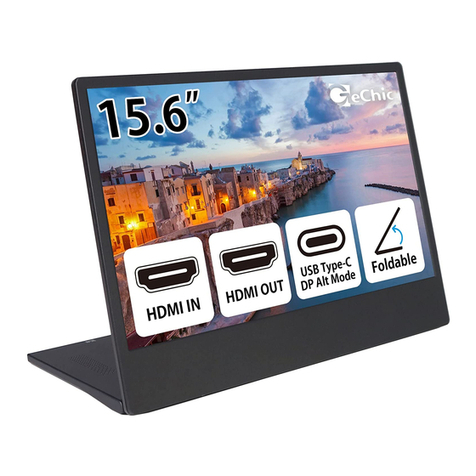
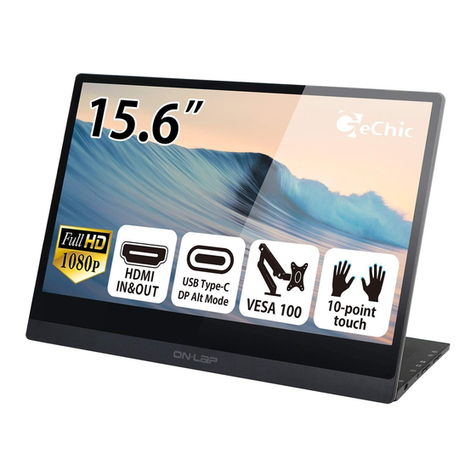
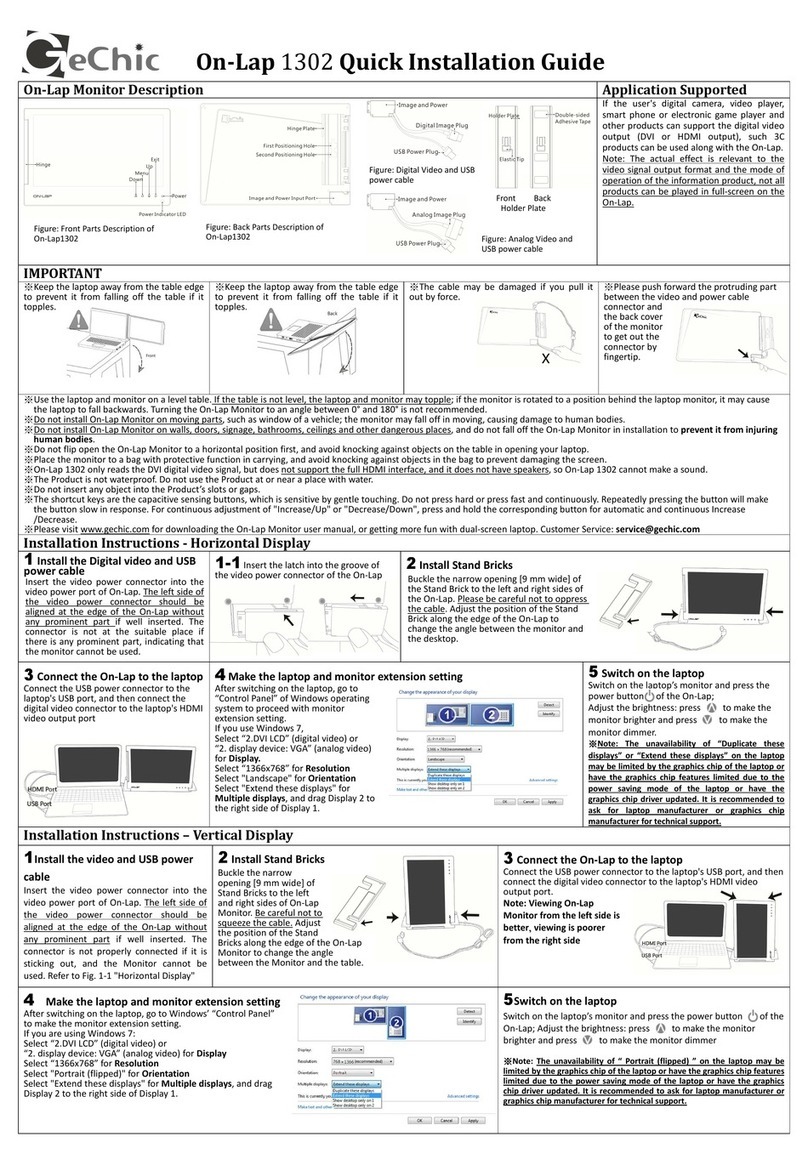
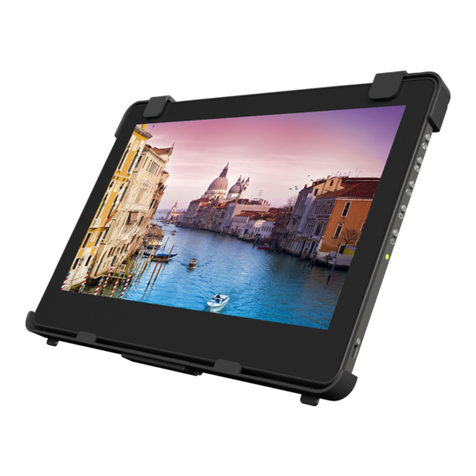
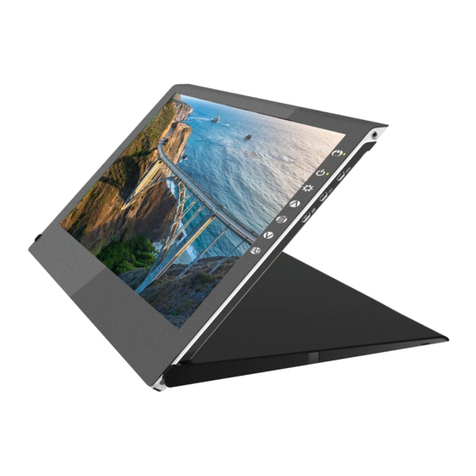
GeChic T1 Series User manual

T1 Series Touch Monitor
User Manual
How-to Videos
V1. 2021/11/05

Content
Notices, Cautions & Warranty Exclusions —1
Chapter 1 Parts of the Monitor & Accessories —2
Section 1 Monitor Description —2
Section 2 Accessories Description —3
Chapter 2 Installation Instructions —4
Section 1 Connect to Power Adapter and USB Signal& Video Cables —4
Section 2 Use T1S1 Stand —5
Section 3 Use Wall Mount Bracket —8
Section 4 Use T1S2 Stand or Monitor Arm —8
Section 5 Connect to Mouse, Speaker, Wireless Display Adapter with
USB-A port —9
Chapter 3 Power Supply and Power On/O the Monitor —11
Section 1 12V and 5V Current Input —11
Section 2 Power on, Standby and Power o Status —11
Section 3 Control the Monitor On/O —11
Chapter 4 OSD Menu Description —12
Chapter 5 Touch Monitor Settings and Precautions —13
Section 1 Whether Your OS Supports External Touch Monitor —13
Section 2 Not to Turn o the Power of USB Device Automatically on
Windows 11/ 10 —14
Section 3 Multi-Monitor & Touch Monitor Settings on Windows
11/10/7 —15
Section 4 Touch with Stylus, Hand Gloves and Wet Fingers —16
Section 5 Increase the Touch Sensitivity —16
Section 6 Troubleshoot Touchscreen Issues —16
Chapter 6 Product Specication —17
Section 1 General Specication —17
Section 2 Supported Display Modes —20
Section 3 Supported Video Modes —20
Chapter 7 Troubleshooting —21
LCD Pixel Statement —21
WEEE Symbol Information —21
FCC Statement —22

Notices, Cautions & Warranty Exclusions
Warning: The sign alerts you to potential hazards that can hurt you or dam-
age the product.
1. Use only the power supply and power cord that comes with On-Lap monitor.
Using other power adapter may cause malfunction or danger.
2.It is recommended to use the monitor in a well-ventilated environment at room
temperature around 0℃ to 40℃ and humidity around 45% to 85%. The monitor
should display continuously changing images rather than the same and a still
image for a long time. If you need to use this monitor in an abnormal environ-
ment such as high temperature, high humidity, conned space, low atmospher-
ic pressure, etc., please contact Gechic customer service center for further
advice on operating environment.
3. When plugging in/out the cables, do make sure the force exerts in horizontal
direction. DO NOT shake the port or plug it in vertical direction. Any damage
caused by wrong plugging is excluded from the warranty coverage.
4.Cleaning On-Lap Monitor
Unplug the power input before cleaning. Please use soft cloth to clean touch
screen. For stubborn stains, please use lightly-dampened cloth to wipe again.
Do not use benzene, alcohol, thinner, ammonia, abrasive cleaners, compressed
air or other corrosive solvents. These solvents may cause permanent damage
on the screen or leave non-removable stain.
5. Do not expose the LCD panel to sunlight.
6.The product is not waterproof. Do not use this product in or near water.
7. Do not insert any object into the Product΄s slots or gaps. Do not disassemble
the monitor in any way.
8.Do not use a volume that may cause damage to the hearing; when connecting
headphones to use, please lower the volume setting rst. Slowly adjust to the
appropriate volume, do not wear headphones for long, continuous, high vol-
ume to avoid hearing damage.
9. Overuse of the monitor may result in vision damage. For every 30 minutes
with the monitor, give your eyes 10 minutes break. Avoid children under aged 2
watching the monitor; prevent children over aged 2 from watching with the
monitor over 1 hour per day.
10.Exclusions from Warranty Service
11. Please read the warranty terms below carefully, and follow the usage guide
and precautionary notes. Please keep this manual for future reference. GeChic
does not warrant uninterrupted or error-free operation of this Product. The
warranty only covers failure /malfunction under normal use conditions during
warranty period. The warranty does not apply to the following conditions:
(1)The bar code has been removed or worn down, and cannot be identied.
(2)This product has been modied, disassembled, or retted.
(3)Display and touch function working normally; only variation in appearance (e.g.,
ageing, attrition, scratch, color changing and etc.).
(4)Any breakdown caused by power supply. (e.g., inputting power over 5V or
unsteady current)
(5)Any damage caused by disoperation or failure to follow this manual. (e.g., Plug
or unplug cables in wrong direction and causing damage on cables or the
monitor.)
(6)Any damage caused by hitting or cracking monitor accidentally or purposely, or
collapsing or overturning monitor.
1

2Chapter 1 Parts of the Monitor & Accessories
Section 1 Monitor Description
1. LED Power Indicator Instruction
It shows green light when the monitor is "On" and shows red light when the moni-
tor is stands by. There is no light when the monitor is "O".

Power
Press once to turn on the monitor and press again to turn o
the monitor.
Reset: Press and hold for 5 seconds to reset the OSD settings
to default.
Exit When using the OSD menu, press this button to return to previ-
ous page.
Menu/ Select Press this button to launch OSD panel. When using OSD menu,
press this button to select and enter the next page.
Increase
Brightness/
Up
Press this button to show ”Brightness bar”. Press and hold this
button to increase the brightness continuously. In the OSD
menu, press this button to move up or the left.
Decrease
Brightness/
Down
Press this button to show ”Brightness bar”. Press and hold this
button to decrease the brightness continuously. In the OSD
menu, press this button to move down or to the right.
OSD Menu
Unlock
Press both “Up” and “Down” buttons at the same time to re-
lease ”OSD Menu Lock” and enable the functions of OSD but-
tons.
2. Hot Keys Description
Accessories in Package
HDMI-A Video Cable (1.5m) x1 12V-2A AC-DC Power
Adapter x1
Warning! This adapter
is used for T1 Series
monitor only. Please DO
NOT connect it to other
products.
USB-A to USB-C Power& Touch Signal Cable (1.5m) x1
USB Type-C Video Cable (1m) x1
Section 2 Accessories Description
Wall Mount Bracket x1 Metal Base Plate x2
Screw A(M4x6.5mm) x6 Screw B(M4x11mm) x2 Rubber Pad x12
3

Optional Accessories Description
USB Type-C Video Cable
(2m)
Connect one end to computer's USB-C (DP Alt)
port, and the other end to T1's USB-C port to deliv-
er audio, video, power and touch signals at the
same time.
USB-A (male) to USB-A
(female) Extension Cable
(1.5m)
It is used to connect the "USB-A to USB-C power
and touch cable." Up to 4 extension cords are
allowed in a total length of 7.5 meters.
T1S2 Stand Support horizontal and vertical display and 360
degrees rotation. Please refer to the instructions in
Chapter 2 > Section 4.
4
Chapter 2 Installation Instructions
Section 1 Connect to Power Adapter and USB Signal & Video Cables
1. HDMI Video Input Connection
As shown in the g., connect the HDMI-A video cable to the HDMI-A port on the
computer, and the USB-A to USB-C power and touch signal cable to the USB-A
port on the computer. There is no need to connect to the adapter when the com-
puter's USB-A port can supply 1.6A current. Otherwise, please connect to the 12V
power adapter, and the monitor will automatically interrupt the input current
from the computer’s USB-A port.
If you need to extend the USB cable, please purchase the optional
USB-A (male) to USBA (female) extension cable (1.5m). Up to 4 extension cables
are allowed in a total length of 7.5 meters.
2. USB Type-C Video Input Connection
Notice 1: The USB Type-C ports on computers or other devices must:
1. support DisplayPort Alternate Mode (USB Type-C (DP Alt)).
2. be able to stably output 5V 1.6A current to the monitor (if the computer
cannot supply sucient current, please connect to 12V adapter to the
monitor.)
Notice 2: The USB-C port on the monitor cannot supply power to the
computer.

As shown in the g., connect the USB-C video cable to the USB Type-C(DP Alt)
Port (Thunderbolt 3 port) on the computer. The computer outputs video, USB
signals, 5V current through this cable to the monitor. There is no need to connect
to the adapter when the computer's USB-C port can supply 1.6A current. Other-
wise, please connect to the 12V power adapter, and the monitor will automatically
interrupt the input current from the computer’s USB-C port.
Section 2 Use T1S1 Stand
Step 1 Attach the Rubber Pads
As shown in the g., attach the six
rubber pads to the metal plate stand.
155 degrees
110 degrees
Step 2 Assemble the Stand
T1S1 stand supports various ways of
assembling. Please assemble it ac-
cording to the monitor's model and
tilt angle you need.
5
Rubber Pads
Rubber Pads
Rubber Pads
Rubber
Pads

Monitor Model: T151A/ T131A
As shown in the g., ○
1○
2use the Screw
A to x the metal base plates to both
sides of the wall mount bracket. Note!
The round hole on the wall mount
bracket should be at the top. ○
3 After
connecting the cables to the monitor,
○
4 x the stand to the monitor.
Monitor Model: T111A
As shown in g., ○
1○
2use the Screw A
to x the metal plate stand to two
sides of the wall mount bracket. Note!
The round hole of the wall-mount
bracket should be at the bottom. ○
3
After connecting the cables to the
monitor, ○
4 x the stand to the moni-
tor.
61. Instructions to Assemble the Stand: Monitor Tilt Angle at 155 Degrees

7
Monitor Model: T151A/ T131A
As shown in the g., ○
1○
2use the Screw
A to x the metal base plates to both
sides of the wall mount bracket. Note!
The round hole on the wall mount
bracket should be at the top. ○
3 After
connecting the cables to the monitor,
○
4 x the stand to the monitor.
Monitor Model: T111A
As shown in g., ○
1○
2use the Screw A
to x the metal plate stand to two
sides of the wall mount bracket. Note!
The round hole of the wall-mount
bracket should be at the bottom. ○
3
After connecting the cables to the
monitor, ○
4 x the stand to the moni-
tor.
2. Instructions to Assemble the Stand: Monitor Tilt Angle at 110 Degrees

8Section 3 Use Wall Mount Bracket
Step 1
Please select suitable screws according to the
wall material. As shown in the g., ○
1mount the
wall mount bracket on the wall (the screw is not
included in the monitor package; please ensure
the screw can suspend more than 2 kg before
xing the monitor).
Step 2
○
2Tighten the two B Screws to the upper row of
VESA holes on the back of the monitor. Then,
connect the HDMI cable, USB cable and power
adapter to the monitor.
Step 3
As shown in the g., ○
3insert the two heads of B
Screws on the monitor into the mounting hole,
and slide the screw heads down to the bottom of
the mounting hole to ensure the monitor is xed.
Notice: Please ensure
to slide down the screw
head to the bottom of
the mounting hole to
avoid falling o.
Section 4 Use T1S2 Stand or Monitor Arm
○
1Use four M4 screws to x the monitor to T1S2. Then, ○
2 connect the HDMI and
USB cables to the monitor, and pass the cables through the wire hole.

Section 5 Connect Mouse, Speaker, Wireless Display Adapter with
USB-A Port
Notice 1: Before connecting mouse or other USB devices to the USB-A port
on the monitor, please connect the USB-C port on the monitor to the Com-
puter rst.
Notice 2: The monitor shall be connected to the 12V power adapter.
Notice 3: The USB device shall not consume more than 10W of power. The
maximum output power of the USB-A port on the monitor is 10W (5V 2A). If
the USB device consumes more than 10W, the monitor will not function
properly.
Rotate the monitor to portrait display
T1S2 supports 360-degree rotation. If you need to rotate it to 90 degrees, please
tilt the monitor to 180 degrees rst, rotate it to portrait mode, and tilt back to the
viewing angle.
0 degrees 90 degrees
Landscape Display Portrait Display Downward Viewing
9

10
1. Connect to mouse, microphone, camera, etc.
2. Connect to speakers (USB-A for power supply, headphone jack to output
sound)
3. Connect to Wireless Display Adapter (HDMI port)
Use USB-A port on T1 monitor to power
HDMI Wireless Display Adapter.

11
Chapter 3 Power Supply and Power On/O the Monitor
Section 1 12V and 5V Current Input
The T1 monitor supports the following two charging methods.
1. Input 12V current via DC IN port (5V current is not allowed): Connect the 12V
power supply to DC IN port, the monitor will automatically interrupt the current
from USB-C port, and take the current from DC IN port only.
2. Input 5V current via USB-C port: There is no need to connect the 12V power
adapter if the USB port on the computer can supply 5V 1.6V current to the USB
-C port on the monitor.
Notice: If the USB port on the computer can not supply enough power
current, please use the 12V power adapter. When the USB-A port is connected
with speaker, camera and other devices, the monitor must output 5V current
to the USB device. Please connect the 12V power adapter to the monitor,
otherwise the monitor may not function properly due to insucient power.
Section 2 Power on, Standby and Power o Status
1. When the monitor is supplied with power, the monitor will boot up automati-
cally and turn into ON status.
2. If there is no image input, the monitor will enter into Standby status after 8
seconds. After 270 seconds of Standby, the monitor will automatically switch
o. If you want the monitor to remain in standby even without any image
input. Please refer to Chapter 4 OSD Menu Description. Select "No" under
Advanced settings >Auto Power O. The monitor will remain in standby status
and will not power o automatically.
3. In the Standby status, once there is any image input, the monitor will switch to
ON status and display the image.
4. In On or Standby status, press the power button to turn o the monitor. And
press the power button again to turn on the monitor.
Section 3 Control the Monitor On/O
Press the power button to turn the monitor on or o. If the monitor is embedded
in the case or hung on the wall, rendering the power button unusable, the monitor
can be turned on or o in the following ways.
1. Connected to the 12V power adapter
Turn o the AC power of the 12V power adapter to switch o the monitor. After
turning on the AC power again, the monitor can automatically boot on.
2. Not connected to 12V power adapter but powered by the computer
Turn o the computer to stop outputting power via USB port, and the monitor
can be shut down. When turning on the computer, the USB port on the computer
starts to supply power. The monitor will boot on
automatically and switch into On status.
Notice: The OSD menu cannot be directly
operated through the touchscreen glass. Please
use the 4 buttons under the monitor to control
the operation.
When turning on monitor at the rst time, the
"Language Select" menu appears. Please press
" Menu/Select" button to choose a language. If
no one is selected, the system will be set as
English for default.

12 Chapter 4 OSD Menu Description
1. Display Settings
As shown in the Fig., enter "Display Settings" to
adjust "Brightness", "Contrast", "Sharpness", etc.
1) ECO Mode: The maximum brightness is at 50
in ECO Mode.
2) Auto Adjust: Launch "Auto Contrast Adjust"
and "Auto Brightness Adjust" to adjust bright-
ness and contrast automatically to ensure the
highest quality when displaying moving imag-
es.
3) Aspect ratio: When "16:9 Full Screen" is selected, the monitor displays a 16:9
image in full screen. When "4:3" is selected, the monitor displays a 4:3 image
with left-right side black borders to ll the 16:9 screen. When "Original" is
selected, the monitor displays the image in its original size.
2. Color Settings
1) Color Eect: If the output format of computer
image is RGB Limited, it is recommended to
select "Standard 1"; if it is RGB Full format, it is
recommended to select "Standard 2". Select
"Dark Highlight" mode to brighten up dark
areas; select "Text" mode to make HTML text
clearer.
2) Blue Light Reduction: Select "On" to reduce the
screen's blue light automatically.
3) Color Temperature: Select "Cool" to increase
the blue color of the image; Select "Warm" to
increase the red color of the image. Select
"User" to adjust the RGB color settings manu-
ally.
3. Advanced Settings
1) Auto Power O: Select "On" to activate this
function. When there is no image input, the
monitor will enter Standby mode, and power
o itself after 270 seconds. The power button
shall be pressed to turn on the monitor again.
Select "O" to disable this function. The moni-
tor will remain in standby mode and will not
switch o the power.
2) OSD Button Lock: If " On" is selected, the four
OSD buttons are disabled. Press and hold the
power button for 5 seconds, the monitor will
restore factory settings and enable the four
OSD buttons again. (Hot-Key: Pressing
two buttons at the same time will release
OSD Button Lock and enable the OSD buttons)
3) Touch Sensitivity: Three touch sensitivity values are available. The default
value is “0”. The highest sensitivity is “100”.

13
Caution: The change of magnetic eld in surroundings may cause a
wrong recognition of touchscreen. If the cursor keeps moving itself with-
out touch, please reset “0” for touch sensitivity.
4) CEC Mode: Select “On” and the HDMI of monitor is connected to a computer
with HDMI CEC function. When you turn on/o the monitor, it commands
the computer to turn on/o automatically. When you turn o the comput-
er, the monitor will be turned o as well. However, when the monitor is o-
mode, it can’t be turned on automatically. You need to turn the monitor on
by pressing its power button.
5) Overscan: Only applicable to HDMI video signal input (such as 1080P/720P,
etc.). Enabling this function will calibrate the display range automatically.
4. OSD Menu
1) Language Select: Change to the other lan-
guage.
2) H. Position: Move the OSD menu left/right.
3) V. Position: Move the OSD menu up/down
4) OSD Timer: Adjust the idle time before OSD
menu disappers. (sec.)
5) OSD Transparency: Make the OSD menu
transparent to show the background.
5. Audio
Adjust the audio volume or activate the mute mode. When “On” is selected for
“Mute”, the monitor stops playing audio and the
sound can only be played again after “ Mute” mode
is turned o.
6. Input Source
1) Input Source: Select HDMI (video input via
HDMI-A port) or USB Type-C (video input via
USB Type-C port).
2) Auto Search: When "On" is selected, the moni-
tor will detect two video input sources in se-
quence, and the monitor will show the rst
video input read. When "O" is selected, only
the video source selected in Input Source will be displayed. If there is no
such selected video input, the monitor will show "No signal" warning mes-
sage, and won’t detect other video sources.
7. Information: Show frequency of the input image, model name, rmware
version, etc.
4) Reset: Select "Yes" to restore factory settings.
Chapter 5 Touch Monitor Settings and Precautions
Section 1 Whether Your Operation System Supports External Touch
Monitor
T1 series touch monitors comply with Microsoft® multi-touch protocol. No driver
installation is required for Windows 11/ 10 /7 computer to use T1 touch monitor. If
your computer is running Linux, Ubuntu or Chrome OS, please consult your com-
puter manufacturer whether the computer is enabled to support " Microsoft Multi
-touch protocol". If the protocol is supported, you can use T1 series touch moni-
tor.

14 Operation System External Touch Monitor Support (via USB port)
Apple Mac OS Not supported (e.g., Apple® iMac, MacBook series
computers)
Apple iOS Not supported (e.g., Apple®, iPhone series
smartphone)
Windows11/
Windows10/Windows7
Supported
Windows Embedded
Standard 7(SKU-P) Supported
WinCE 6.0/ WinCE 7.0/
Windows XP Not Supported
Linux Linux Kernel 3.8 onwards supports Microsoft Multi-
Touch Protocol compliant touch screens. Please
check with your computer manufacturer to conrm if
this function is enabled.
Chrome OS Linux Kernel 3.9 onwards supports Chrome OS. Please
check with your computer manufacturer to conrm if
this function is enabled.
Ubuntu Ubuntu Kernel 2.6 onwards supports Microsoft Multi-
Touch Protocol compliant touch screens. Please
check with your computer manufacturer to conrm if
this function is enabled.
Section 2 Not to Turn o the Power of USB Device Automatically on
Windows 11/ 10
When the Windows 11/10 PC enters Sleep mode, the PC will turn o the power of
USB device automatically. If touch screen function is disabled or USB-C video
input disappears after the PC wakes up from sleep mode, it is recommended to
set the PC not to turn o the power of USB devices automatically.
Please open [Device Manager]:
Unfold [Universal Serial Bus controllers] and double click Generic USB Hub to
open “Properties” windows:
Ps. If there are several Generic USB hub devices, please click “Event” and check
the VID number under “Information”. The VID number should be 058F.

15
Click “Power Management” and disable “Allow the computer to turn o this
device to save power”, and then click “OK”.
Section3 Multi-Monitor and Touch Monitor Settings(Windows 11/ 10/ 7)
1. Touch Monitor Settings in Windows 11/ 10/ 7
If the computer does not activate touchscreen function automatically or the moni-
tor doesn’t sense touch position accurately, please use "Tablet PC Settings" in
Windows 7 "Control Panel" to start touch screen setting.
In Windows 11/ 10, search for "Calibrate" in the "Settings" and select “Calibrate the
screen for pen or touch input".
As shown in the gure, please click " Settings". When the on-screen instruction is
shown on T1 monitor, touch T1 screen to complete the touch screen setting.

16
Notice: The cover glass thickness shall be less than 5mm and there is no gap
between the cover glass and touch screen.
Section 4 Touch with Stylus, Hand Gloves and Wet Fingers
1. Use the touch Stylus
T1 series touch monitor does not support the proprietary active styluses of other
tablet PCs or smartphones.
˙Passive Touch Stylus: T1 series touch monitor supports passive touch pens
with conductive rubber tip or plastic disc larger than 6mm in diameter.
˙Active Touch Stylus: Stylus on the market are not identical in the magnetic
ux. T1 monitor only supports some active touch styluses with sucient elec-
tromagnetic induction. (e.g., Adonit® Dash 3).
2. Touch with PVC Gloves or Wet Finger
T1 monitor supports nger touch with PVC latex gloves. Glove thickness less than
1mm is recommended. T1 monitor works with wet ngers (without any water drop
on the surface).
Section 5 Increase the Touch Sensitivity
While wearing with gloves or touching through cover glass, the user may not be
able to operate the touch screen well due to insucient electromagnetic induc-
tion. Please refer to Chapter 4 > 3. Advanced Settings and set the touch sensitivity
as “100”.
Section 6 Troubleshoot Touchscreen Issues
1. When booting up the monitor, excessive static electricity or hands on the glass
surface will aect the touch screen function. Please remove the static electrici-
ty and reboot the monitor again.
2. Please keep the touch monitor away from light bulbs and other objects that
generate strong electromagnetic elds, which may trigger ghost touch reac-
tion.
3. The contact of metal and glass surface may cause false touch reaction. If you
install the touch monitor inside a metal case, do avoid the metal case covering
the touch area of the screen. As shown in the gure, the metal case can not
cover the red frame.

Item T151A T131A T111A
Panel Wide Screen
15.6-inch (16:9) Wide Screen
13.3-inch (16:9) Wide Screen
11.6-inch (16:9)
True Resolution 1920x1080
Color Depth 16.7M Colors
Brightness(Typical)250 (cd/m²) 350 (cd/m²) 300 (cd/m²)
Contrast(Typical)700:1 1000:1 1000:1
Viewing Angle 170°(H)/170°(V)(CR>10)
Response Time 15ms 15ms 12.5ms
Touch Technology Projected Capacitive Touch Screen; Support 10-point
touch inputs recognition; Support Windows 11/10/7
Hardness Panel surface hardness>=7H; Thickness: 1.1mm
Video Input HDMI-A(HDMI v1.4) x1、USB Type-C (DP 1.2) x1
Audio Output Earphone Jack(3.5mm mini jack) x1
(support analog3.5mmAUX)
USB-CPort USB Type-C x1
(DP 1.2 Video Input) (Power: 5V DC Input) (USB 2.0)
USB-A Port USB-A(USB 2.0) x1
DC IN Port DC Jack (Pin OD 1.30 Φ)(12V DC Input) x1
Support HDCP Yes
Power Consumption 8.2W 6.0W 7.0W
Power Consumption
Standby mode 1.0W 1.0W 1.0W
Power Consumption
O mode 0.2W 0.2W 0.2W
Rated Power (Typical) 12V 0.7A 12V 0.5A 12V 0.6A
VESA Support VESA75 (75mm x 75mm)
Environment Conditions Operation: 0~50°C/ Storage: -20~60°C
Weight of Monitor
(Typical) 1200g 840g 780g
Weight of T1S2 434g
Country of Origin Made in Taiwan
Certications
Chapter 6 Product Specication
Section 1 General Specication
R53848
RoHS
To request the drawing of the monitor's dimension and product EOL notications,
please write to : service@gechic.com
17

18 Monitor Dimension
T15A
T131A
T111A
This manual suits for next models
3
Table of contents
Other GeChic Monitor manuals

GeChic
GeChic On-Lap M505T/I User manual

GeChic
GeChic 1305 Instruction sheet

GeChic
GeChic On-Lap 1306H-R User manual

GeChic
GeChic 1102 User manual

GeChic
GeChic On-Lap 1302 User manual

GeChic
GeChic M161H-R1 User manual

GeChic
GeChic On-Lap M505E User manual

GeChic
GeChic On-Lap 1502 User manual

GeChic
GeChic On-Lap 1305H-B User manual

GeChic
GeChic On-Lap 2101H User manual