4
5
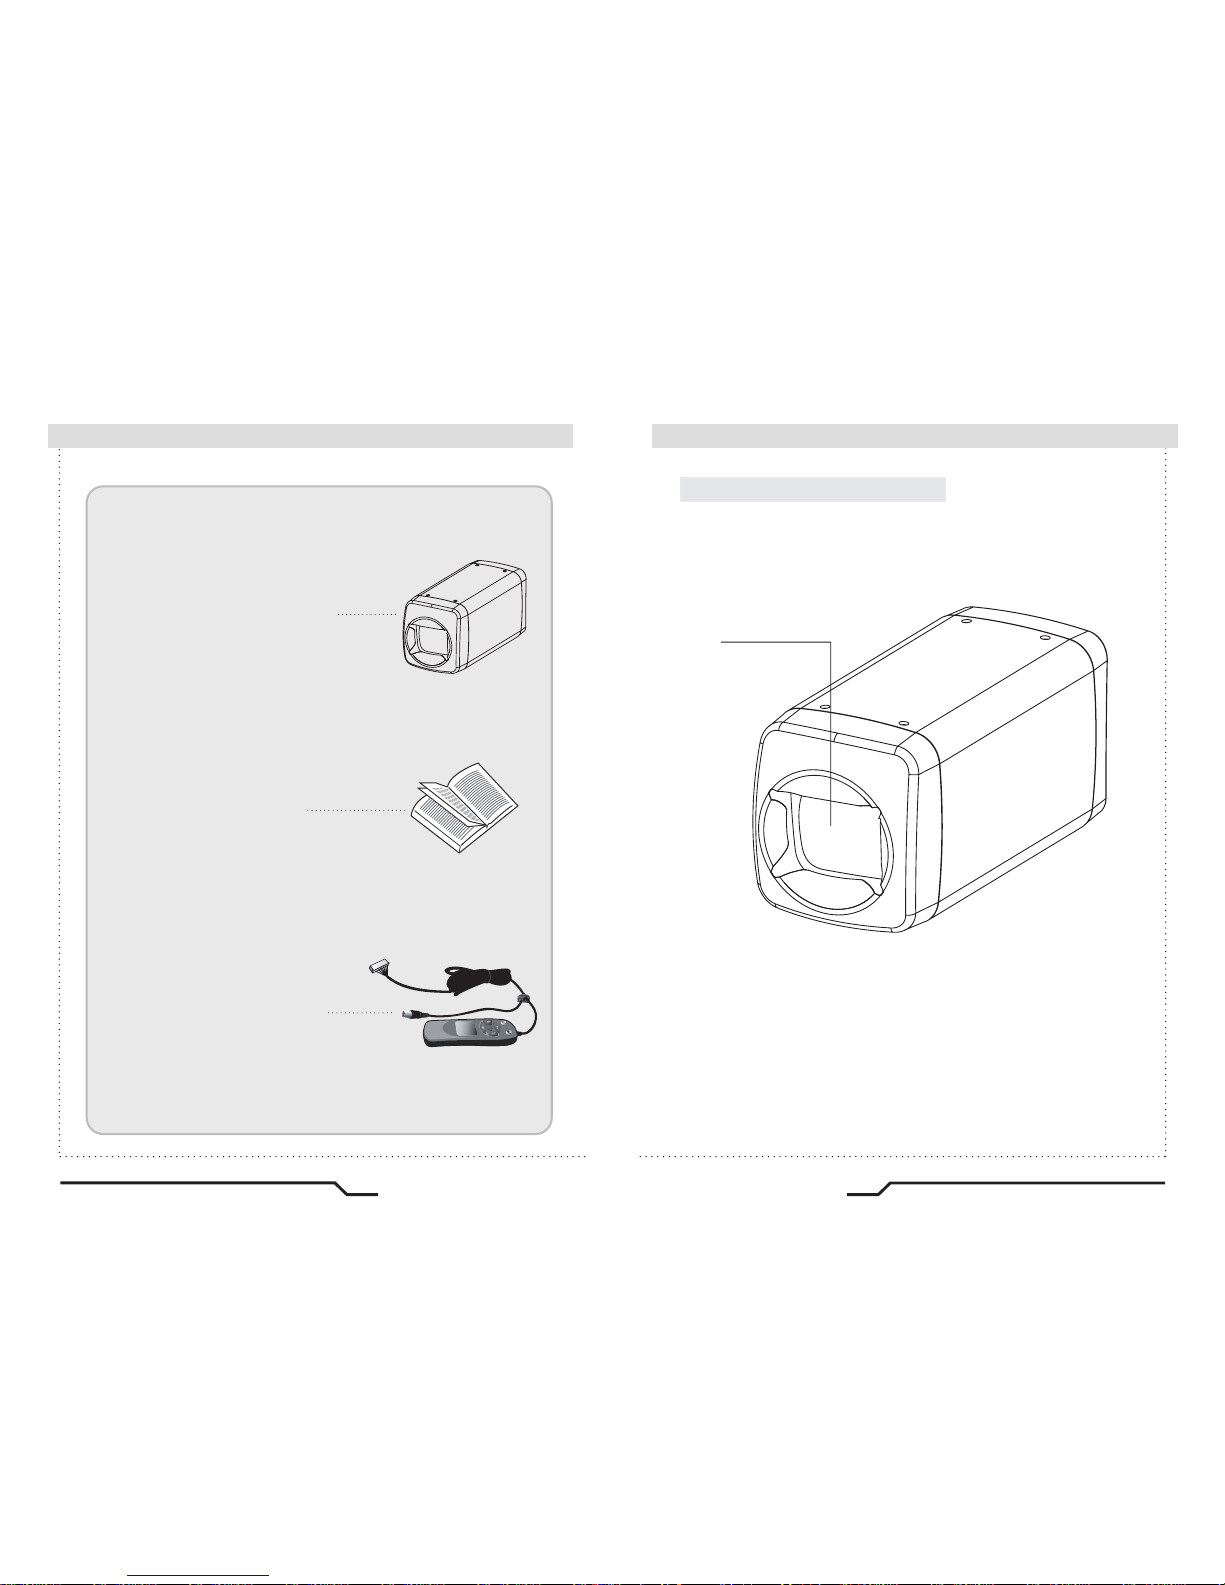
High Sensitivity Day&Night Power Zoom Camera High Sensitivity Day&Night Power Zoom Camera
DIS (Digital Image Stabilizer)
The DIS function compensates for any camera
movement, to produce more stable pictures.
27x / 33x / 37x Optical Zoom
The built-in optical zoom lens is a highly
durable component. It features auto focus,
auto iris, and zoom functions.
ㆍ27x Model : 27x Optical Zoom
ㆍ33x Model : 33x Optical Zoom
ㆍ37x Model : 37x Optical Zoom
Ultra High Resolution
By adopting a double-speed 410,000 pixel
Sony CCD, the camera produces clear picture
quality with a horizontal resolution of 550 TV lines
for colour, and 680 TV lines for B/W.
SSNR (Super Noise Reduction)
The high performance W-IV DSP chip
dramatically reduces the gain noise in digital
image precessing, producing clear, sharp
images in low lighting environments.
Fine Picture Quality under
Ultra Low Lighting
1/4" high density CCD allows the user to
capture bright, high-quality images under
ultra low lighting conditions.
Day & Night
The camera identifies whether it is day or night
and automatically switches to the appropriate
mode, depending on its environment. By day,
the camera switches to colour mode in order
to maintain optimal colour. At night, it switches
to B/W mode so as to obtain better picture
definition.
Motion Detection
The camera detects motion and generates a
screen message without an external sensor.
Miscellaneous Functions
SENS-UP, FLIP(H/V-REV), D-ZOOM,
SHARPNESS, MOTION DETECTION and
PRIVACY functions are provided.
RS-485 Communication
Control Support
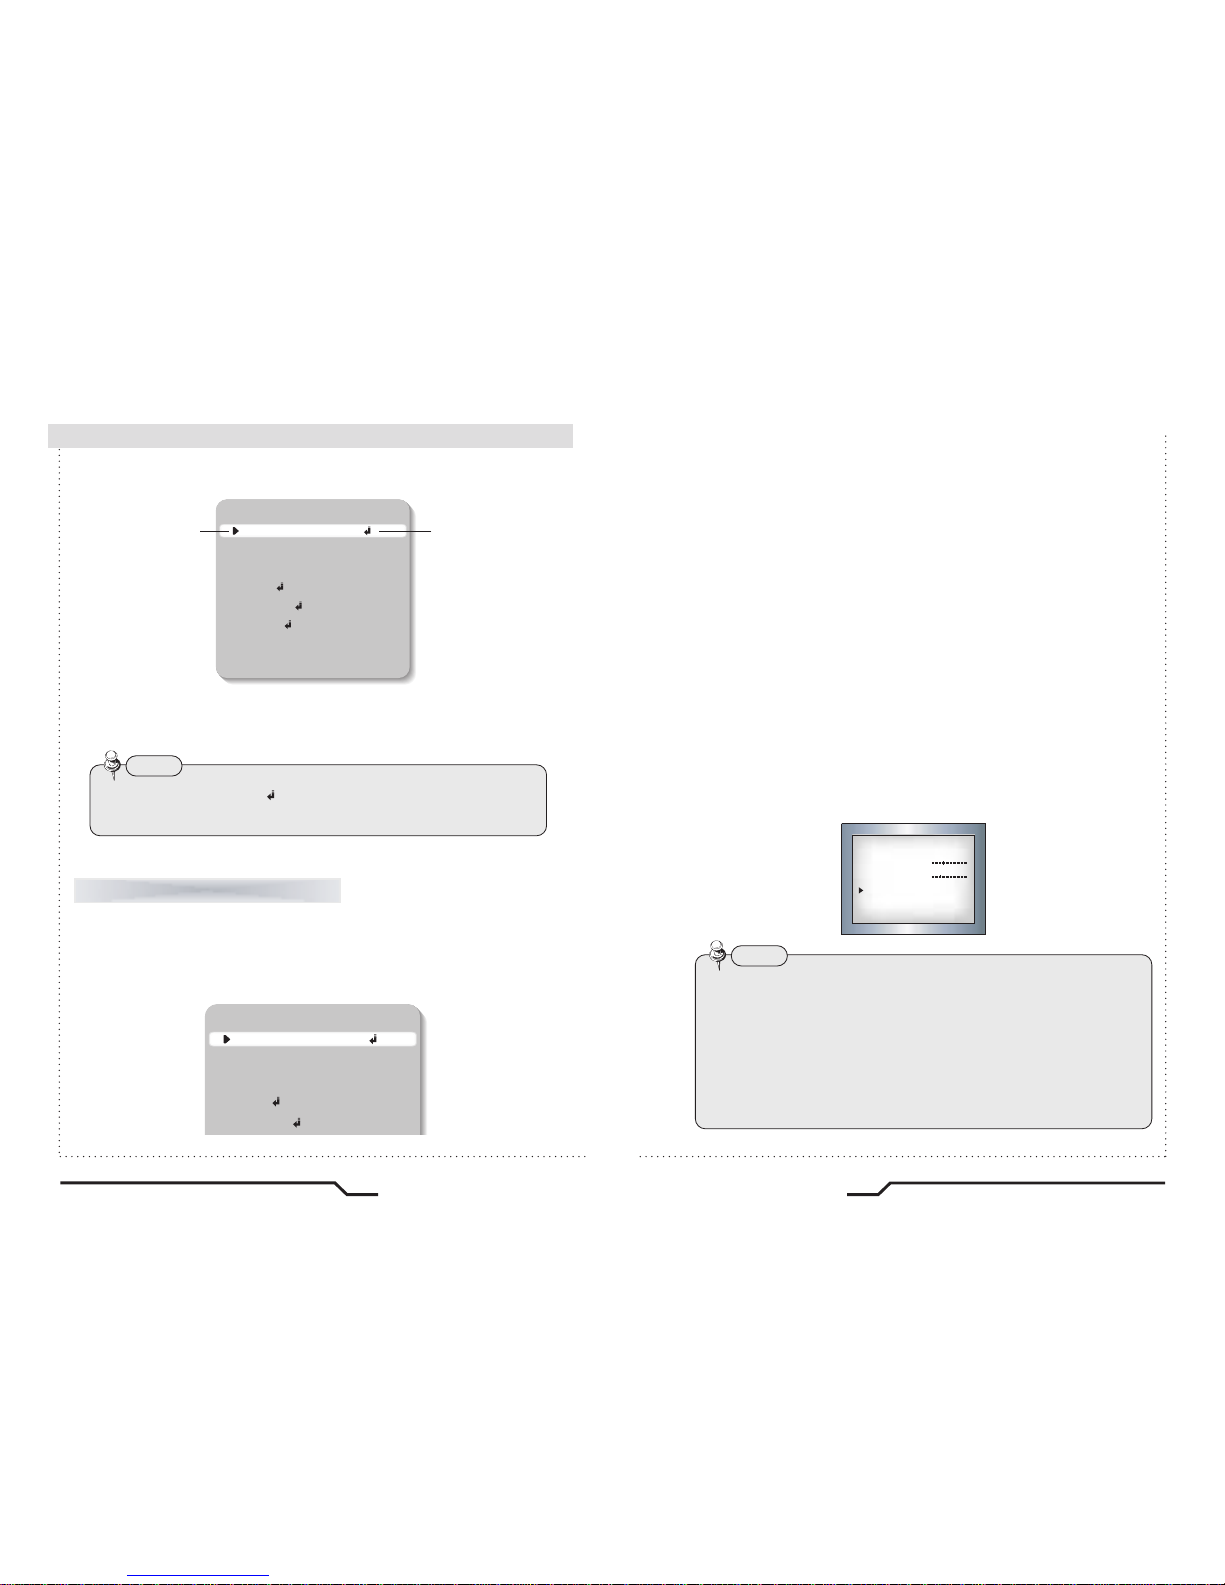
Remote OSD menu control via an RS-485
interface is supported.
Language
The camera OSD Menu control is equipped
with seven different languages, these being:
- NTSC : Korean, English, Spanish, Japanese
- PAL : English, French, German, Spanish,
Italian, Chinese
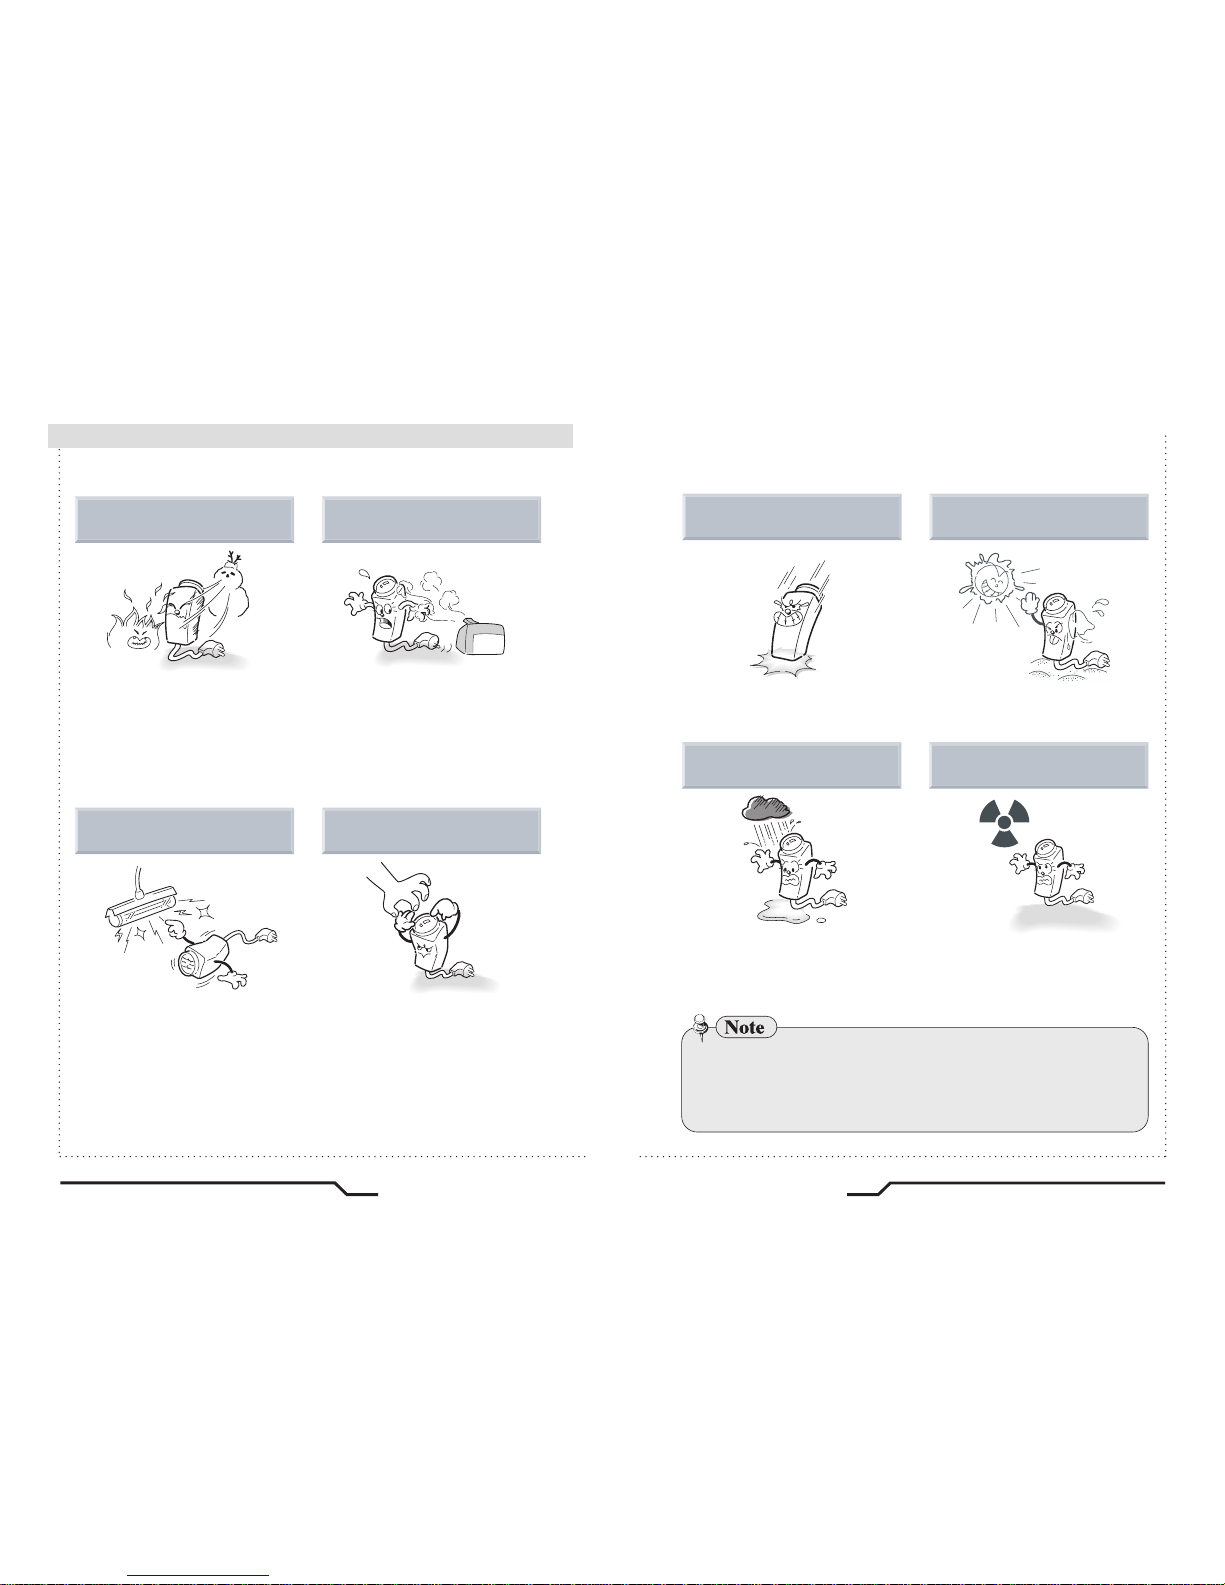
The camera requires periodic inspection.
Contact an authorised technician to carry out the inspection.
Stop using your camera when you find it malfunctioning.
If the camera emits smoke or is unusually hot for a long period,
a fire may be caused.
Do not install the camera on a surface that can not support it.
If the camera is installed on an inappropriate surface, it may fall
and cause injury.
Do not hold plug with wet hands.
It could cause an electric shock.
Do not dis-assemble the camera.
It may result in an electric shock or other hazards.
Do not use the camera close to a gas or oil leak.
It may result in a fire or other hazards.
■Features Warning ■