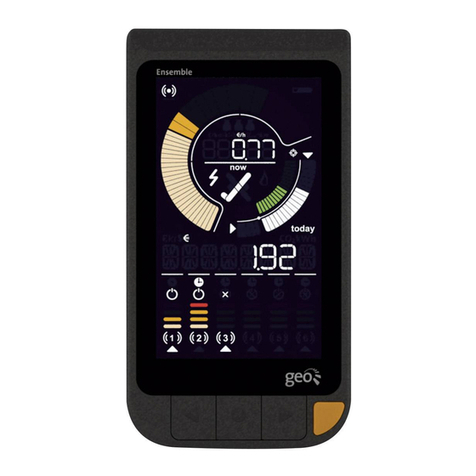
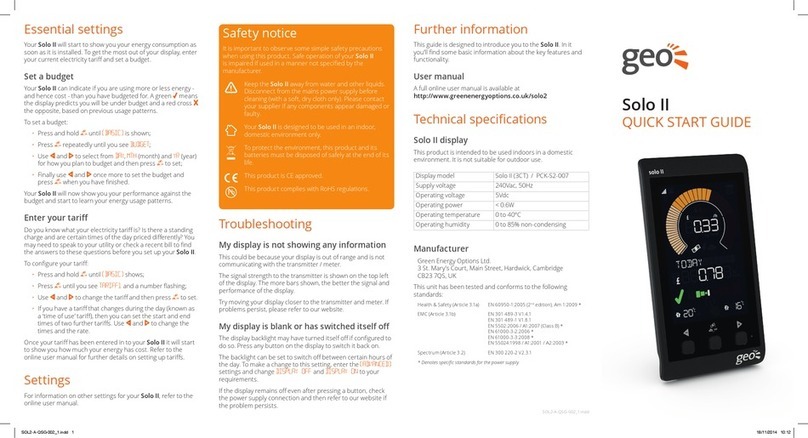
Solo II
1. Please insert the power supply into the
Display. The Display will automacally
switch on.
2. Set the me and date by using
the and buons and then confirm
by pressing the middle buon.
Safety First
It is important to observe some simple safety precauons
when using this product. Safe operaon of the Solo II is impaired if
used in a manner not specified by the manufacturer.
Keep the Solo II away from water and other liquids. Disconnect
from the mains power supply before cleaning (with so, dry cloth
only). Do not immerse in water or other liquids. Please contact
your supplier if any components appear damaged or faulty.
The Solo II is designed to be used in an indoor, domesc
environment only.
To protect the environment, this product and its baeries must
be disposed of safely at the end of its life.
This product complies with RoHS regulaons.
This product is CE approved.
Introducon:
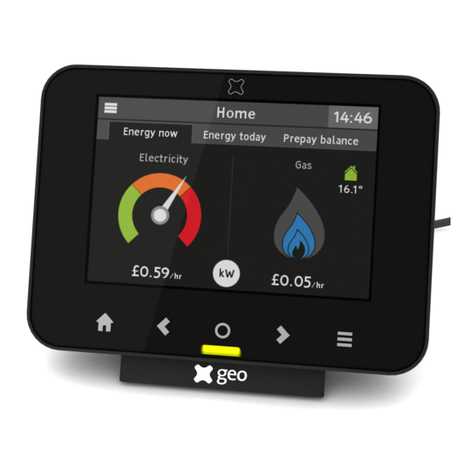
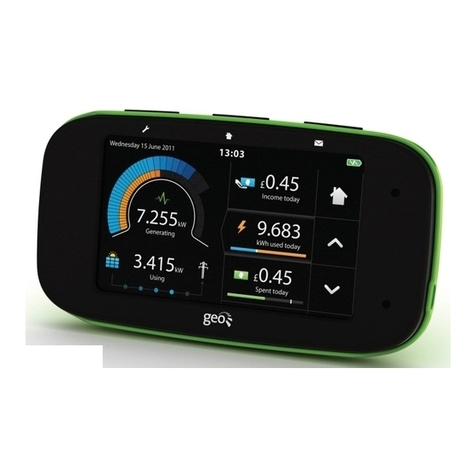
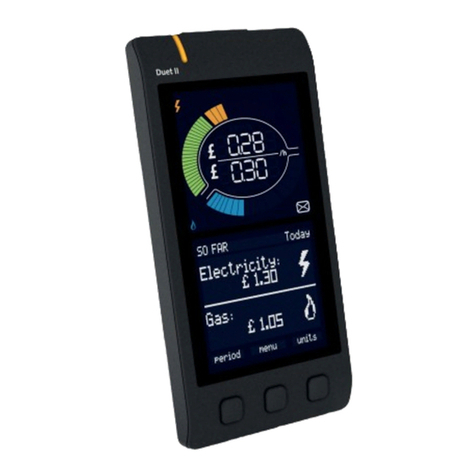
The Solo II is an In-Home Display and is used to provide real-me
informaon on the energy you are consuming or generang. The
Solo II works with a Transmier, Smart Plugs, Temperature
Sensors and GEO's online services to provide energy informaon
on a PC, Smartphone, tablet or other internet enabled device.
Installaon - CT Clip Sensor
1. Locate your mains live cable, this is usually idenfied by the
colour brown, red or the leer “L”.
2. Clip the sensor around the mains live cable. You should hear
a “click” to indicate the sensor has been ghtly closed.
3. Plug the other end of the CT Sensor cable to the boom of
the transmier.
Installaon - LED Sensor Installaon - P1 Sensor
The LED Sensor can be used to monitor either your electricity
consumpon or PV generaon.
1. Find the pulse output on your meter.
2. Sck the square Velcro around the pulse output on the meter.
3. Place the LED Sensor over the square Velcro on the meter
ensuring that the GEO logo is facing you.
4. Insert the other end of the LED cable to the boom of the
transmier.
The P1 Sensor does not use any baeries for the transmier
and is powered directly from the meter.
1. At your electricity meter connect the P1 Sensor cable into
the meter. You should hear a “click” to indicate the cable is
fully inserted.
2. Plug in the other end of the P1 cable into the boom of the
transmier.
This product is designated as ‘permanently connected
equipment’ and should only be installed by a qualified electrician
in accordance with local regulaons.
L
Display Overview Operaon
SPEEDOMETER
Shows your present load in kW.
UPPER DIGITS
Shows your present load in cost, carbon or kW.
TARIFF
Shows if you are on the lowest, middle or highest of your
tariff rates.
LOWER DIGITS
Shows you your energy consumpon for the period, this
is indicated by the Text e.g. Today, Yesterday, …
BUDGET BAR
Shows if you are predicted to be over or under your
budget at the end of the day. (consumpon only)
TEMPERATURE ONE & TWO
The temperature of the sensor
• Either the integrated temperature sensor (1) or
• An accessory (2)
The Heat wave and Snowflake give an indicaon as to
whether the temperature is above or below the set point.
Icons
SIGNAL STRENGTH
Shows the signal strength to the main sensor.
CLOUD
Shows the display is connected to the web via the
oponal bridge.
BATTERY
Displays when the baeries in the transmier are low.
REWARDS
Shows if there is a reward message from your ulity
online.
MESSAGE
Shows if there is a message waing from your ulity
online.
HIGH BACKGROUND
Shows if your background energy usage over the last 24
hours is higher than normal.
SOLAR THRESHOLD
In PV mode this shows that you are generang sufficient
power to consider turning on larger appliances to use it.
Geng Started
L
Cloud
Repeater
Signal Strength
Rewards
Speedometer
High Background
Lower Digits
Temp (1)
Heat wave &
Snowflake
Baery
Message
Upper Digits
Stopwatch
Budget Bar
Temp (2)
Solar Threshold
3
1
2
• If you are monitoring your PV generaon you can
change the mode from Consumpon to Micro-gen.
Hold down the centre buon unl you see the
word “BASIC”, use the buon to change to
“ADVANCED” and select this with the center
buon. Use and buons to toggle between
Consumpon and Micro-gen and then press the
center buon to confirm.
The Solo II can be used with 3 different types of sensors.
• CT Clip Sensor • LED Sensor • P1 Sensor.
Your Solo II will auto detect which sensor you are using.
3. If your Solo II came with a CT Clip Sensor or an LED
Sensor please press the release buon on the back
of the transmier, slide the cover off and remove
the baery tab.
1
1
1
2
2
34
2
3
Pulse output
(Imp/kWh)
P1 Connecon
Solo II
