2. INSTALLATION
(For Quick Installation Instructions see AppendixE)
2.1 Preliminary Tests
Upon receipt of the piezometer the zero reading should be checked and noted (see
Sections 3.1 to 3.3 for readout instructions). A thermistor is included inside the body of
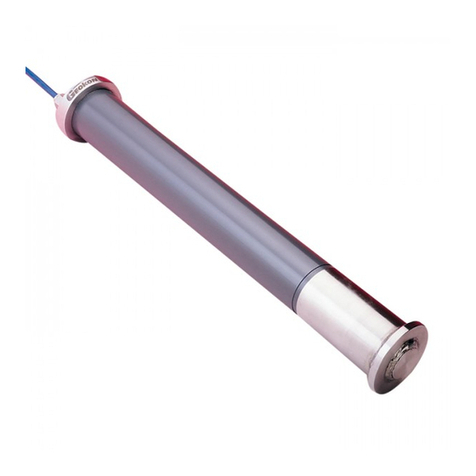
the piezometer (Figure 1-1) for the measurement of temperature (see Section 3.4 for
instructions).
Calibration data are supplied with each gage and a zero reading, at a specific
temperature and barometric pressure, is included. Zero readings at the site should
coincide with the calibration zero readings within +/- 50 digits after barometric and
temperature corrections are made. The factory elevation is +580 ft. all stated
barometric readings represent absolute pressure uncorrected for height above sea
level. (Barometric pressure changes with elevation at a rate of ≈½ psi per 1,000 ft.) See
Figure 4, for a sample calibration sheet.
2.1.1 Establishing an Initial Zero Reading
Vibrating Wire Piezometers differ from other types of pressure sensors in that they
indicate a reading at zero pressure. Therefore it is imperative that an accurate initial
zero pressure reading be obtained for each piezometer as this reading will be
used in all subsequent data reduction.
There are different ways of doing this but the essential element in all methods is that
the piezometer be allowed to thermally stabilize in a constant temperature environment
while the pressure on the piezometer is barometric only. Because of the way the
piezometer is constructed it takes about 5 to 15 minutes for the temperature of all the
different elements to equalize.
It will be necessary to measure the barometric pressure only if the piezometer is un-
vented and if it will be installed in a location that is subject to barometric pressure
changes that require correction, such as in an open well. A piezometer sealed in place at
depth could be recording pressures in groundwater that is not hydraulically connected to
the atmosphere, and, for which, barometric pressure compensation would be
inappropriate.
The recommended way to achieve temperature stability is to hang the piezometer in
the borehole at a point just above the water and wait until the piezometer reading has
stopped changing. Now take the zero reading and read the temperature, indicated by the
thermistor inside the piezometer.
Another way is to place the piezometer under water in a bucket and allow 5 to 15
minutes for the temperature to stabilize, then lift the piezometer out of the water and
immediately take a reading. When doing this, lift the piezometer by the cable only, do not
handle the piezometer housing as body heat from the hand could cause temperature
transients. Use the thermistor inside the piezometer to measure the water temperature.
Another way is to simply read the piezometer while in the air while making sure that
the temperature has had time to stabilized. If this method is chosen be sure that the
piezometer is protected from sunlight or sudden changes of temperature: Wrapping it in
some insulating material is recommended.
Yet another way is to lower the piezometer to a known depth as marked out on the
piezometer cable, (The diaphragm inside the piezometer is located approximately ¾ inch
(15mm), from the tip. Then use a dip meter to accurately measure the depth to the water
surface. Now, after temperature stabilization, read the piezometer pressure and, using
the factory calibration constants and a knowledge of the pressure (height x density) of
