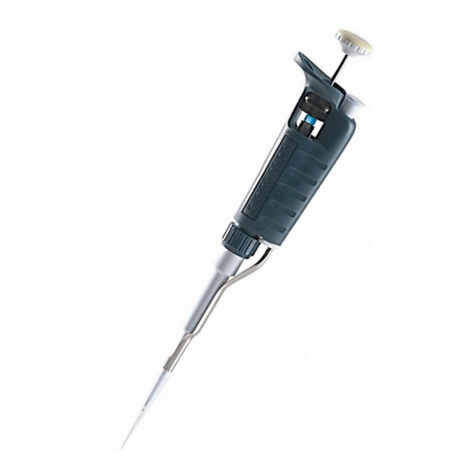
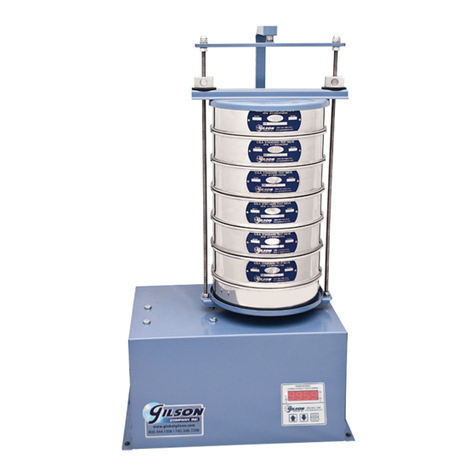
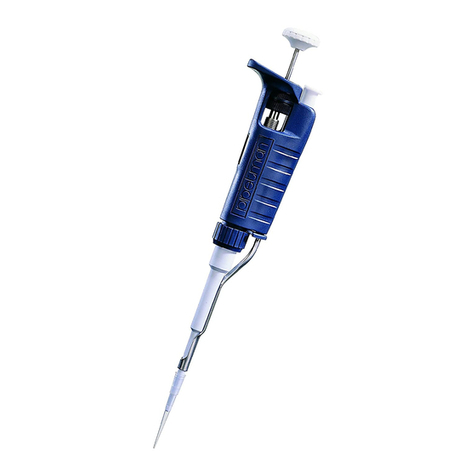
Gilson PIPETMAX 268 User manual
Other Gilson Laboratory Equipment manuals
Gilson
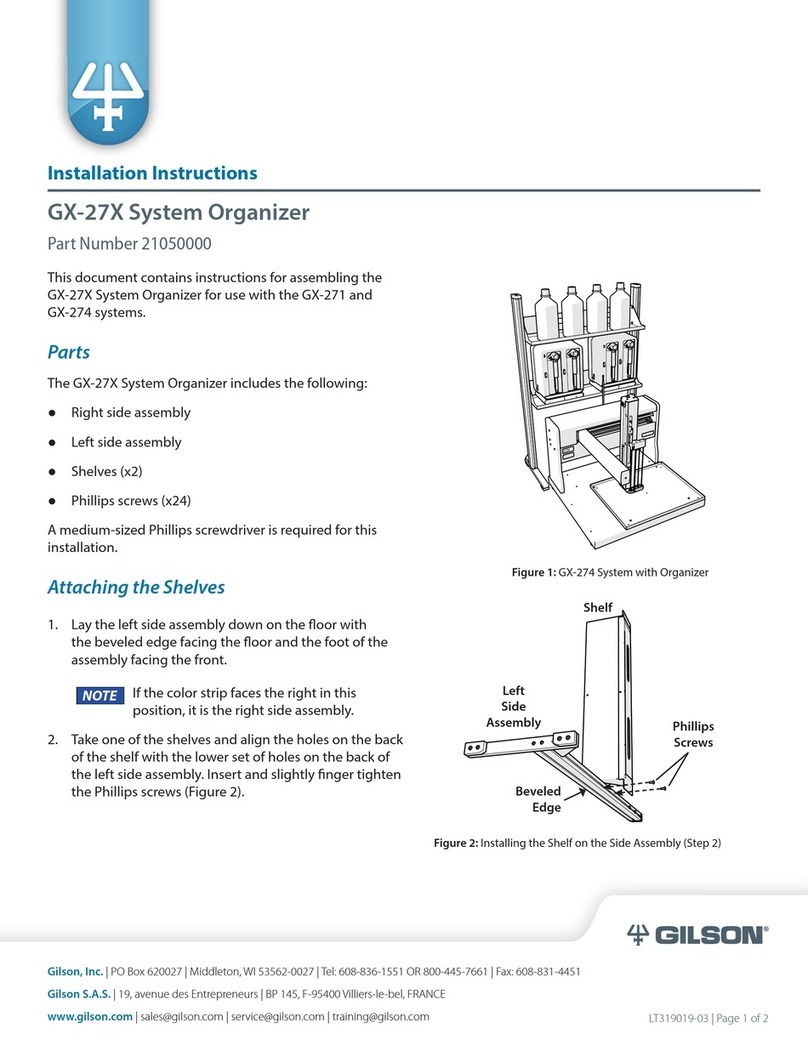
Gilson Gilson Test-Master TM-5 User manual
Gilson
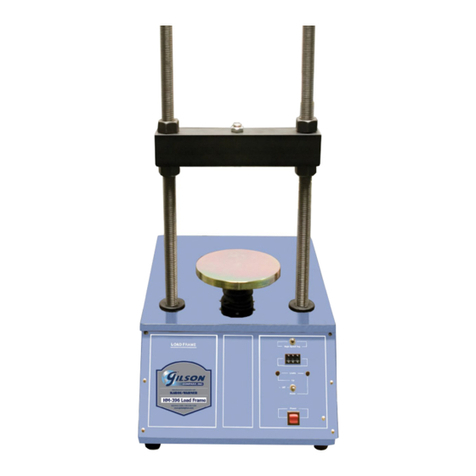
Gilson GX-27X Series User manual
Gilson
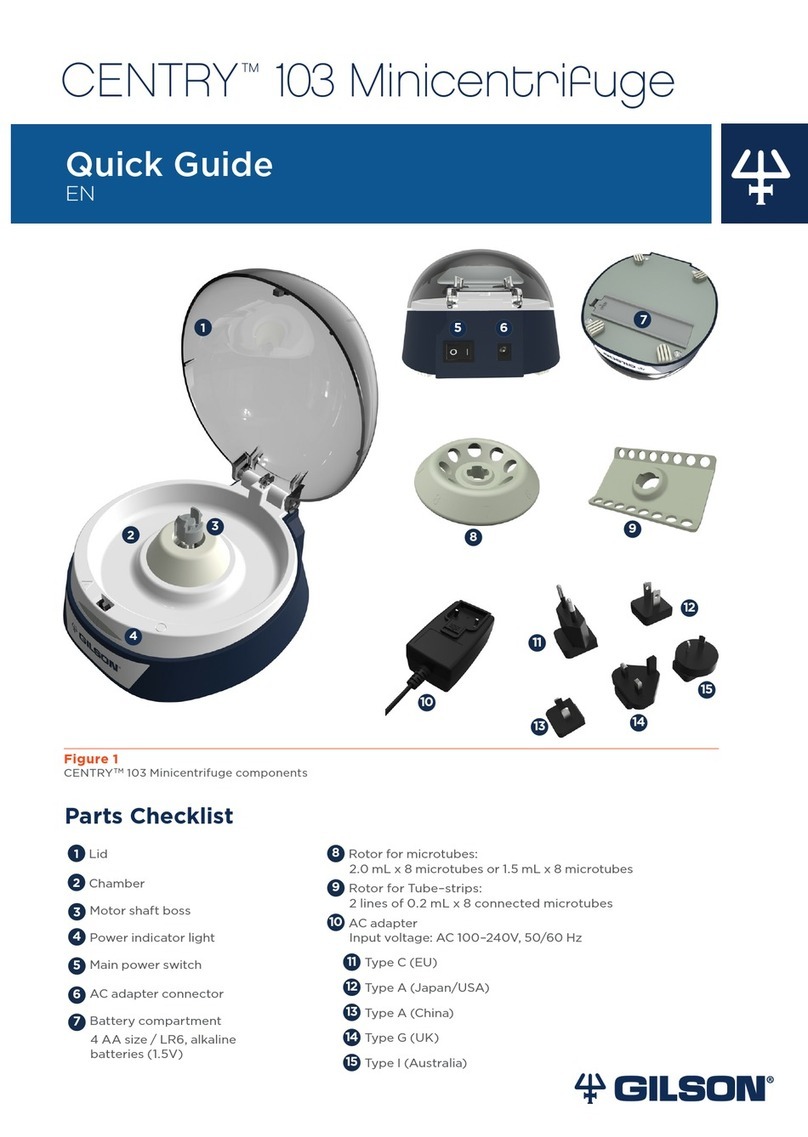
Gilson HM-396 User manual
Gilson
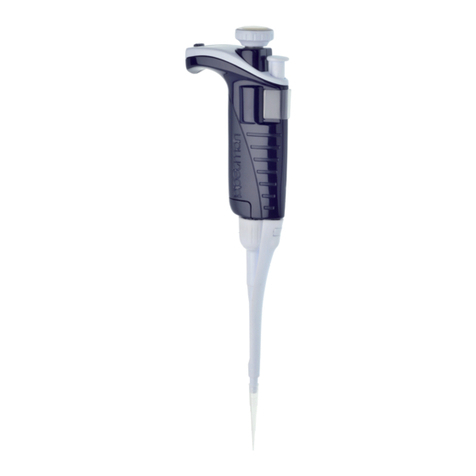
Gilson CENTRY 103 Minicentrifuge User manual
Gilson
Gilson pipetman User manual
Gilson
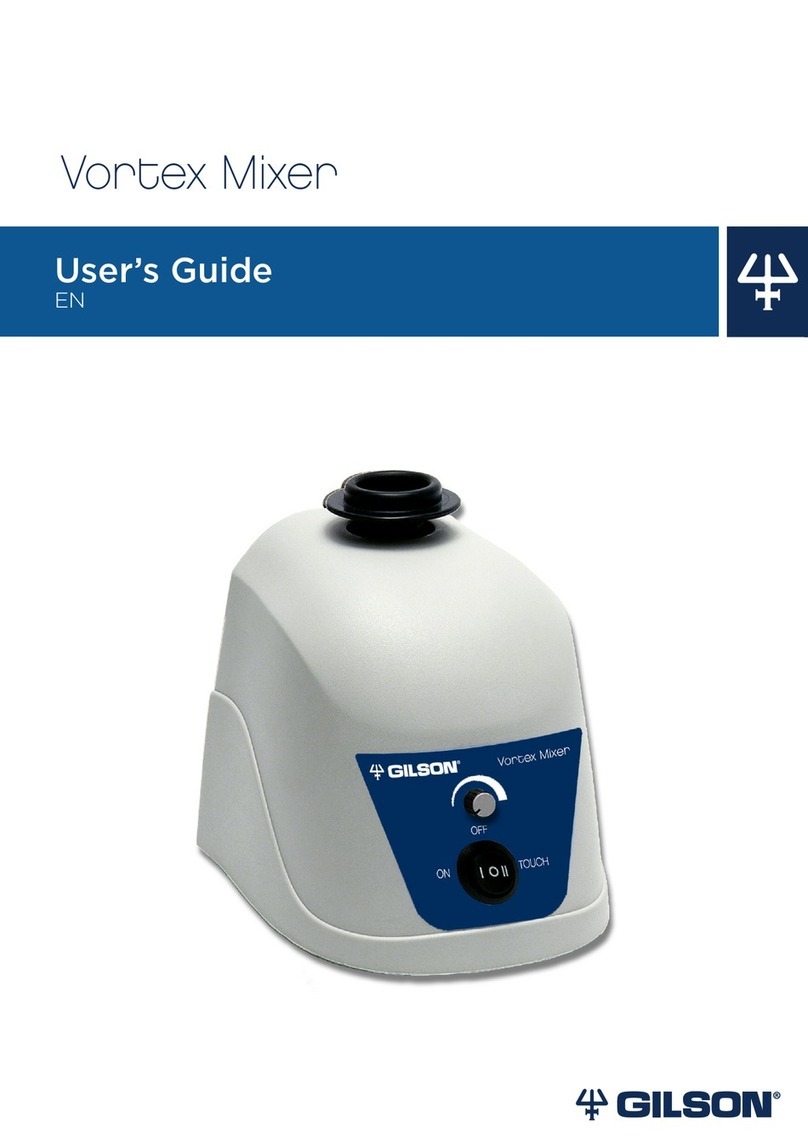
Gilson SGA-5R User manual
Gilson
Gilson Vortex Mixer User manual
Gilson
Gilson 157 User manual
Gilson
Gilson MICROMAN E M10E User manual
Gilson
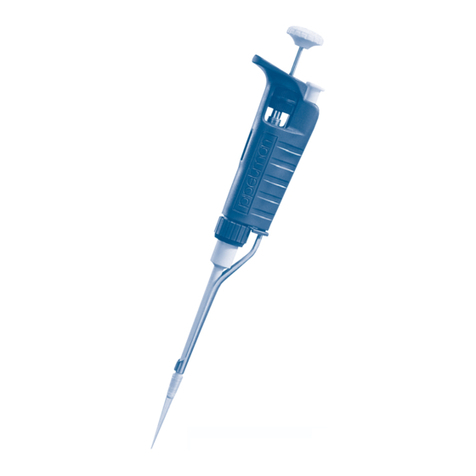
Gilson PIPETMAN P User manual
Gilson
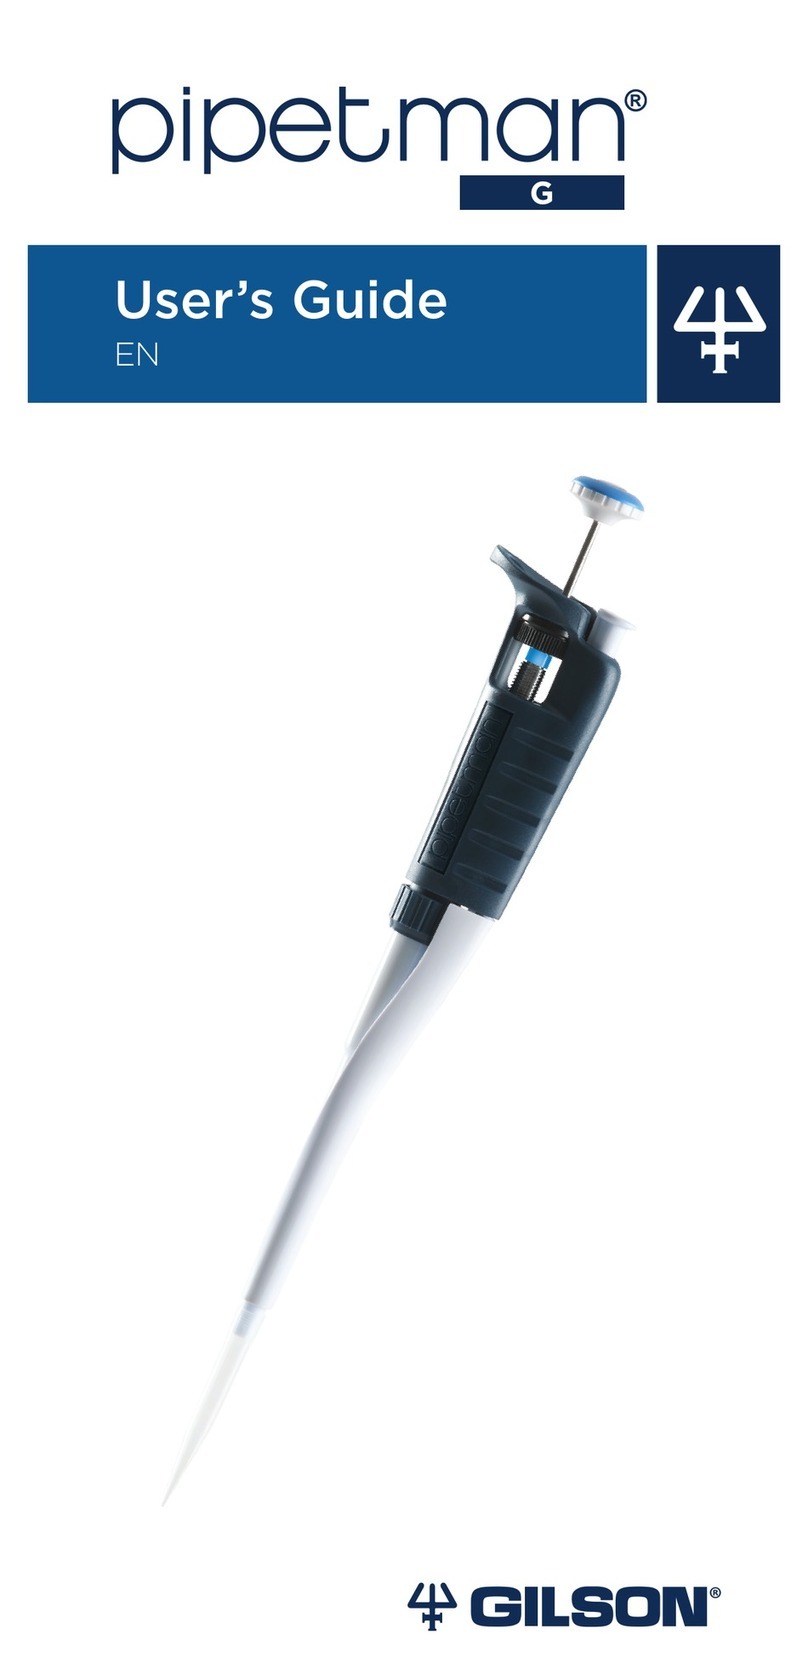
Gilson Pipetman P2G User manual
Gilson
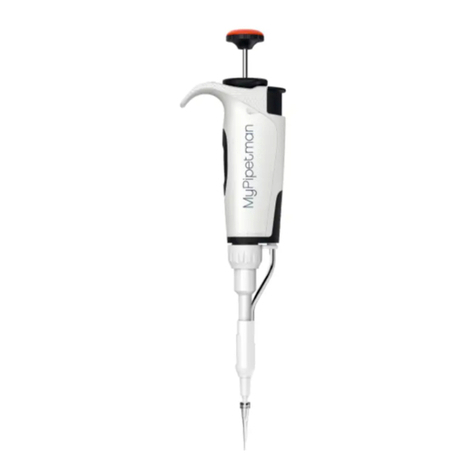
Gilson MyPipetman P2 User manual
Gilson
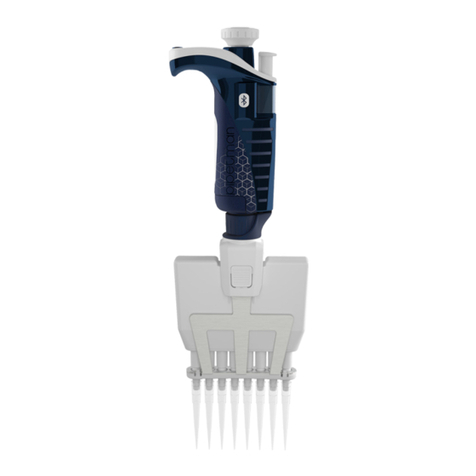
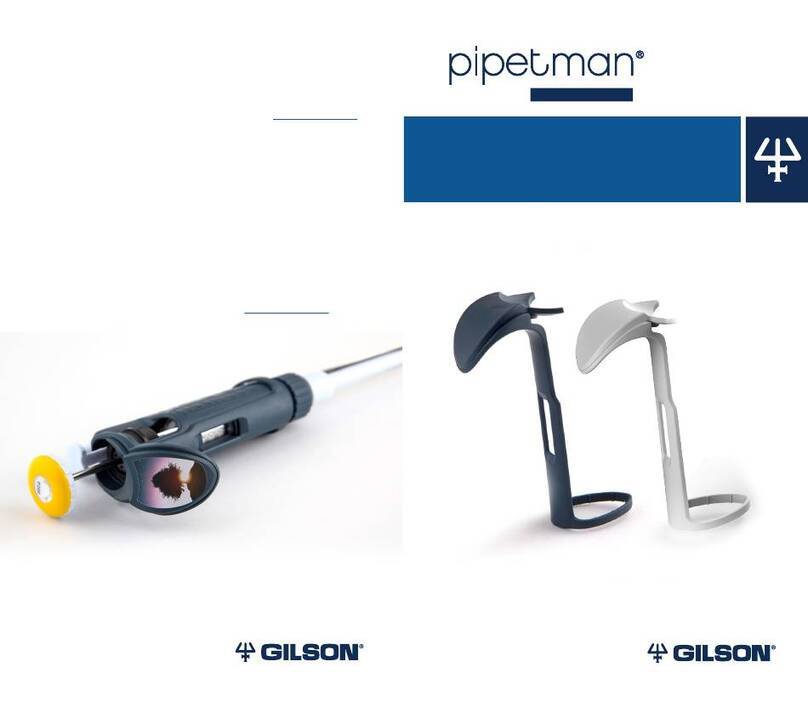
Gilson Pipetman M User manual
Gilson
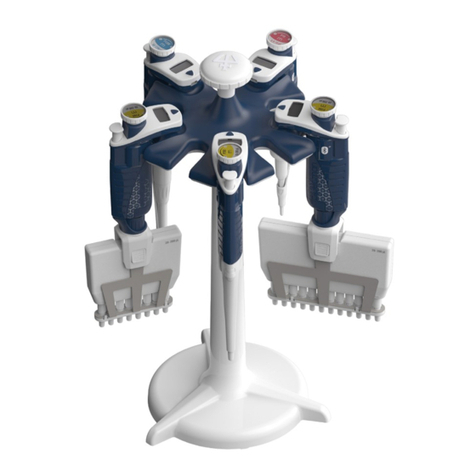
Gilson pipetman User manual
Gilson
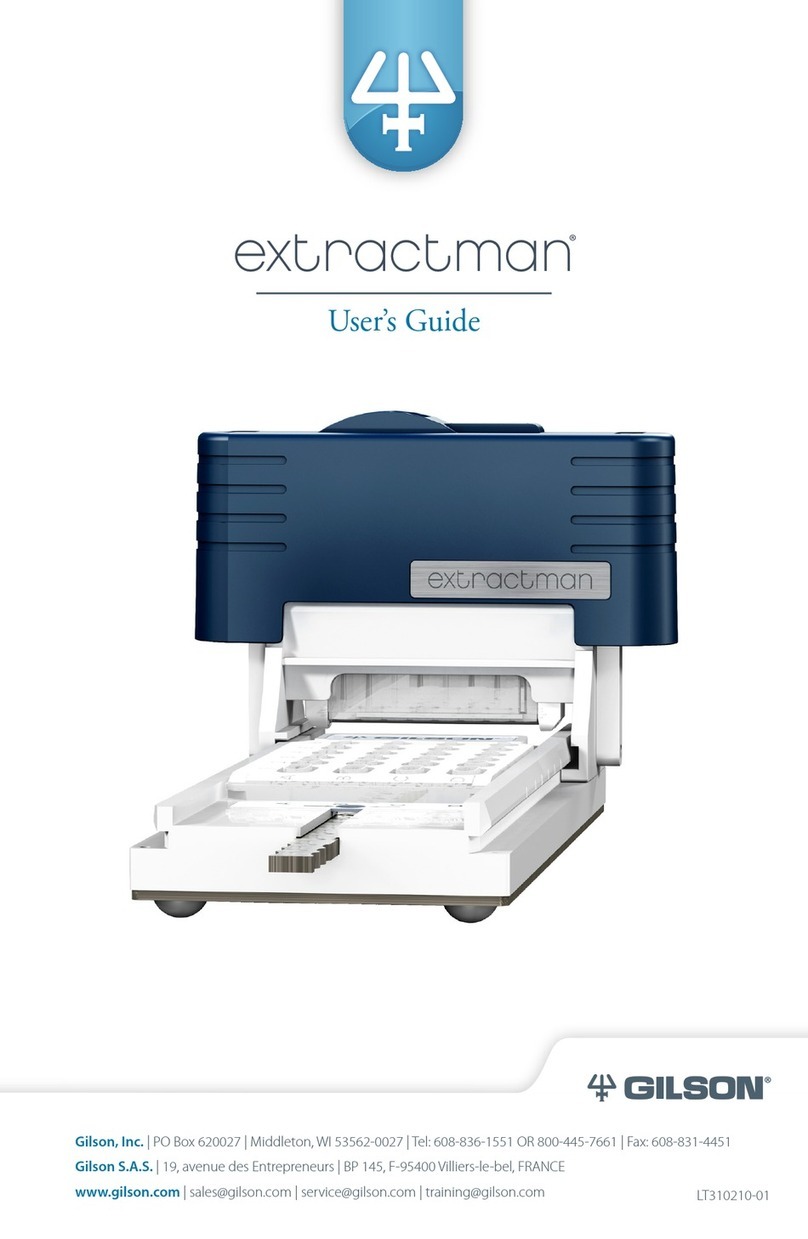
Gilson Power Carrousel User manual
Gilson
Gilson Extractman User manual

Gilson
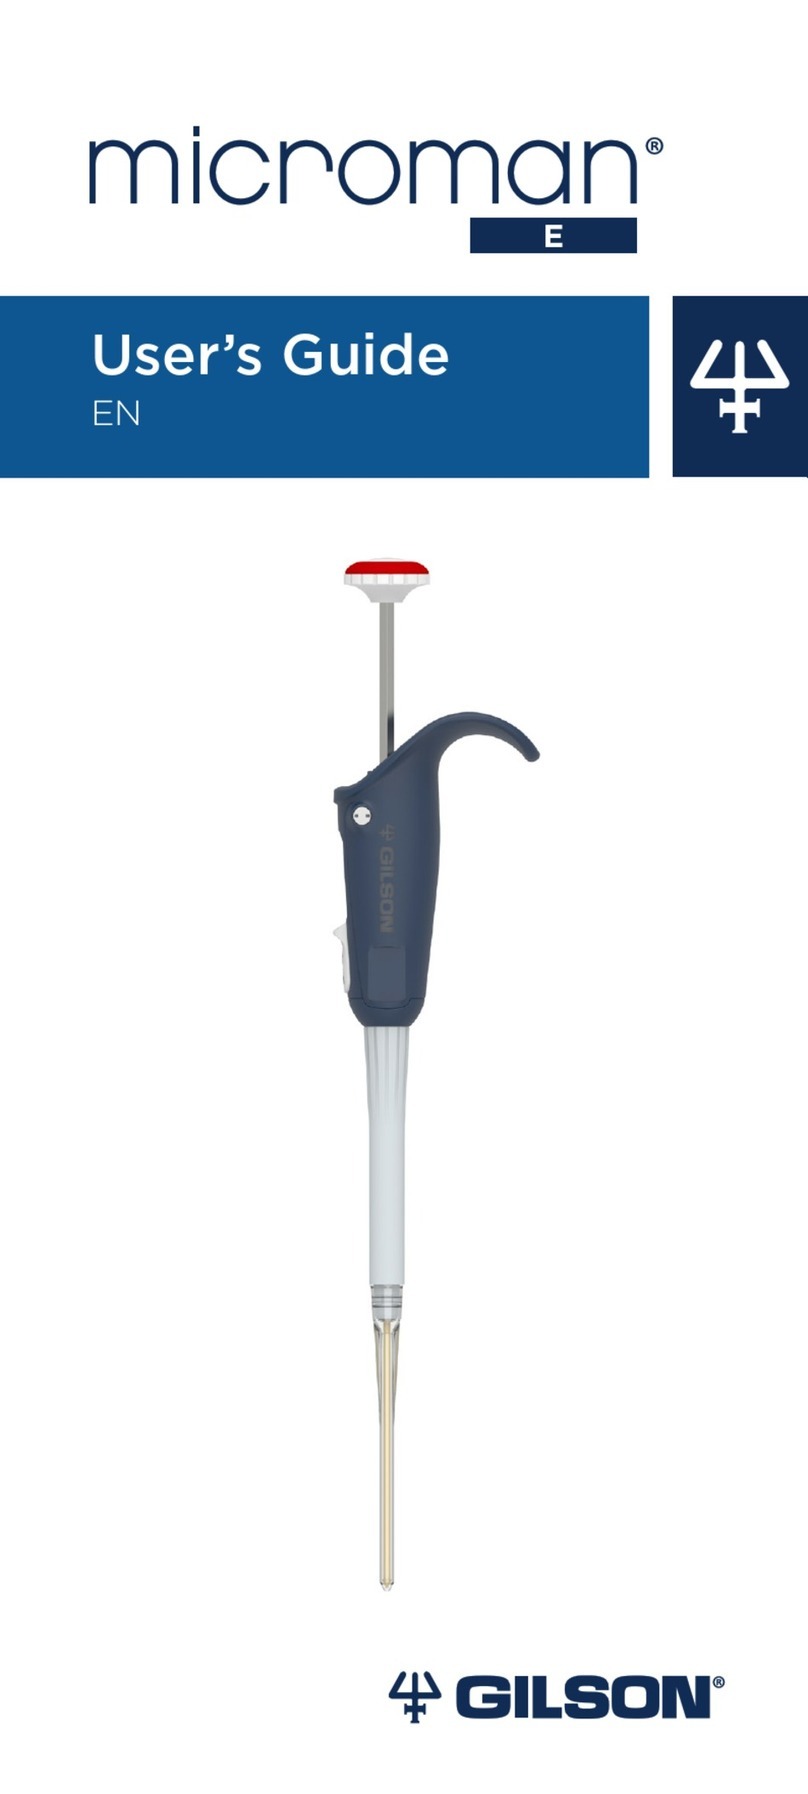
Gilson pipetman User manual
Gilson
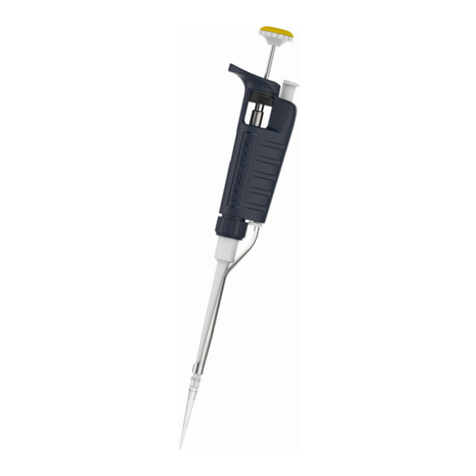
Gilson microman e User manual
Gilson
Gilson Pipetman Classic Series User manual

Gilson
Gilson Pipetman M User manual
Popular Laboratory Equipment manuals by other brands

Agilent Technologies
Agilent Technologies 5800 ICP-OES user guide

Endress+Hauser
Endress+Hauser Cleanfit CPA875 operating instructions

NI
NI PXI-5422 CALIBRATION PROCEDURE

Collomix
Collomix Aqix operating instructions

SPEX SamplePrep
SPEX SamplePrep 6875 Freezer/Mill Series operating manual

Ocean Insight
Ocean Insight FLAME-NIR+ Installation and operation manual

Parker
Parker ALIGN-MG-NA Installation, operation and maintenance manual

BD
BD 644787 user guide

DENTAURUM
DENTAURUM Compact Megaplus Instructions for use

Biuged Laboratory Instruments
Biuged Laboratory Instruments BGD 626 instruction manual

VWR
VWR SAS Super IAQ instruction manual

illumina
illumina MiSeqDx reference guide

