GPO MAESTRO User manual

USER MANUAL
V2 | OCT 2018

2

3
Content
Introduction...........................................................................................4
Safety Information ................................................................................ 5
Unpacking.............................................................................................6
Location of Controls..............................................................................7
Playback.............................................................................................10
Turntable Playback............................................................................. 10
Aux-In Playback.................................................................................. 11
USB Flash Drive Playback ................................................................. 12
Display Information............................................................................. 13
FM mono/FM stereo Radio................................................................. 13
Line Out..............................................................................................13
Headphones .......................................................................................13
External Speakers .............................................................................. 14
Bluetooth Playback............................................................................. 14
Troubleshooting.................................................................................. 15
Product Support.................................................................................. 15

4
Introduction
Thanks for purchasing the GPO MAESTRO Turntable. This all-in-one
music player will allow you to enjoy LPs, radio and MP3s in one stylish,
retro-styled entertainment unit. We hope you enjoy this new addition to
your home.

5
Safety Information
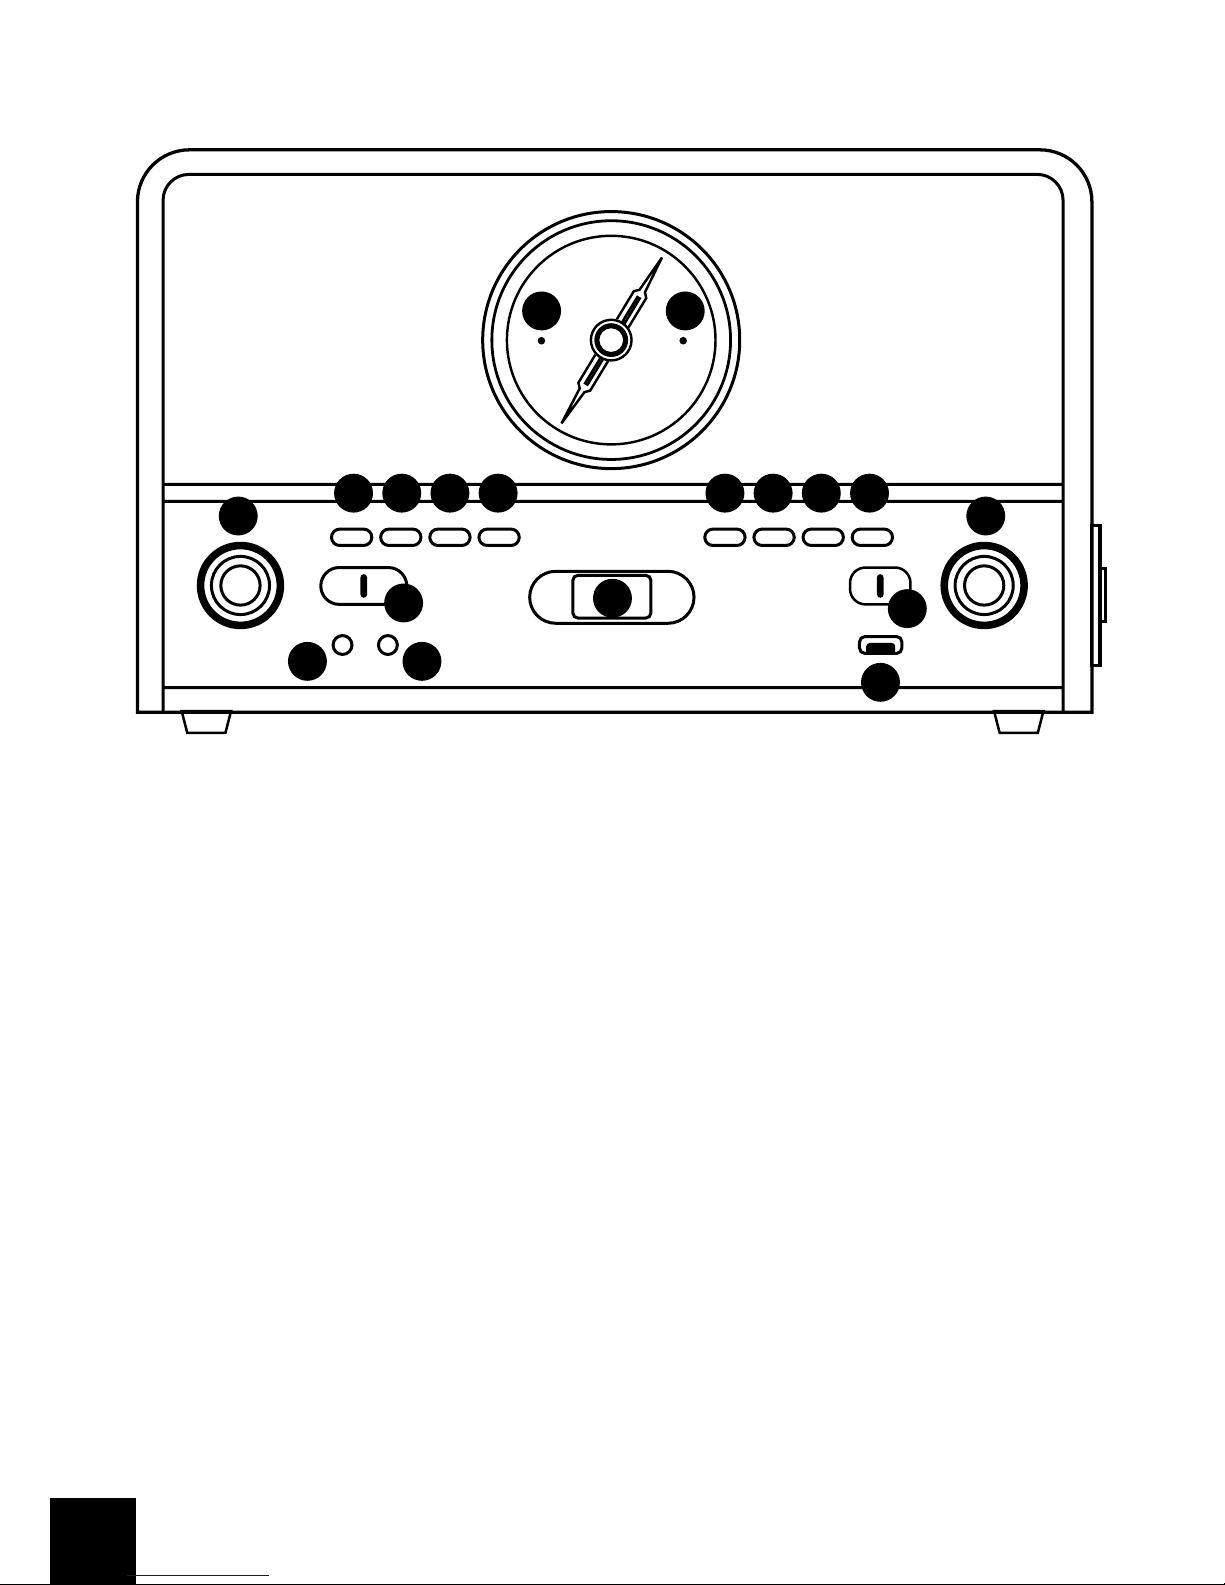
Before using your GPO MAESTRO, please read the following
safety information. Please make sure to retain this manual for future
reference:
• Cleaning: Unplug the unit from the wall socket before cleaning gently
with a damp cloth. Avoid liquid and aerosol cleaners.
• Attachments: Please do not use any attachments which have not
been recommended by GPO Retro, as they may cause damage to
your unit.
• Water and Moisture: Please keep the unit away from standing water
such as a bathtub or kitchen sink. This unit may be damaged by
humid or damp environments. Ensure that the unit remains dry, as
liquid can damage the unit.
• Heat: Please keep the unit away from heat sources such as radiators,
stoves or other products which produce excess heat.
• Placement: Please ensure that the unit is placed on a at, stable
surface before use.
• Transport: Take care when moving the unit to avoid any damage.
• Ventilation: Make sure that none of the openings or slots in the unit
cabinet are covered, in order to ensure proper ventilation
• Power: Please ensure that the unit is only plugged into an
appropriate wall socket or adaptor. Ensure that the cord is not trapped
or placed in a way which could cause fraying or damage. Do not
overload wall sockets or extension cords.
• For further troubleshooting or technical support advice, please refer to
the troubleshooting and product support sections of this manual.

6
Unpacking
This package contains:
• 1x T298-B GPO Maestro
• 1x DC Power Cable
• 1x Manual
Carefully remove all of the contents from the packaging. Make sure
you retain and store this manual for future reference.
When choosing a location for the unit, avoid inclines, direct sunlight or
sources of heat and moisture.
Keep all of the ventilation holes clear, and do not place any equipment
on top of the unit as this can lead to damage.
Only remove the stylus guard from the stylus assembly during use.
Leaving the guard in place during storage will protect your stylus from
damage.

7
Location of Controls
Top Panel
1. Turntable
2. 45 RPM Adaptor Holder
3. Tone Arm
4. Arm Clip
5. Raise/Lower Tone Arm Lever
6. 33/45/78 RPM Speed Switch
7. Autostop Switch
5
6
7
4
1
3
2

8
Front Panel
1. Volume Control
2. Program Button
3. Mode Select Button
4. Folder - Button
5. Folder + Button
6. Display
7. Skip Backwards
8. Skip Forwards
9. Play/Pause/Pair
10. Stop
11. Radio Frequency Selector
12. Function Selector
13. FM stereo Selector/Bluetooth
14. Headphone Out Jack
15. Aux In Jack
16. USB Port
17. Power Indicator LED
18. Bluetooth Indicator LED
1 11
2345 7
12
8 9 10
14 15
6
17 18
13
16

9
Rear Panel
1. Line Output
2. FM Antenna
3. Power Input
2
1
3

10
Playback
You can use the GPO MAESTRO to play music using the turntable,
or radio. You can also play music using the units internal speakers
using the Aux In function.
Turntable Playback
1. Lift the turntable dust cover, remove the stylus protector and unlock
the tone arm
2. Set the Function selector to Phono/Aux In
3. Place your chosen record on the turntable over the central spindle
4. Set the correct speed (33/45/78) using the speed selector
5. Lift the tone arm using the raise lever and slowly move it over the
record. The turntable will begin to turn
6. Place the tone arm onto the record at your desired location. The
record will begin playing
7. The tone arm will automatically stop once the record has nished. To
manually stop the record, lift the tone arm manually. Once the record
has nished, return the tone arm to the rest.
Auto-Stop Switch Operation: Please note, some records have an auto-
stop area which causes the record to stop before the last track nishes.
If this happens, move the Auto-Stop switch to the off position and
manually stop the record once the track has nished.

11
Aux-In Playback
1. Set the Function selector to Phono/Aux In
2. Use a 3.5mm audio cable to connect your external device to the
unit’s Aux In jack
3. Adjust the volume to your desired level
4. Begin playback using your external device

12
USB Flash Drive Playback
1. Set the function switch to the USB position, and the display will show
“USB.”
2. When inserting a USB ash drive containing MP3 format les, the
unit will automatically start playing from the rst song.
3. Press [Play Button] to pause the current song. While paused the
display will blink.
4. Press [Stop Button] to stop the current song. The track number will
be displayed.
5. Press [Rewind Button] to select the previous song. Press and hold to
rewind the current song.
6. Press [Fast Forward Button] to select the next song. Press and hold
to fast forward the current song.
7. Press “Mode” once to repeat a single track (the display will show
“ONE”)
8.Press “Mode” twice to repeat all tracks in a single folder (if the drive
contains folders) (the display will show “F00x”).
9. Press “Mode” three times to repeat all songs on the USB.
10. Press “Mode” four times” to cancel the selected repeat function.
11. To program a playback order, press “Program” once and the display
will show “P0001.” Select this rst track by pressing [RWD][FWD]
and press “Program” to conrm.
12. Repeat step eleven for tracks P0002 through P0050 to set your
preferred playlist.
13. Choose a folder from the drive (if available) by pressing
FOLDER- or FOLDER+.

13
Display Information
When the GPO MAESTRO is reading a USB le, it will show the track
number, before switching to the current playback time. This switches
back and forth every ve seconds.
When playing les from a folder, it will display the folder number
(eg F0001), track number and current playback time at ve second
intervals.
FM Stereo Radio
1. If possible, uncoil and extend the unit’s built-in FM antenna
2. Set the Function selector to Radio
3. Select the desired frequency using the FM stereo switch
4. Select the desired station using the Tuner knob
5. Set the Function selector to OFF to turn off the radio
Line Out
1. Connect the Line Out jack to the Aux In jack of your amplier, taking
care to match the socket and jack colours
2. Ensure your amplier is turned on and adjust the volume accordingly
Headphones
To listen to music on your headphones, simply connect them to the
earphone jack and play your chosen music as described above.

14
External Speakers
You can use the external speaker jack on the rear of the unit to connect
your chosen speakers to the GPO Maestro.
If the unit does not receive an audio signal for around 10 minutes, it
will automatically enter standby mode. To reactivate the unit, turn the
power off and back on again.
Bluetooth Playback
Set the Function selector to Radio/Bluetooth and set the FM/Bluetooth
switch (FM/Bluetooth on EU units) to the Bluetooth position.
The Bluetooth indicator will ash.
2. The pairing indicator will ash quickly when pairing, remain within
10 meters (33 feet) of GPO MAESTRO.
3. Turn on Bluetooth on your phone or tablet to pair select “GPO
MAESTRO ” as the Bluetooth device.
4. When successfully paired and connected, the Bluetooth indicator will
become solid.
5. To disconnect from the currently paired Bluetooth device and pair to
another Bluetooth device, hold the Play/Pause/Pair button for
3 seconds.
Product Support
For more advice or support, please visit www.gporetro.com. There you
will nd a range of product datasheets and troubleshooting guides,
along with our customer service and support contact information.

15
Troubleshooting
Q) The unit will not turn on
A) Ensure that the unit is correctly connected to the power supply
Q) No sound comes out of the unit’s speakers
A) Ensure that the volume has been set correctly and that the Function
selector has been set to the correct playback source
Q) The sound quality is poor
A) Ensure that the unit is not too close to a TV set or other appliance
Q) The unit is not responding
A) Remove the power supply to the unit and leave for 60 seconds. Plug
the unit back into the power supply and try again
Q) The sound quality is poor during LP playback
A) Ensure that your stylus is undamaged, and that it is placed in the
correct place on the record
Technical Information
Bluetooth : 2402 - 2 480 MHz
FM: 87.5 - 108 MHz
Frequency: 2.4GHz
Transmit power : CLASS2 4dBm
Use in Member States : EUROPE , UNITED KINGDOM
Maximum operation Temperature-5 +45˚C
Input AC 230-240V ~ 50Hz

www.gporetro.com
IMPORTED AND DISTRIBUTED BY:
ProTelX Ltd, Unit 6, Park 17 Industrial Estate, Moss Lane,
Whiteeld, Manchester, M45 8FJ UK
Hereby ProtelX, declares that this equipment
(GPO Maestro) is in compliance with the essential
requirements and other relevant provisions of
Directive, you can access a copy of this certicate
on www.gporetro.com/Certicate-of-Conformity
Table of contents
Other GPO Turntable manuals