8
GB
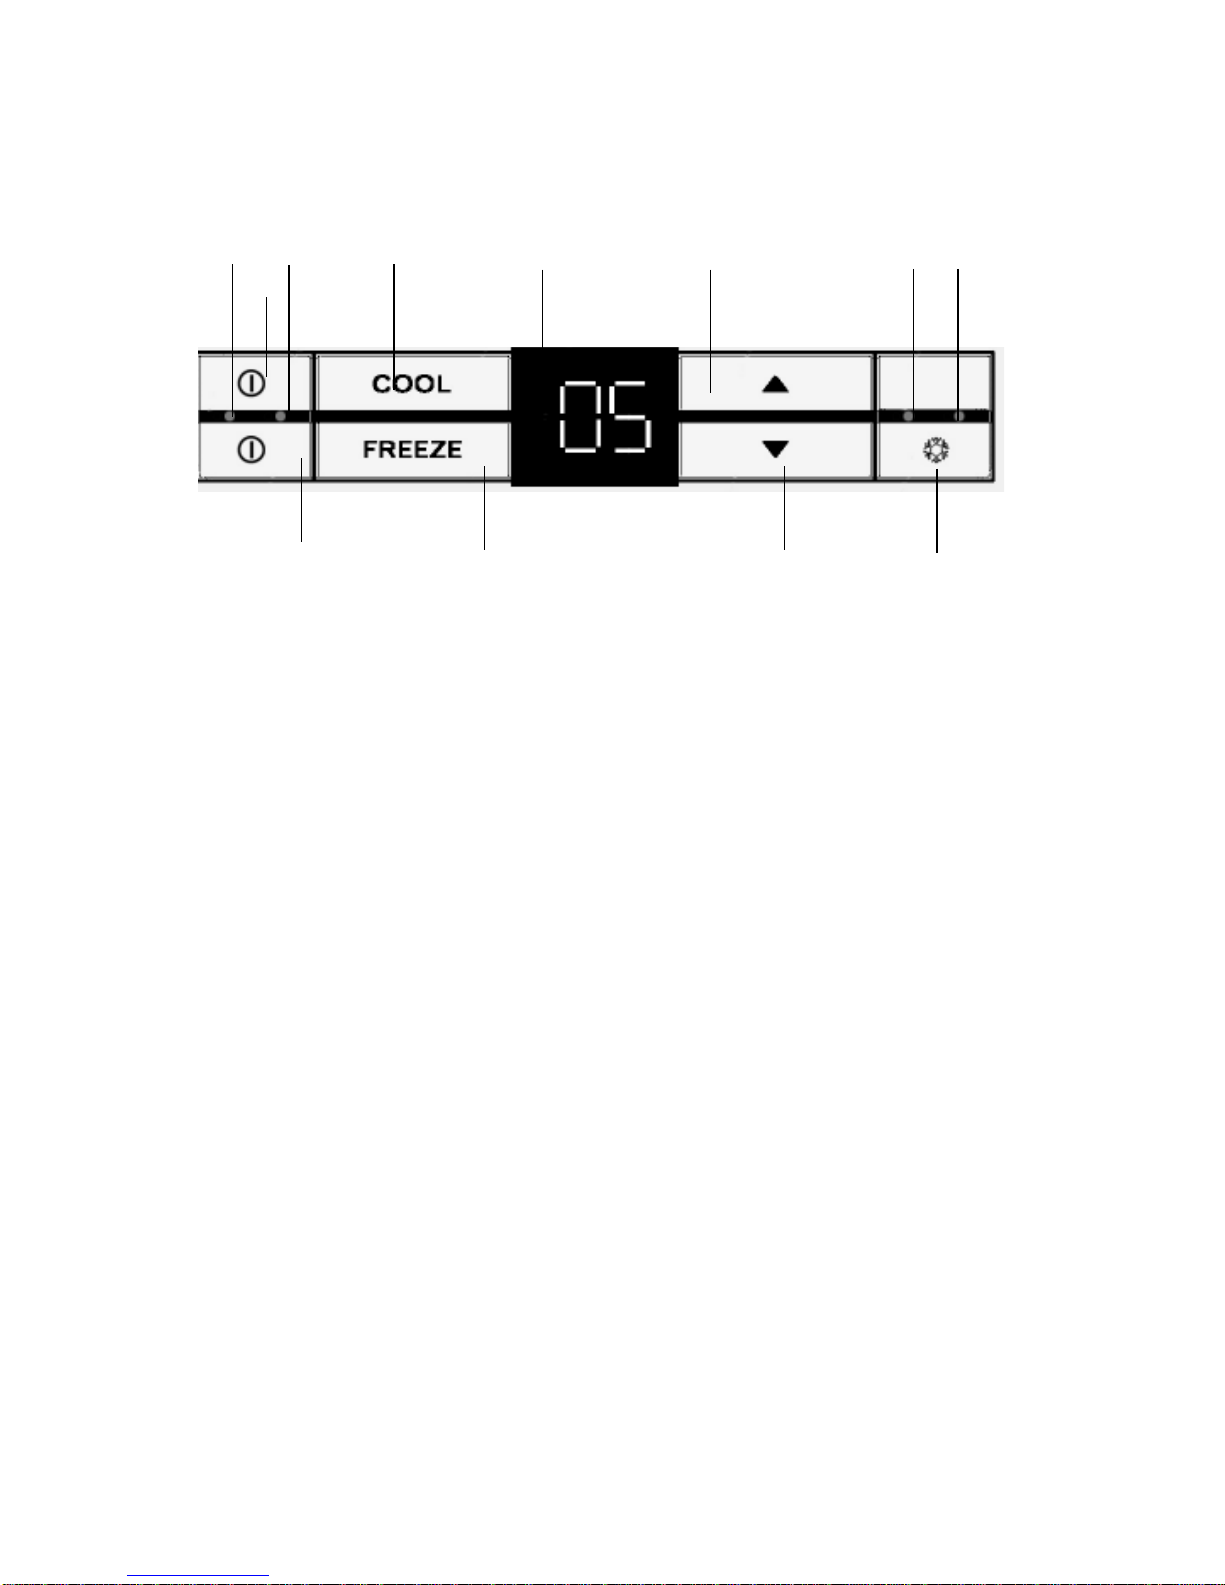
Temperature regulation
The temperature in the refrigerating
compartment can be set from +2 to +9°C
by pressing COOL (5) and keeping it
depressed. The set temperature is shown
in the display.Press button (7) or
(8) until the new required
temperature is reached. The temperature
in the freezing compartment can be set
from -23 to -14°C by pressing FREEZE (4)
and keeping it depressed. The set
temperature is shown in the display.
Press button (7) or (8) until
the new required temperature is reached.
Temperature display
The actual temperature in the freezer
section is shown on the display (6) by
pressing (8).
A brief acoustic signal will be given
whenever a button is activated.
Switchingoffindividualsections
Refrigerator and freezer sections can be
switched off individually. The refrigerator
section is switched off by pressing the top
button (1). The display (6) shows the
letters CC for a couple of seconds and
then two horizontal lines, indicating that the
refrigerator section has been switchen off.
The freezer section is switched off by
pressing the bottom button (1). The
display (6) shows the letters FC for a
couple of seconds and then two horizontal
lines, indicating that the freezer section
has been switched off.
When activating the buttons (1) , or
(9), the action will not become
visible on the display until after approx. 2
seconds. If there has been a power failure
or the current to the refrigerator has been
disconnected, the control will remember
the latest setting when power is
99
99
9
88
88
8
Brief temperature variations are normal
88
88
899
99
9
*
*
99
99
9
reconnected.
Freezing down
Fast freezing down to a low temperature is
important if food quality is to be preserved.
Freezing down is activated by pressing the
freezing down button (9), and a
blue light-emitting diode (10) shows that
the „Quick freeze” function is on.You can
choose between 24 or 48 hours’ freezing
down. It is recommended to activate
„Quick freeze” two to four hours before the
freezer is filled with large quantities of
food. By pressing the button once, „Quick
freeze” is set to 24 hour, and „24” is shown
on the display. By pressing the button
twice, „Quick freeze” is set to 48 hours,
and „48” is shown on the display. By
pressing the button once more, this
function is deactivated, and the blue light-
emitting diode is switched off.
After the „Quick freeze” button is activated,
the symbols „24” and „48” are displayed
for 5 seconds. The actual temperature in
the refrigerating compartment is then
displayed.
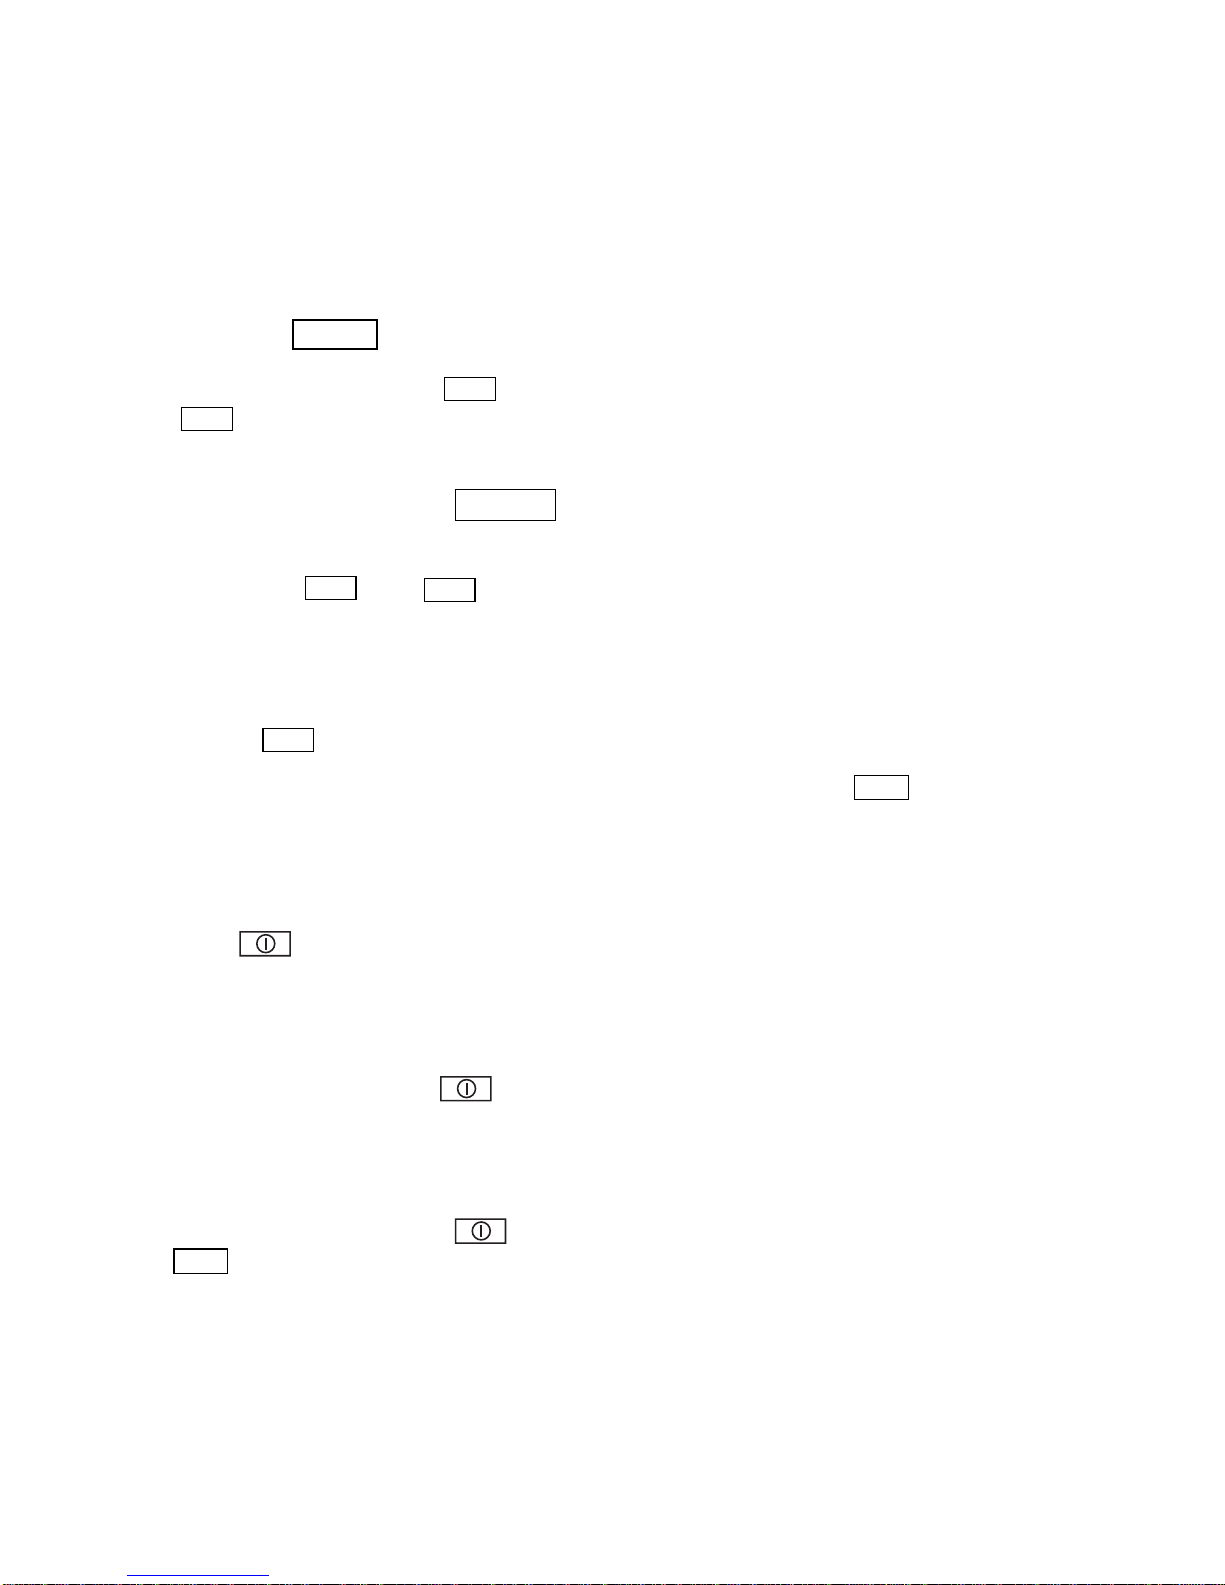
Brief temperature variations
Temperature inside the
refrigerator/freezer
The temperatures set and displayed are
the average temperatures in the
refrigerator/freezer.This is the case for
both the refrigerating and freezing
compartments. Do not change the
temperature setting of your refrigerator/
freezer simply because it becomes
warmer in summer. A temperature
increase will be detected by the
refrigerator/freezer and the compressor
will automatically run longer to maintain
the selected temperature.