manuals.online logo
Brands
  1. Home
  2. •
  3. Brands
  4. •
  5. Grandview
  6. •
  7. Accessories
  8. •
  9. Grandview CR-Mxx User manual

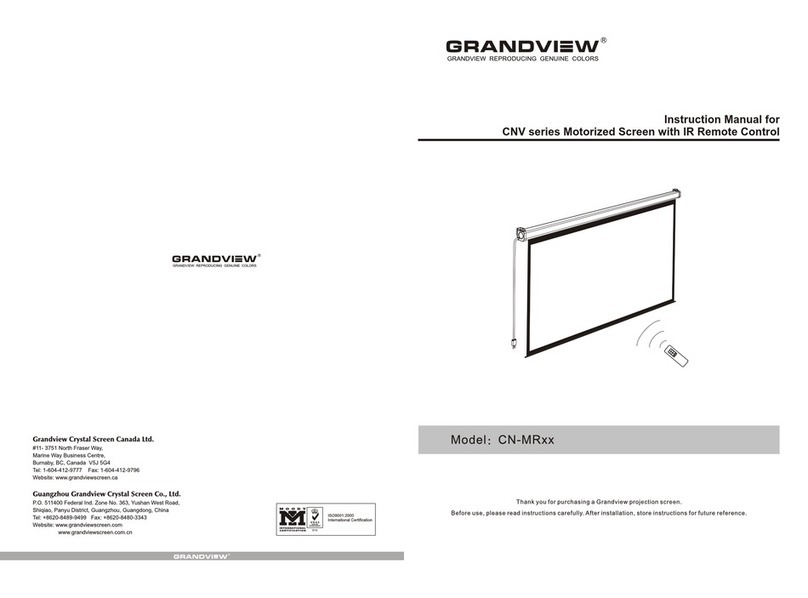
Grandview CR-Mxx User manual

GRANDVIEW REPRODUCING GENUINE COLORS
Grandview Crystal ScreenCanada Ltd.
#11- 3751North Fraser Way,
Marine Way BusinessCentre,
Burnaby, BC,Canada V5J 5G4
Tel:1-604-412-9777 Fax:1-604-412-9796
Website: www.grandviewscreen.ca
Guangzhou Grandview CrystalScreen Co., Ltd.
P.O.511400 FederalInd. Zone No. 363,Yushan West Road,
Shiqiao, Panyu District, Guangzhou,Guangdong, China
Tel: +8620-8489-9499 Fax: +8620-8480-3343
Website: www.grandviewscreen.com
ISO9001:2000
International Certification
Model CR-Mxx
GRANDVIEW REPRODUCING GENUINE COLORSGRANDVIEW REPRODUCING GENUINE COLORS
Thank you for purchasing a Grandview projection screen.
Before use, please read instructions carefully. After installation, store instructions for future reference.
Crystal Motorized Screen User s Manual
1
Mounting bracket A ( 1pc )
Mounting bracket B ( 1pc )
5mm AllenKey (1pc )
5 x 60mm Anchor and bolts ( 6pcs )
5mm Extended washer ( 6pcs )
5mm Regular washer ( 6pcs )
Installation Manual (1pc )
Bolts ( 6pcs )
5 x 60mm Screw ( 6pcs )
5 x 30mm Screw ( 6pcs )
Accessories
Metal Casing
End Cap
Screen Fabric
Rod
Description
Crystal Motorized Screen Power Specifications
50Hz/60Hz 90W/80W230V/120V/100V
Voltage Frequency Watts Application
Applicable for allCrystal
motorized screens
Optional
52
Installation
This projection screen should be installed at the best possible viewing position for the audience. Take
out all the parts from the packaging and follow the accessories guideline to ensure you have all the
parts. The parts needed will vary depending on which installation you choose to use. For installation
on a wood wall or ceiling,use 5 x 60 anchors and screws.
Wall Mount
Using a tape measure, measure the distance between the two keyholes on the casing (figure 1).
According to the measurement, use the drill to drill identical holes of the appropriate size on the wall
(use a smaller drill bit than the actual screws) and ensure that it is level (figure 2 & 3). Screw in the
appropriate screws, either 5x60 by itself for wood walls or with anchors for drywalls, leaving enough
space at the end to hang the casing (figure 4). To ensure that the screen is level, use a level to check
(figure 5).
1
2
34
A
A
5
Warnings
Ignoring the safety warnings may
lead to injuries and/or damaging
the product.
Refrain from hanging anything on t he
screen as it may cause the scre en to
fall.
Do not connect any electrical
attachments or remote controls.
Fixtures should be installed in a secure
place to avoid accidents or the screen
falling.
Roll up the screen after every use.
Leaving it hanging for a long period
of time may cause the fabric to loosen.
Please contact your local dealer for
repair s or maintenance. Please contact
ourcompany if you have any further
questions. Avoid taking apart the
fixtures yourself. Loose parts may
cause the screen to fall.
Do not take apart and replace with unknown parts. If there are any problems, please contact your local dealer.
Product specifications are subject to change.
The warranty will only be valid if you follow the instructions below carefully! Improper use and care may cause
serious injury and/or damage!.
Make sure the Fixing screw be fastened when using the wall bracket, to avoid any damage.
Make sure the surface you have chosen for installing the screen is flat and secure.
While installing motorized screen, please hire professionals or your local dealer to ensure safety. Awrong
connection may lead to fire or leaks.
If you choose an IR remote control: Ensure that the receiving eye is not pointed directly at a light. This could
result in damage and/or malfunction of the receiver; when installing the screen behind a valance, or in the
ceiling, make sure to plug in the external IR receiver, and place the receiver outside of the valance or ceiling.
Please read the following as any damage to the screen surface will affect the quality of the picture:
1.Avoid contact or touching the screen surface as it may cause scratches or tears.
2.Do not write or draw on the surface.
3.Clean the screen with a soft cloth and lukewarm water. Do not use any detergent or cleaning products.
Roll up the screen after every use. Ensure that the screen is level when installing; do not pull on the sides or
fold the screen.
To prevent unnecessary damage, the operating and maintenance of the screen should be done by adults.
34
Installation
Hanger
Wall mount Ceiling mount
Without mounting bracket installation
With mounting bracket installation(optional)
Wood material installation
Concrete material installation
Hidden installation
Wall mount
Ceiling mount
Ceiling Mount
Using a tape measure, measure the distance between the two keyholes on the casing (figure 1).
According to the measurement, use the drill to drill identical holes of the appropriate size on the ceiling
(use a smaller drill bit than the actual screws) and ensure that it is level (f igure 2 & 3). Screw in the hook
screws (not provided), and lift the screen into the hook screws to hang (figure 4). To ensure that the
screen is level, use a level to check (figure 5).
A
A
1
2
345
Wall mount
Ceiling mount
Motor adjusting slot
Picture 1 Picture 2 Picture 3
2. Remote control (Please see section on Remote Control)
Grandview projection screensare controlled by a manual switch or an remotecontrol.
1.Manual switch
a.T
b.Connect to a power source (Please make sure it is the right voltage)
c. ; it will come down slowly. When it is all the way down, it
will stop automatically.
d. ; it will go up into the meta l casing. When it is all the way up,
it will sto p automatically.
e.Turn the switch to position to stop any time the screen.
ear off the glue cloth fixed on the bottom rod, ensure the bottom rod is not stuck by the casing.
Turn the switch to position to lower the screen
Turn the switch to position to retract the screen
Operation
Attention:
> Please make sure there isno dust or dirt on the fabric surface before rolling it back to the casing
> The recommened working time is less than 50 seconds. The motor will enter overheating protection
status and stop working for everycontinuous 4 minuters operation, user would need to wait for a while
until the motor cool down beforeoperating again.
> There is no lube needed for the motor.Please be noticed that the appropriate setting is optimized which
requires no further adjustment, please consultthe after sales team before adjusting the limits.

Other Grandview Accessories manuals

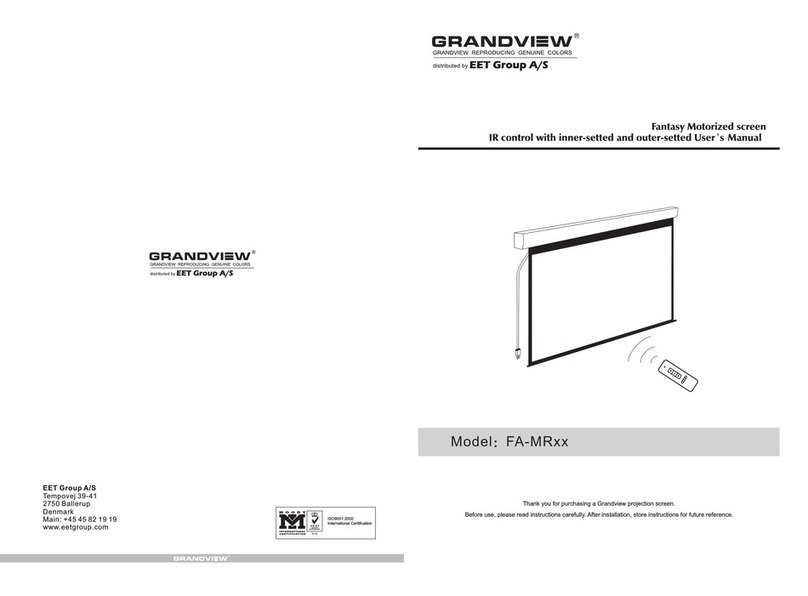
Grandview FA-MIxx II User manual

Grandview

Grandview FA-MIxx II User manual

Grandview LF-MixxFII User manual

Grandview

Grandview LF-MixxFII User manual

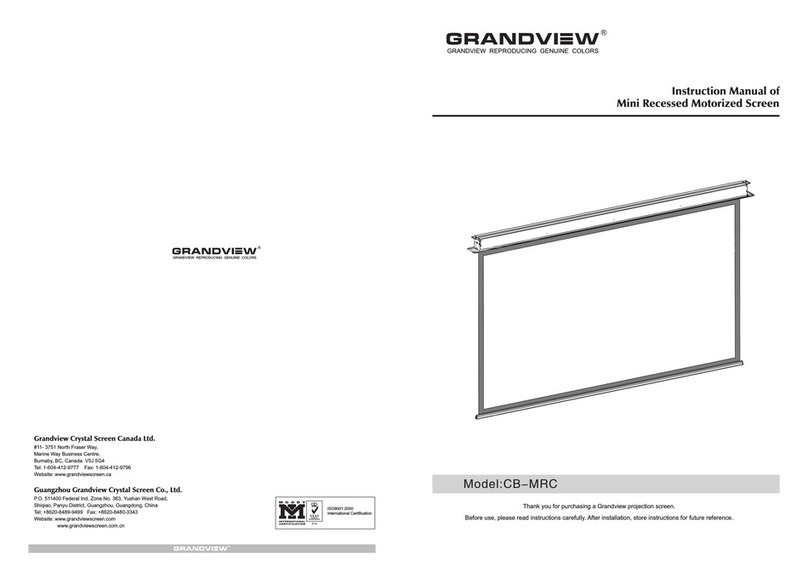
Grandview CB-MRC User manual

Grandview

Grandview CB-MRC User manual

Grandview Large Stage Series User manual

Grandview

Grandview Large Stage Series User manual

Grandview FA-MR series User manual

Grandview

Grandview FA-MR series User manual

Grandview FA-MIxx II User manual

Grandview

Grandview FA-MIxx II User manual

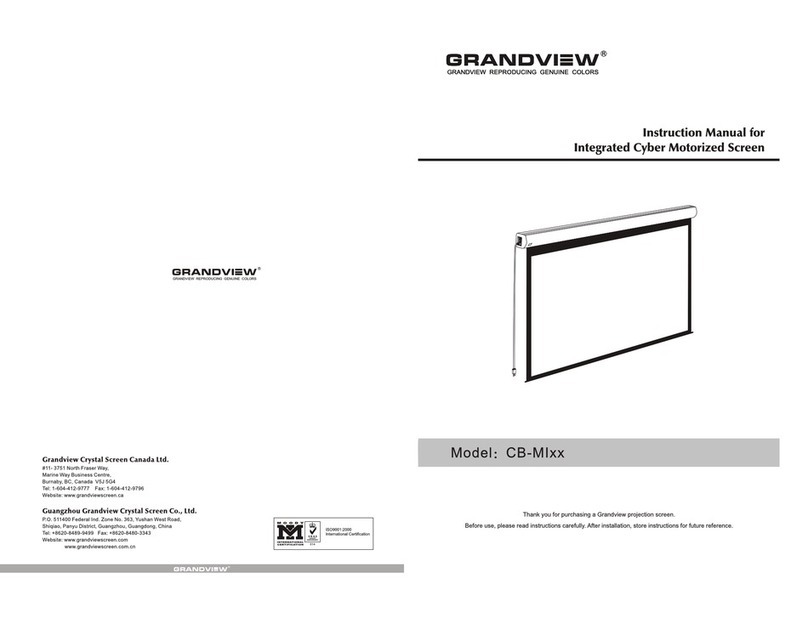
Grandview CB-MI Series User manual

Grandview

Grandview CB-MI Series User manual

Grandview CNV Series User manual

Grandview

Grandview CNV Series User manual

Grandview CN-MRxx User manual

Grandview

Grandview CN-MRxx User manual

Grandview CN Series User manual

Grandview

Grandview CN Series User manual

Grandview Large Stage Series User manual

Grandview

Grandview Large Stage Series User manual

Grandview GRIPRC92H User manual

Grandview

Grandview GRIPRC92H User manual

Grandview FANCY Series User manual

Grandview

Grandview FANCY Series User manual

Popular Accessories manuals by other brands

ADC FlexWave nano Hardware installation

ADC

ADC FlexWave nano Hardware installation

Carlon RC3253 Instruction guide

Carlon

Carlon RC3253 Instruction guide

MS Sedco SmartWalk XP user guide

MS Sedco

MS Sedco SmartWalk XP user guide

Houseper GMB-HAS-SW1-B02 user guide

Houseper

Houseper GMB-HAS-SW1-B02 user guide

Beurer WL 75 Instructions for use

Beurer

Beurer WL 75 Instructions for use

SECURITY SENSOR BARRIER-24.M500 user manual

SECURITY SENSOR

SECURITY SENSOR BARRIER-24.M500 user manual

Allen-Bradley 1442 user manual

Allen-Bradley

Allen-Bradley 1442 user manual

Stanley SLP1 manual

Stanley

Stanley SLP1 manual

Hyco Sapphire SAP02HC Product instruction manual

Hyco

Hyco Sapphire SAP02HC Product instruction manual

Y-BRUSH HYDROPULSEUR FC3840 user guide

Y-BRUSH

Y-BRUSH HYDROPULSEUR FC3840 user guide

pass & seymour CS500 installation instructions

pass & seymour

pass & seymour CS500 installation instructions

Banner Q25 quick start guide

Banner

Banner Q25 quick start guide

Bushnell 73-0001 owner's manual

Bushnell

Bushnell 73-0001 owner's manual

SONBEST KM2130B-O3 user manual

SONBEST

SONBEST KM2130B-O3 user manual

Ulvac G-Tran Series instruction manual

Ulvac

Ulvac G-Tran Series instruction manual

Panasonic CY-11A instruction manual

Panasonic

Panasonic CY-11A instruction manual

Julabo FP52-SL operating manual

Julabo

Julabo FP52-SL operating manual

midiplus STUDIO 4 Quick start manual

midiplus

midiplus STUDIO 4 Quick start manual

manuals.online logo
manuals.online logoBrands
  • About & Mission
  • Contact us
  • Privacy Policy
  • Terms and Conditions

Copyright 2025 Manuals.Online. All Rights Reserved.