manuals.online logo
Brands
  1. Home
  2. •
  3. Brands
  4. •
  5. GRAPHTEC
  6. •
  7. Plotter
  8. •
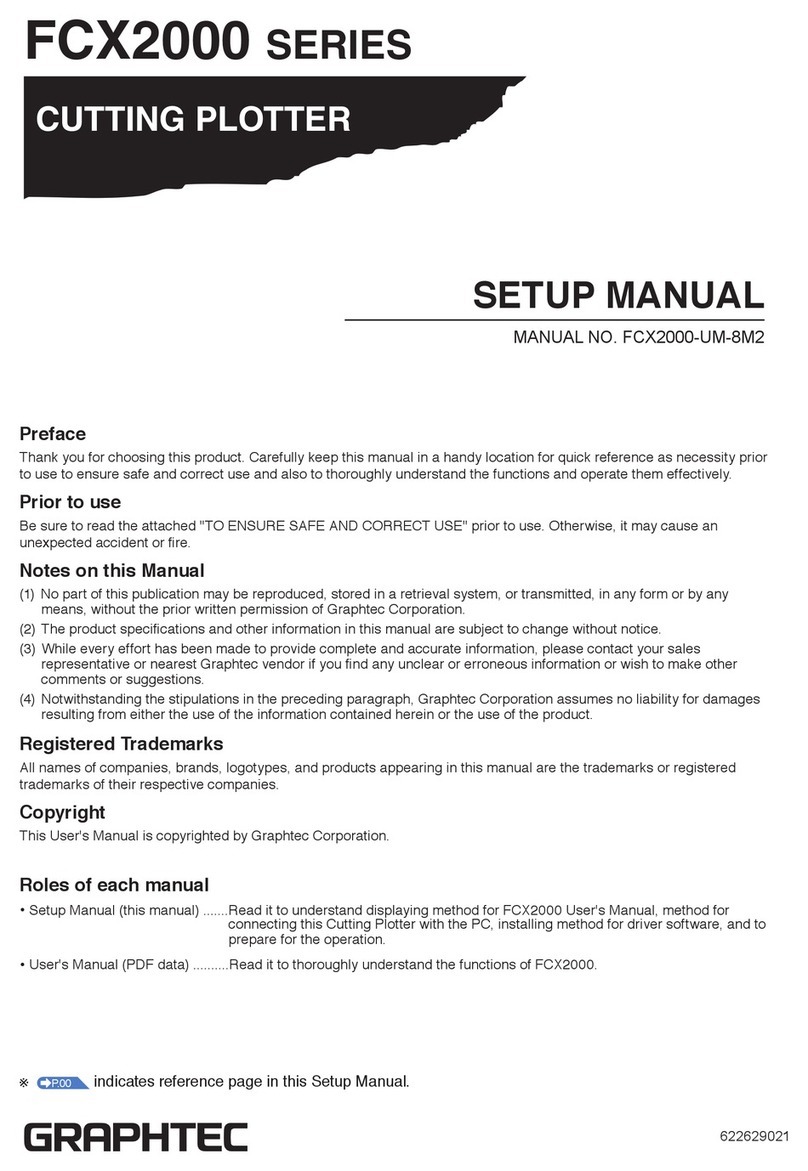
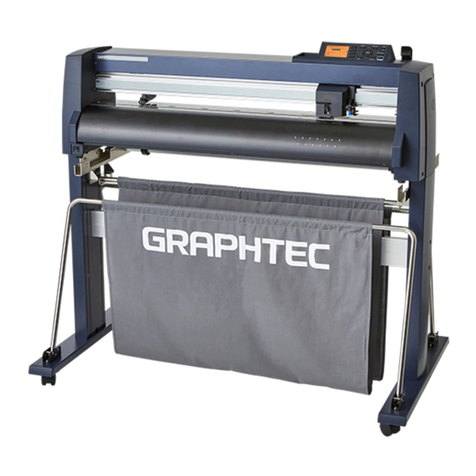
  9. GRAPHTEC FC9000 Series User guide

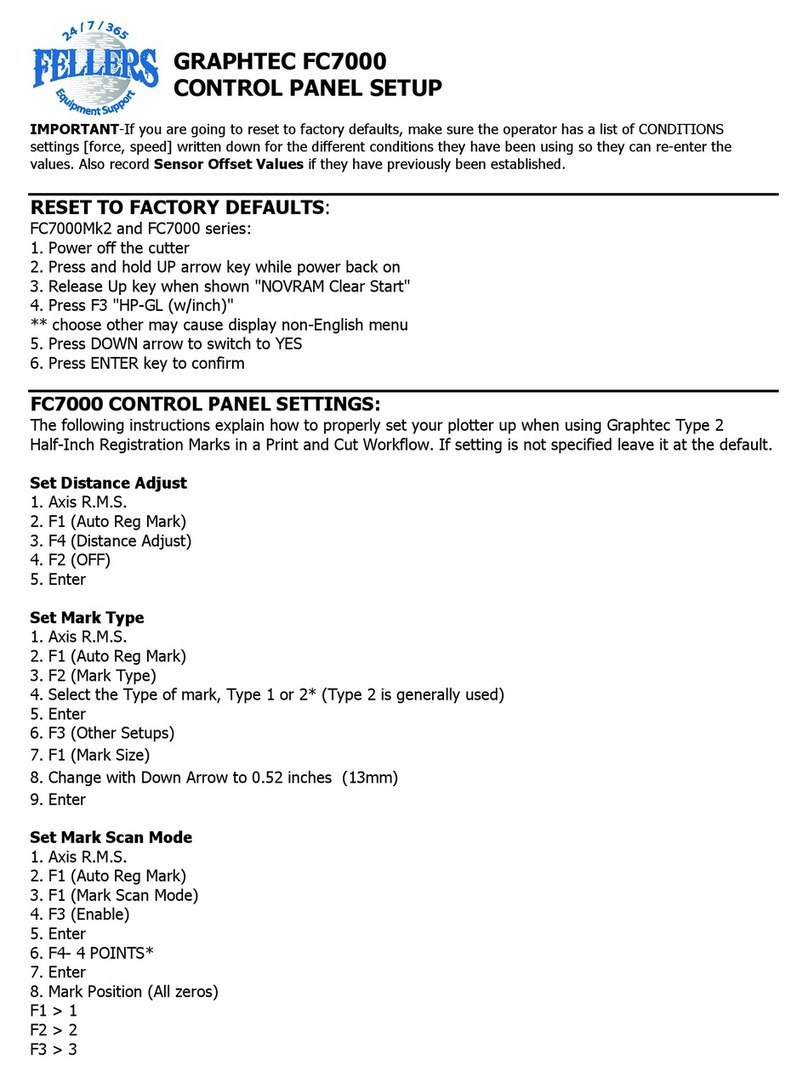
GRAPHTEC FC9000 Series User guide

SETUP MANUAL
This manual provides the setup procedure. For details on
each function, refer to the instruction manual (PDF) in the
supplied DVD.
Checking the Accessories
Please check that all the accessories are complete. If you
find any accessories missing, please contact the distributor
where you purchased or our customer center immediately.
Accessories
* In addition, various information may be attached.
* Accessories may vary depending on the sales area.
* For details, please contact the distributor where you purchased.
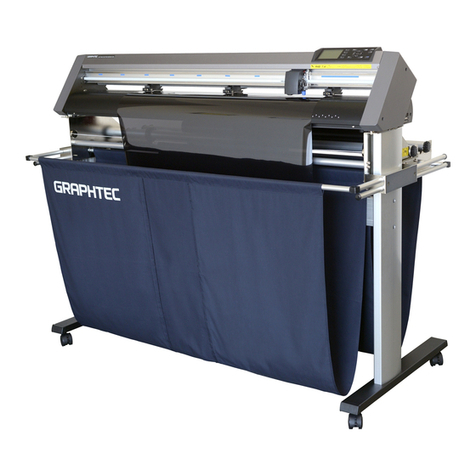
Dedicated accessories
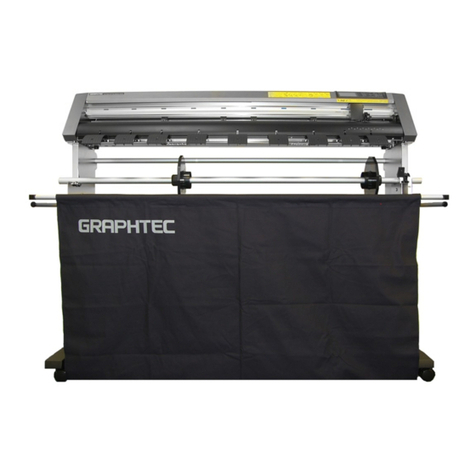
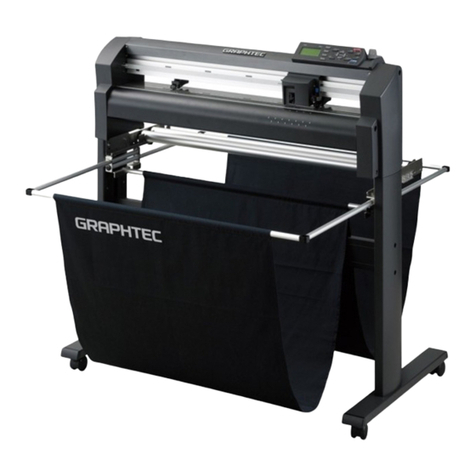
A stand (with a basket) is supplied.
* Dedicated accessories may be different.
Installing driver/software
The latest driver / software version and installation
instructions are available at:
http://www.graphteccorp.com/support/index.html
Please download it if necessary.
•Windows driver (Do not connect the computer to the cutting
plotter before installing.)
•Graphtec Pro Studio (Windows)
•Cutting Master 4 (Windows/Mac)
•Graphtec Studio (Mac)
Connecting to the Power
Make sure that the power switch is off (O side), and make a
connection between the power connector of the cutting
plotter and the AC outlet of specified voltage using the
supplied power cable.
Initial setup screen
The initial setup screen is displayed only when the power is
first turned on. Then select "DISPLAY LANGUAGE" and
"LENGTH UNIT". When the power switch is turned on
(I side), a message is displayed after displaying the version.
Select a language (English) and press the [ENTER] key.
Select the length unit and press the [ENTER] key.
It will return to default screen.
DVD (Various software
/ User's Manual [pdf]) 1 pc.
SETUP MANUAL, TO ENSURE SAFE AND
CORRECT USE, Cutter Blade Manual 1 of each
Cutter plunger (PHP33-CB09N-HS)
1 pc. Cutter blades (CB09UB [1P]) 1 pc.
Water-based fiber pen adapter (PHP31-FIBER)
(Plunger/Height adjustment tool.) 1 set
Water-based fiber pen (KF700-BK [1P])
1 pc.
Cutter blade adjustment magnifier
(PM-CT-001) 1 pc.
Software Activation Code 1 sht.
Flange set (OPH-A21) 1 set
Power cable 1 pc. USB cable 1 pc.
Aligning the push roller
Lower the media set lever to raise the push rollers. Adjust the
left and right push roller positions according to the width of
the media. Use the roller position guide to place the push
rollers on both ends of the media and the right push roller on
the rightmost wide grit roller.
For models with three or more push rollers, place the push
rollers other than both ends on the grit roller.
<Example of model with three push rollers>
Push roller’s hold-down force
In models with a push roller’s hold-down force switching
mechanism, make the left and right push roller’s hold-down
force equal. For details on the each push roller’s force
setting, refer to the instruction manual.
When narrow media (160 mm or less) is used
Use the rightmost wide grit roller to set the media on the
media sensor.
Connection to computer
Make a connection between the cutting plotter and the
computer using your interface cable. The available interface
is USB/Network/RS-232C (It depends on the sales area.).
* Please install driver before connecting.
Preparation of cutter plunger
Set the cutter blade in the cutter plunger and then use it with
the cutter plotter. Set the cutter blade in the cutter plunger
according to the instruction manual supplied with the cutter
plunger.
Adjusting the blade length
Refer to the instruction manual supplied with the cutter
plunger and adjust the blade length according to the media.
When a general cutting sheet is used, the blade length that is
shorter than the combined thickness of film and backing
sheet and longer than the thickness of film is optimal. When
using the thin media such as a film, adjust the blade length
using the supplied loupe. (Refer to User’s Manual.)
For models with three or more push rollers, use the two push
rollers on the right side to set "MENU" - "ADVANCE" -
"MEDIA WIDTH" to "NARROW".
Attaching a Tool
Loosen the screw of the tool holder and push the tool
(plunger) completely until it touches the top surface of tool
holder while pushing up the tool holder up. Make sure that
the bracket is engaged on the tool's flange, and then tighten
the screw.
Network (LAN) cable
(Commercially available product)
USB cable (Accessories)
RS-232C cable (commercially available product)
(9-pin female - 9-pin female straight connected cable)
GOOD NG
Tool holderFlangeBracket to hold tool
Tool holder
(Backward: Half cutting
/Plotting Pen)
Tool holder
(Forward: Using
cutting)
FlangeBracket to hold tool
Media set lever
Grit roller
Push roller
position guide
Push roller
Push roller
Media
Grit roller
Media sensor
Set the third and subsequent push rollers to Low hold-down
force, and do not place them on the grit roller.
<Example of model with three push rollers>
Push roller
Media
Grit roller
Media sensor
Hold-down force
Low Hold-down force
Medium Hold-down force
Strong
Grit roller Push roller
Media sensor
Media
Backing Sheet
Film
Optimal blade length
Film thickness
Media set selection
Load the media, raise the media set lever, and lower the
push roller. Select the media type according to the set media
type.
Cutting condition setting
Press the "COND/TEST" key and set the cutting conditions.
TOOL, OFFSET, SPEED, FORCE and ACCELERATION are
included in the setting items. For details on each setting item,
refer to the USER’S MANUAL.
Check the result of the test cut and adjust the SPEED,
FORCE and ACCELERATION to the optimum value. When a
general cutting media is used, set to a value that will cause a
thin scratch on the backing sheet.
Cutting test
Press the [◀] key on the CONDITION setting screen to start
a test cut.
Data output
The data is output from application and media is cut.
How to check offset
Check if the offset value is set correctly by following.
The corners are rounded:
Not enough adjustment. Increase the offset
value.
The corner is cut cleanly:
Optimal offset value.
The corner is sticking out like the mustache:
Too much adjustment. Decrease the offset
value.
ROLL-1 FRONT EDGE:
The media is cut from the front edge. The media width
and front edge are detected.
ROLL-2 CURRENT POSITION:
The media is cut from the set position. Only the media
width is detected.
SHEET:
The sheet media is cut. The media width, front edge and
back edge of sheet media are detected.
CONTINUE:
This is displayed when the media set lever is raised and
lowered again after loading the media once. The previous
plotting/cutting range and tool position are maintained.
After the media is detected, the Ready screen is displayed.
1
2
3
4

Other manuals for FC9000 Series

2

Other GRAPHTEC Plotter manuals

GRAPHTEC FC8000-60 User manual

GRAPHTEC

GRAPHTEC FC8000-60 User manual

GRAPHTEC FC8600 SERIES User guide

GRAPHTEC

GRAPHTEC FC8600 SERIES User guide

GRAPHTEC FC7000 Series Manual

GRAPHTEC

GRAPHTEC FC7000 Series Manual

GRAPHTEC CE7000 Series User manual

GRAPHTEC

GRAPHTEC CE7000 Series User manual

GRAPHTEC FC9000 Series User guide

GRAPHTEC

GRAPHTEC FC9000 Series User guide

GRAPHTEC MP303-04 User manual

GRAPHTEC

GRAPHTEC MP303-04 User manual

GRAPHTEC CE7000-40 User manual

GRAPHTEC

GRAPHTEC CE7000-40 User manual

GRAPHTEC FC8000 Series User manual

GRAPHTEC

GRAPHTEC FC8000 Series User manual

GRAPHTEC CE7000-130AP User manual

GRAPHTEC

GRAPHTEC CE7000-130AP User manual

GRAPHTEC FC3100-120 User manual

GRAPHTEC

GRAPHTEC FC3100-120 User manual

GRAPHTEC CE5000-120AP User manual

GRAPHTEC

GRAPHTEC CE5000-120AP User manual

GRAPHTEC FCX4000 SERIES User guide

GRAPHTEC

GRAPHTEC FCX4000 SERIES User guide

GRAPHTEC FC4200-50 User manual

GRAPHTEC

GRAPHTEC FC4200-50 User manual

GRAPHTEC FC2250 Series User manual

GRAPHTEC

GRAPHTEC FC2250 Series User manual

GRAPHTEC FC4500 User manual

GRAPHTEC

GRAPHTEC FC4500 User manual

GRAPHTEC CE6000 SERIES User manual

GRAPHTEC

GRAPHTEC CE6000 SERIES User manual

GRAPHTEC FC9000-75 User manual

GRAPHTEC

GRAPHTEC FC9000-75 User manual

GRAPHTEC CE2000-60 User manual

GRAPHTEC

GRAPHTEC CE2000-60 User manual

GRAPHTEC CE5000 SERIES User manual

GRAPHTEC

GRAPHTEC CE5000 SERIES User manual

GRAPHTEC LABERLROBO DLC1000 User manual

GRAPHTEC

GRAPHTEC LABERLROBO DLC1000 User manual

GRAPHTEC FC7000 Series User manual

GRAPHTEC

GRAPHTEC FC7000 Series User manual

GRAPHTEC CE6000 SERIES User manual

GRAPHTEC

GRAPHTEC CE6000 SERIES User manual

GRAPHTEC Craft ROBO CC200 User manual

GRAPHTEC

GRAPHTEC Craft ROBO CC200 User manual

GRAPHTEC FCX2000 SERIES User guide

GRAPHTEC

GRAPHTEC FCX2000 SERIES User guide

Popular Plotter manuals by other brands

TE Connectivity AMS600 operating instructions

TE Connectivity

TE Connectivity AMS600 operating instructions

HP C2858A Service manual

HP

HP C2858A Service manual

Epson Stylus Pro 4880 Portrait Edition Guide

Epson

Epson Stylus Pro 4880 Portrait Edition Guide

Vinyl Express Qe60 user manual

Vinyl Express

Vinyl Express Qe60 user manual

CONTACLIP EMS-3eco operating instructions

CONTACLIP

CONTACLIP EMS-3eco operating instructions

MIMAKI CF3-1631 Operation manual

MIMAKI

MIMAKI CF3-1631 Operation manual

Canon iPF800 Series Service manual

Canon

Canon iPF800 Series Service manual

Anhui Liyu Computer Equipment Manufacturing TC Series user manual

Anhui Liyu Computer Equipment Manufacturing

Anhui Liyu Computer Equipment Manufacturing TC Series user manual

SignWarehouse.com Enduracut user guide

SignWarehouse.com

SignWarehouse.com Enduracut user guide

Summa TRAY ONE user manual

Summa

Summa TRAY ONE user manual

Evil Mad Scientist axidraw user guide

Evil Mad Scientist

Evil Mad Scientist axidraw user guide

MUTOH SC-PRO Important installation information

MUTOH

MUTOH SC-PRO Important installation information

US Cutter ZENCUT Black user manual

US Cutter

US Cutter ZENCUT Black user manual

Roland LEC-300 user manual

Roland

Roland LEC-300 user manual

Ioline Summit Service manual

Ioline

Ioline Summit Service manual

HP 7470A Interfacing and programming manual

HP

HP 7470A Interfacing and programming manual

HP 7470A Operator's manual

HP

HP 7470A Operator's manual

Vulcan-Hart FC-500VC Quick setup guide

Vulcan-Hart

Vulcan-Hart FC-500VC Quick setup guide

manuals.online logo
manuals.online logoBrands
  • About & Mission
  • Contact us
  • Privacy Policy
  • Terms and Conditions

Copyright 2025 Manuals.Online. All Rights Reserved.