- 8 -
IMPORTANT CONSUMER INFORMATION
Do not use harsh abrasives or caustic cleansers to clean fixture surface. A mild detergent, warm water, and a soft cloth will
remove normal dirt and soap accumulations from fittings and surfaces. Rinse thoroughly after cleaning and polish with a soft
dry cloth to restore original luster of material.
Do not bump the ceramic with great force to prevent it from damaging and leaking.
Do not use the product in the water below 0°C.
If the water level in the tank is less than the standard, it will affect the flushing effect.
When the water pressure is big, please turn the inlet valve down suitably, otherwise the water supply hose will drop down.
If you live in a hard water area, make certain that the holes in the toilet rim are kept clean to ensure proper bowl flushing. Toilet
leaners should be used at least once a week. Use a long-hardled brush to clean the rim holes, and to clean as far into the trap
as possible to prevent mineral deposits from forming.
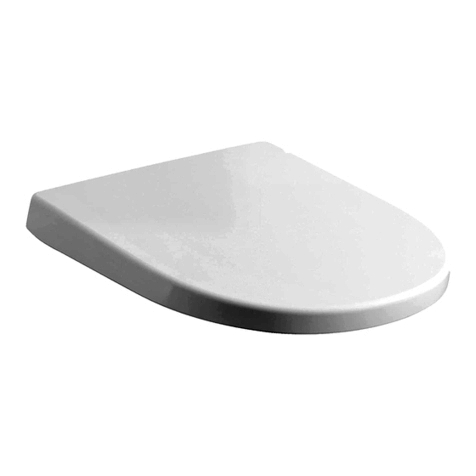
Install the seat & cover according to seat & cover user manual.
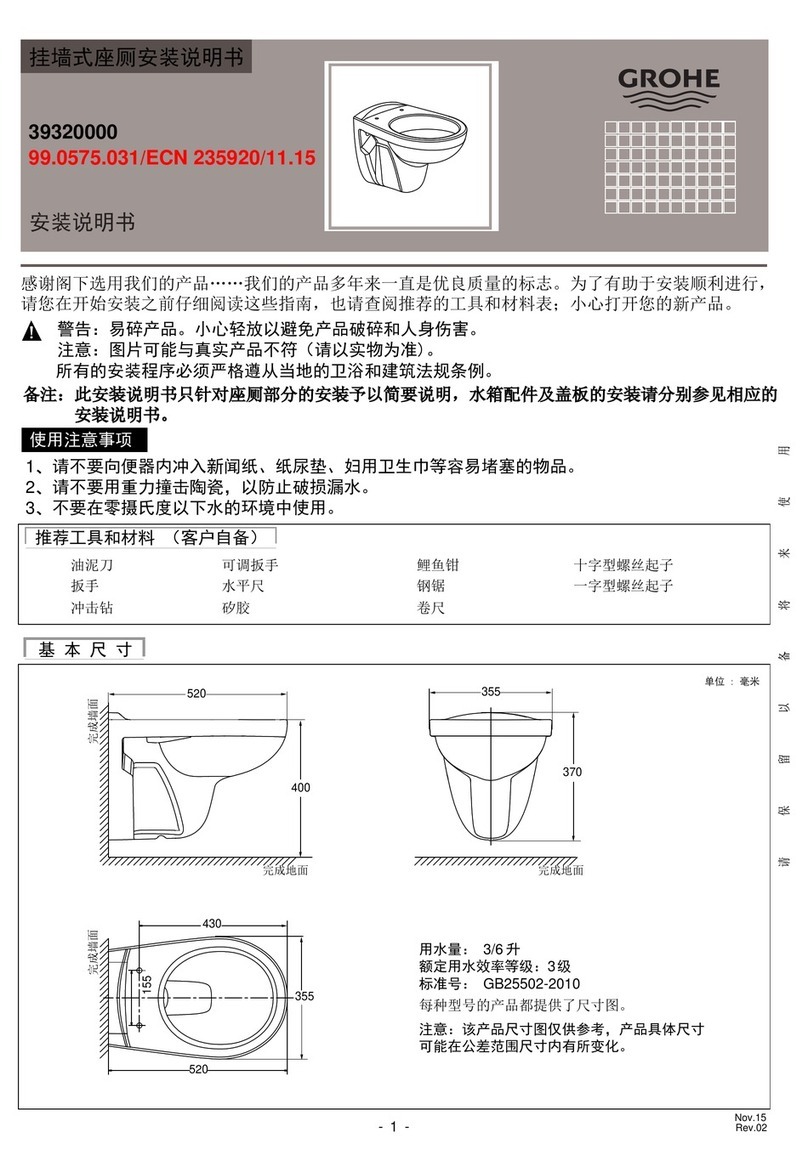
Dimensioning diagrams are provided for each model. DImensions are nominal and may vary within the range of manufacturing
tolerance.
Do not use cleansers in tank. Products containing chlorine (calcium hypochlorite) can seriously damage fittings
inthe tank. This damage can cause eakage and property damage. Grohe shall not be responsible or liable for any
tank fitting damage caused by the use of cleaners containing chlorine (calcium hypochlorite).
Please do not use hard materials(like scouring pad)to clean product surface, especially the product logo.
Please leave more than 24 hours for concretion.
Thank you for selecting our products, products which have been the benchmarks of fine quality for years. To help ensure that the
installation process will proceed smoothly, please read these instructions carefully before you begin. Also, review the recommended
tools and materials list; carefully unpack and examine your new plumbing fixture.
Grohe Company always execute the policy of unceasingly enhancing and improving its product’s design and performance.
We reserve the right to make any changes on product specifications, packaging and availability at any time without prior notice.
BEFORE YOU BEGIN
This guide is used for installation and used for reference and the product in kind prevail.
All the installation program must strictly comply with local bathroom and buliding regulation.
PREPARATION
Carefully check and inspect your new product if it is in good condition and accessories are completed.
In order to install properly, please refer to product dimensions and check installation dimensions.
If you have an old toilet, please turn off the water first, then remove the old toilet and clean the ground. If you are install a new
toilet, please turn off the water and clean the ground.
The length of supply hose can not less than 450mm.
If not install the new toilet immediately, please block the waste pipe with clean items, that is in order to prevent something fall
into the waste pipe.
The ground should be smoothly, otherwise, it may be cracking after install the toilet.
The unit is millimeter by default, if the drawings are not indicate.
This installation manual is only for installing the ceramic parts. For the tank trim or seat & cover installing, please refer to relative
manual.
WARNING: FRAGILE PRODUCTS, HANDLE CAREFULLY.
WARNING: USING CEMENT TO FIX THE TOILET IS PROHIBITED.
The components which is mark with imaginary line are installed in the drawings.
Water efficiency reference sheet, standard: GB25502-2010
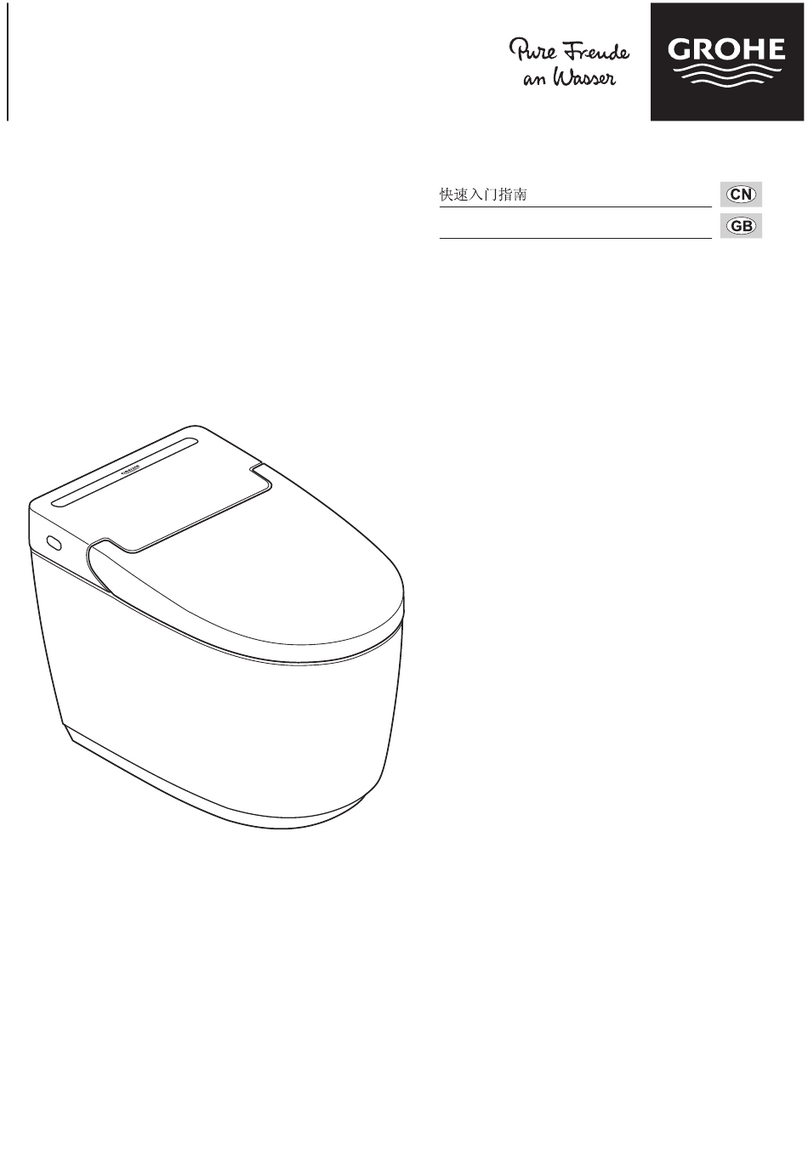
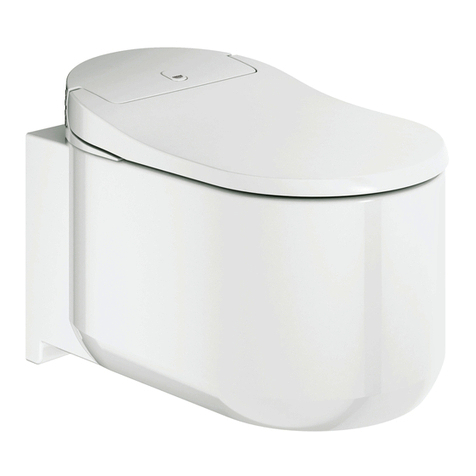
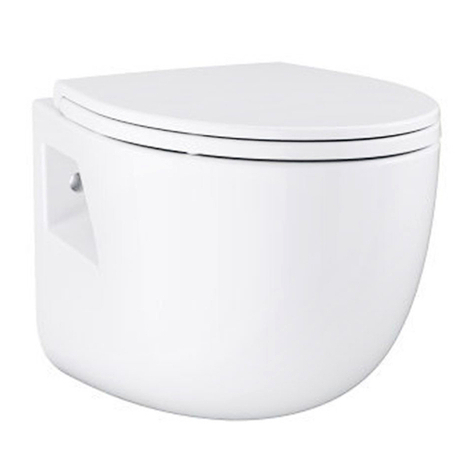
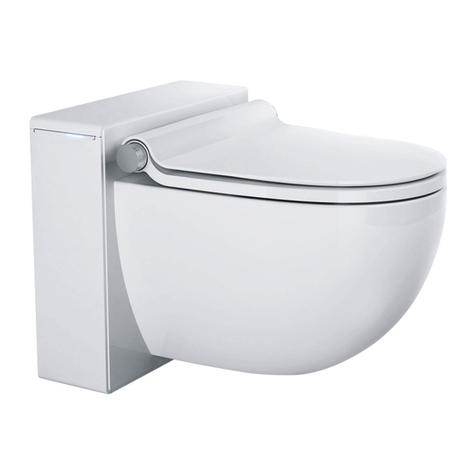
39075001, Water per flush: 3/4.8 L, Water efficiency grades: 2 Grade.
39310000, Water per flush: 3/4.8 L, Water efficiency grades: 2 Grade.
39119001, Water per flush: 3.5/5 L, Water efficiency grades: 2 Grade.

