manuals.online logo
Brands
  1. Home
  2. •
  3. Brands
  4. •
  5. Growatt
  6. •
  7. Inverter
  8. •
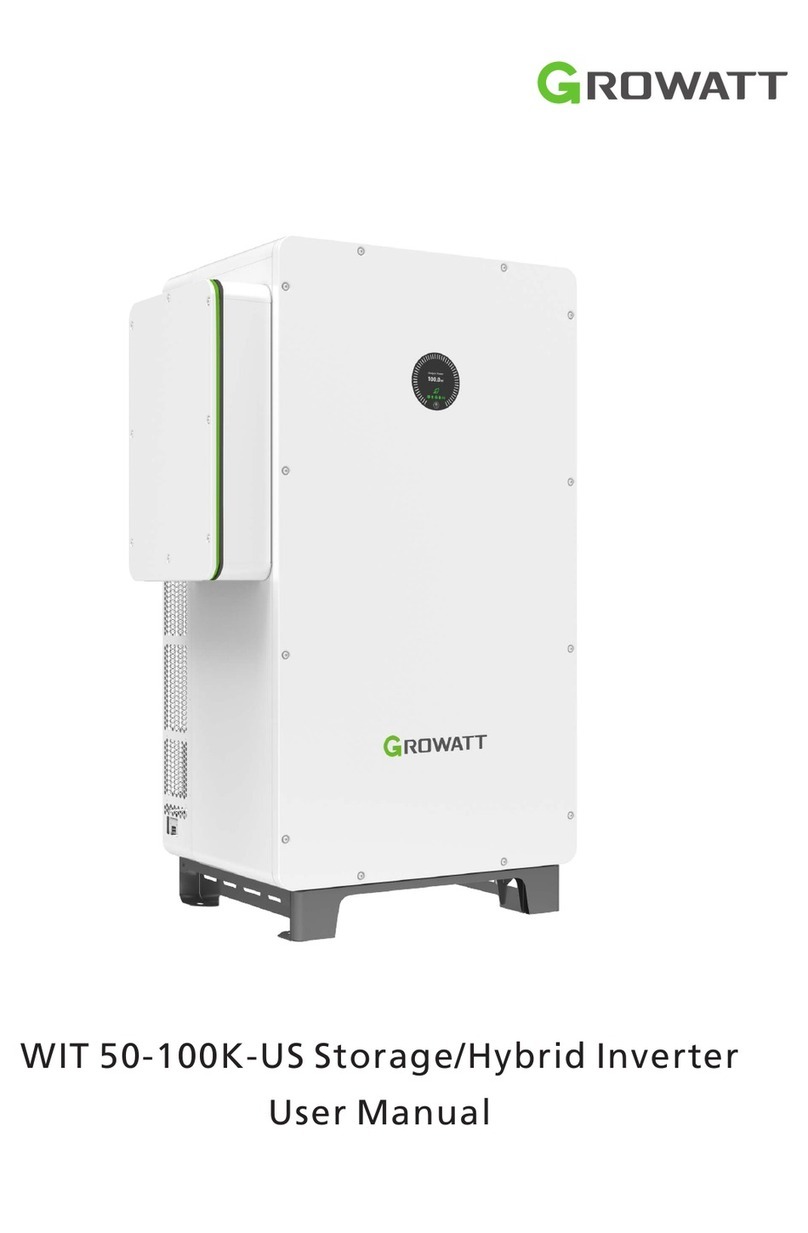
  9. Growatt WIT 50-100K-A-US User manual

Growatt WIT 50-100K-A-US User manual

1. The content of this document is continually reviewed and amended, where necessary. Growatt reserves the right to make changes to the
material at any time and without notice. Unless otherwise agreed, this document is for quick installation guidance only. All information and
suggestions in this document do not constitute a warranty of any kind, express or implied. Growatt reserves all rights for final explanation.
2. This document is for quick installation guidance only. For details, please refer to the User Manual.
3. Machine damage caused by failure to follow the instructions is not covered under any warranty.
Please prepare the cables listed below before electrical connections.
123
4
WIT 50-100K-A-US Quick Guide
Ensure that the ground point on
the enclosure base has been
reliably connected to the on-site
ground busbar.
Once the cable connections
are complete, check if the
cable feed-through pipes
and cables are secured in
place, and finally lock the
AC junction box cover.
5
1.
Overview
(12) BMS power supply port
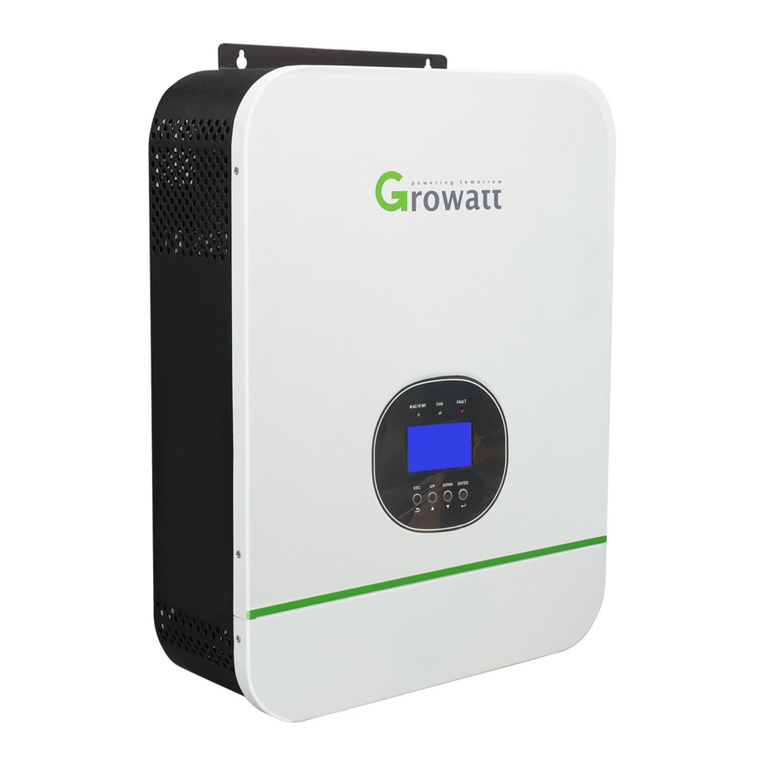
(1) Front panel (2) OLED display screen (3) Battery status indicator (4) Push button
(9) Communication port
(5) System indicator
(6) BMS communication port (7) Parallel communication port (8) Monitor communication port
(10) Network communication port (11) Battery terminal
Note:
2.
Installation
System overview
2.1 Installation requirements 2.2 Floor-mounted installation
3.
Connecting cables
3.1 Grounding 3.2 GRID and LOAD side cable connection
Note:
Note:
Note:
Note:
234
5
100.0K W
Output Power
114
Unit: inch 1
4 in
Φ0.47 in
2.76 in
When drilling holes,
avoid the water pipes
and power cables buried
under the ground.
23
Note:
Unit: inch
4 in
6 7 8 11 12
910
BAT
40 in
40 in
40 in
40 in
15.73 in
22.62 in
13
(13) AC terminal
(14) Base
1. When determining the installation position of the inverter, please consider the position of the batteries and the distribution panel.
2. For export limitation, you are advised to connect an energy meter and current transformers to the inverter.
No.
Cable
Type
Recommended
specifications
1
Grounding cable
A multiple-core copper cable (yellow and
green)
1AWG
2
Grid cable
A multi-core copper cable
2/0AWG-400kcmil
3
Battery power supply cable
A single-core copper cable (red and black)
1AWG
4
BMS power supply cable
A multi-core copper cable
20AWG-14AWG
5
Other communication cable
RS485
/
1. If the diameter of the cable
does not match the terminal,
please contact our after-sales
personnel.
2. The current carrying capacity
of cables should comply with
locally applicable regulations.
BAT
Phone
PCS
AC
AC
Breaker
Load
Meter
T
Grid
Number
Checking item
Number
Checking item
1
The storage inverter is installed correctly and reliably.
2
Ground cables are connected securely.
3
All cables are connected correctly and securely.
4
The cover of the AC junction box is secured.
5
All the unused connectors are sealed.
6
The right panel is closed and secured.
7
Put away the unused accessories.
8
The installation position is clean and tidy.
Before power-on, please make sure all the voltage and current are within the specified range. Otherwise it will cause damage to the hybrid
inverter.
Perform the following steps to power on the system:
1.Turn on the breaker between the grid and the inverter.
2.Turn on the breaker between the battery and the inverter, then turn on the switch on the battery.
3.The system will be powered on automatically when all the requirements are met.
To shut down the system, you need to send a shutdown command on the APP or website. Wait until the system is completely powered off,
then turn off the switches in reverse order.
GR-UM-385-A-00
Download
Manual
2
Parallel communication port
3.5.6 Communication module installation
A
B
C
D
E
F
G
H
I
3.3 Connection on the battery side
1
3.3.1 Connecting the battery power cable
Monitor communication port
Note:
1. Before installing the battery terminals, please ensure that the battery input voltage and current are within the acceptable range.
2. When installing battery terminals, identify the positive and negative terminals and connect them to the inverter according to the color
convention.
3. When connecting the terminals, ensure that you hear a "click" sound. Please gently pull back the battery cables to ensure a secure
connection.
234
3.4 Communication cable installation
BMS communication port
4.
Post-installation check
3.5.6 Communication module installation
5.
Powering on/off the inverter
Note:
3.5.6 Communication module installation
6.
Description of the display panel
Indicator
Function
Indicator
Function
A
OLED display screen
F
Battery connection indicator
B
System indicator
G
Communication indicator
C
PV indicator
H
Battery status indicator
D
On-grid indicator
I
Push button
E
Off-grid indicator
31
BMS Communication port
description(BMS-COM)
No.
Description
No.
Description
1
Wakeup+
6
CAN_L
2
Wakeup-
7
CAN.GND
3
RS485A3
8
DI1
4
RS485B3
9
DI2
5
CAN_H
16
PE
Parallel communication port
description(COM2)
No.
Description
No.
Description
1
24V.S
16
CAN2_H(OUT)
2
GND.S
17
CAN2_L(OUT)
3
CAN1_H (IN)
18
RS485_1A (OUT)
4
CAN1_L (IN)
19
RS485_1B (OUT)
5
GND.S
20
PE
6
CAN2_H(IN)
21
RS485_5A (IN)
7
CAN2_L(IN)
22
RS485_5B (IN)
8
RS485_1A (IN)
23
RS485_5A (OUT)
9
RS485_1B (IN)
24
RS485_5B (OUT)
10
PE
25
RS485_4A (IN)
11
24V.S
26
RS485_4B (IN)
12
GND.S
27
RS485_4A (OUT)
13
CAN1_H (OUT)
28
RS485_4B (OUT)
14
CAN1_L (OUT)
29
NA
15
GND.S
30
NA
Follow the installation steps:
1. Remove the waterproof cover from
the network communication port.
2. Insert a network cable into the port
and tighten the protective cover.
Monitor communication port description
(COM1)
No.
Description
No.
Description
1
PCS_RS485A_4
9
RS485B2 (OUT)
2
PCS_RS485B_4
10
Res_RS4851B
3
RS485A1(IN)
11
PE
4
RS485B1(IN)
12
REPO1
5
Res_RS4851A
13
REPO2
6
RS485A2 (IN)
14
DO1
7
RS485B2 (IN)
15
DO2
8
RS485A2 (OUT)
16
PE
Network communication port
3.5.6 Communication module installation
7.
Service and contact
3.4.1 Installing the antenna
Please follow the steps
below:
1. Remove the antenna
dust cap or the protective
cover from the network
port.
2. Install the antenna as
shown in the diagram.
3. Connect the antenna to
the inverter correctly and
tighten it.
Growatt USA, Inc
9227 Reseda Blvd, #435 Northridge, CA 91324, USA.
+1-866-686-0298
us.growatt.com
T
E usaservice@ginverter.com
W
0.71-0.79 in
c l i c k
3.3.2 Connecting the BMS power supply cable
BMS power supply port
description
Label
Definition
L
L1
N
L2
PE
PE
12
Ensure that the BMS
cable and the battery
cables are properly
connected, then install
the battery terminal
protector and tighten
the screws.
Other Growatt Inverter manuals

Growatt SPF 3500 ES User manual

Growatt

Growatt SPF 3500 ES User manual

Growatt SPH TL BL-UP Series User manual

Growatt

Growatt SPH TL BL-UP Series User manual

Growatt MID 17-40KTL3-X User manual

Growatt

Growatt MID 17-40KTL3-X User manual

Growatt SPA 1000TL BL User manual

Growatt

Growatt SPA 1000TL BL User manual

Growatt 10000UE User manual

Growatt

Growatt 10000UE User manual

Growatt CP100 User manual

Growatt

Growatt CP100 User manual

Growatt MAC 60KTL3-X LV User manual

Growatt

Growatt MAC 60KTL3-X LV User manual

Growatt SPF 4KT HVM User manual

Growatt

Growatt SPF 4KT HVM User manual

Growatt SPF 4KT HVM User manual

Growatt

Growatt SPF 4KT HVM User manual

Growatt TL3-X Series User manual

Growatt

Growatt TL3-X Series User manual

Growatt SPF 4000T DVM User manual

Growatt

Growatt SPF 4000T DVM User manual

Growatt Grid User manual

Growatt

Growatt Grid User manual

Growatt MOD TL3-XA Series User manual

Growatt

Growatt MOD TL3-XA Series User manual

Growatt MIN 2500TL-XH User manual

Growatt

Growatt MIN 2500TL-XH User manual

Growatt 2000-US User manual

Growatt

Growatt 2000-US User manual

Growatt SPF3000 User manual

Growatt

Growatt SPF3000 User manual

Growatt MID 1 7 KTL3-X1 User manual

Growatt

Growatt MID 1 7 KTL3-X1 User manual

Growatt MID 11-30KTL3-XH User manual

Growatt

Growatt MID 11-30KTL3-XH User manual

Growatt MID TL3-XH Series User manual

Growatt

Growatt MID TL3-XH Series User manual

Growatt MIC 600-3300TL-X User manual

Growatt

Growatt MIC 600-3300TL-X User manual

Growatt MOD 3000TL3-XH User manual

Growatt

Growatt MOD 3000TL3-XH User manual

Growatt SPF 3500TL LVM-US User manual

Growatt

Growatt SPF 3500TL LVM-US User manual

Growatt MTL-S User manual

Growatt

Growatt MTL-S User manual

Growatt Growatt 2500MTL-S User manual

Growatt

Growatt Growatt 2500MTL-S User manual

Popular Inverter manuals by other brands

OLiPower BRE-I-5K user manual

OLiPower

OLiPower BRE-I-5K user manual

bauhaus SUN-5K-SG04LP3-EU manual

bauhaus

bauhaus SUN-5K-SG04LP3-EU manual

Xantrex 1200, 1750 owner's guide

Xantrex

Xantrex 1200, 1750 owner's guide

XTline XT103160 user manual

XTline

XTline XT103160 user manual

Rentech Jaguar 1.2K user manual

Rentech

Rentech Jaguar 1.2K user manual

Jarol JAC300 Series manual

Jarol

Jarol JAC300 Series manual

Philips PM 5326 instruction manual

Philips

Philips PM 5326 instruction manual

FujiFilm SOLAR FU-SUN-6K-LV user manual

FujiFilm

FujiFilm SOLAR FU-SUN-6K-LV user manual

Onan 6GO-F instruction manual

Onan

Onan 6GO-F instruction manual

Rotex Solaris RPS3 P2 OPERATING AND INSTALLATION Manual

Rotex

Rotex Solaris RPS3 P2 OPERATING AND INSTALLATION Manual

Nidec Leroy-Somer Gearlec Series Installation and Maintenance

Nidec

Nidec Leroy-Somer Gearlec Series Installation and Maintenance

Coleman PMP3000 Series owner's manual

Coleman

Coleman PMP3000 Series owner's manual

Zeversolar Zeverlution S Setup guide

Zeversolar

Zeversolar Zeverlution S Setup guide

CHINT NVF2G-S Series user guide

CHINT

CHINT NVF2G-S Series user guide

Orbit BEHLMAN INV 1210 User's guide and technical reference manual

Orbit

Orbit BEHLMAN INV 1210 User's guide and technical reference manual

Huawei SmartPSB2000L quick guide

Huawei

Huawei SmartPSB2000L quick guide

Hyundai HG2201-A Original instructions

Hyundai

Hyundai HG2201-A Original instructions

Coleman Powermate PM402511 owner's manual

Coleman

Coleman Powermate PM402511 owner's manual

manuals.online logo
manuals.online logoBrands
  • About & Mission
  • Contact us
  • Privacy Policy
  • Terms and Conditions

Copyright 2025 Manuals.Online. All Rights Reserved.