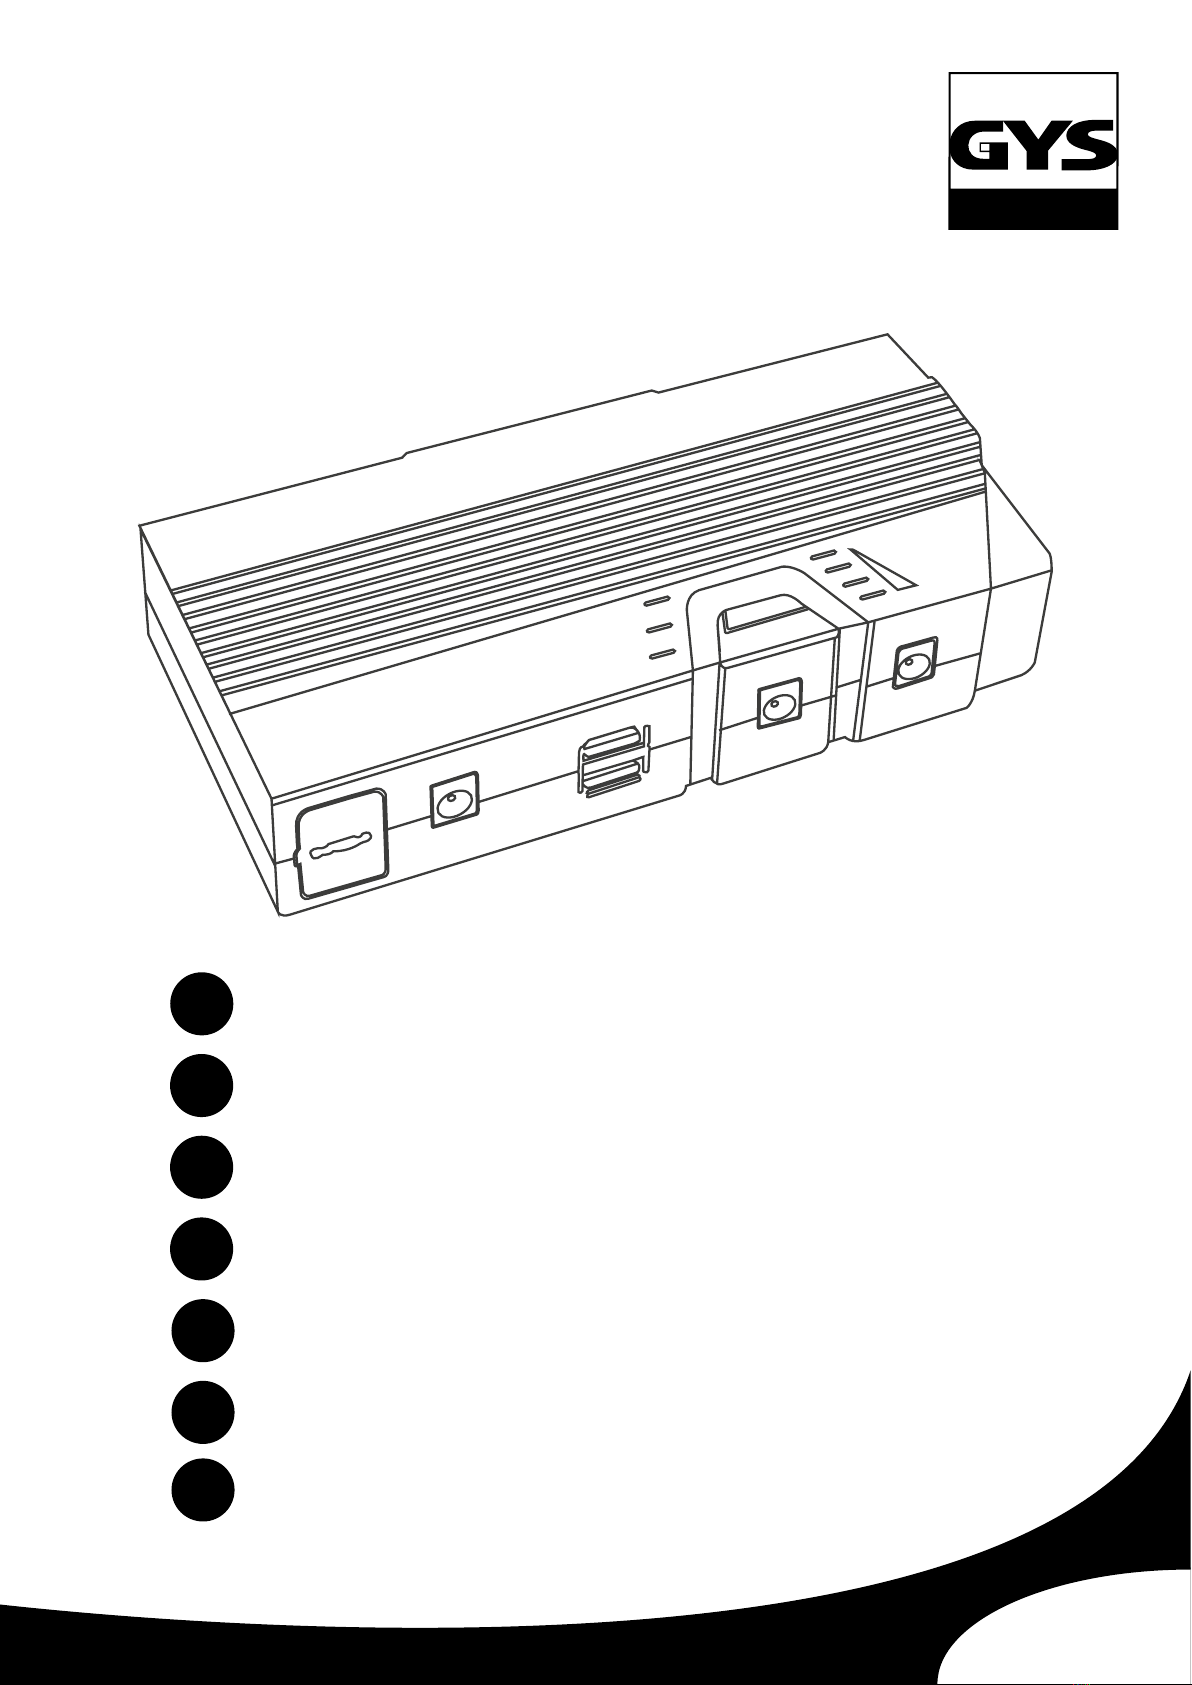
3
NOMAD POWER 15 AIR FR
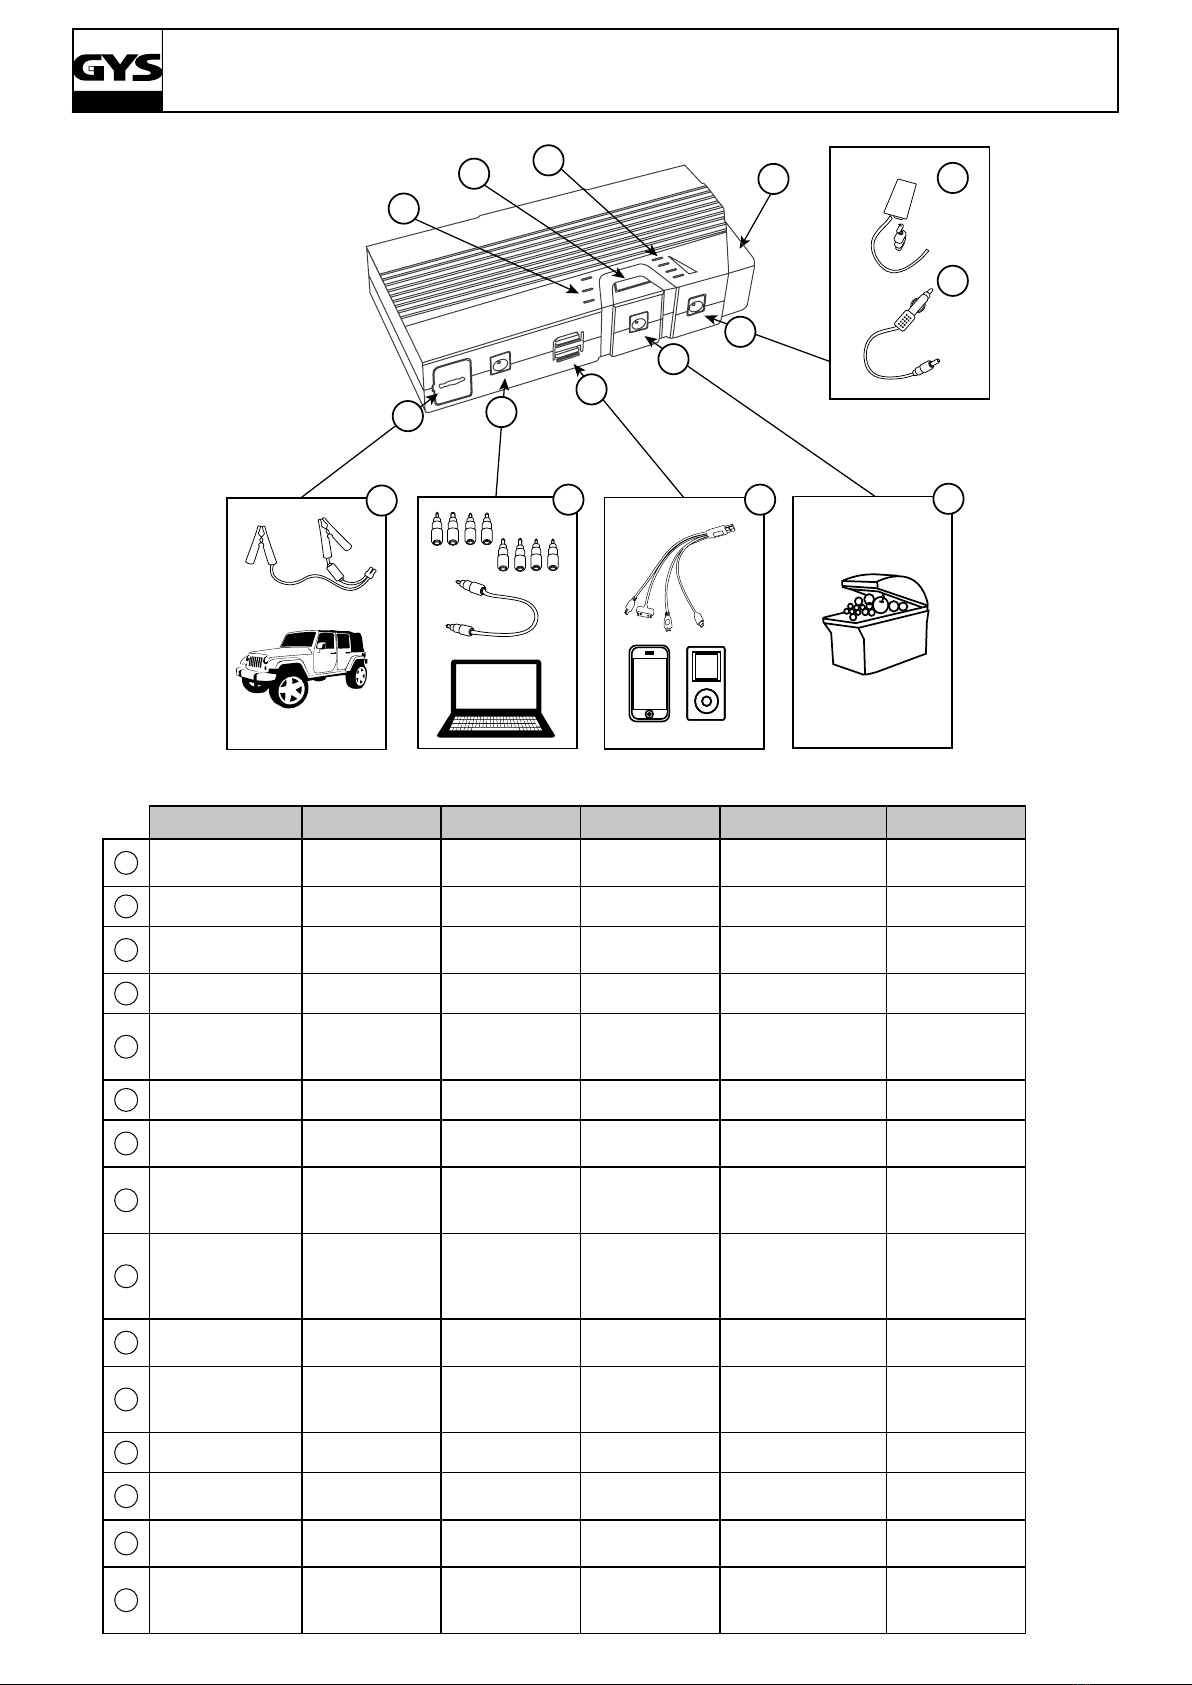
Ce manuel d’utilisation comprend des indications sur le fonctionnement de votre appareil et les précautions à suivre pour votre sécu-
rité. Merci de le lire attentivement avant première utilisation et de le conserver soigneusement pour toute relecture future.
INSTRUCTIONS DE SÉCURITÉ
Ce manuel d’utilisation comprend des indications sur le fonctionnement
de votre appareil et les précautions à suivre pour votre sécurité.
Merci de le lire attentivement avant la première utilisation et de le
conserver soigneusement pour toute relecture future.
Ces instructions doivent être lues et bien comprises avant toute opération.
Toute modification ou maintenance non indiquée dans le manuel ne
doit pas être entreprise.
Tout dommage corporel ou matériel dû à une utilisation non-conforme
aux instructions de ce manuel ne pourra être retenu à la charge du
fabricant.
En cas de problème ou d’incertitude, veuillez consulter une personne
qualifiée pour manier correctement l’appareil.
Cet appareil doit être utilisé uniquement pour faire du démarrage dans
les limites indiquées sur l’appareil et le manuel. Il faut respecter les
instructions relatives à la sécurité. En cas d’utilisation inadéquate ou
dangereuse, le fabricant ne pourra être tenu responsable.
Cet appareil peut être utilisé par des enfants âgés d’au moins 8 ans
et par des personnes ayant des capacités physiques, sensorielles ou
mentales réduites ou dénuées d’expérience ou de connaissance, s’ils
(si elles) sont correctement surveillé(e)s ou si des instructions relatives à
l’utilisation de l’appareil en toute sécurité leur ont été données et si les
risques encourus ont été appréhendés. Les enfants ne doivent pas jouer
avec l’appareil. Le nettoyage et l’entretien par l’usager ne doivent pas
être effectués par des enfants sans surveillance.
A n’utiliser en aucun cas pour charger des piles ou des batteries non-
rechargeables.
Ne jamais charger une batterie gelée ou endommagée.
Ne pas couvrir l’appareil.
Ne pas placer le l’appareil à proximité d’une source de chaleur et à
des températures durablement élevées (supérieurs à 50°C).
Le mode de fonctionnement automatique ainsi que les restrictions
applicables à l’utilisation sont expliqués ci-après dans ce mode d’emploi.
Appareil de classe III.
• N’utiliser en aucun cas des solvants ou autres produits nettoyants
agressifs.
• Nettoyer les surfaces de l’appareil à l’aide d’un chiffon sec.
Réglementation :
• Appareil conforme aux directives européennes.