GYS GYSMATIC TRUECOLOR 9.13 User manual
Other GYS Welding Accessories manuals

GYS
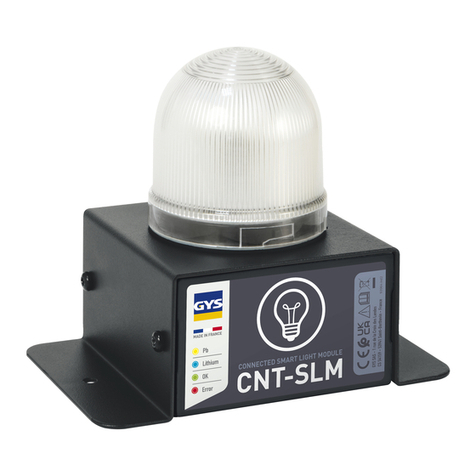
GYS SMART LIGHT MODULE User manual

GYS
GYS GYSMATIC 9/13 XL User manual

GYS
GYS TF 4R User manual
GYS
GYS SMART LIGHT MODULE User manual

GYS
GYS LCD Fireman 9/13 True Color User manual
GYS
GYS ERGOTECH LCD 5.9 TRUE COLOR User manual

GYS
GYS LCD 11 SPACE TRUECOLOR User manual

GYS
GYS Apollo 5-9 Truecolor User manual
GYS
GYS GYSMATIC 5/13 AIR TC XXL User manual

GYS
GYS GYSFLASH User manual
GYS
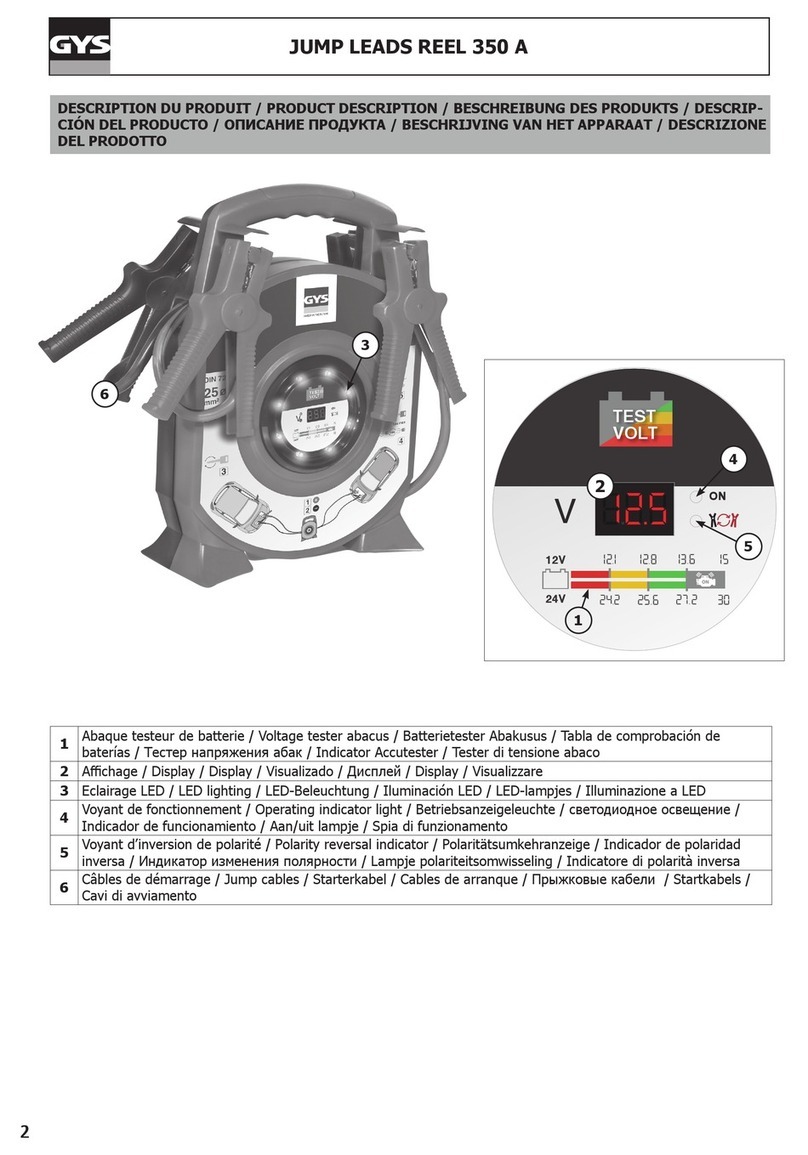
GYS 350 A User manual

GYS
GYS WELDING BOOTH Installation guide

GYS
GYS LCD PROMAX 9/13 G TRUE COLOR User manual
GYS
GYS LCD ZEUS 5-9 G INDIAN TRUECOLOR User manual

GYS
GYS Toparc UNI 2.0 RE+ARM 160/3 User manual
GYS
GYS ERGOTECH+ 5-9/9-13 TRUE COLOR User manual

GYS
GYS FLIP FLAP User manual

GYS
GYS LCD TECHNO 9/13 TRUE COLOR User manual

GYS
GYS WCU 0.4KW A User manual

GYS
GYS 038424 User manual
Popular Welding Accessories manuals by other brands

Lincoln Electric
Lincoln Electric LT-7 Tractor Technical specifications

Cornwell Tools
Cornwell Tools MMWC1 Operator's manual

Dohle
Dohle ExOn2A operating instructions

Nederman
Nederman Fume Eliminator FE 840/2500/P150 user manual

3M
3M Speedglas 9100 Series user manual

Miller Electric
Miller Electric OM-842 owner's manual

Miller
Miller A-200 Series owner's manual

Abicor Binzel
Abicor Binzel ABIMIG WT Series operating instructions

Miller
Miller MIGmatic M-25 owner's manual

Tregaskiss
Tregaskiss TOUGH GUN TT3 Reamer owner's manual

Abicor Binzel
Abicor Binzel xFUME PRO Original operating instructions

Sealey
Sealey SR20.V2 instructions
