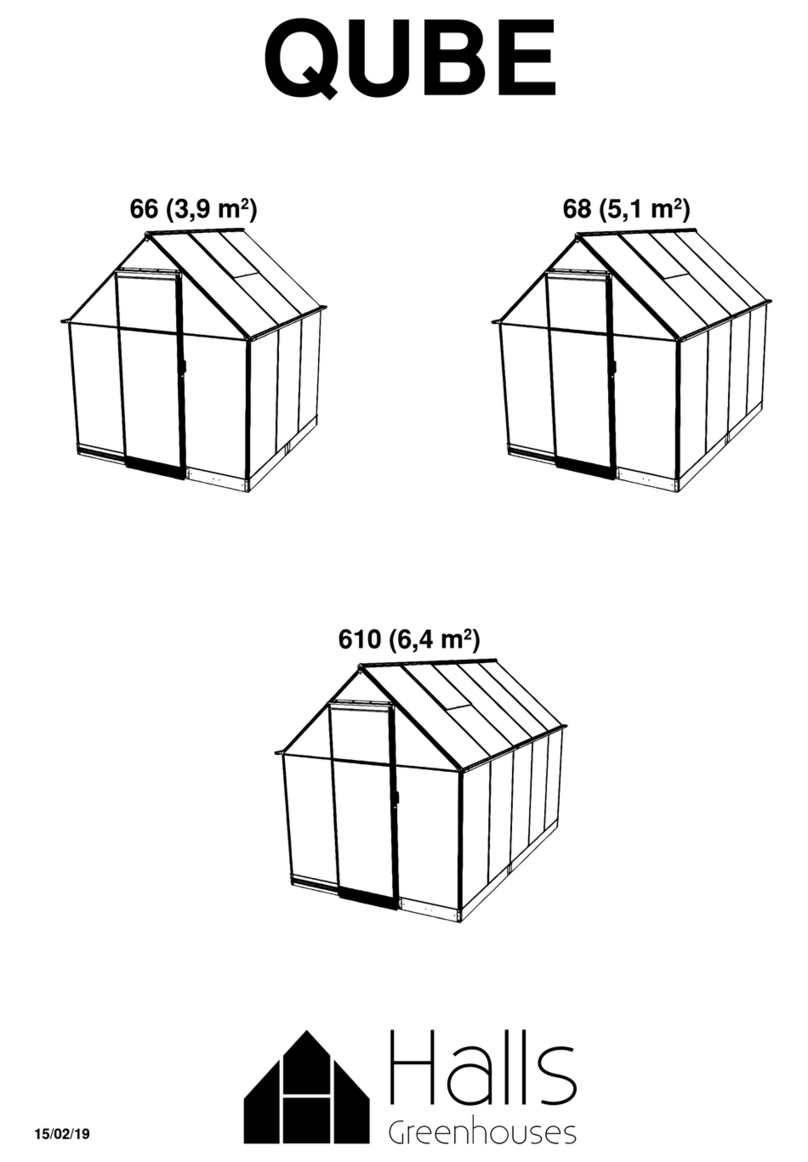
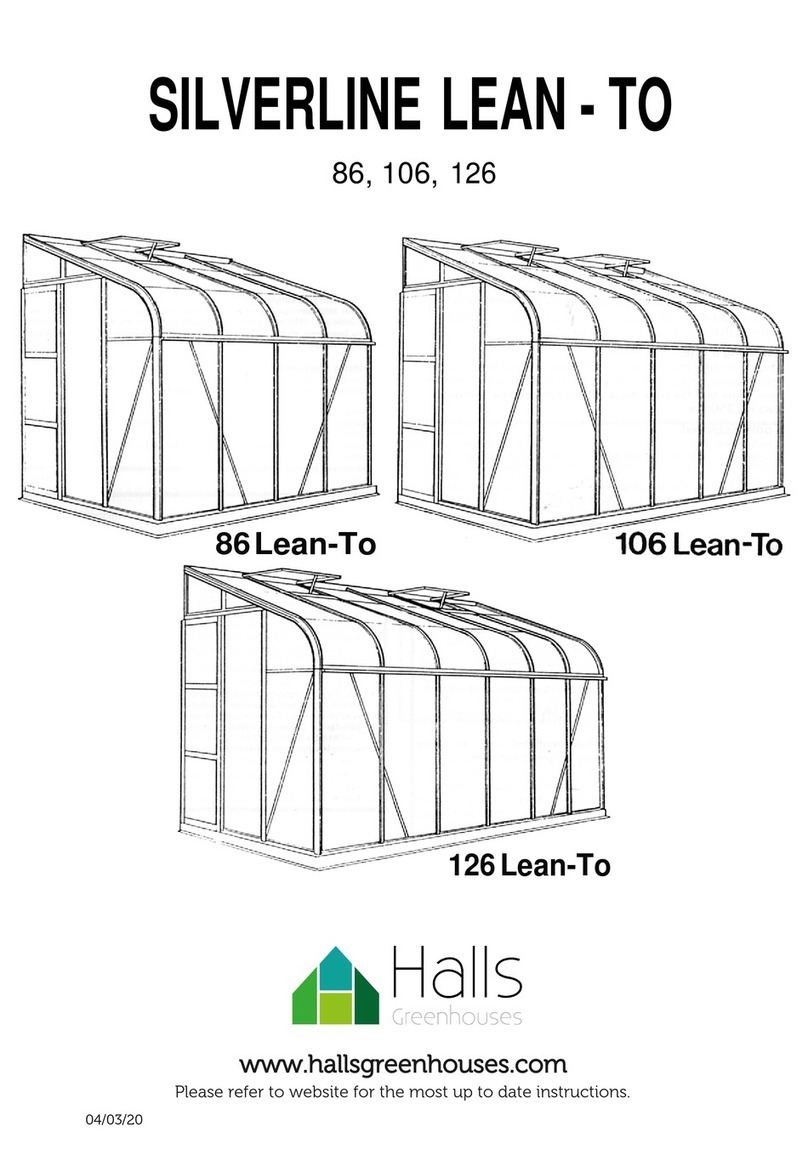
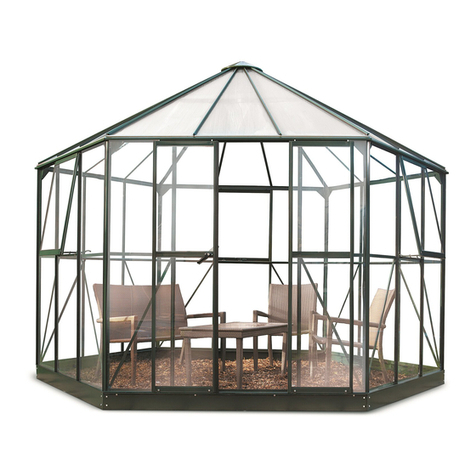
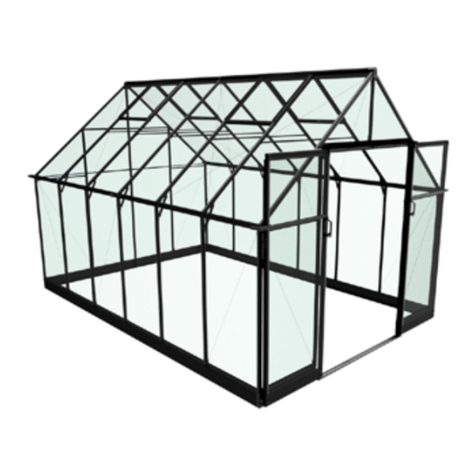
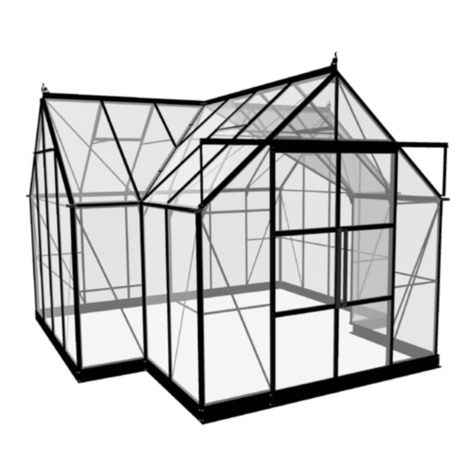
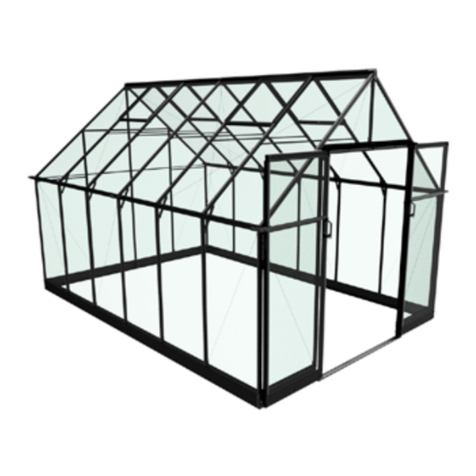
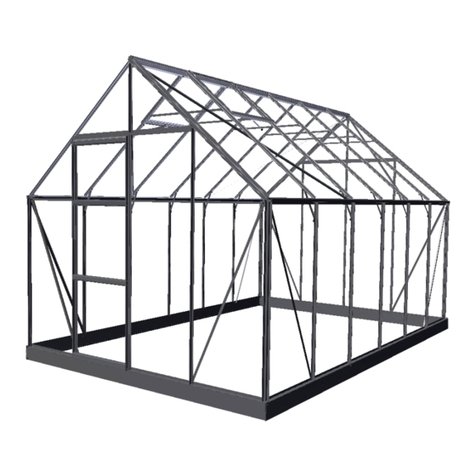
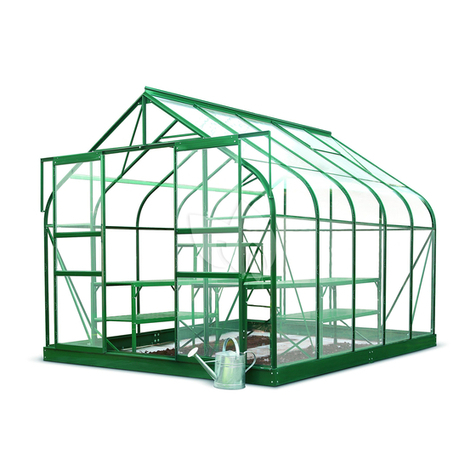
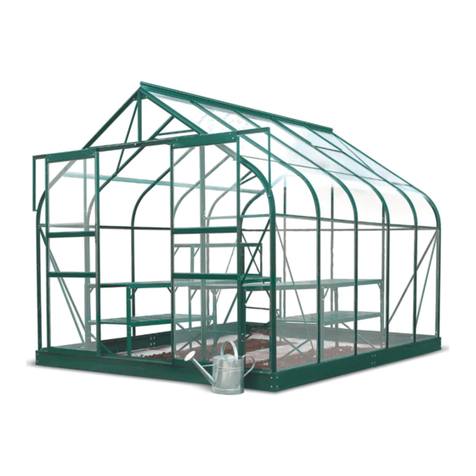
Halls Qube 610 User manual

.
7/19/19 Exaco
Need assistance or parts?
Please call Exaco at 877-760-8500
www.exaco.com
IMPORTANT! These are edited assembly instructions for North
American Customers. Please use this manual rather than the
manufacturer's manual inside the greenhouse packaging.
**Pages that do not apply to the Qube 610 have been removed for
clarity, page numbers may skip**
Note: This greenhouse is not intended for areas with high winds or heavy snow loads.
YouTube Assembly Videos can be seen on the
"Exaco Trading Co" YouTube Channel

DEAR CUSTOMER,
Congratulations on purchasing your new greenhouse. Please
take note it is important that you follow these assembly
instructions step-by-step.
SOME SAFETY PRECAUTIONS
• Assembly must only be carried out in dry and calm weather.
• Always wear work gloves when installing the glazing.
Greenhouse glass has sharp edges, especially if it breaks.
• Assistants and especially children must be warned that broken
glass is dangerous. Pick up all broken glass at once and remove
it with care.
• Any ladders that are used must be placed on a level surface.
WATER & CONDENSATION
Please note that your greenhouse is not like a conservatory for
example, and that you should therefore be aware that the
greenhouse may leak during or after precipitation and that
condensation will occur on the inside of the greenhouse.
Good ventilation will help to prevent condensation.
MAINTENANCE
• Grease the doors (hinges and locks).
• Keep the gutters free from leaves, etc.
• Adjust the windows as necessary.
• Replace any broken glass.
• Clean the greenhouse with disinfectant before
and after the growing season.
WINTER PROTECTION
If you anticipate snow during the winter, we
recommend the following winter precautions:
• Support the apex of the roof in the middle.
• Remove any deep snow from the roof.
• Take precautions to prevent snow falling from
a tree or roof, for example.
• Remove the cylinders for the automatic
• Secure the door(s) and window(s) to prevent
wind damage to the greenhouse.
INSURANCE
Please note that not all insurance companies cover greenhouses
automatically. Contact your insurance company to ensure your
greenhouse is covered.
GUARANTEE
Halls greenhouses are covered by a 10-year guarantee, which
covers the frame and ancillary parts only. The guarantee does
not cover polycarbonate, glass, transport, assembly, freight,
etc. Halls greenhouses are covered by a two-year warranty on
The guarantee will be void if the greenhouse is not assembled in
accordance with these instructions.
COMPLAINTS
All our greenhouses are built to the highest quality standards.
However, should you experience any problems, please contact
your dealer at once. When describing the defect, please state the
greenhouse model and part number.
Congratulations on your new greenhouse, which we hope will
bring you a lot of pleasure for many years to come.
Yours sincerely,
Juliana Group
ESTIMADO CLIENTE,
Felicitaciones por comprar su nuevo invernadero. Tenga en
cuenta que es importante que siga estas instrucciones paso a
paso.
PRECAUCIONES DE SEGURIDAD
• El montaje solamente debe realizarse con un clima seco y sin
viento.
• Siempre se deben usar guantes para instalar los cristales.
especialmente si se rompen.
• Se debe informar a los ayudantes y especialmente a los
niños de que un cristal roto es peligroso. Se deben recoger
inmediatamente los cristales rotos y eliminarlos con cuidado.
AGUA Y CONDENSACIÓN
detectar fugas durante o después de unas precipitaciones y que
se producirá condensación dentro del mismo. Una buena venti-
lación ayudará a evitar la condensación.
MANTENIMIENTO
• Ajuste las ventanas según sea necesario.
• Sustituya los cristales rotos.
• Limpie el invernadero con un agente desinfectante antes y
después de la temporada de cultivo.
PROTECCIÓN EN INVIERNO
siguiente protección durante el invierno:
• Apoye el vértice de unión del tejado por el centro.
• Elimine cualquier acumulación grande de nieve del tejado.
• Desmonte los cilindros de eventuales abridores de ventanas
dañar el invernadero.
SEGUROS
automáticamente los invernaderos. Póngase en contacto con
cubre.
GARANTÍA
meses que incluye la sustitución o reparación de componentes
-
Recuerde que puede haber marcas en la pintura que provienen
no montar el invernadero según estas instrucciones.
RECLAMACIONES
Todos nuestros invernaderos se han construido siguiendo los
modelo de invernadero y número de parte.
que esperamos que disfrute durante muchos años.
Juliana Group
You will need:
- Safety Glasses and Gloves
- Metric or Combination Tape Measure
- Level
- 2.5 mm Alan Wrench (supplied)
- Scissors
- Utility Knife
- 10 mm crescent or socket wrench
- Ladder
- Drill/Impact Driver
- Flathead Screwdriver
- Phillips Screwdriver
- Suction Cup for Glass (supplied)
10mm
Assembly with two people is recommended
Missing Parts?
Need Help?
Please call Exaco at 877-760-8500
www.exaco.com
For assembly videos, please
visit our "Exaco Trading Co"
YouTube page

Optional Accessory
Displayed on page(s)/ or
Will be used on page #
Mirrored
Look! Important step
See online video
For use in later step
Cut
Think / Choose
Pilot / Drill
Key to Images in Manual:
Correct!
May require
Confirm parts are present

Packages
Page 11 Components
Pages 13-19
Base Prepartion
Page 20-21
Rear Gable
Pages 22-23
Front Gable
Pages 24-25
4 Foot Wall Section
Page 26
6 Foot Wall Section
Page 27
Middle Link
Section
Page 28
Greenhouse
Assembly
Pages 29-30
Roof
Assembly
Pages 32-33
Glass Glazing
Installation
Page 34-35
Door
Pages 36-37
Roof Vent
Page 38
Finishing
Touches
Page 39

0.1: PACKAGES
Glass
Package
Fittings
Box
Base Frame
(or F03822)
Part number
used in
assembly
manual
Packed in bag number
(may be packed
with other parts)
Quantity
needed
While assembling your greenhouse, it will be very helpful to have the Components Lists
available as you may need to cross-reference the part number in the manual with the bag
number of where to locate that part.
PLEASE NOTE: As many of the aluminum profiles/extrusions look the same, it will be
helpful to measure them with a metric tape measure and mark them with masking tape.
This will make assembly go smoother and help to avoid errors.
VERY IMPORTANT NOTE ABOUT LOCATING COMPONENTS
AND PARTS DURING ASSEMBLY:
Gable
Box
4 Foot
Side Box
6 Foot
Side Box
Capping
Box
Please confirm you have all packages!
Qty. 2

0.2: COMPONENTS LIST
Base Frame Box - F06442
Part number
used in
assembly
manual
Base-left of door
(from outside)
Corner
anchor
Corner
anchor
(left of
door)
Corner
anchor
(right of
door)
Base
connector Base - right
of door (from outside)
Base -
back wall
Base-
4 foot side
pieces
Base-
6 foot side
pieces
Temporaryy
place holder
for door
Qty: 18 Size: M6x10mm Qty: 36
Length: 345mm / Qty 1
Length: 345mm Qty 4
Length: 618mm Qty: 1Size: M6 Qty: 36
Length: 345mm Qty: 1 Length: 120mm Qty: 3 Length: 618mm Qty: 1 Length: 941mm Qty: 2
Length: 1250mm Qty:2 Length: 1872 Qty: 2 Length 642mm Qty: 1
Self-tapping
screw to
attach bottom
frame to base
Base
attachment
clip
Qty. 6

Part number
used in
assembly
manual
Fittings Box
Packed in bag number
(may be packed
with other parts)
Quantity
(or F03822)
0.2: COMPONENTS LIST
T-bolt
(insert and
turn)
Window opener arm
Bottom frame
corner connector
(black plastic)
Bottom frame side
connector (black plastic)
Qty. 2 Size: M6 Qty. 3
Qty: 2
Qty. 1 Size: M6x10mm Qty. 174 Size: No6x6mm Qty. 12 Size: M4x8mm Qty:12
PKG
PKG
PKG
PKG
PKG
PKG PKG
PKG PKG
PKG PKG PKG
Size: M4 Qty:12 Size: M6x11mm Qty: 8 Size: M6x11mm Qty:4 Size: M6 Qty 3
Size: M6 Qty. 174 Size: M4 Qty: 12 Qty. 4 Qty. 2

0.2: COMPONENTS LIST
Gutter end (black plastic) Gutter end (black plastic) Gutter connector (black plastic)
Ridge
End
(black
plastic)
Ridge
cover
plate
(black
plastic
Ridge
Link
(black
plastic)
(black plastic)
(metal)
Roof glass
holder
(black plastic)
Nut cover
(black
plastic)
Door handle
(metal)
Steel Cable
Steel Cable
Arrow must
point up when
installed
Vertical
connector with
grub screws
Door lock
plate
(metal) Vertical
connector
with grub
screws
Arrow must point up
when installed
Two-sided tape
Qty. 2 Qty. 2 Qty: 2 Qty: 2
PKG
PKG
PKG
PKG
PKG
PKG
PKG
PKG
PKG
PKG
PKG
PKG
PKG
PKG
PKG PKG
PKG
Qty. 2 Qty. 1 Qty. 1 Qty. 4
Qty. 20 Qty. 177 Qty. 1 Size:1309mm Qty:4
Size:1337mm Qty. 8 Qty. 4 Qty. 12 Size: 23.5mm Qty.3
Qty. 1 Qty. 1 Qty. 2 Qty. 4

0.2: COMPONENTS LIST
Gable Box
Length: 642mm Qty. 1
*It will be helpful to measure,then label each extrusion with the part number*
54S will be
used to
construct the
Link on p. 28
2 for door
Gable
end
rafter
Bottom of
gable
triangle
(has
mitered
corners)
Bottom frame
(side of door)
Bottom frame
(side of door)
Bottom frame
rear gable
Bottom frame
rear gable
Threshold - bumpy side faces out
Top of door
Bottom
of door
Door vertical
and horizontal
frames
Link middle
support (has
mitered corners)
Length: 635mm Qty. 2 Length: 515mm Qty. 2
Length: 122mm Qty. 10 Length: 1202mm Qty. 4 Length: 642mm Qty. 2 Length: 613mm Qty. 1
Length: 613mm Qty. 1 Length: 895mm Qty. 1 Length: 895mm Qty. 1 Length: 640mm Qty. 5
Length: 655mm Qty. 1 Length: 642mm Qty.1 Length: 642mm Qty. 1
Qty: 1 Length: 595mm Qty. 3 Length: 420mm Qty. 1
Front gable Rear gable
Center gable wall
horizontal crossbar
Above door
glider holder
(p. 32)
Part of
bottom
of door
(p. 36)

4 Foot Side Box
0.2: COMPONENTS LIST
*It will be helpful to measure, then label each extrusion with the part number*
31S & 51S will
be used to
construct the
Link on p. 28
Gutter
Ridge
beam
Roof window
top frame
Roof window
side frame
Roof
window
bottom
Bottom frame for 4
foot section
Wall
profiles Roof
profiles
Cross bar under
roof window
Wall
profile
for Link
Roof
profile
for Link
Length:1225mm Qty.2 Length:1204mm Qty. 2 Length:1204mm Qty.2 Length:1202mm Qty. 2
Length:1204mm Qty.1 Length:592mm Qty. 1 Length:608mm Qty.2 Length:592mm Qty.1
Length: 642mm Qty.1 Length: 1225mm Qty.1 Length: 1202mm Qty.1

0.2: COMPONENTS LIST
6 Foot Side Box
*It will be helpful to measure, then label each extrusion with the part number*
31S & 51S will
be used to
construct the
"link" on p. 28
Bottom frame
for 6 foot section
Gutter
Ridge
Beam Roof window
top frame Roof window
side frame
Roof window
bottom frame
Side walls Roof
Cross bar under
roof window
Wall
profile
for Link
Roof
profile
for Link
Length: 1225mm Qty. 4 Length:1823mm Qty.2 Length: 1823mm Qty. 2
Length: 1823mm Qty.1 Length: 592mm Qty.1 Length: 608mm Qty.2 Length: 592mm Qty.1
Length: 642mm Qty.1 Length:1225 Qty.1 Length: 1202mm Qty.1

Capping Box
0.2: COMPONENTS LIST
"Soft Close"
Door Slider
Hardware
Support bracket near
gutters at Link
Walls Roof Vertical
Gable
Ends
Vertical
top door
section
Middle
bar
door
(comes apart
during
assembly)
Goes
between
A&D glass
Rubber
seal in
door frame
Vertical
rubber
gasket
for
doors
Length: 1225mm Qty.22 Length: 1202mm Qty.16 Length: 512mm Qty.4 Length: 450mm Qty.2
Length: 595mm Qty.1 Length: 600mm Qty.2 Length: 595mm Qty.5 Length: 638mm Qty.1
Length: 3520mm Qty.1 Length: 300mm Qty. 2

1: Base Preparation (continued on next page)
Location Preparation
Your greenhouse location must be level. Please see information below regarding anchoring your
greenhouse to determine the preparation method that is right for you.
Anchoring Your Greenhouse (See following pages for additional notes and drawings)
Your greenhouse MUST be anchored in an appropriate manner.
OPTION 1: If you are installing the greenhouse directly on the ground, you will use the ground
anchors. Dig holes at least 10" in diameter at each of the corner of the greenhouse and next to the
door opening. As you assemble your base, the corner anchors will extend into the hole. Ensure your
base is level and square by measuring the diagonals (which should be equal). When you have
determined the base is level and square, please anchor the holes with quick-setting concrete before
continuing.
OPTION 2: You may also install your greenhouse on a deck, perimeter wall or concrete foundation.
In this case, you will the top of your corner anchors to construct the greenhouse, but you will need to
trim the part of the corner anchors that extend beyond the frame. After assembling the base frame,
ensure it is level and square by measuring the diagonals (which should be equal). Attach the
greenhouse to your surface using the appropriate hardware (i.e. self tapping deck screws, tap con
screws, etc.). Once anchored, proceed with the rest of the greenhouse assembly.
Note: Clips and hooks (parts
638 and 992) will be used later
on page 29-31) when
assembling the greenhouse.

1: Base Preparation (continued)
OPTION 1: Dig holes at each of the anchors and fill with concrete.
OPTION 2: Trim the corner anchors and attach to your
foundation.
Fill anchoring
holes with quick
setting concrete.
Note: Corner
anchor is cut off
Note: Corner
anchor is cut off

2: Rear Gable (use side by side with next page)
Use parts from:
Fittings box
F03822/F03823
(parts list p.14-15)
!!! Arrow must point up (may be facing the frame)
373mm must
be exact
(Diagram
continues on
next page)
(view from inside)
Gable box F03810
(parts list p. 16)
Bolts will
be used
in a later
step

2: Rear Gable (use side by side with previous page)
(Diagram
continues on
previous page)
(view from inside)

3: Front Gable (use side by side with next page)
Use parts from:
Fittings box
F03822/F03823
(parts list p.14-15)
!!! Arrow must point up (may be facing frame)
373mm must
be exact
(Diagram
continues on
next page)
Gable box F03810
(parts list p. 16)
Bolt will be
used in a later
step
Will be
used on
page
32-33

3: Front Gable (use side by side with previous page)
(Diagram
continues on
previous page)
Will be used
later on
p.30-31

44 Foot Side Wall Section
Right side wall -
front two sections
(inside view)
Left side wall-
front 2 sections
(inside view)
You will construct two 4 foot wall
sections. They will be mirror views
of each other. These will be the
two side wall sections that connect
to the front gable end.
Will be used
later on p. 31
4 Foot Side Box
F03811
(parts p. 17)
Fittings Box
F03822/03822
(parts p. 14-15)
Table of contents
Other Halls Greenhouse Kit manuals

Halls
Halls Double Door Curved 108 User manual

Halls
Halls Universal 128 SD User manual

Halls
Halls Qube Lean-to User manual

Halls
Halls QUBE 66 User manual

Halls
Halls Cotswold 46 User manual

Halls
Halls Qube+ User manual

Halls
Halls Curved Greenhouse 46 User manual

Halls
Halls SILVERLINE 86 LEAN TO User manual

Halls
Halls Qube+ 88 User manual

Halls
Halls Garden Room User manual
Popular Greenhouse Kit manuals by other brands

Juliana
Juliana Orangeri Assembly instruction

Alton
Alton EVOLUTION FIVE instruction manual

Halls Greenhouses
Halls Greenhouses Altan 2 manual

Robinsons
Robinsons Victorian RUSHMOOR 8 Dwarf Assembly instructions

Juliana
Juliana Compact 3.4 Assembly instruction

Outsunny
Outsunny 845-301 Assembly & instruction manual