manuals.online logo
Brands
  1. Home
  2. •
  3. Brands
  4. •
  5. HEIDENHAIN
  6. •
  7. Scanner
  8. •
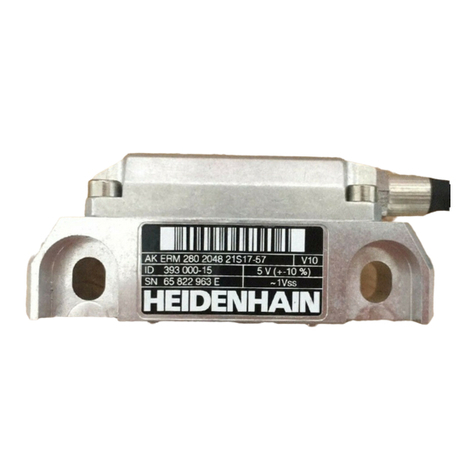
  9. HEIDENHAIN AK ERM 220 User manual

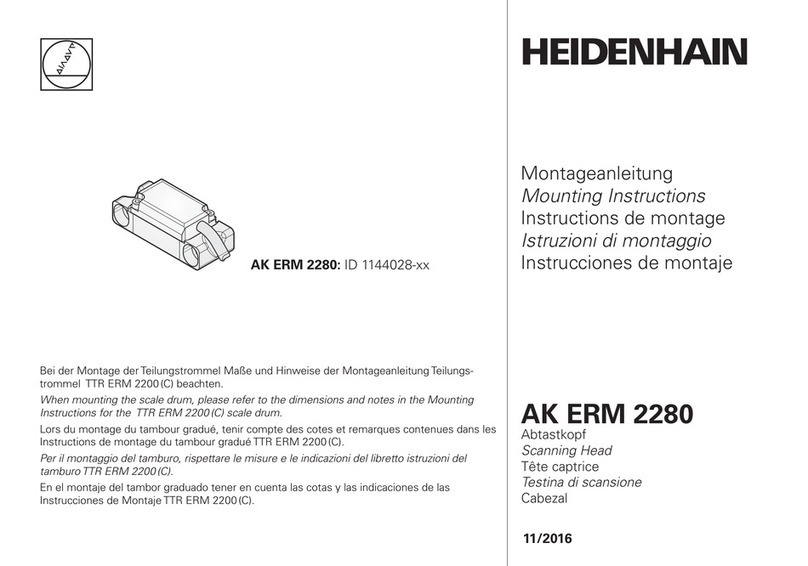
HEIDENHAIN AK ERM 220 User manual

Other manuals for AK ERM 220

1

This manual suits for next models

1

Other HEIDENHAIN Scanner manuals

HEIDENHAIN LIF 47R User manual

HEIDENHAIN

HEIDENHAIN LIF 47R User manual

HEIDENHAIN AK LIDA 49 M User manual

HEIDENHAIN

HEIDENHAIN AK LIDA 49 M User manual

HEIDENHAIN LIDA 400 Series User manual

HEIDENHAIN

HEIDENHAIN LIDA 400 Series User manual

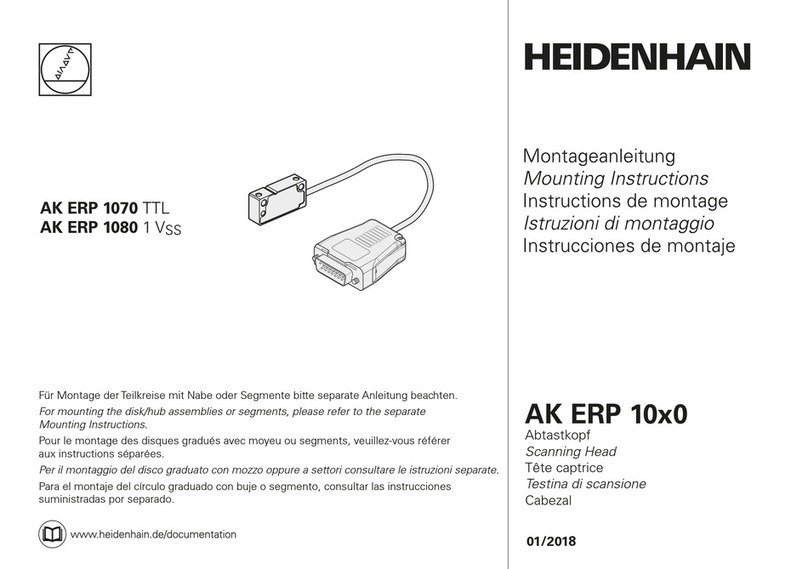
HEIDENHAIN AK ERP 10 0 Series User manual

HEIDENHAIN

HEIDENHAIN AK ERP 10 0 Series User manual

HEIDENHAIN AK ECA 4410 User manual

HEIDENHAIN

HEIDENHAIN AK ECA 4410 User manual

HEIDENHAIN LIC 4019 User manual

HEIDENHAIN

HEIDENHAIN LIC 4019 User manual

HEIDENHAIN AK LIP 607 User manual

HEIDENHAIN

HEIDENHAIN AK LIP 607 User manual

HEIDENHAIN LIDA 400 Series User manual

HEIDENHAIN

HEIDENHAIN LIDA 400 Series User manual

HEIDENHAIN AK ERM 220 User manual

HEIDENHAIN

HEIDENHAIN AK ERM 220 User manual

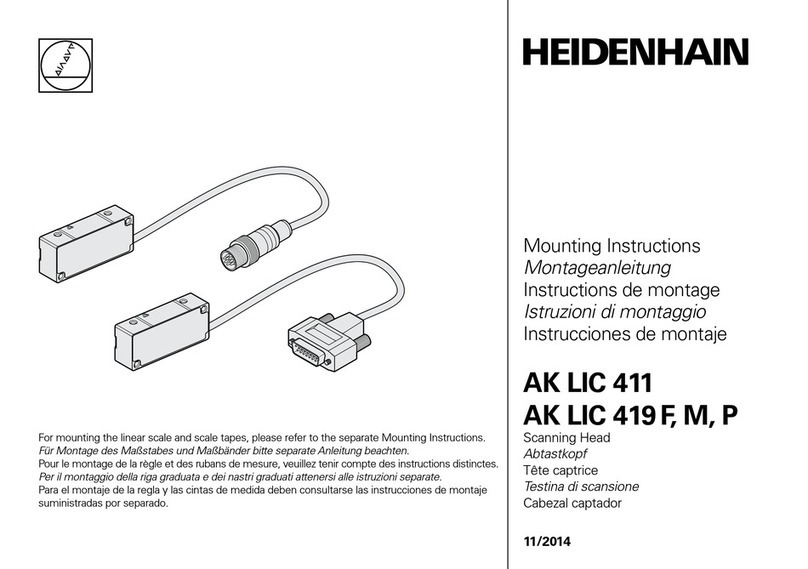
HEIDENHAIN AK LIC 411 User manual

HEIDENHAIN

HEIDENHAIN AK LIC 411 User manual

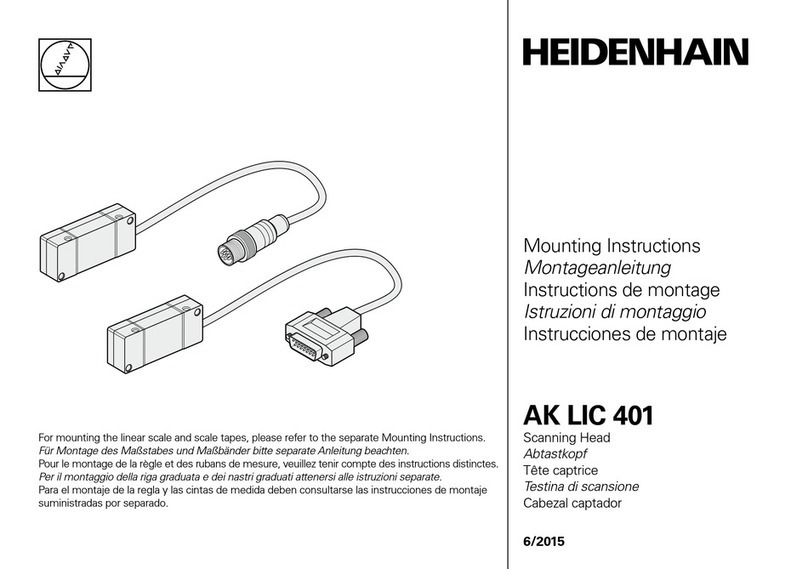
HEIDENHAIN AK LIC 401 User manual

HEIDENHAIN

HEIDENHAIN AK LIC 401 User manual

HEIDENHAIN AK ECA 4410 User manual

HEIDENHAIN

HEIDENHAIN AK ECA 4410 User manual

HEIDENHAIN AK ERM 2280 User manual

HEIDENHAIN

HEIDENHAIN AK ERM 2280 User manual

HEIDENHAIN AK ECA 4410V User manual

HEIDENHAIN

HEIDENHAIN AK ECA 4410V User manual

Popular Scanner manuals by other brands

Radio Shack PRO-433 quick start guide

Radio Shack

Radio Shack PRO-433 quick start guide

Atid AT911N series user guide

Atid

Atid AT911N series user guide

Siemens RUGGEDCOM WiN5100 Faq

Siemens

Siemens RUGGEDCOM WiN5100 Faq

Canon CanoScan LiDE 20 Specifications

Canon

Canon CanoScan LiDE 20 Specifications

Epson 4180 - Perfection Photo Product support bulletin

Epson

Epson 4180 - Perfection Photo Product support bulletin

Radio Shack PRO-72 owner's manual

Radio Shack

Radio Shack PRO-72 owner's manual

Lanier 5622 Operator's guide

Lanier

Lanier 5622 Operator's guide

Faro Freestyle 2 user manual

Faro

Faro Freestyle 2 user manual

Kramer VS-16N user manual

Kramer

Kramer VS-16N user manual

Z/I Imaging PhotoScan 2001 instructions

Z/I Imaging

Z/I Imaging PhotoScan 2001 instructions

Renkforce DS100-5M operating instructions

Renkforce

Renkforce DS100-5M operating instructions

Canon imageFORMULA CR-120N user manual

Canon

Canon imageFORMULA CR-120N user manual

Fujitsu FI-4860C2 Specifications

Fujitsu

Fujitsu FI-4860C2 Specifications

HPc9861a 4400c Setup and support guide

HPc9861a

HPc9861a 4400c Setup and support guide

Kodak i5800 Scanner Brochure & specs

Kodak

Kodak i5800 Scanner Brochure & specs

Kodak i7300 user guide

Kodak

Kodak i7300 user guide

Revopoint POP user manual

Revopoint

Revopoint POP user manual

Fujitsu fi-4860C installation guide

Fujitsu

Fujitsu fi-4860C installation guide

manuals.online logo
manuals.online logoBrands
  • About & Mission
  • Contact us
  • Privacy Policy
  • Terms and Conditions

Copyright 2025 Manuals.Online. All Rights Reserved.

5/2006
Montageanleitung
Mounting Instructions
Instructions de montage
Istruzioni di montaggio
Instrucciones de montaje
Abtastkopf
Scanning Head
Tête captrice
Testina di scansione
Cabezal
AK ERM 220
AK ERM 280
I halt . Contents . Sommaire . Indice . I dice
Allgemeine Warnhinweise
General warning notes
Consignes générales de recommandation
Avvertenze
Advertencias generales
Abmessungen
AK ERM 2 0 mit Teilungstrommel ERM 200/200
C, ERM 202/202
C
Dimensions of AK ERM 2x0 wit ERM 200/200
C
, ERM 202/202
C
grating drum
Dimensions Tête ERM 2 0 avec tambour gradué ERM 200/200
C
, ERM 202/202
C
Dimensioni AK ERM 2x0 con tamburo graduato ERM 200/200
C
, ERM 202/202
C
Dimensiones AK ERM 2 0 con tambor graduado ERM 200/200
C
, ERM 202/202
C
Abmessungen
AK ERM 2 0 (anbaukompatibel zu ERM 1 0) mit Teilungstrommel ERM 200
Dimensions of AK ERM 2x0 (mec anically compatible wit ERM 1x0) wit ERM 200 grating drum
Dimensions Tête ERM 2 0 (montage compatible ERM 1 0) avec tambour gradué ERM 200
Dimensioni AK ERM 2x0 (montaggio compatibile con ERM 1x0) con tamburo graduato ERM 200
Dimensiones AK ERM 2 0 (montaje compatible con ERM 1 0) con tambor graduado ERM 200
Allgemeine Montagehinweise
General mounting notes
Consignes générales relatives au montage
Indicazioni per il montaggio
Indicaciones de montaje generales
1918
13, 1512, 14
5, 7, 9, 11
4, 6, 8,10
16 17
2
Montage
AK ERM 2 0 mit Teilungstrommel ERM 200/200
C, ERM 202/202
C
Monting t e AK ERM 2x0 wit ERM 200/200
C,
ERM 202/202
C
grating drum
Montage Tête ERM 2 0 avec tambour gradué ERM 200/200
C,
ERM 202/202
C
Montaggio AK ERM 2x0 con tamburo graduato ERM 200/200
C,
ERM 202/202
C
Montaje AK ERM 2 0 con tambor graduado ERM 200/200
C,
ERM 202/202
C
Abmessungen
AK ERM 2 0 (anbaukompatibel zu ERM 1 0) mit Teilungstrommel ERM 209
Dimensions of AK ERM 2x0 (mec anically compatible wit ERM 1x0) wit ERM 209 grating drum
Dimensions Tête ERM 2 0 (montage compatible ERM 1 0) avec tambour gradué ERM 209
Dimensioni AK ERM 2x0 (montaggio compatibile con ERM 1x0) con tamburo graduato ERM 209
Dimensiones AK ERM 2 0 (montaje compatible con ERM 1 0) con tambor graduado ERM 209
Elektrische und Technische Kennwerte
Electrical data and tec nical specifications
Caractéristiques électriques et techniques
Dati elettrici e tecnici
Datos eléctricos y técnicos
3
23
2524
3626
2120
Montage
AK ERM 2 0 (anbaukompatibel zu ERM 1 0) mit Teilungstrommel ERM 200
Monting t e AK ERM 2x0 (mec anically compatible wit ERM 1x0) wit
ERM 200
grating drum
Montage Tête ERM 2 0 (montage compatible ERM 1 0) avec tambour gradué
ERM 200
Montaggio AK ERM 2x0 (montaggio compatibile con ERM 1x0) con tamburo graduato
ERM 200
Montaje AK ERM 2 0 (montaje compatible con ERM 1 0) con tambor graduado
ERM 200
22
4
1. 2.
0
I
DIN EN 100 015  1
CECC 00015  1
Maße i mm
Dimensions in mm
Cotes e mm
Dimensioni in mm
Dime sio es e mm
5
Der direkte Kontakt von Flüssigkeiten am Steckverbinder ist zu vermeiden!
Avoid direct contact of fluids wit t e connector!
Eviter le contact direct de liquides sur le connecteur!
Evitare il contatto diretto di liquidi con il connettore
¡Debe evitarse el contacto directo de fluídos con el conector!
6
Ma imale Fremdfelder bei Lagerung und Einbau < 25 mT.
Maximum external fields during storage and mounting < 25 mT.
Champs parasites ma . pour stockage et montage < 25 mT.
Massimo campo magnetico esterno durante montaggio e centraggio < 25 mT.
Campos magnéticos má imos en almacenamiento y montaje < 25 mT.
1
> 200
1
0
D-83301 Traunreut
Germany
Id.Nr.
S.Nr.
AK ERM 2x0
HEIDENHAIN
Nicht magnetisch leitender Werkstoff
Magnetically non-conductive material
Matériau isolant magnétique
Materiale non conduttore
Material magnéticamente no conductor
*)
*)
7
Ma imale Fremd-Wechselfelder im Betrieb 2.5 mT.
Ma imale Fremd-Gleichfelder im Betrieb 5.0 mT.
Maximum external alternating fields during operation 2.5 mT.
Maximum external constant fields during operation 5.0 mT.
Champs alternants parasites ma . en fonctionnement 2.5 mT.
Champs continus parasites ma . en fonctionnement 5.0 mT.
Massimo campo magnetico esterno alternato in lavoro 2.5 mT.
Massimo campo magnetico esterno unidirezionale in lavoro 5.0 mT.
Campos magnéticos alternos má imos en funcionamiento 2.5 mT.
Campos magnéticos continuos má imos en funcionamiento 5.0 mT.
D-83301 Traunreut
Germany
Id.Nr.
S.Nr.
AK ERM 2x0
HEIDENHAIN
8
Angegebene Wellentoleranzen müssen eingehalten werden.
Die Teilungstrommel ist mit allen vorgesehenen Schrauben und Scheiben zu befestigen.
Die Schrauben sind abwechselnd, kreuzweise mit dem angegebenen Anzugsdrehmoment
festzuschrauben und gegen unbeabsichtigtes Lösen zu sichern.
Nur dann gelten die für die Teilungstrommeln spezifizierten Drehzahlwerte.
T e specified s aft tolerances must be complied wit .
T e grating drum is to be fastened wit all provided screws and was ers.
T e screws must be tig tened alternatingly (crosswise) wit t e tig tening torque,
and secured against unintentional loosening.
Only t en are t e speed values specified for t e scale drums valid.
Les tolérances indiquées pour larbre doivent être respectées.
Le tambour gradué doit être fi é à l'aide des vis et rondelles prévues à cet effet.
Les vis doivent être serrées alternativement, en croi , en utilisant le couple de serrage
et sécurisées pour ne pas être desserrées malencontreusement. Les valeurs de vitesse de
rotation spécifiées pour les tambours gradués ne sont valables quà cette condition.
Le tolleranze di montaggio devono essere rispettate.
Fissare il tamburo graduato con tutte le viti e le rondelle previste.
Le viti sono da stringere alternativamente a croce con c iave dinamometrica e da
assicurare contro il risc io di allentamento.
Solo rispettando questi valori, Vale la velocità specificata per il tamburo.
Las tolerancias de eje indicadas deben ser respetadas.
El tambor graduado debe ser fijado con todos los tornillos y arandelas previstos para ello.
Fijar los tornillos alternativamente en cruz con el par de apriete y asegurarlos para que no
se suelten involuntariamente.
Serán sólo válidoslos valoresde velocidad especificados para los tambores graduados.

9
D-83301 Traunreut
Germany
Id.Nr.
S.Nr.
AK ERM 2x0
HEIDENHAIN
D-83301 Traunreut
Germany
Id.Nr.
S.Nr.
AK ERM 2x0
HEIDENHAIN
D-83301 Traunreut
Germany
Id.Nr.
S.Nr.
AK ERM 2x0
HEIDENHAIN
Bei Anbau auf Lage Typenschild achten.
Note position of ID label w en mounting.
Lors du montage, attention à la position de l'étiquette signalétique.
In fase di montaggio porre attenzione alla targ etta.
Al montar, prestar atención a la posición de la etiqueta.
D-83301 Traunreut
Germany
Id.Nr.
S.Nr.
AK ERM 2x0
HEIDENHAIN
Zur Erleichterung der Montage kann die Teilungstrommel erwärmt werden.
Kei e I duktio sheizquelle verwe de ! Dazu die Teilungstrommel vor der Montage langsam über
einen Zeitraum von 10 min auf eine Temperatur von ma . 100°
C erwärmen.
Ma imale Temperaturdifferenz Heizplatte zur ERM-Teilungstrommel 20 K.
In order to facilitate mounting, t e scale drum can be eated. Do not use an inductive heat source!
Before mounting, slowly warm t e scale drum over a period of 10 minutes to a temperature of
max. 100 °C. Maximum temperature difference between eating plate and ERM scale drum: 20 K.
Pour faciliter le montage, le tambour gradué peut être réchauffé.
Ne pas utiliser de source de chaleur par i ductio ! Pour cela, avant le montage,
réchauffer lentement le tambour gradué pendant une durée de 10 min. à une température de 100 °C ma ..
Différence de température ma . entre la plaque chauffante et le tambour gradué de I'ERM: 20 K.
Per facilitare il montaggio il tamburo può essere riscaldato.
Non utilizzare una fonte di calore a induzione! Prima del montaggio riscaldare lentamente il tamburo,
portandolo a 100 °C in 10 minuti. Max differenza di temperatura tra piastra di riscaldamento e tamburo
dell'ERM: 20 K.
Para facilitar el montaje, puede calentarse el tambor graduado.
¡No utilizar i gu a fue te de calor i ductiva! Antes del montaje, calentar lentamente el tambor
graduado durante 10 minutos a una temperatura má ima de 100 °C.
Má ima diferencia de temperatura entre la placa de calentamiento y el tambor graduado del ERM: 20 K.
10