Quick Start Guide REX 200/250 3G | LTE
6
2.4 Front interfaces
Name Description
P1 WAN
WAN connection of the router (customer network, DSL router,
etc.)
P2 - P5 LAN Connection of the local network (e.g. machine network)
USB Connection for USB stick
ANT Antenna with SMA connector (only REX 200/250 3G)
MAIN
Main antenna with SMA connector (only REX 200/250 LTE)
Rx
Additional antenna with SMA
connector
(only REX 200/250 LTE)
PROFIBUS MPI/PROFIBUS up to 12 mbps (only REX 250)
Serial serial RS232 VCOM port (only REX 250)
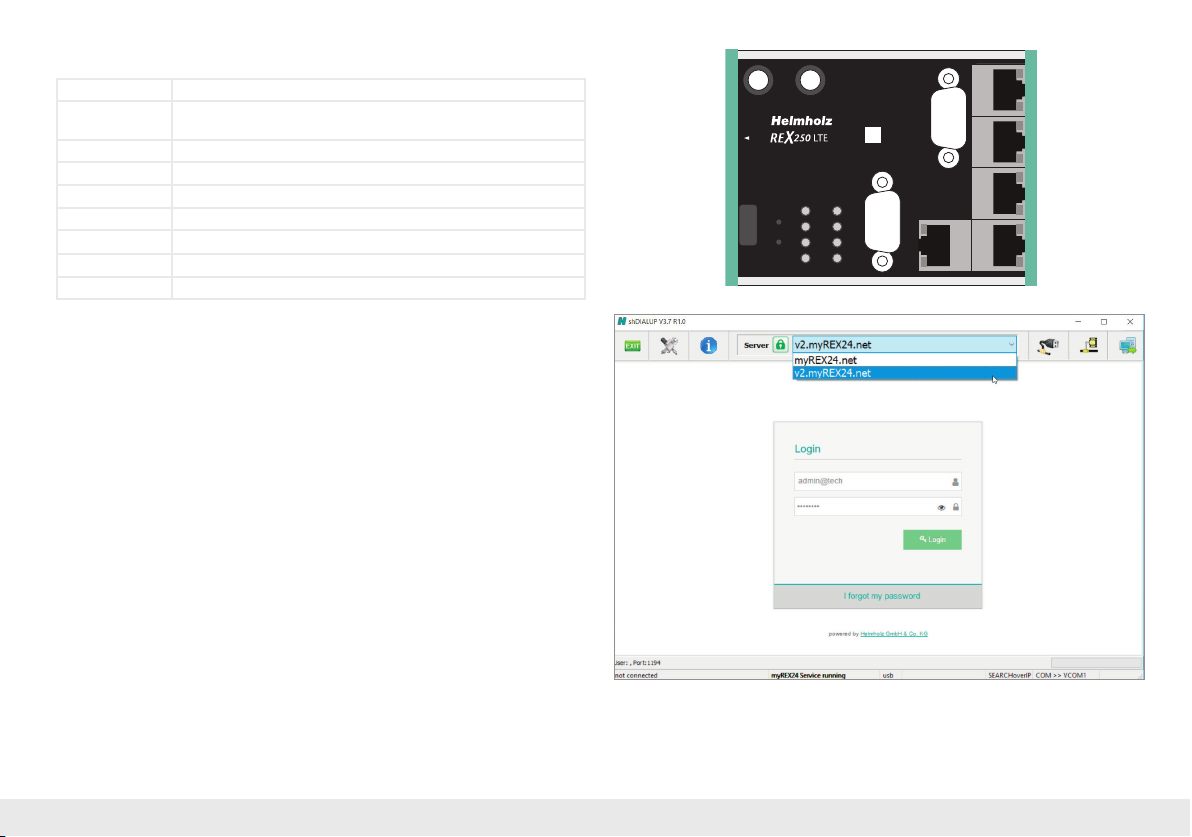
3. Access to the myREX24-V2 portal
REX 200/250 routers can be fully congured in the shDIALUP dial-up software using
the myREX24 V2 portal. You can download this software, as well as additional doc-
uments with supplementary example applications at any time in the download area
under www.helmholz.de and install it on a Windows1 operating system.
Alternatively, you can also carry out the administration of your projects and the con-
guration of your REX router via an HTTPS-secured direct call-up from your browser.
To this purpose please use the following URL: https://v2.myREX24.net.
To log in, use the myREX24 V2 portal access data available to you. The various ways
to transfer a conguration you have created to the REX 200/250 are described as
follows. The secured VPN setup to a REX router can then always only be realized via
the remote client software shDIALUP. You can nd further information in the manual
for the myREX24-V2 portal.
Instructions for alternative conguration methods can be found in chapter 14.
3.1 Login at the myREX24-V2 portal server
Install the shDIALUP software with administrative rights on a Windows1 operating
system. After opening the program, select the “V2.myREX24.net” server in the top
menu bar and then log in to the myREX24-V2 portal with your access data.
You only need to register under www.myREX24.net when you don’t yet have a my-
REX24-V2 portal account or haven’t been granted user access by a myREX24 account
administrator. Fill out the required elds there. After your data is checked by our
service team (Mon.-Fri. 8 a.m. to 5 p.m. CET), you will receive two separate e-mails
P3 LAN P2 LAN
P1 WAN
P5 LAN P4 LAN
Ext. V DC
18 ... 30 V
PWR
RDY
CON
STAT
FC1
FC2
FC3
FC4
FCN
RST
USB
Rx MAIN
PROFIBUS
Serial
SIM
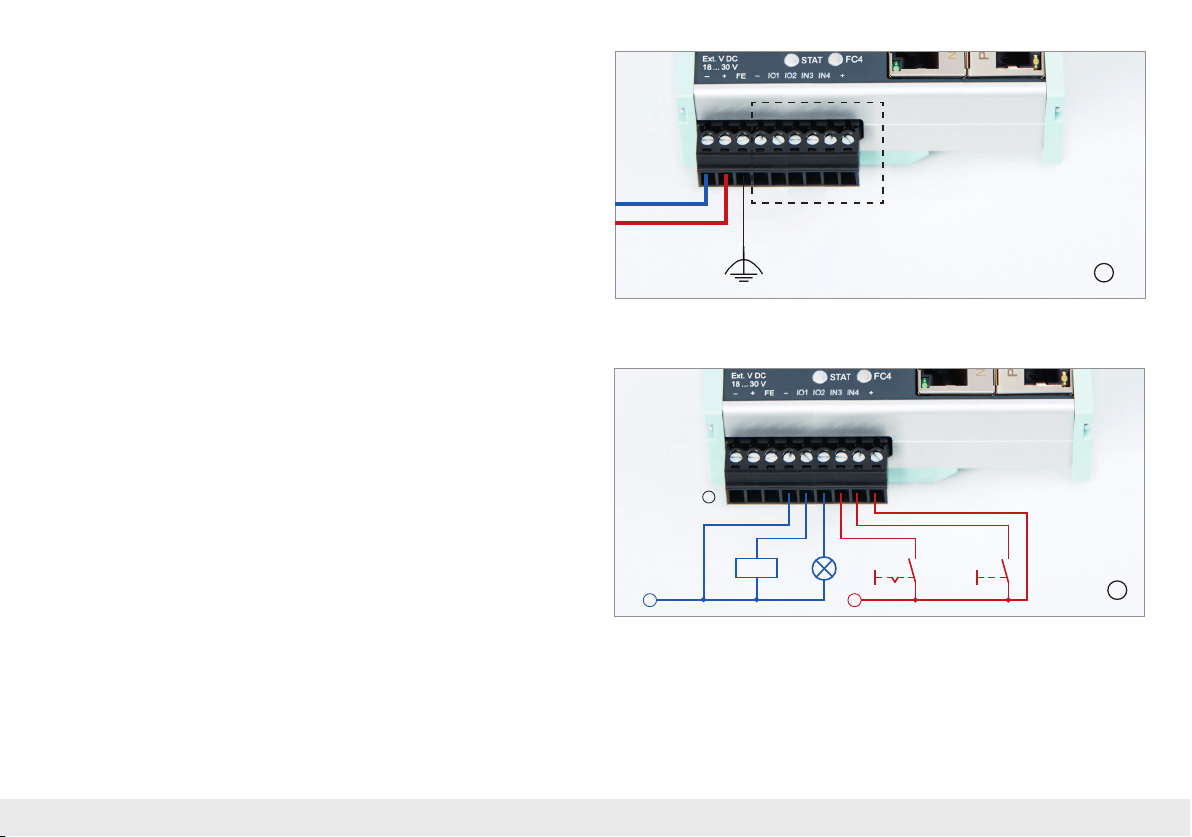
+FE–– +IO1 IO2 IN3 IN4
SN:
00012345
700-878-LTE01