Quick Start Guide REX 300 3
Cabling and PC Settings
1. First, wire up the REX 300 with a supply voltage of
10-30 VDC.
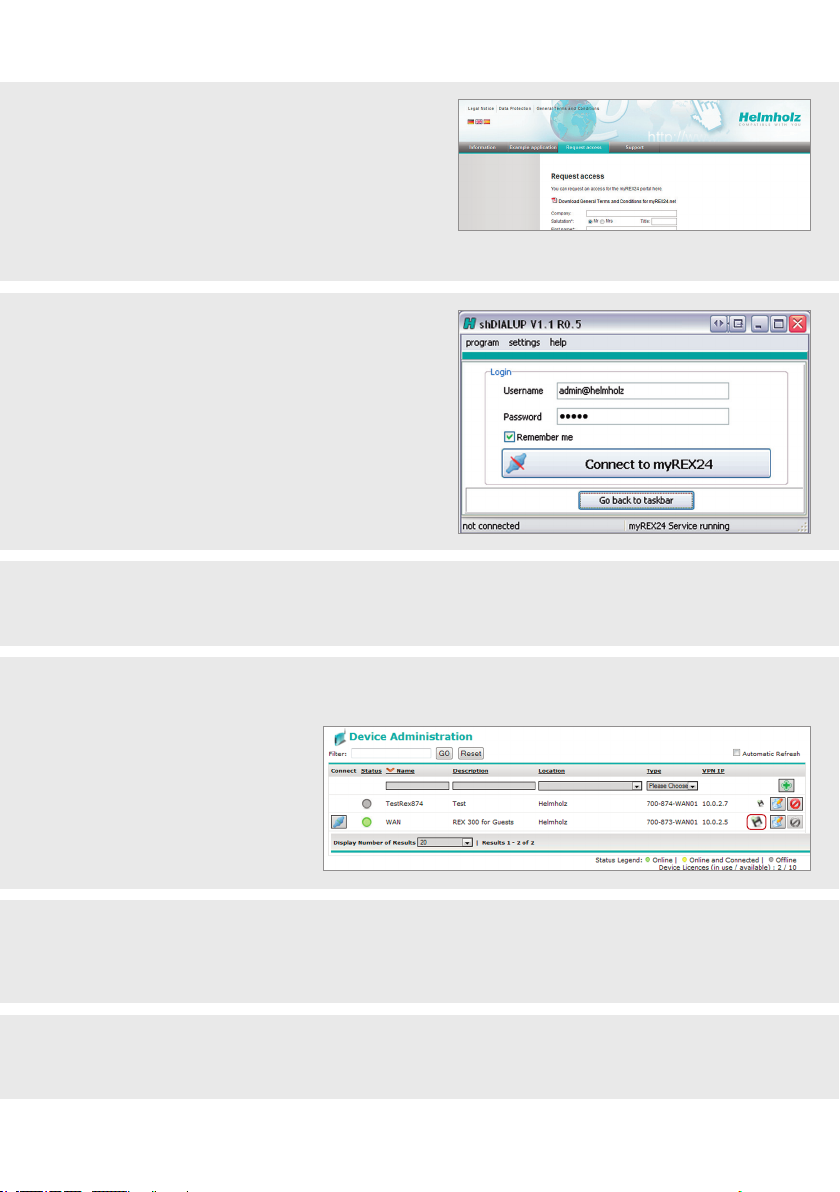
Note: if you wish to use the myREX24, continue on
page 6.
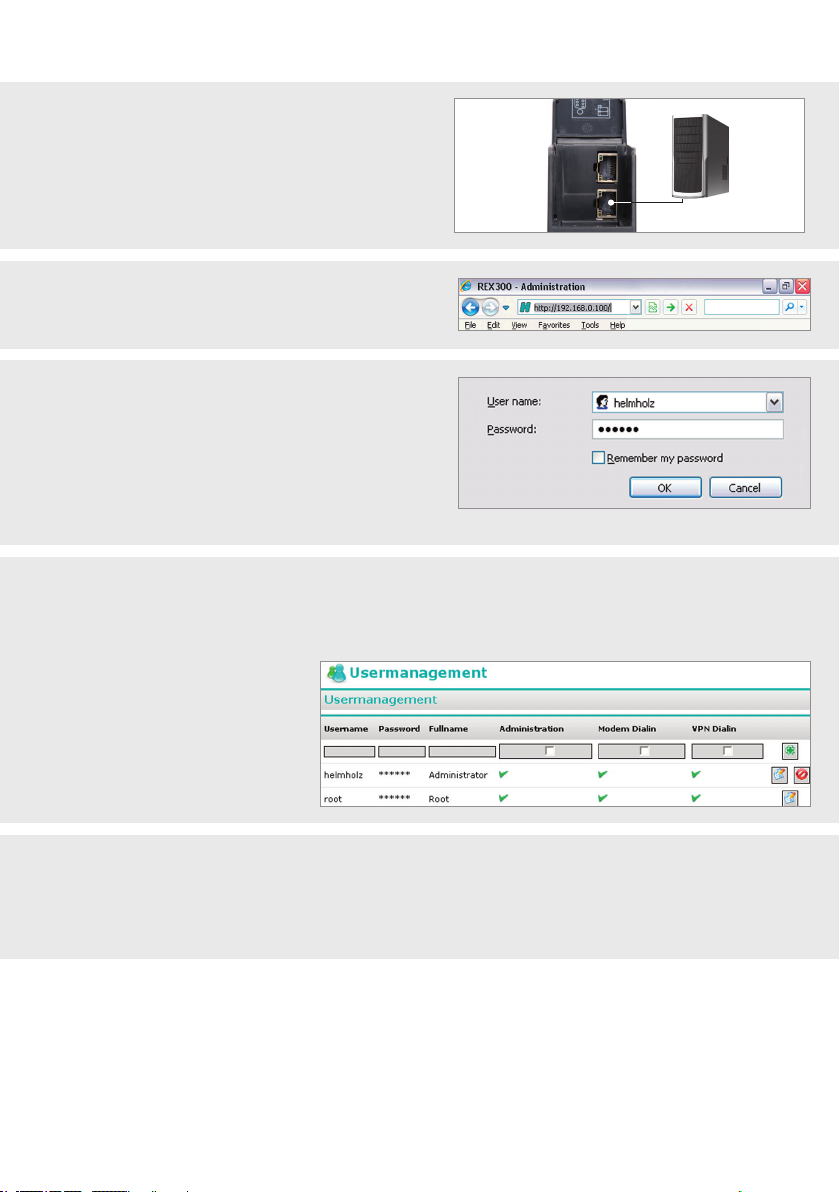
2. By default the REX 300 uses a static IP address
(IP: 192.168.0.100, subnet mask: 255.255.255.0).
Note: when the REX 300 is to be connected into your
company network, rst check with your network admini-
strator that this address is compatible with your network
and that it is available for use.
3. If you must rst change the address of your PC in order to reach the web interface of the REX 300, carry
out steps A to C next. These steps are not necessary when you want to load an existing conguration from
USB. Further information about loading is available on page 7.
+
–
A) The REX 300 is delivered with the IP address set to 192.168.0.100. Therefore, you must assign your
computer an address in the same subnet.
This applies not only to the IP address but also to the subnet mask.
To make the necessary changes, open the properties of your LAN connection.
Windows XP: Start -> Control Panel -> Network Connections.
Windows 7: Start -> Control Panel -> Network and Sharing Centre -> Change adapter settings
B) Open the properties of the network connection that
is to be used for establishing a connection to the
REX 300. Under “Properties“ of the “Internet Protocol
(TCP/IP)“, modify the IP address of your computer.
C) The IP address must be in the “192.168.0.x“ address
range (subnet). The subnet mask must be identical to
that of the REX 300 (255.255.255.0).