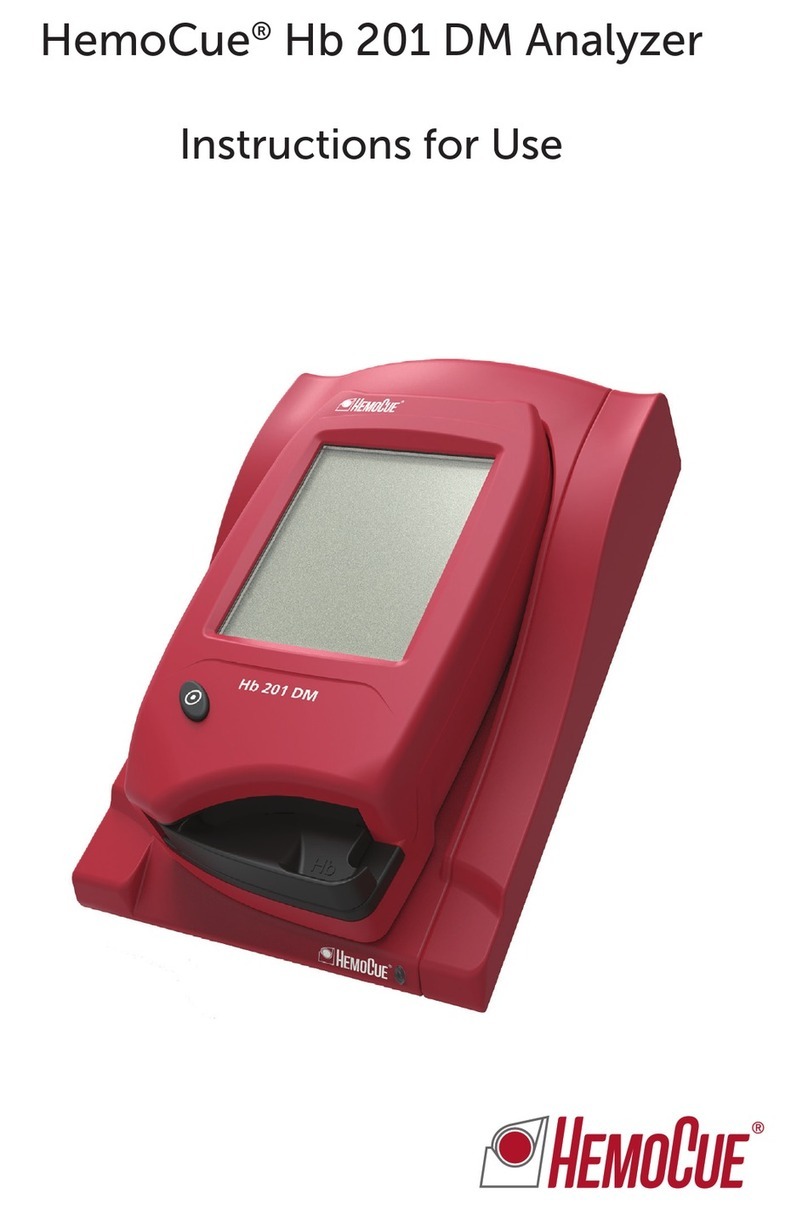
HemoCue 201 DM Operation instructions

Hemocue Hb
201 DM
Hemoglobin Analyzer
* READ POLICY PRIOR TO
STARTING TUTORIAL

Before Testing a Patient
ORIENT YOURSELF TO YOUR WORKING AREA
–Locate testing meter & docking station
–Locate testing supplies
•Microcuvettes
•Liquid Quality Control solutions
•Lancets
•Alcohol swabs
•2x2 gauze
•Gloves
•Biohazard container
•Refrigerator for QC solutions
•IDA Page for your testing location

Performing a hemoglobin test
using the HemoCue Hb 201
DM analyzer is considered
WAIVED in complexity by the
FDA.
PURPOSE: Rapid quantitative
measurement of hemoglobin
concentration in peripheral
blood at the point of care.
-The HemoCue Hb 201 DM
system consists of a
photometer analyzer with
specially designed
microcuvettes containing dry
reagents in the optical eye.
-The hemoglobin
measurement takes place in
the analyzer, which follows
the progress of the reaction
until the end point has been
reached.
-Ten microliters of blood are
drawn into the optical eye by
capillary action and
spontaneously mixed with the
reagents.
-The HemoCue reader
derives hemoglobin
results in grams per deciliter
from the reaction using
Spectrophotometry.

Barcode ID
Testing personnel are required to take this Initial
Orientation and Training, the Initial Competency Exam,
and a second Competency Exam within the first year.
Competency Exams are then required annually thereafter.
Upon completion of the Initial Orientation and Training and
Competency Exam, approved staff will be issued a
barcode to be able to use the HemoCue Analyzer.
This barcode in embedded with unique identifiers specific
to each staff member.
Barcodes should never, under any circumstance, be
shared.

Equipment, Reagents and Materials
•Analyzer
•Docking station
*Keep meter in docking
station when not in use.
•Microcuvettes
•Liquid Quality control:
Level 1 (Lo) and Level 3 (Hi)

Equipment , Reagents and
materials
•Alcohol swab
•Lancet
•2x2 sterile gauze
•Gloves

Equipment, Reagents and
Materials
Biohazard container
70% isopropanol or mild soap solution for cleaning the
analyzer and laser scan window
Refrigerator for Liquid Quality Control storage
Daily Temperature Log (room and refrigerator)
Daily Maintenance Log

HemoCue Hb 201 Microcuvettes
Microcuvettes are stored at room
temperature away from any direct heat
source.
Microcuvettes are moisture sensitive.
Always keep the container properly
closed.
Unopened containers of microcuvettes may
be used until the expiration date listed on
bottle.
Open containers of microcuvettes are
stable for three months (90 days) if they
are tightly sealed between use.
Always label each opened container
with the open date, initials, and the new
three month expiration date.

HemoCue Liquid Quality
Control
Two Levels: Level 1 (Low control) &
Level 3 (High control).
An open vial is stable for 30 days
when stored at room temperature: 15–
30oC.
Or is also stable for 30 days when
stored in the refrigerator at 2–8oC.
Always write the open date, initials,
and new expiration date on the vial.
Unopened controls are stable if
refrigerated at 2–8oC until the
expiration date on the vial.
Control solutions are replaced every 3
months by POCT Services.

Specimen
Capillary whole blood
(obtained by fingerstick)
required and must be tested
immediately.
Specimen labeling is not
required when testing is
performed in the presence of
the patient and only the
sample from one patient is
tested at a time.
Otherwise, label all specimens
with 2 patient identifiers
(patient’s full name and date of
birth).

Quality Control Testing
Internal Electronic
Quality Control (EQC)
–The HemoCue Hb 201 DM analyzer has
an internal Electronic Quality Control
performed when analyzer displays
“Selftesting…”
–Every time the analyzer is turned on, it
will automatically verify the performance
of the optronic unit during the
“Selftesting” period.

Quality Control Testing
Liquid Quality Controls
(LQC)
–Quality Control tests should be
performed and passed every day
prior to patient testing. (The
analyzer will lock down at 0300 and
will remain locked until QC is
performed.)
–Push black button to turn on.
–Pull out cuvette holder.
–After Selftesting is complete, scan
your barcode ID.
–Click the QC icon.

Quality Control Testing
•Click level 1 test.
•Observe universal precautions.
•Wear gloves.
•Take one microcuvette out of
the vial.
•Mix the liquid QC thoroughly by
gently rolling the vial between
your palms.
•Touch the tip of the
microcuvette to the hanging
drop from the solution vial.

Quality Control Testing
•Gently wipe the edges of the
microcuvette on the gauze - avoid
touching the opening.
•Examine microcuvette for bubbles.
•Place the filled microcuvette in the
cuvette holder.
•Push the cuvette holder into the
measuring position (closed).

Quality Control Testing
•Scan the liquid QC barcode.
•Scan microcuvette vial.
•Analyzer will beep and display a
numeric result.
•If the result are acceptable press ok.
•You may add predefined comments
or add your own if desired.
•If the result failed, QC must be
repeated.

Quality Control Testing
•Pull the cuvettle holder out to the
“loading” position.
•Dispose microcuvette in the
biohazard waste container.
•Repeat above procedure for
Level 3 QC.

Patient Testing
•Using two patient
identifiers (patient’s full
name and date of birth),
verify patient
identification, and
explain the procedure to
patient and/or family.
•Observe universal
precautions.
•Turn on the analyzer.

Patient Testing
•Scan Operator Bar Code ID.
•Run Liquid Quality Control if it
has not been performed.
•To run a patient test, press the
Microcuvette symbol.

Patient Testing
•The analyzer will display “Enter
patient ID”. Click on the icon to
scan the patient ID.
•Scan the patient’s ID band
(barcode) or manually enter the
patient’s MRN.
•The analyzer will display
“Please Fill and Insert a
Cuvette”.
•Remove a microcuvette from its
vial by sliding it out onto a clean
surface.
Reseal container immediately.

Patient Testing
Obtain patient sample by fingerstick:
–After cleaning the patient’s finger
with alcohol swab and letting dry
use a lancet to prick it.
–Wipe away the first 2 or 3 drops of
blood with a lint free wipe (gauze).
Do not use cotton balls!
–Apply light pressure towards the
fingertip until another drop of blood
appears. Do not squeeze the finger.
–Hold the microcuvette with the
pointed end away from you.
–Touch the pointed tip of the
microcuvette to the drop of the blood
droplet.
–Allow the microcuvette to fill by
capillary action. Do not attempt to
refill.
Other manuals for 201 DM
3
Table of contents
Other HemoCue Measuring Instrument manuals
