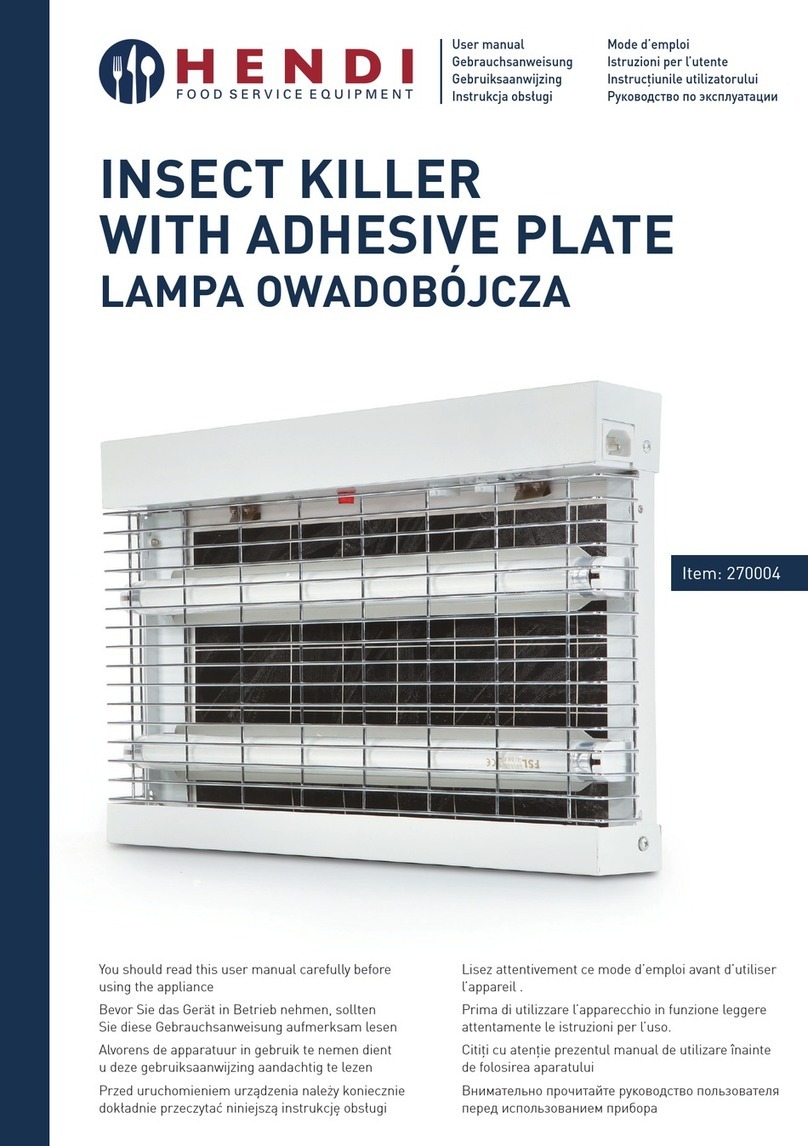
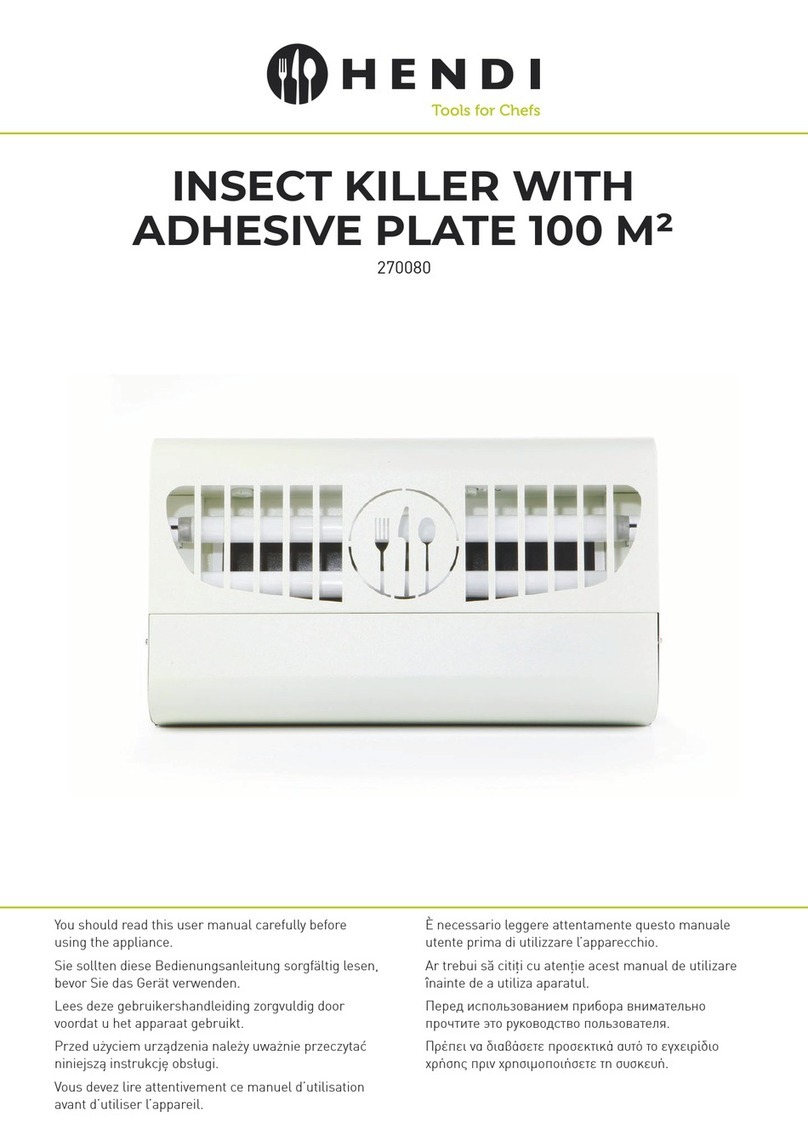
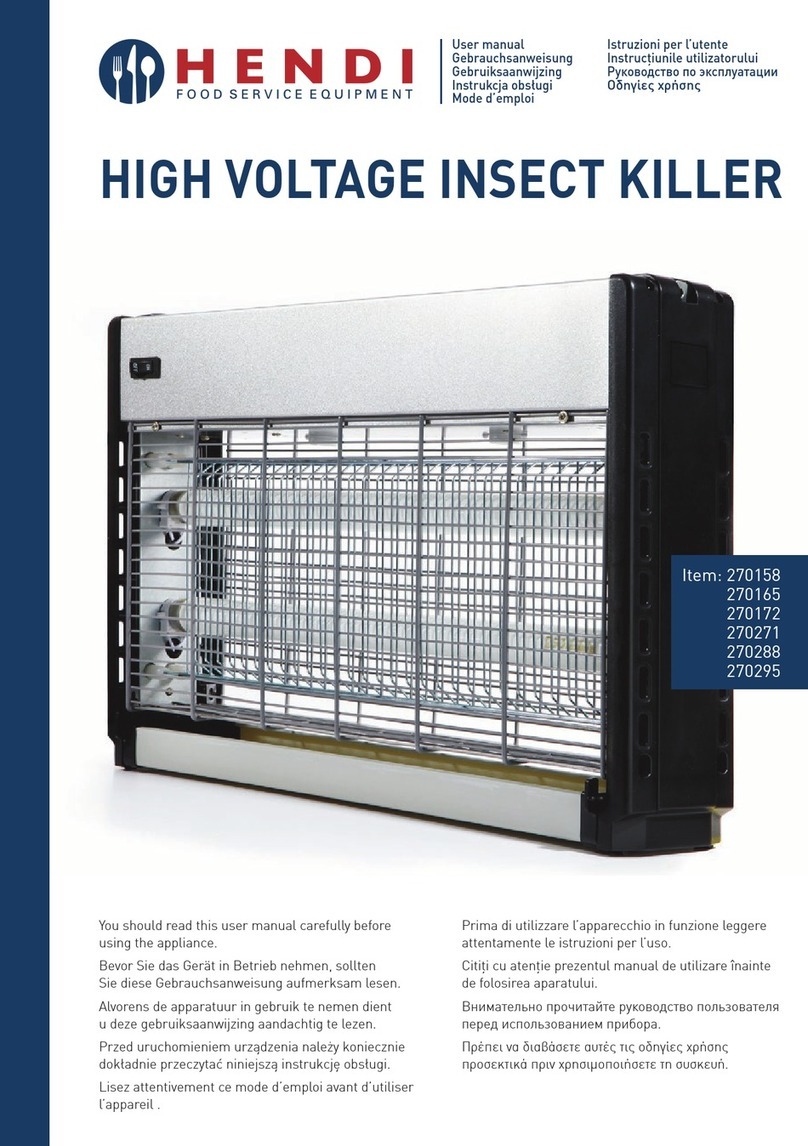
Hendi HND270271 User manual

You should read this user manual carefully before using the appliance.
HIGH VOLTAGE INSECT KILLER
HND270271, HND270288

2
Keep these instructions with the appliance.
For indoor use only.

3

4
Dear Customer,
Thank you for purchasing this Hendi appliance. Before using the appliance for the first time, please read
this manual carefully, paying particular attention to the safety regulations outlined below.
Safety regulations
• This appliance is intended for commercial use.
• The appliance must only be used for the purpose for which it was intended and designed.
The manufacturer is not liable for any damage caused by incorrect operation and im-
proper use.
• Keep the appliance and electrical plug away from water and any other liquids. In the
event that the appliance should fall into water, immediately remove plug from the socket
and do not use until the appliance has been checked by a certified technician. Failure to
follow these instructions could cause a risk to lives.
• Never attempt to open the casing of the appliance yourself.
• Do not insert any objects in the casing of the appliance.
• Do not touch the plug with wet or damp hands.
• DANGER OF ELECTRIC SHOCK! Do not attempt to repair the appliance yourself. In
case of malfunctions, repairs are to be conducted by qualified personnel only.
• Never use a damaged appliance! Disconnect the appliance from the electrical outlet and
contact the retailer if it is damaged.
• WARNING! Do not immerse the electrical parts of the appliance in water or other liquids.
Never hold the appliance under running water.
•Regularly check the power plug and cord for any damage. If the power plug or power cord
is damaged, it must be replaced by a service agent or similarly qualified persons in order
to avoid danger or injury.
•Make sure the cord does not come in contact with sharp or hot objects and keep it away
from open fire. To pull the plug out of the socket, always pull on the plug and not on the
cord.
•
Ensure that the cord (or extension cord) is positioned so that it will not cause a trip hazard.
• Always keep an eye on the appliance when in use.
•
WARNING! As long as the plug is in the socket the appliance is connected to the power
source.
• Turn off the appliance before pulling the plug out of the socket.
• Never carry the appliance by the cord.
• Do not use any extra devices that are not supplied along with the appliance.
• Only connect the appliance to an electrical outlet with the voltage and frequency
mentioned on the appliance label.
• Connect the power plug to an easily accessible electrical outlet so that in case of
emergency the appliance can be unplugged immediately. To completely switch off the
appliance pull the power plug out of the electrical outlet.

5
• Never use accessories other than those recommended by the manufacturer. Failure to do
so could pose a safety risk to the user and could damage the appliance. Only use original
parts and accessories.
•This appliance is not intended for use by persons (including children) with reduced
physical, sensory or mental capabilities, or lack of experience and knowledge.
•This appliance must not be used by children under any circumstances.
•Keep the appliance and its cord out of reach of children.
•Always disconnect the appliance from the mains if it is left unattended or is not in use,
and before assembly, disassembly or cleaning.
•Never leave the appliance unattended during use.
Special safety regulations (Fig. 7)
•Use the appliance only as described in this manual
• HIGH VOLTAGE! DON’T TOUCH THE ELECTRIC NET! This appliance uses high voltage
(more than 1000 Volt). Never touch the high-voltage grids. During cleaning and/or
maintenance ALWAYS remove the plug from the socket and discharge the appliance
afterwards (discharge by short-circuiting the high-voltage grids with a metal object
with an isolated grip).
•DANGER OF EXPLOSION! Do not use near flammable liquids or gases.
•The appliance is not suitable for household room illumination.
•NOTICE: UV emitted from this product. Minimize exposure to eyes and skin. Use appro-
priate shielding.
•Do not stare at the UV lamp source.
•The appliance is not suitable for use in barns, stable and similar locations.
Intended use
• This appliance is designed solely for attracting
and electrocuting flies and other insects. Any
other use may lead to damage of the appliance
or personal injury.
• Operating the appliance for any other purpose
shall be deemed a misuse of the device. The user
shall be solely liable for improper use of the de-
vice.
Grounding installation
This appliance is classified as protection class
I and must be connected to a protective ground.
Grounding reduces the risk of electric shock by
providing an escape wire for the electric current.
This appliance is fitted with a power cord that has a
grounding wire and grounded plug. The plug must
be plugged into an outlet that is properly installed
and grounded.
User instructions
Position the appliance as indicated at “Best place
for fixing”. Put the plug into the socket. The flu-
orescent tube should light now. After some time
the drawer of the Electronic Fly Trap will become
full and should be emptied. Remove the plug
from the socket and remove the drawer (Fig. 8) to
empty it. Suitable for a room with an area of 50m2
(HND270271) / 100m2(HND270288) maximum.

6
In the packing you will find the following parts
• The appliance complete with tubes and drawer
• A chain to hang the appliance
• The user manual
Best place for fixing
• Away from windows or doors because of draft and
daylight.
• Away from places where food will be prepared or
presented.
• Close to the area where flies come in but away
from draft and wind.
• Somewhere the appliance can stay 24 hours a
day.
• Above eye level and so that no one can bump the
appliance.
• Out of reach from flammable objects like cur-
tains, lace curtains etc.
• Away from flammable liquids or gases. DANGER
OF EXPLOSION
• This appliance can stand as well as hang by the
included chain (Fig. 1)
Replacement of tubes and starters
Remove the plug from the socket. Remove the
screws at the bottom of the housing (Fig. 2) and the
outer grid upper screws and remove it (Fig. 3). The
outer grid consists of two parts, therefore it is suf-
ficient to remove the screws on one side only from
the fluorescent lamp and not on the inner side of
the grid. Turn the lamp 90 ° and remove the handle
(Fig. 4). Place the new lamp in the reverse order of
its removal. Almost equal operations to be carried
out in order to exchange starters (Fig. 5 and 6). Af-
ter replacing the lamp and / or starters retighten
the outer grid. Do not turn on and do not use with-
out a grid - danger of electric shock.
Preparations before using for the first time
• Check to make sure the appliance is undamaged.
In case of any damage, contact your supplier im-
mediately and do NOT use the appliance.
• Remove all the packing material and protection
film (if applicable).
• Keep the packaging if you intend to store your ap-
pliance in the future.
• Clean the appliance with luke-warm water and
a soft cloth.
• Place the appliance on a level and steady surface,
unless mentioned otherwise.
• Make sure there is enough clearance around the
appliance for ventilation purposes.
• Position the appliance in such a way that the plug
is accessible at all times.
Cleaning and maintenance
• Always remove the plug from the socket before
cleaning the appliance.
• Beware: Never immerse the appliance in water
or any other liquid!
• Clean the outside of the appliance with a damp
cloth (water with mild detergent).
• Never use aggressive cleaning agents or abra-
sives. Do not use any sharp or pointed objects.
Do not use petrol or solvents! Clean with a damp
cloth and detergent if necessary. Do not use
abrasive materials.
• Clean the ventilation slots (if applicable) with the
vacuum cleaner.

7
Technical specifications
Article number HND270271 HND270288
Voltage and frequency 220-240V~ 50/60Hz
Power input 22W 36W
Tube icon GLEECON F8T5/BL368 GLEECON F15T8/BL368
Lamp type 2x8W G5
(double capped fluorescent lamp)
2x15W G13
(double capped fluorescent lamp)
Classification Class I
Ambient temperature 10ºC - 45 ºC
Relative humidity 10-70% RH
Ultraviolet UV-A (315-400nm)
Lamp dimension (D)16x(L)288 mm (D)25.4x(L)435 mm
Chain lenght 400 mm 570 mm
Exterior dimensions 335x90x(H)260 mm 485x90x(H)310 mm
Net weight 2 kg 3 kg
Warranty
Any defect affecting the functionality of the ap-
pliance which becomes apparent within one year
after purchase will be repaired by free repair or re-
placement provided the appliance has been used
and maintained in accordance with the instructions
and has not been abused or misused in any way.
Your statutory rights are not affected. If the appli-
ance is claimed under warranty, state where and
when it was purchased and include proof of pur-
chase (e.g. receipt).
In line with our policy of continuous product devel-
opment we reserve the right to change the product,
packaging and documentation specifications with-
out notice.
Discarding & Environment
When decommissioning the appliance, the prod-
uct must not be disposed of with other household
waste. Instead, it is your responsibility to dispose to
your waste equipment by handing it over to a des-
ignated collection point. Failure to follow this rule
may be penalized in accordance with applicable
regulations on waste disposal. The separate col-
lection and recycling of your waste equipment at
the time of disposal will help conserve natural re-
sources and ensure that it is recycled in a manner
that protects human health and the environment.
For more information about where you can drop off
your waste for recycling, please contact your local
waste collection company. The manufacturers and
importers do not take responsibility for recycling,
treatment and ecological disposal, either directly
or through a public system.

8
Important notice to UK users
This appliance is fitted with a UK approved mains
plug and a 13A fuse. Should the fuse need to be re-
placed, an ASTA or BSI approved BS1362 fuse, rated
at 13A must be used. If the plug needs replacing,
ensure that the fuse is removed beforehand. Always
dispose of defunct plugs and fuses immediately.
Connecting a mains plug
The wires in the mains lead are coloured as following:
Blue: NEUTRAL Brown: LIVE Green & Yellow: EARTH
As these colours may not correspond to the coloured markings identifying the terminals in your plug, proceed
as follows:
• The wire coloured BLUE must be connected to
the terminal marked with the letter N or colour-
ed BLUE or BLACK.
• The wire coloured BROWN must be connected to
the terminal marked with the letter L or colour-
ed BROWN or RED.
• The wire coloured GREEN & YELLOW must be
connected to the terminal marked with the letter
E or coloured GREEN or GREEN & YELLOW or
marked with the Earth Symbol
If you have any doubt about the electrical supply to you appliance, consult a qualified electrician before use.

9

10

11

Manufacturer: Hendi B.V.
Innovatielaan 6
6745 XW De Klomp, The Netherlands
Tel: +31 317 681 040
Email: [email protected]
Importer: Neville UK PLC
Unit 6, Viking Way. Erith, Kent.
DA8 1EW, England
https://www.nevilleuk.com/
Hendi HK Ltd.
1208, 12/F, Exchange Tower
33 Wang Chiu Road, Kowloon Bay, Hong Kong
Tel: +852 2154 2618
Email: [email protected]
Find Hendi on internet:
www.hendi.eu
www.facebook.com/HendiToolsforChefs
www.linkedin.com/company/hendi-food-service-equipment-b.v.
www.youtube.com/HendiEquipment
- Changes, printing and typesetting errors reserved.
© 2021 Hendi B.V. De Klomp - The Netherlands Ver: 24-09-2021
This manual suits for next models
1
Table of contents
Other Hendi Lawn And Garden Equipment manuals
Popular Lawn And Garden Equipment manuals by other brands

Toro
Toro Sand Pro 3040 manual

BIOLAN
BIOLAN BIOWASTE COMPOSTER Instructions for use

Sunnydaze Decor
Sunnydaze Decor XCA-122 instruction manual

Husqvarna
Husqvarna ESA850 Operator's manual

Graf
Graf SICKER-TUNNEL TWIN Series Installation and maintenance instructions

FarmTek
FarmTek 103780 Assembly instructions