manuals.online logo
Brands
  1. Home
  2. •
  3. Brands
  4. •
  5. Herman Miller
  6. •
  7. Indoor Furnishing
  8. •
  9. Herman Miller Canvas Office Landscape Standing Screen Installation instructions

Herman Miller Canvas Office Landscape Standing Screen Installation instructions

Z
© 2013 Herman Miller, Inc. Zeeland, Michigan. Printed in the U.S.A.
TM Y, L, Canvas Office Landscape are among the trademarks of Herman Miller, Inc.
Illustrations and specifications are based on the latest product information available at the time of publication.
The right is reserved to make changes in design and specifications at any time, without notice, and also to discontinue products. 1
Part no. 1b8h5s rev D.
YCanvas Office Landscape™Standing Screen Installation
and Disassembly for Recycling Instructions
Parts Included:
Standing Screen
(FC300.)
90 Degree Bottom
Frame Connector(2)
(FC311.1)
90 Degree Top
Frame Connector(2)
(FC311.1)
120 Degree Bottom
Frame Connector(2)
(FC311.2)
120 Degree Top
Frame Connector(2)
(FC311.2)
180 Degree Top
Frame Connector(2)
(FC311.3)
180 Degree Bottom
Frame Connector(2)
(FC311.3)
Top Frame End Cap
(2) (FC311.4)
Spacer (4) or (8)
(FC310.)
Frame End Cap(2)
(FC311.4)
A
D
P
E
R
N
C
M
S
B
J23” Foot Plate
(FC310.2)
HFoot Plate
(FC310.1)
FGlide(2)
(FC311.)
Flat Head Machine
Screw(6) (FC311.)
G
Hardware Pack
Hardware Pack
Tapping Screw (Varies)
(FC310.)
L
Tools Required:
Power Driver #2 Phillips Bit Safety Glasses
KBallast
(FC310.3) includes (2)
item J
Z
© 2013 Herman Miller, Inc. Zeeland, Michigan. Printed in the U.S.A.
TM Y, L, Canvas Office Landscape are among the trademarks of Herman Miller, Inc.
Illustrations and specifications are based on the latest product information available at the time of publication.
The right is reserved to make changes in design and specifications at any time, without notice, and also to discontinue products. 2
Part no. 1b8h5s rev D.
3a. Secure Foot Plates(H) onto Screens(A) with Tapping Screws(L). See
Planning Guide for Foot location details. Use pre-drilled holes in bottom rail of
Screen. Install Glides(F) into Frame Connectors.
Corner Conguration:
1. Determine where the proper placement for Foot Plates and Frame Connectors
will be on all Standing Screens in run before installation. See Planning Guide
for details.
2. Install Frame Connectors(C), (D) or (E) and End Caps(B) onto Bottom Rail of
Screen(A) using Flat Head Machine Screws(J).
L
F
H
A
Bottom Rail
Frame Connector
Bottom Rail
or
G
BG
D E
C
G
Assembly Instructions:
Z
© 2013 Herman Miller, Inc. Zeeland, Michigan. Printed in the U.S.A.
TM Y, L, Canvas Office Landscape are among the trademarks of Herman Miller, Inc.
Illustrations and specifications are based on the latest product information available at the time of publication.
The right is reserved to make changes in design and specifications at any time, without notice, and also to discontinue products. 3
Part no. 1b8h5s rev D.
Single Screen Conguration:
3b. Assemble Ballast(K) to bottom of screen with 3 Tapping Screws(L). Secure
two 23”Feet(J) to Frame with 2 Tapping Screws(L) per Foot.
L
KL
J
Z
© 2013 Herman Miller, Inc. Zeeland, Michigan. Printed in the U.S.A.
TM Y, L, Canvas Office Landscape are among the trademarks of Herman Miller, Inc.
Illustrations and specifications are based on the latest product information available at the time of publication.
The right is reserved to make changes in design and specifications at any time, without notice, and also to discontinue products. 4
Part no. 1b8h5s rev D.
Straight Run Conguration:
3c. For Frames in a stand alone straight run: Assemble Glides(F) to Frame
Connectors. Install 23” Foot(J) at locations listed in Planning Guidelines.
Secure Feet to Frame with 2 Tapping Screws(L) per Foot.
F
J
L
Z
© 2013 Herman Miller, Inc. Zeeland, Michigan. Printed in the U.S.A.
TM Y, L, Canvas Office Landscape are among the trademarks of Herman Miller, Inc.
Illustrations and specifications are based on the latest product information available at the time of publication.
The right is reserved to make changes in design and specifications at any time, without notice, and also to discontinue products. 5
Part no. 1b8h5s rev D.
7. Install Frame Connector(N)
(P) or (R) across top of
Screen.
8. Secure Connectors to
Screens with Flat Head
Machine Screws(G).
9. Repeat steps 6 through 8 for
entire length of run.
10. Install End Caps(M) onto
Top of Screens using Flat
Head Machine Screw(G).
4. Stand up rst Screen.
5. Prepare next screen in run as
described in steps 2 and 3.
6. Stand Screen upright. Insert
Pin on bottom Connector on
rst screen into hole in bottom
of next screen.
G
G
G
N
M
or
Pin
PR
Z
© 2013 Herman Miller, Inc. Zeeland, Michigan. Printed in the U.S.A.
TM Y, L, Canvas Office Landscape are among the trademarks of Herman Miller, Inc.
Illustrations and specifications are based on the latest product information available at the time of publication.
The right is reserved to make changes in design and specifications at any time, without notice, and also to discontinue products. 6
Part no. 1b8h5s rev D.
Leveling Screens:
11. To level screens; adjust Glides in
bottom frame connectors.
12. To level height at foot locations;
Lift Screen. Loosen 2 tapping screws.
Slide in Spacers(S) as needed
between Foot and Frame. Tighten
Screws.
S
Screw
Glides
Foot
Z
© 2013 Herman Miller, Inc. Zeeland, Michigan. Printed in the U.S.A.
TM Y, L, Canvas Office Landscape are among the trademarks of Herman Miller, Inc.
Illustrations and specifications are based on the latest product information available at the time of publication.
The right is reserved to make changes in design and specifications at any time, without notice, and also to discontinue products. 7
Part no. 1b8h5s rev D.
13. Remove 2 Screws attaching Top Rail to
Screen.
14. Remove Top Rail
17. Align Dowels in frame with holes in Top
Rail. Press straight down while guiding
Inll into groove in Top Rail.
18. Secure Top Rail to Frame with 2 Screws
previously removed.
15. If replacing existing inll, pull inll up and
out of screen frame.
16. Insert replacement or customer’s own
inll into screen frame.
Tack Inll: Align steel clips to magnet
position on tack tile.
Replacing or Installing Customer’s Own Inll:
Top Rail
Top Rail
Inll
Inll
Screw
Screw
Dowel
Screw
Screw
Z
© 2013 Herman Miller, Inc. Zeeland, Michigan. Printed in the U.S.A.
TM Y, L, Canvas Office Landscape are among the trademarks of Herman Miller, Inc.
Illustrations and specifications are based on the latest product information available at the time of publication.
The right is reserved to make changes in design and specifications at any time, without notice, and also to discontinue products. 8
Part no. 1b8h5s rev D.
Disassembly for Recycling:
Materials Identication and Segregation:
Where possible, plastic components are marked with ASTM recycling codes.
Use these codes to identify material type for recycling. Non marked components
should be treated as mixed plastic. Ferrous metals can be identied using a
small magnet for recycling. Non-ferrous metals should be separated and recycled
separately.
To disassemble product, reverse steps 18 through 1 (according to the conguration
used).

Other Herman Miller Indoor Furnishing manuals

Herman Miller Eames Square User manual

Herman Miller

Herman Miller Eames Square User manual

Herman Miller Vivo Installation instructions
Herman Miller

Herman Miller Vivo Installation instructions

Herman Miller Eames Coffee Table User manual
Herman Miller

Herman Miller Eames Coffee Table User manual

Herman Miller Canvas Office Landscape User manual

Herman Miller

Herman Miller Canvas Office Landscape User manual

Herman Miller Canvas Office Landscape Architectural Foot Installation instructions

Herman Miller

Herman Miller Canvas Office Landscape Architectural Foot Installation instructions

Herman Miller Mirra 2 Installation instructions
Herman Miller

Herman Miller Mirra 2 Installation instructions

Herman Miller Motia Sit-to-Stand Table User manual

Herman Miller

Herman Miller Motia Sit-to-Stand Table User manual

Herman Miller Lino Guide

Herman Miller

Herman Miller Lino Guide
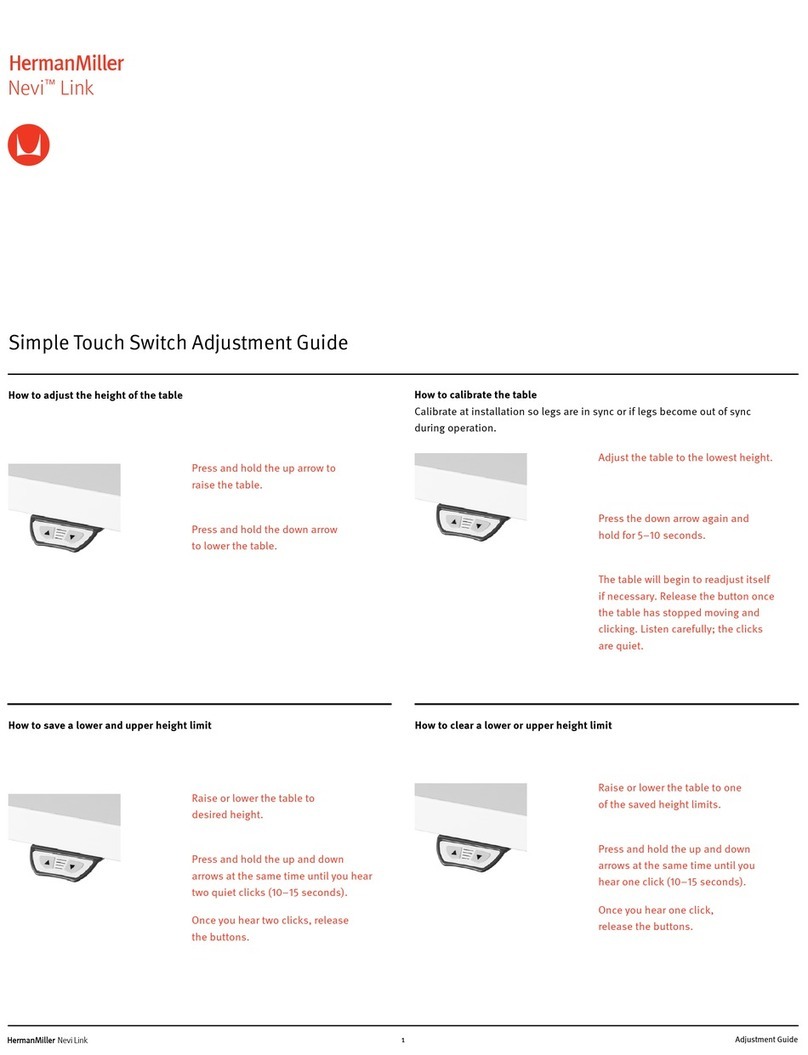
Herman Miller Nevi Link Guide

Herman Miller

Herman Miller Nevi Link Guide
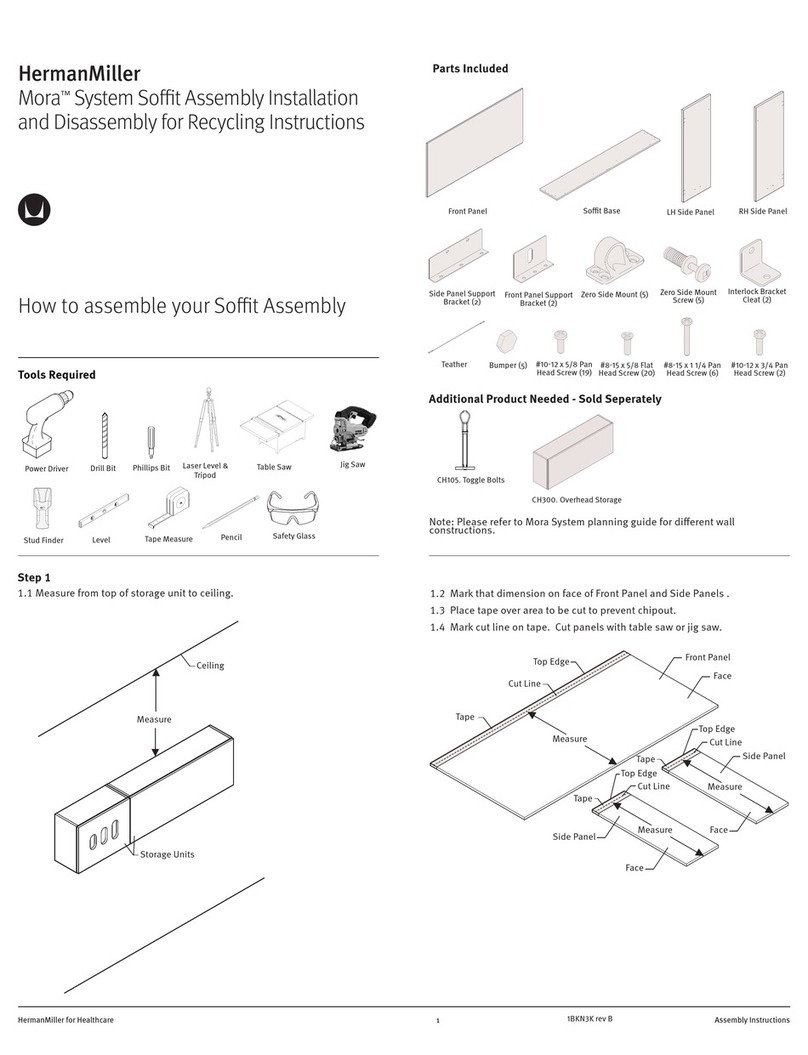
Herman Miller Mora User manual

Herman Miller

Herman Miller Mora User manual
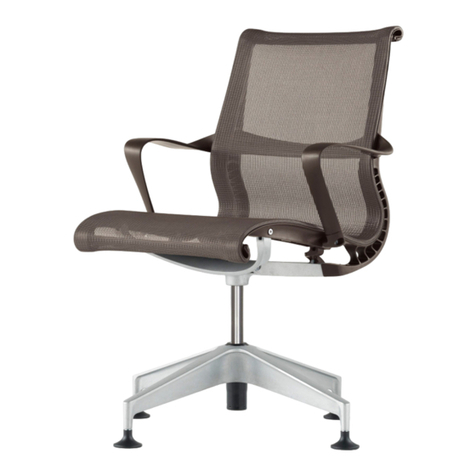
Herman Miller Setu Table User manual

Herman Miller

Herman Miller Setu Table User manual

Herman Miller Nelson Bench User manual

Herman Miller

Herman Miller Nelson Bench User manual

Herman Miller OE1 User manual

Herman Miller

Herman Miller OE1 User manual

Herman Miller Verus Task Chair Installation instructions
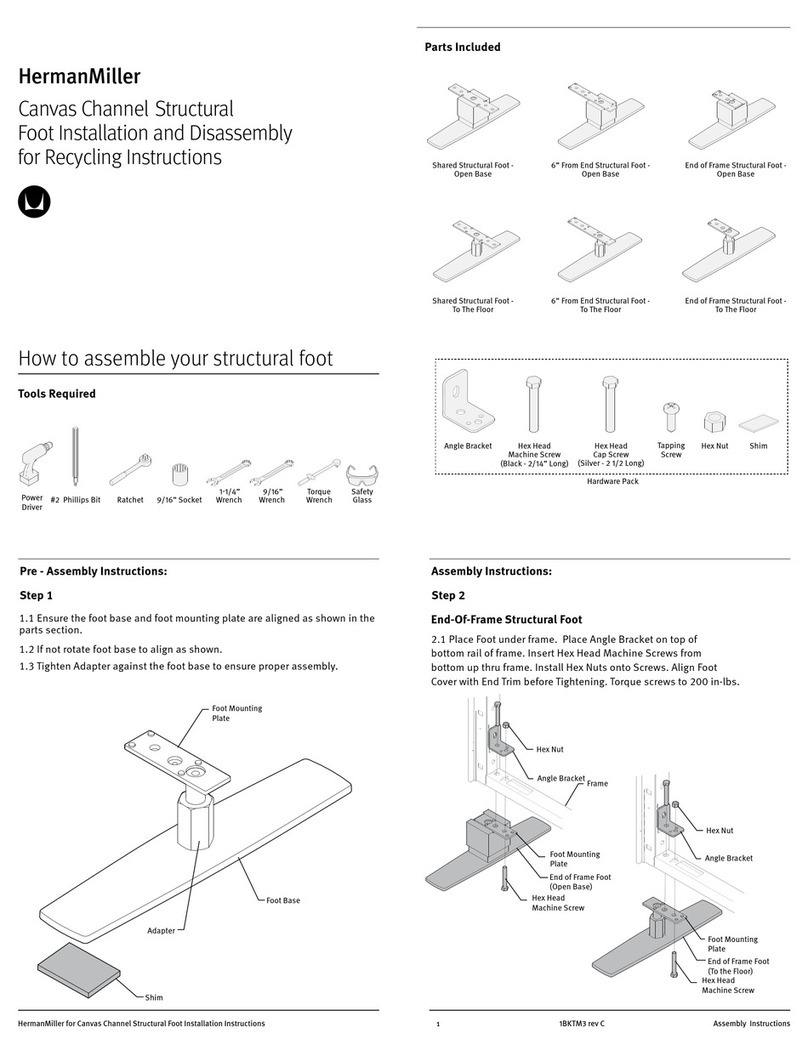
Herman Miller

Herman Miller Verus Task Chair Installation instructions

Herman Miller Canvas Channel StructuralFoot Installation instructions

Herman Miller

Herman Miller Canvas Channel StructuralFoot Installation instructions

Herman Miller Nelson Bench User manual

Herman Miller

Herman Miller Nelson Bench User manual

Herman Miller X LOGITECH G EMBODY Guide

Herman Miller

Herman Miller X LOGITECH G EMBODY Guide

Herman Miller Aeron Installation instructions

Herman Miller

Herman Miller Aeron Installation instructions

Herman Miller Mirra 2 User manual

Herman Miller

Herman Miller Mirra 2 User manual

Herman Miller Aeron Guide

Herman Miller

Herman Miller Aeron Guide

Herman Miller Renew User manual

Herman Miller

Herman Miller Renew User manual

Herman Miller Mirra 2 User manual

Herman Miller

Herman Miller Mirra 2 User manual

Herman Miller Canvas Office Landscape User manual

Herman Miller

Herman Miller Canvas Office Landscape User manual

Herman Miller Embody 100210688 User manual

Herman Miller

Herman Miller Embody 100210688 User manual

Popular Indoor Furnishing manuals by other brands
Argos 709/2592 Assembly instructions

Argos

Argos 709/2592 Assembly instructions

GRASS DWD XP H95 Mounting instructions

GRASS

GRASS DWD XP H95 Mounting instructions

Home Accents Holiday 1006 128 759 instruction manual

Home Accents Holiday

Home Accents Holiday 1006 128 759 instruction manual

Songmics 0BN063 manual

Songmics

Songmics 0BN063 manual

IKEA HEMNES 904.134.97 manual

IKEA

IKEA HEMNES 904.134.97 manual

VRIES TRENDY PURE Cliff XL Sun Care & assembly instructions

VRIES

VRIES TRENDY PURE Cliff XL Sun Care & assembly instructions

YEYIAN CADIRA 2150 user manual

YEYIAN

YEYIAN CADIRA 2150 user manual

Naterial IDAHO 2023R09P01-0041 instruction manual

Naterial

Naterial IDAHO 2023R09P01-0041 instruction manual

Robern R3 CB-RSMK20D4P Installation

Robern

Robern R3 CB-RSMK20D4P Installation

Furniture of America Rosetta CM4187E Assembly instructions

Furniture of America

Furniture of America Rosetta CM4187E Assembly instructions

Honey Can Do HMP-01628 Assembly

Honey Can Do

Honey Can Do HMP-01628 Assembly

Songmics VASAGLE LRC087 manual

Songmics

Songmics VASAGLE LRC087 manual

Lutron Electronics Sivoia QS Wiring and Programming Guide
Lutron Electronics

Lutron Electronics Sivoia QS Wiring and Programming Guide

Moderno OL-12-B Assembly instruction

Moderno

Moderno OL-12-B Assembly instruction
TONIN CASA dafne 8075 Assembly instructions
TONIN CASA

TONIN CASA dafne 8075 Assembly instructions

Hewi 950.51.30092 Instructions for use

Hewi

Hewi 950.51.30092 Instructions for use

Ostermann REDOCOL e-Desk Pro 90 Assembly & operation manual
Ostermann

Ostermann REDOCOL e-Desk Pro 90 Assembly & operation manual

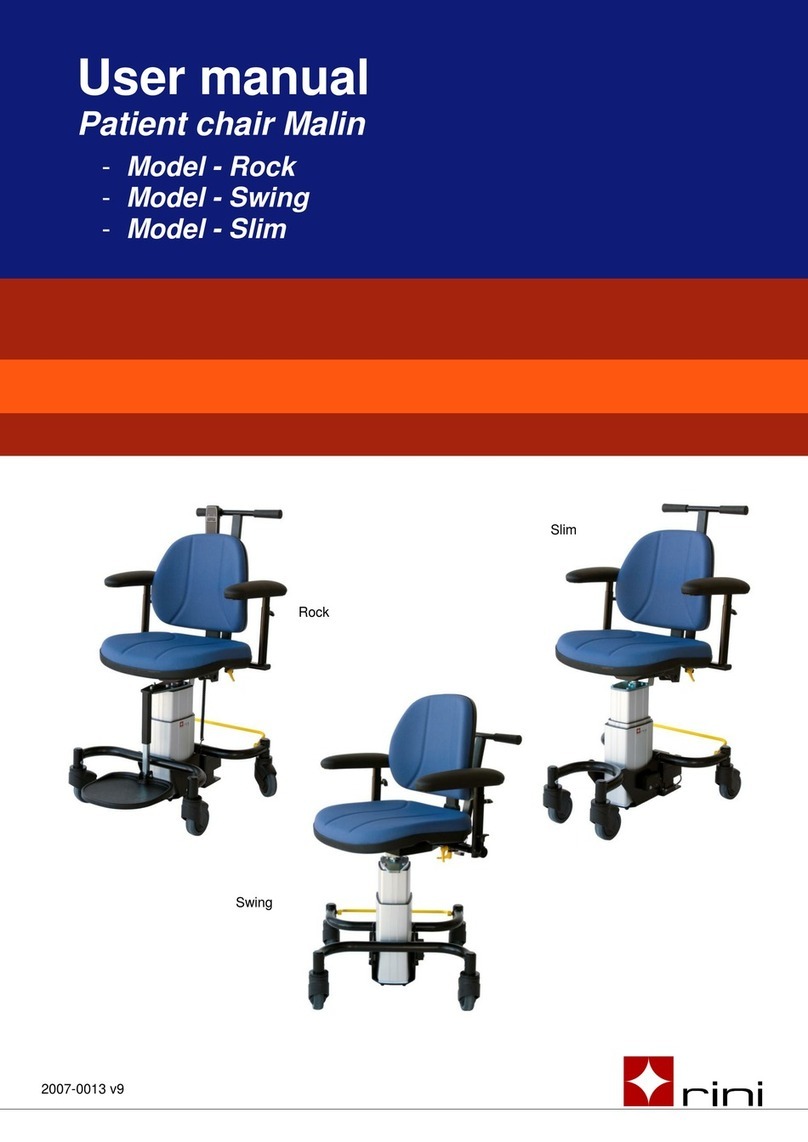
Rini Malin Series user manual

Rini

Rini Malin Series user manual

manuals.online logo
manuals.online logoBrands
  • About & Mission
  • Contact us
  • Privacy Policy
  • Terms and Conditions

Copyright 2025 Manuals.Online. All Rights Reserved.