manuals.online logo
Brands
  1. Home
  2. •
  3. Brands
  4. •
  5. Hess
  6. •
  7. Lantern
  8. •
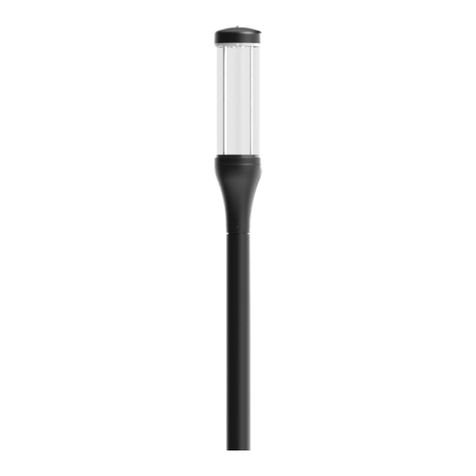
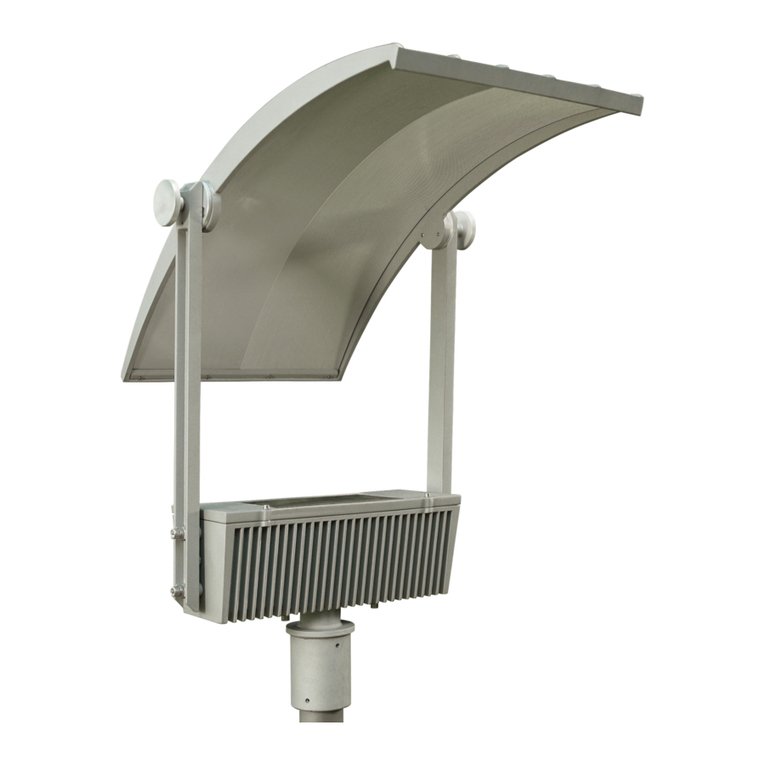
  9. Hess AVILA User manual

Hess AVILA User manual

This manual suits for next models

1

Other Hess Lantern manuals

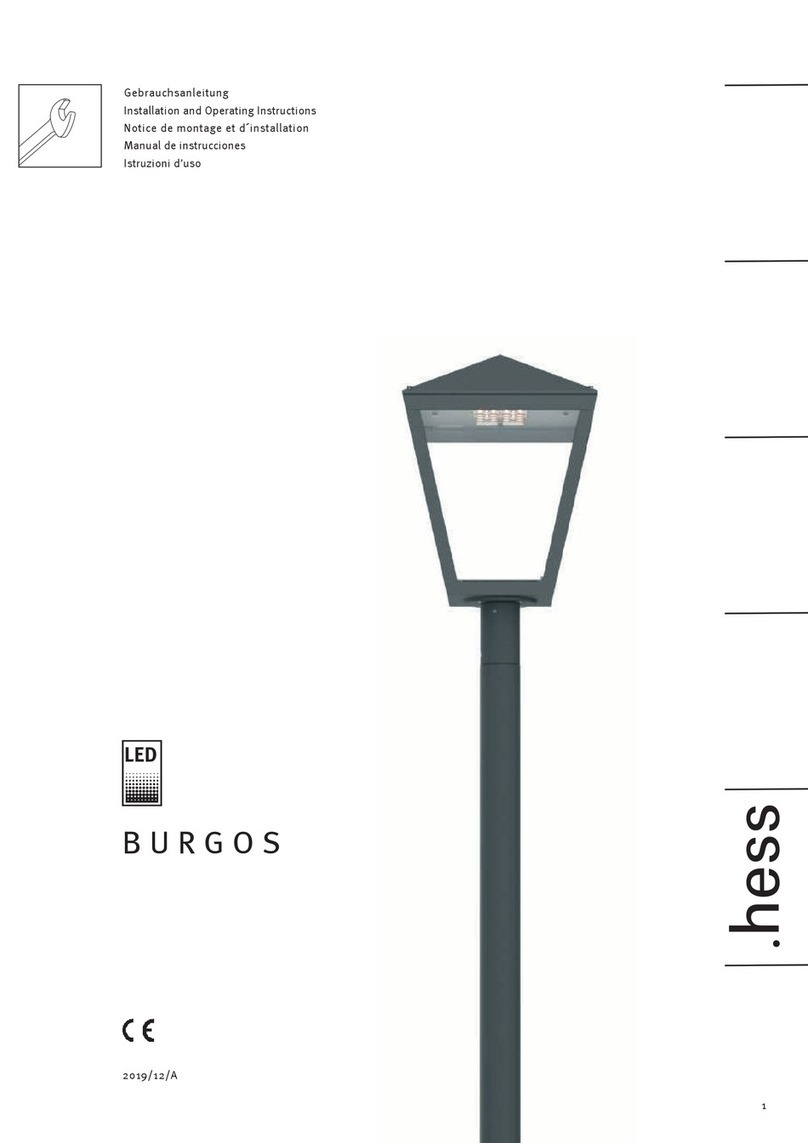
Hess BURGOS User manual

Hess

Hess BURGOS User manual

Hess REVARA L600 User manual

Hess

Hess REVARA L600 User manual

Hess NOVARA L User manual

Hess

Hess NOVARA L User manual

Hess Varese User manual

Hess

Hess Varese User manual

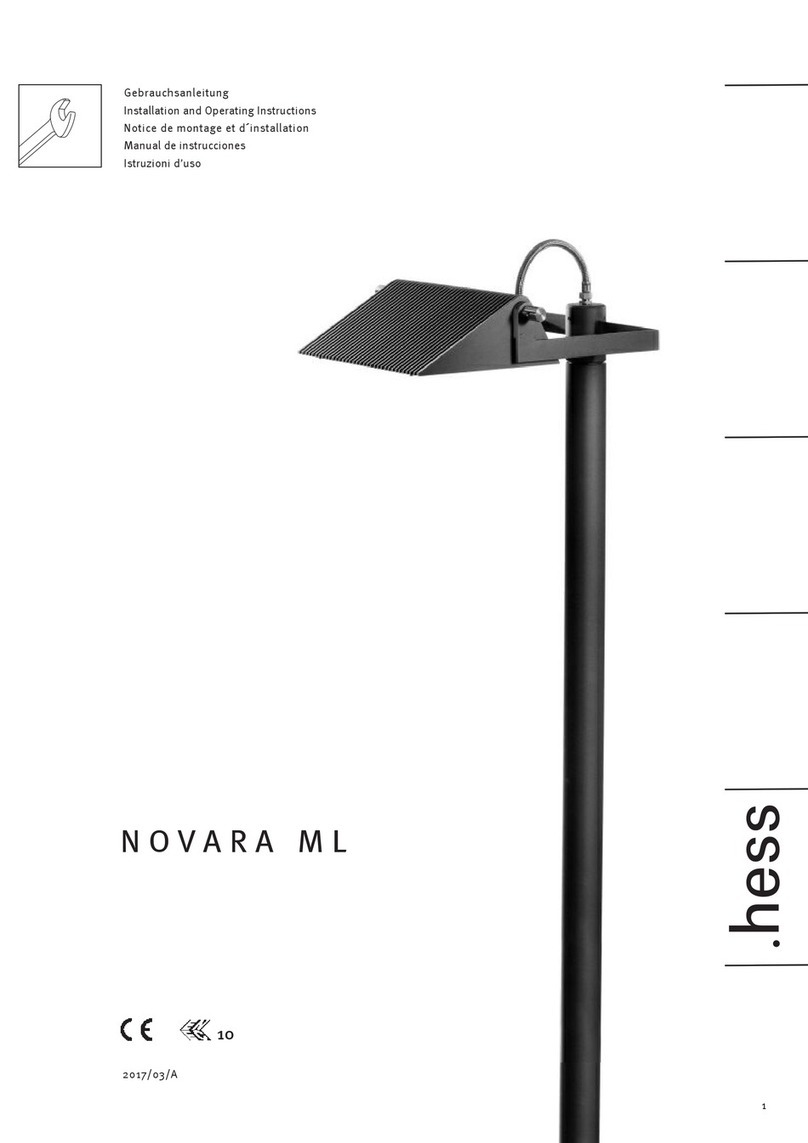
Hess NOVARA ML User manual

Hess

Hess NOVARA ML User manual

Hess PALERMO G220 1,5T User manual

Hess

Hess PALERMO G220 1,5T User manual

Hess CENTO A User manual

Hess

Hess CENTO A User manual

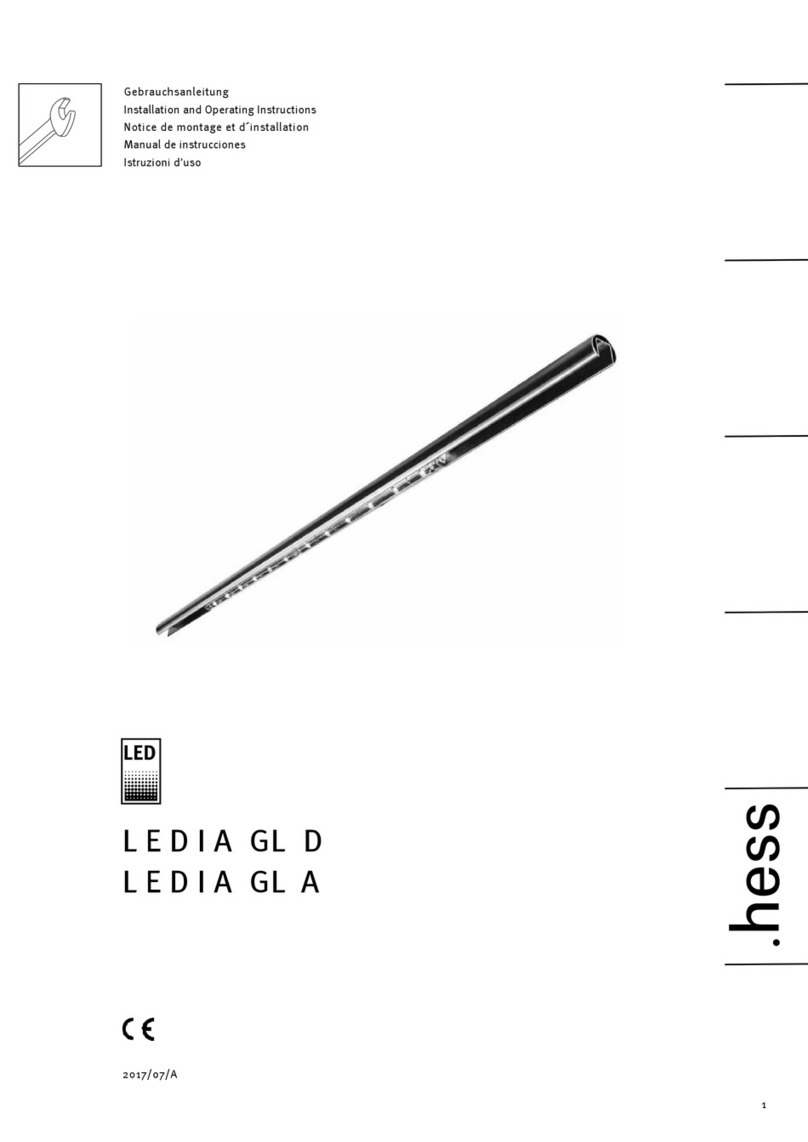
Hess LEDIA GL A Series User manual

Hess

Hess LEDIA GL A Series User manual

Hess Novara OV User manual

Hess

Hess Novara OV User manual

Hess CAMPO User manual

Hess

Hess CAMPO User manual

Popular Lantern manuals by other brands

DS Produkte TRF18P0752-1 instructions

DS Produkte

DS Produkte TRF18P0752-1 instructions

Stahl ECOLUX 6610 Series operating instructions

Stahl

Stahl ECOLUX 6610 Series operating instructions

SNOWJOE SUNJOE 24V-LGT500-CT Operator's manual

SNOWJOE

SNOWJOE SUNJOE 24V-LGT500-CT Operator's manual

PRG VARI LITE VL5 Service manual

PRG

PRG VARI LITE VL5 Service manual

Raytec VARIO2 series installation guide

Raytec

Raytec VARIO2 series installation guide

ENSA LEDBT18WS2 installation instructions

ENSA

ENSA LEDBT18WS2 installation instructions

LUG OFFICE LB LED N/T Installation instruction

LUG

LUG OFFICE LB LED N/T Installation instruction

Draper RLEDL19/B instructions

Draper

Draper RLEDL19/B instructions

Green Lighting TRI-SENSOR GL4612LU Assembly & fitting instructions

Green Lighting

Green Lighting TRI-SENSOR GL4612LU Assembly & fitting instructions

Panasonic EY3741B57 operating instructions

Panasonic

Panasonic EY3741B57 operating instructions

Clas Ohlson LCC8T instruction manual

Clas Ohlson

Clas Ohlson LCC8T instruction manual

Coolon WDN-140 manual

Coolon

Coolon WDN-140 manual

shada 1000436 instruction manual

shada

shada 1000436 instruction manual

BEGA 84 036 Instructions for use

BEGA

BEGA 84 036 Instructions for use

BEGA 33 596 Instructions for use

BEGA

BEGA 33 596 Instructions for use

Dale Tiffany GT701162 Assembly instructions

Dale Tiffany

Dale Tiffany GT701162 Assembly instructions

Wagan Brite Nite Pop-Up USB Lantern user manual

Wagan

Wagan Brite Nite Pop-Up USB Lantern user manual

Eaton Crouse-Hinds Pauluhn DLLA M2 Series Installation & maintenance information

Eaton

Eaton Crouse-Hinds Pauluhn DLLA M2 Series Installation & maintenance information

manuals.online logo
manuals.online logoBrands
  • About & Mission
  • Contact us
  • Privacy Policy
  • Terms and Conditions

Copyright 2025 Manuals.Online. All Rights Reserved.

1
Gebrauchsanleitung
Installation and Operating Instructions
Notice de montage et d´installation
Manual de instrucciones
Istruzioni d’uso
AVILA
VILLAGE 300
2019/03/A
LED
2
!
Wichtige Hinweise
Important Information
Consignes importantes
Observaciones importantes
Indicazioni importanti
Die Leuchte darf nur mit kompletter
Schutzabdeckung betrieben werden.
Only operate this luminaire when it is
in a closed state, i.e. with closed cover.
Ne faire fonctionner le luminaire
qu´avec le couvercle de protection fermé.
La luminaria debe funcionar única-
mente con las cubiertas de protección al
completo.
L’apparecchio di illuminazione può
essere utilizzato solo con le coperture di
sicurezza complete.
Fremdmasten müssen gemäß DIN EN
40 zertifiziert sein.
All poles provided by others must be
certified in compliance with DIN EN 40.
Les mâts provenant de tiers doivent
être certifiés selon DIN EN 40.
Los postes ajenos a Hess deben estar
homologados según DIN EN 40.
FI pali di altri costruttori devono
essere omologati secondo DIN EN 40.
Montage- und Wartungsarbeiten sind
nur mit Originalteilen durchzuführen. Für die
Installation und den Betrieb sind die nati-
onalen und internationalen Vorschriften zu
beachten. Werden nachträglich Änderungen
an Leuchten vorgenommen, so gilt derjenige
als Hersteller, der diese Änderungen vor-
nimmt. Hess Licht + Form übernimmt keine
Haftung für Schäden, die durch unsach-
gemäßen Einsatz entstehen. Montage nur
durch Fachpersonal.
Only use original parts for mainte-
nance and installation of this luminaire.
National and international regulations and
laws apply to the installation and opera-
tion of this lighting fixture. If modifications
are made to the luminaire, the party who
made the modifications shall be considered
the legal manufacturer thereafter. Hess
Licht + Form does not accept liability for
any damages that occur due to improper or
unskilled actions. Only qualified persons are
permitted to install and assemble products
obtained from Hess Licht + Form.
Tous travaux de montage et d‘entre-
tien ne doivent être effectués qu‘avec des
pièces d’origine. Observez les consignes
de sécurité électriques nationales et inter-
nationales lors de l’installation et lors du
fonctionnement. En cas de modifications
ultérieurement apportées aux luminaires, la
personne responsable de ces modifications
est considérée comme le fabricant. Hess
Licht + Form n’assume aucune responsabilité
pour les dommages résultant d’une utilisa-
tion non conforme. Le montage ne doit être
effectué que par des spécialistes.
Durante la instalación y el funciona-
miento deben observarse las normativas
nacionales e internacionales aplicables. En
caso de modificaciones ulteriores en lumina-
rias/postes, se considerará como fabricante
quienquiera que haya efectuado dichas
modificaciones. Hess Licht + Form declina
cualquier responsabilidad sobre daños por
uso indebido. Montaje únicamente por per-
sonal técnico cualificado.
Per gli interventi di montaggio e di
manutenzione vanno utilizzati esclusiva-
mente pezzi originali. Per l’installazione
e il funzionamento attenersi alle norme
nazionali e internazionali. Se in un secondo
tempo vengono apportate modifiche agli
apparecchi, viene considerato costruttore chi
ha effettuato le modifiche. Hess Licht + Form
non risponde in alcun modo di danni causati
da un impiego non corretto. Il montaggio va
effettuato solo da personale esperto.
Bei Wartungsarbeiten und beim
Lampenwechsel muß das Element
spannungsfrei sein.
Es muß Schutzkleidung getragen werden.
When performing maintenance and
changing the lamp, always make sure that
the power is off in the luminaire (entire col-
umn). Protective clothing must be worn.
Lors de tous travaux d’entretien et
lors du remplacement d’une source lumi-
neuse, il faut absolument mettre le module
hors circuit.
Il faut absolument porter un vêtement
protecteur.
Durante los trabajos de manteni-
miento y de sustitución de lámparas el
módulo debe permanecer sin tensión, y se
deberá llevar vestimenta de protección.
Durante gli interventi di manutenzio-
ne e la sostituzione delle lampade il modu-
lo non deve essere sottoposto a tensione.
È inoltre necessario indossare abiti di pro-
tezione.
Es dürfen nur die vom Leuchten-
hersteller vorgeschriebenen Ersatzteile
eingesetzt werden. Die Vorschriften der
Lampenhersteller sind zu beachten.
Only replacement parts specified by
the lighting fixture manufacturer may be
used. In addition, the lamp manufacturer’s
instructions must be followed.
Seules les pièces de rechange pré-
vues par le fabricant des luminaires doivent
être utilisées. Observez les consignes du
fabricant
Se deben utilizar únicamente las
lámparas y repuestos definidos por el fabri-
cante. Deben observarse las indicaciones
del fabricante.
Possono essere utilizzati solo i ricam-
bi prescritti dal costruttore dell’apparec-
chio. Attenersi alle norme del costruttore
della lampada.
3
Vorbereitende Arbeiten zum
Aufstellen des Mastes entnehmen Sie bitte
der separaten Empfehlung.
Please refer to the separate recom-
mendation for preparatory work for erect-
ing the pole.
Concernant les travaux préliminaires
pour l’installation du mât merci de consul-
ter la recommandation ci-jointe.
Referente a los trabajos preparato-
rios para la instalación del poste consulte
por favor la recomendación adjunta.
Per i lavori preparatori per
l‘installazione del palo, fare riferimento
alla raccomandazione separata.
PMMA Reinigung
Leuchtenabdeckungen aus PMMA-Kunststoff
dürfen nur mit Wasser und Spülmittel, bei
starken Verschmutzungen mit Waschbenzin
gereinigt werden. Andere Mittel sind nicht
erlaubt, insbesondere die Verwendung
von alkoholhaltigen Reinigern (Spiritus,
Glasreiniger, etc.) oder Kaltreinigern führen
zur Beschädigung der Oberfläche.
PMMA cleaning instructions
Only use a mild detergent and water to clean
luminaire covers and enclosures of PMMA
plastic. If the PMMA is very heavily soiled,
you may use benzene, but with great care
and sparingly. Do not use any other agents;
in particular, alcohol-containing cleaners
(spirits, glass cleaner, etc.) or cold cleaning
solvents will damage the surface of the
PMMA.
Conseil de nettoyage
Les couvercles de luminaire en matière
plastique (de verre acrylique) sont à nettoyer
exclusivement avec de l‘eau et un produit
vaisselle, l‘éther de pétrole est autorisé en
cas d‘encrassements tenaces. Tout autre
produit est proscrit, notamment l‘emploi
de détergents contenant de l‘alcool (white-
spirit, produits pour vitres, etc.) ou de
détergents à froid qui endommageraient la
surface.
Indicaciones para la limpieza
Las cubiertas de luminaria en metacrilato
deben limpiarse únicamente con agua y
detergente, y con éter de petróleo en caso
de suciedad importante. Se prohíbe utilizar
otros agentes de limpieza. Los agentes de
limpieza que contengan alcohol (alcohol
etílico, limpiacristales, etc.) o desengra-
santes, en particular, pueden dañar la
superficie.
Indicazioni per la pulizia
Per la pulizia degli schermi in polimetilme-
tacrilato utilizzare solo acqua e detergente
o benzina solvente in caso di forte imbrat-
tamento. Non è consentito l’impiego di altri
mezzi; in particolare detergenti contenenti
alcol (spirito, detergente per vetri, ecc.) o
detergenti a freddo danneggiano la super-
ficie.
LED-Modul: Risikogruppe 2, nicht in
den Strahl blicken!
Die Leuchte ist so zu positionieren, dass
längeres in die Leuchte schauen in einem
geringeren Abstand als 0,4m nicht zu
erwarten ist.
LED module risk group 2, do not look
into the beam!
Position the luminaire to avoid extended
viewing into the luminaire at a distance of
less than 0,4m.
Module LED, groupe des risques 2, ne
pas regarder le rayon.
Positionnez le luminaire afin d´éviter d`y
regarder longtemps à une distance infé-
rieure à 0,4m.
Módulo LED grupo de riesgo 2, no fije
la vista en le rayo.
La luminaria debe posicionarse de tal
manera que se evita mirar directamente a
la luz a una distancia menor a 0,4m durante
un tiempo prolongado.
Modulo LED gruppo a rischio 2, non
fissare direttamente la luce.
L`apparecchio deve essere posizionato in
modo da evitare la possibilità di volgere a
lungo lo sguardo verso di esso ad una dis-
tanza inferiore a 0,4m.
4
Lieferumfang
Included in Luminaire Purchase
Matériel fourni
Programa de entrega
Volume di consegna
• A •
• A •
• E •
• E •
••H
• • C • • C
• G •
10.10500.0
10.20500.4700V001
13.19500.0
10.20500.4700V002
• D • • D •
• F • • F •
• B
A B C D E F G H
mm mm ø mm mm mm ø mm mm mm
AVILA 10.10500.0 ---370 685 300 - -
VILLAGE 300 13.19500.0 ---370 685 300 --
10.20500.4700V001 4700 800 101,6 - - - - -
10.20500.4700V002 4700 -101,6 - - - 300 20
5
A B C D E F G H J
mm mm ø mm mm mm ø mm mm mm mm
AVILA 10.10500.0 - - - 370 685 300 - - -
VILLAGE 300 13.19500.0 5160 800 114,3 370 685 300 - - -
10.20522.0 - - - - - - 750 - -
10.20522.1 - - - - - - 1500 - -
10.20501.4700V001 4700 800 114,3 - - - - - -
10.20501.4700V002 4700 -114,3 - - - - 300 25
• A •
• E •
• • C
• H •
• F •
• A •
• E •
10.10500.0
10.20522.1
10.20501.4700V001
• D •
• G •
• B
13.19500.0
10.20522.0
10.20501.4700V002
•• J
• G •
6
A B C D E F G H J
mm mm ø mm mm mm ø mm mm mm mm
AVILA 10.10521.0 ---300 685 300 1500 - -
VILLAGE 300 13.19521.0 ---370 685 300 1500 - -
10.20511.0 - - - - - - 750 - -
10-20511.1 - - - - - - 1500 - -
10.20502.4700V001 4700 800 114,3 - - - - - -
10.20502.4700V002 4700 -114,3 - - - - 400 25
Lieferumfang
Included in Luminaire Purchase
Matériel fourni
Programa de entrega
Volume di consegna
• A •
• D •
• E •
• • C
• B
10.10521.0
10.20511.0
10.20502.4700V001
13.19521.0
10.20511.1
10.20502.4700V002
• F •
• G •
• H •
•• J
• G •
7
1.b
1.a
2.3
2.1
3.
Empfohlene Montagefolge
Recommended Installation Procedure
Déroulement de montage recommandé
Secuencia de montaje recomendada
Sequenza di montaggio consigliata
2.2
Kabelbelegung
Wiring diagram
Positionnement brins
de câble
Tendido de cables
Assegnazione dei cavi
4. 6.
Einstellmöglichkeiten
“DIM Modul“
Settings “DIM Modul”
Possibilités de réglage
du “Module DIM“
Posibilidades de ajuste
„Módulo DIM“
Possibilità di regolazio-
ne del „Modulo DIM“
5.
Wartung
Maintenance
Entretien
Mantenimiento
Manutenzione
8
1. Mast aufstellen / Wandarm montieren
Putting Up the Pole / Mounting the Bracket
Ériger le mât / Monter la console
Montaje del poste/ Montaje del brazo mural
Montaggio del palo / Montaggio dello sbraccio
1.a
• A >> •
•
• B
• 500 mm
1.b
• A >> •
•• 500 mm
A mm B mm
10.20500.4700V001 4700 800 -
10.20500.4700V002 4700 - Q 300x20
10.20501.4700V001 4700 800 -
10.20501.4700V002 4700 - Q 300x25
10.20502.4700V001 4700 800 -
10.20502.4700V002 4700 - Q 400x25
Typ Q 400/20
47
27
300
400
Typ Q 300/20
42
22
200
300
Gewichte / Windangriffsflächen
Weight / Wind Catching Surface
Poids / Surface de résistance au vent
Pesos / Superficie expuesta al viento
Pesi / Superficie di resistenza al vento
A D E
mm ø mm mm kg m²
AVILA 10.10500.0 4700 370 685 9,2 0,23
AVILA 10.10521.0 4700 300 685 6,8 0,17
VILLAGE 300 13.19500.0 4700 370 685 11,7 0,23
VILLAGE 300 13.19521.0 4700 370 685 11,3 0,21
10.20522.0 8,2 0,8
10.20522.1 15 0,14
10.20511.0 7,1 0,8
10.20511.1 13 0,13
10.20500.4700 51 0,42
10.20501.4700 59 0,45
10.20502.4700 67 0,45
9
2.1
C
Montage
Mounting
Montage
Montaje
Montaggio
2.
100mm
Ø 80mm
AVILA VILLAGE 300
100mm
Ø 80mm
12 Nm
10
2.2
Montage
Mounting
Montage
Montaje
Montaggio
2.
12 Nm
6x
12 Nm
6x
135mm
Ø94,3mm