RXW Temperature/RH Sensor (RXW-THC-xxx) Manual
1-508-759-9500 (U.S. and International) 4 www.onsetcomp.com
1-800-LOGGERS (U.S. only)
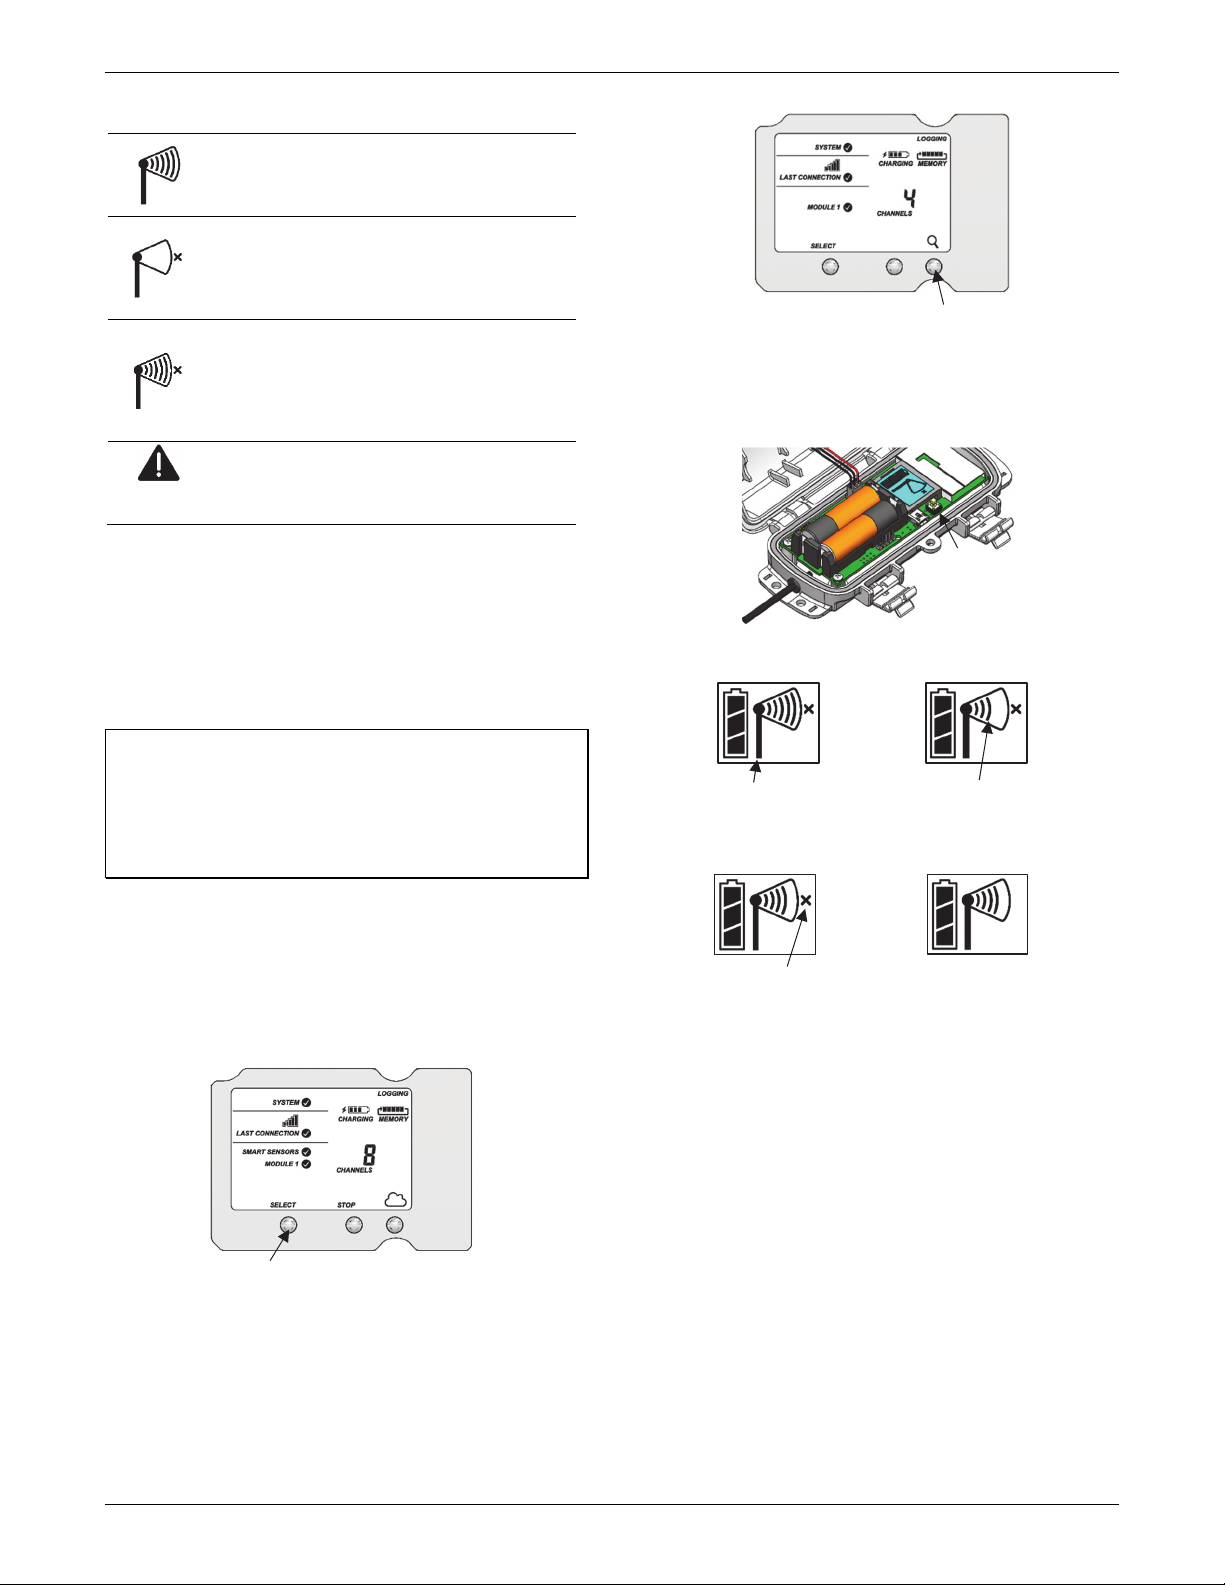
If you added more than one more mote to the network, then
the total channel count on the station LCD for the manager
module will represent all measurement channels plus a battery
channel for each mote in the network.
Sensor measurements will be recorded at the logging interval
specified in HOBOlink, transmitted to the station, and uploaded
to HOBOlink at the next connection interval (readout). Use
HOBOlink to monitor mote status and health. If a mote is
temporarily offline, any logged data is saved until it is back
online. In addition, if a mote is offline for 30 minutes, the
station will automatically connect to HOBOlink and report the
mote as missing. Once the mote is back online, any logged data
will be uploaded the next time the station connects to
HOBOlink.
See the HOBOlink Help for details on how to change the logging
and connection intervals, view data, check mote status, add the
mote to a map, and more.
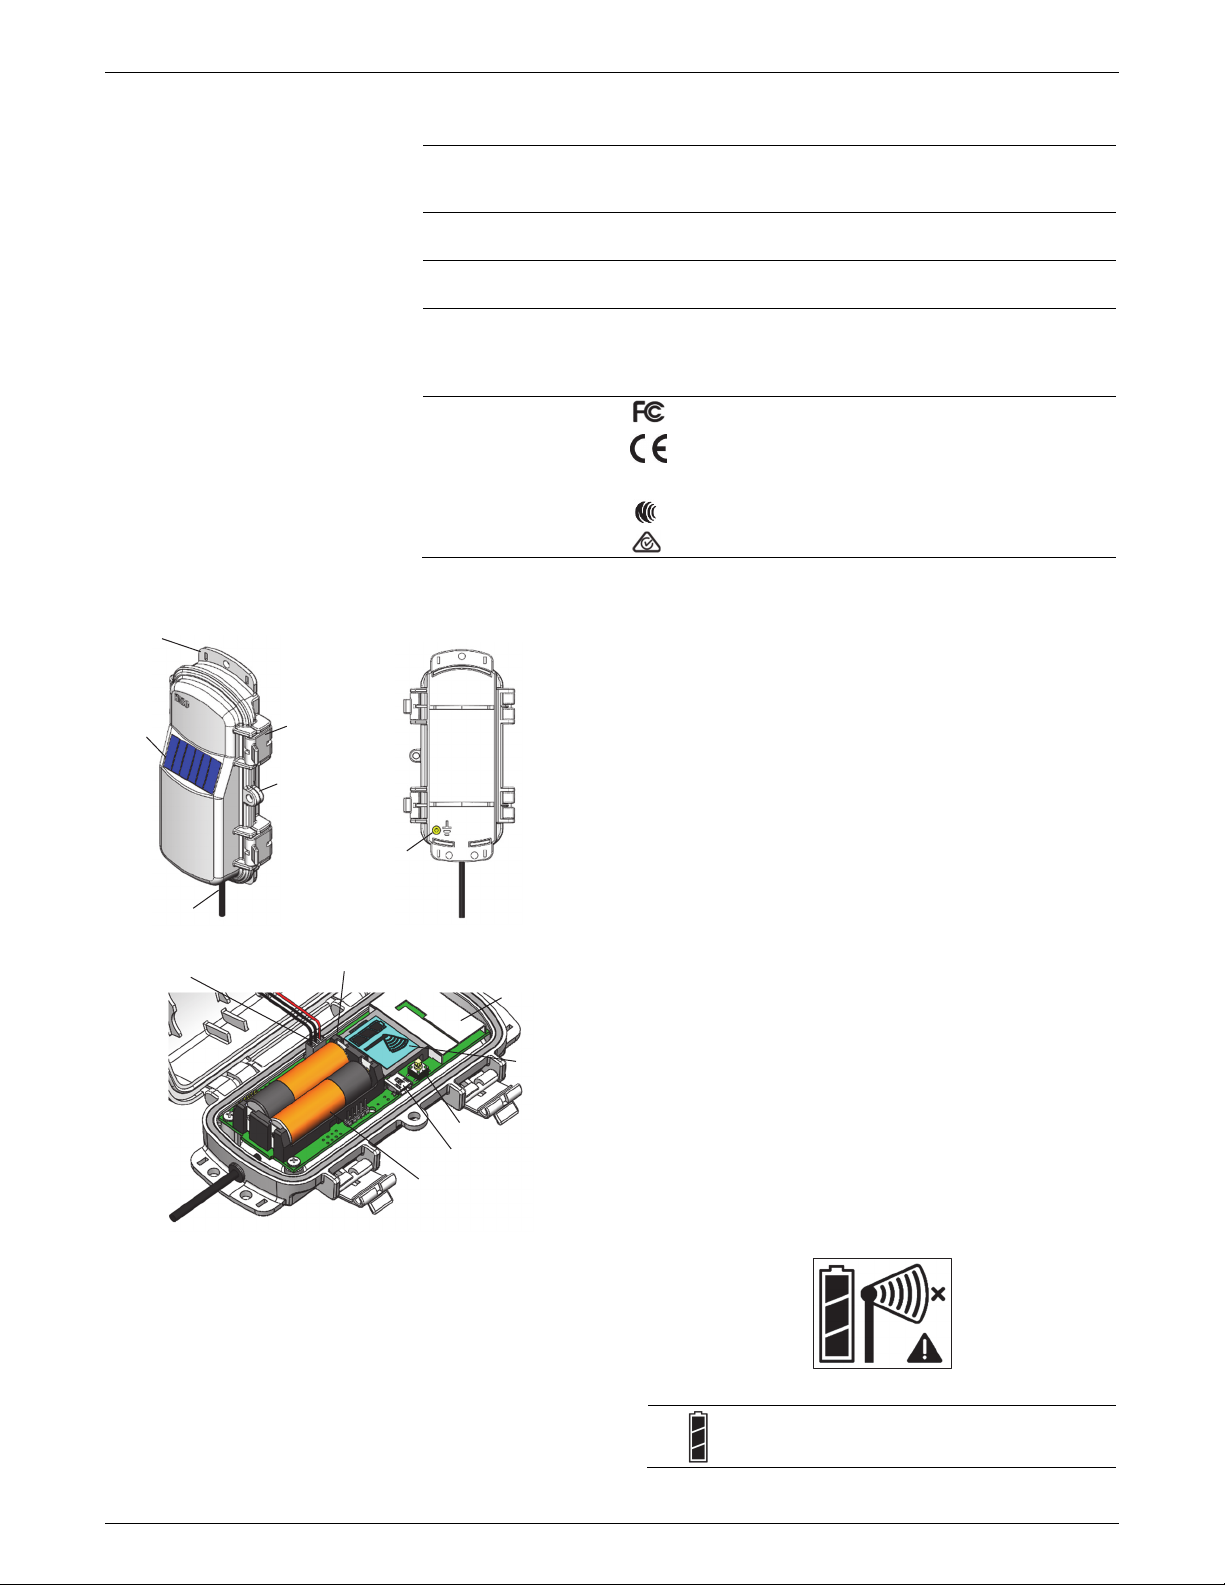
Deployment and Mounting
Mounting and Positioning the Mote
•Mount the mote to a mast or pipe using cable ties or affix
the mote to a wooden post or flat surface with screws.
Insert the cable ties or screws through the holes on the
mounting tabs.
•Consider using plastic poles such as PVC to mount the
mote as certain types of metal could decrease signal
strength.
•Make sure the mote remains in a vertical position once it
is placed in its deployment location for optimal network
communications.
•Make sure the mote door is closed, with both latches fully
locked to ensure a watertight seal.
•Consider using a 3/16 inch padlock to restrict access to the
mote. With the mote door closed, hook a padlock through
the eyelet on the right side of the door and lock it.
•Position the mote towards the sun, making sure the solar
panel is oriented so that it receives optimal sunlight
throughout each season. It may be necessary to
periodically adjust the mote position as the path of the
sunlight changes throughout the year or if tree and leaf
growth alters the amount of sunlight reaching the solar
panel.
•Make sure the mote is mounted a minimum of 1.8 m (6 ft)
from the ground or vegetation to help maximize distance
and signal strength.
•Place the mote so there is full line of sight with the next
mote. If there is an obstruction between two sensor
motes or between the sensor mote and the manager, then
use a repeater mounted on the obstruction. For example,
if there is a hill between the sensor mote and the
manager, place a repeater at the top of the hill between
the sensor mote and the manager.
•There should not be more than five motes in any direction
at their maximum transmission range from the manager.
Data logged by a wireless sensor must travel or “hop”
across the wireless network from one mote to the next
until it ultimately reaches the manager connected to the
station. To make sure the data can successfully travel
across the network, the mote should not be more than
five hops away from the manager.
•The HOBOnet Wireless Sensor Network can support up to
50 wireless sensors or 336 data channels per one HOBO
RX station.
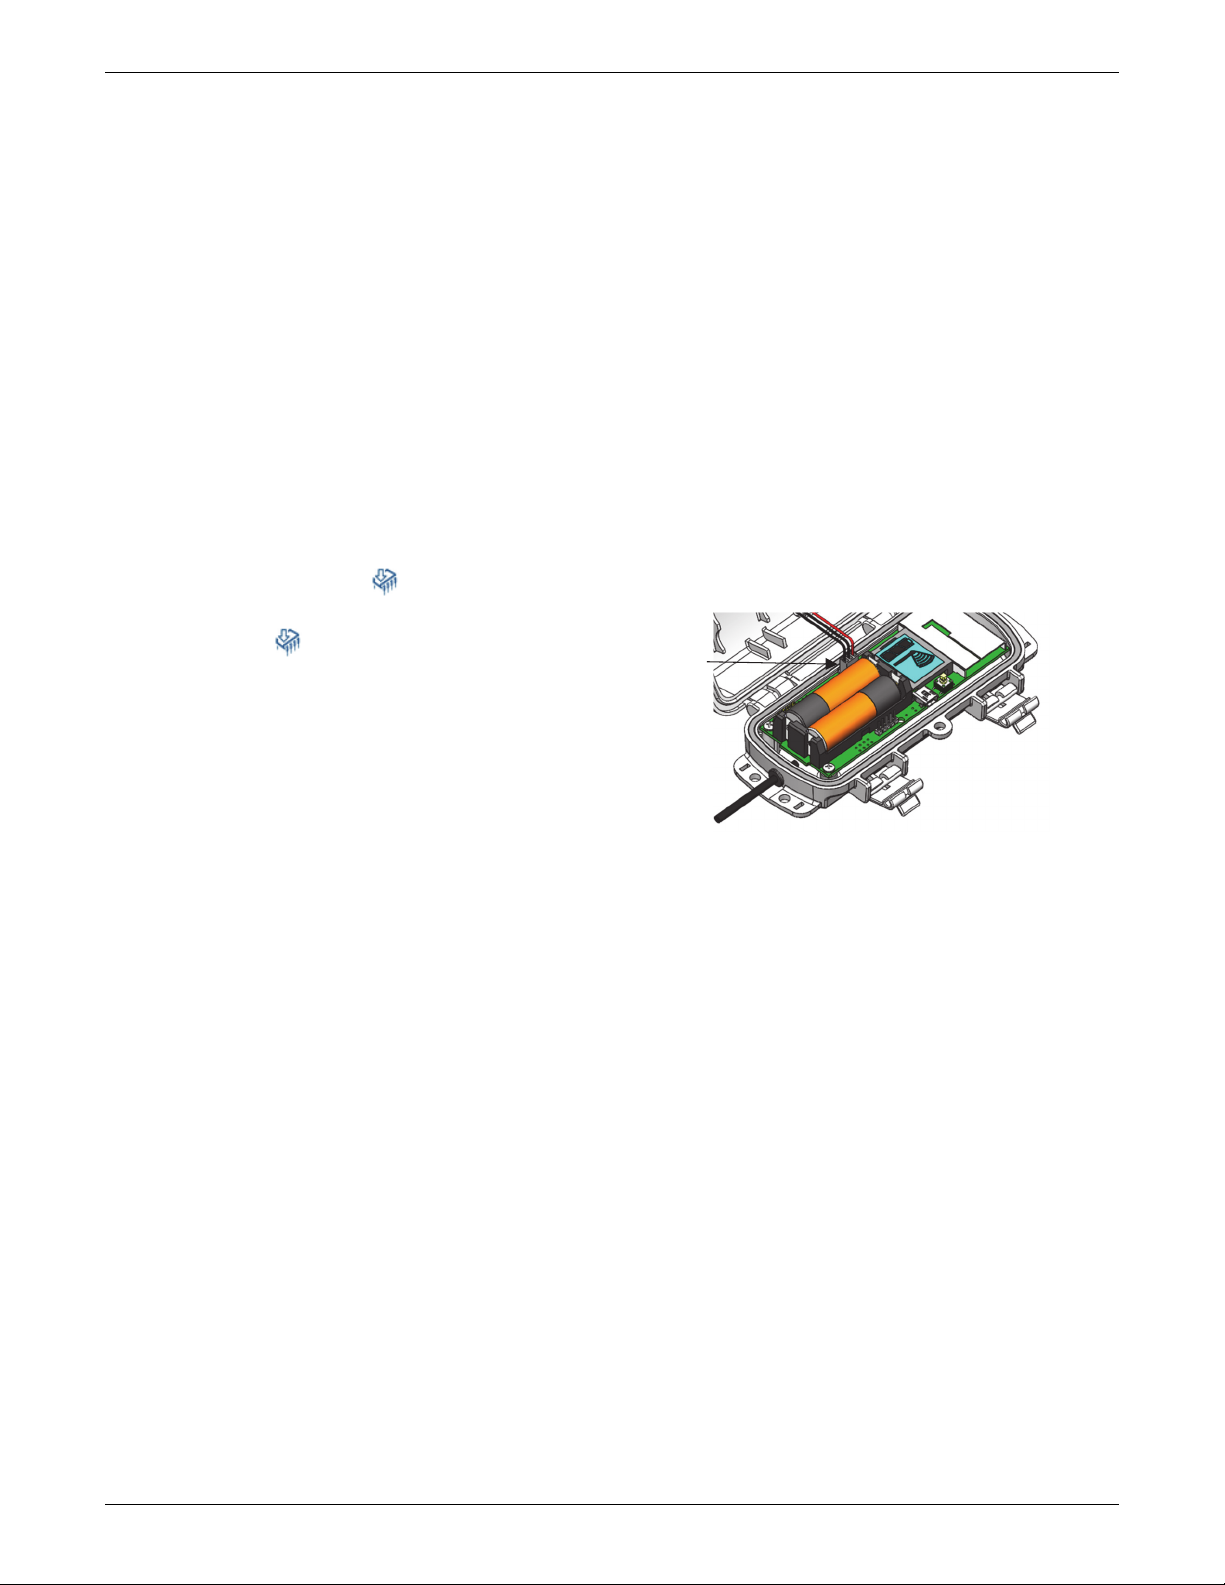
•Use a #4-40 screw to attach a ground wire to the port on
the back of the mote if you are deploying the mote in a
location where lightning is a concern.
Sensor Mounting Guidelines
The solar radiation shield (RS3-B) is strongly recommended
when measuring outdoor air temperatures in direct sunlight.
Solar radiation can be a significant source of error in the
temperature and RH readings. Use the cable ties included with
the solar radiation shield (RS3-B) to secure the sensor in the
radiation shield as shown (see the Solar Radiation Shield
manual for additional assembly details).
•It is recommended that you mount the sensor vertically. If it
must be mounted horizontally, then make sure the vent on
the side of the sensor is vertical or facing down.
•Thermally isolate the sensor from the mounting surface to
ensure accurate air temperature and humidity readings.
•Protect the sensor from direct exposure to the weather. This
will prolong the sensor accuracy.
•If the sensor cable is left on the ground, it is recommended
that you use conduit to protect against animals, lawn
mowers, exposure to chemicals, etc.
•Refer to the station manual and Tripod Setup Guide at
www.onsetcomp.com/support/manuals for more
information regarding setting up stations.
Maintenance
The temperature/RH sensor is sensitive to dust, salts and other
airborne contamination. Periodically inspect the RH sensor. If
contamination is present on the protective cap, gently rinse it
with cool fresh water. If the sensor itself is contaminated, you
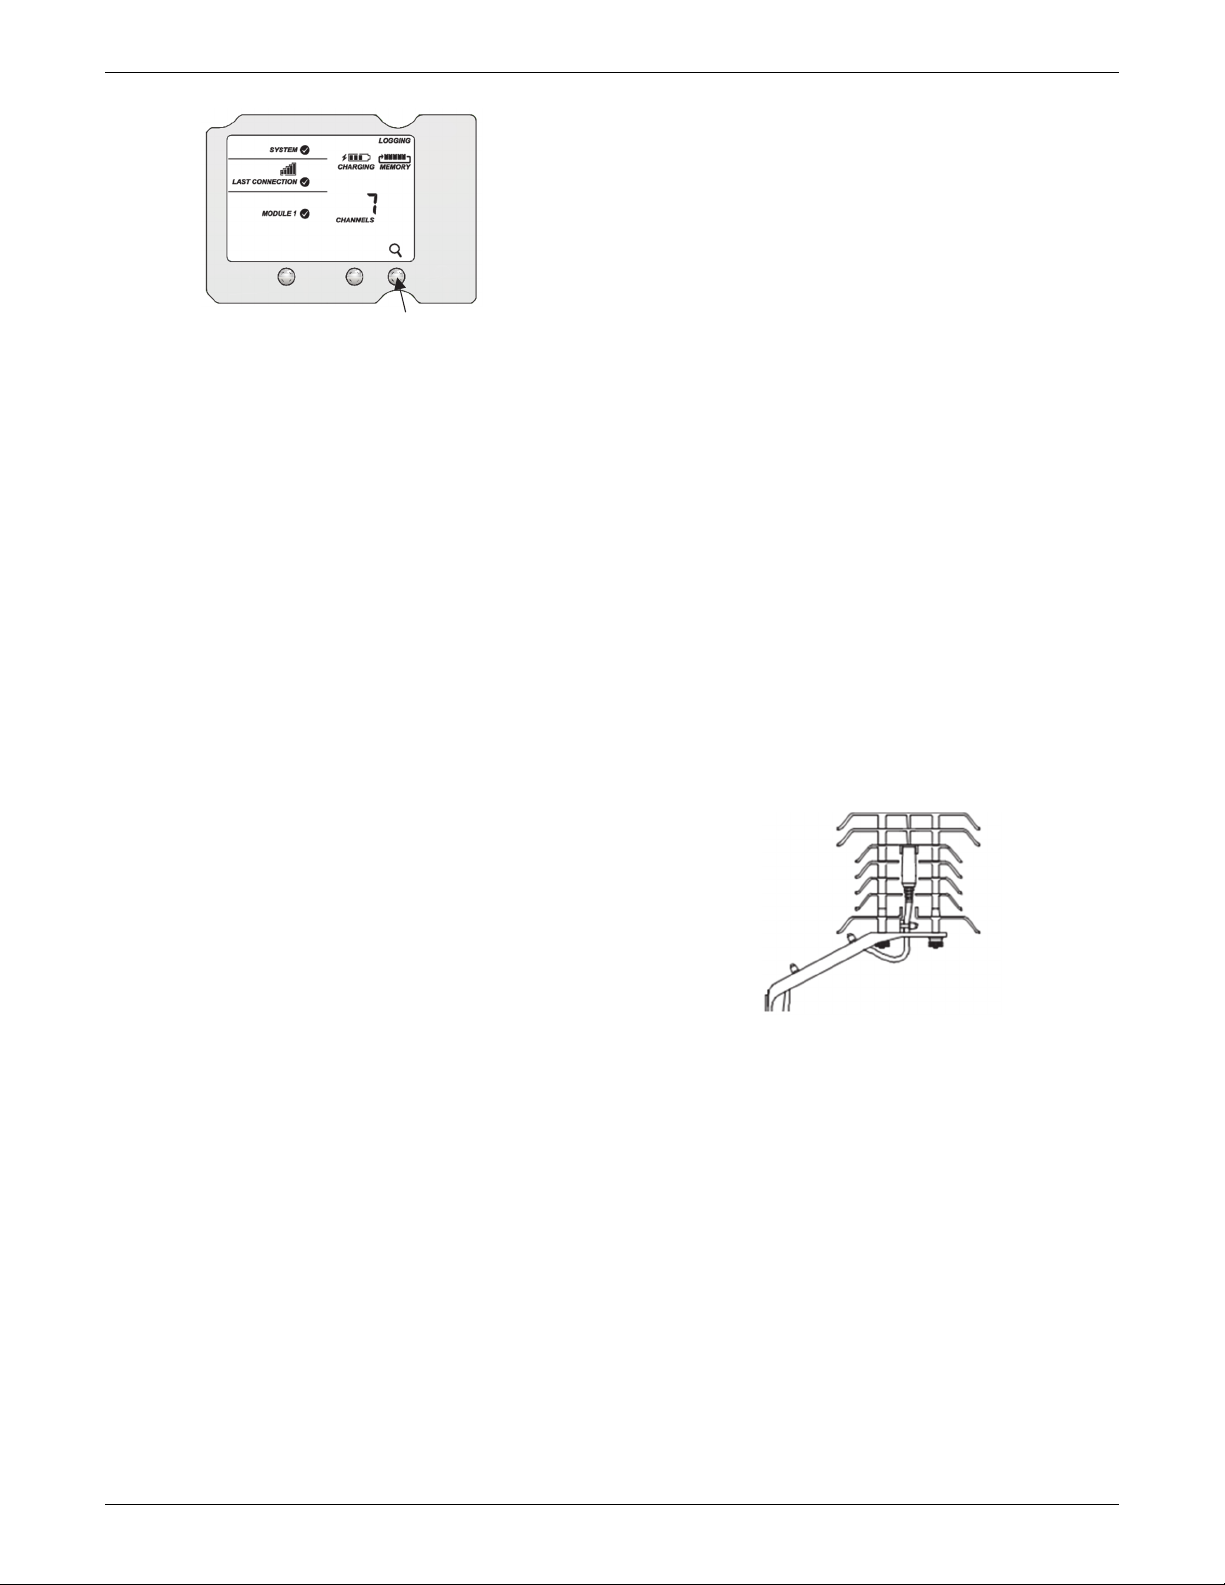
Press this button again to
stop searching for motes