manuals.online logo
Brands
  1. Home
  2. •
  3. Brands
  4. •
  5. Hobo
  6. •
  7. Data Logger
  8. •
  9. Hobo RX3000 Series User manual

Hobo RX3000 Series User manual

HOBO® RX3000 Station Quick Start for the NEWA Network
23631-A
This is a quick start for deploying a HOBO RX3000 station that will be linked to the Network for Environment and Weather Applications
(NEWA). For more detailed instructions, refer to the RX3000 station quick start at www.onsetcomp.com/support/manuals/18254-MAN-
QSG-RX3000 and the RX3000 station manual at www.onsetcomp.com/support/manuals/18255-rx3000-manual.
1 Perform initial station setup before
installation in the field.
a. Log in to HOBOlink. Go to www.hobolink.com and log in
to an existing account or create a new one.
b. Register the station. In HOBOlink, click from
the left menu. Select RX Devices and then click the
Register a Device link.
c. If you will be setting up HOBOnet RXW wireless sensor
motes: Follow the instructions in the RXW manager
module and RXW wireless sensor quick starts that come
with those products, and are available at
www.onsetcomp.com/support/manuals.
d. Plug in the battery and charging device.
e. Check or configure HOBOlink connection.
• Cellular models (RX3003, RX3004) will automatically
connect to HOBOlink.
• Ethernet/Wi-Fi models (RX3001, RX3002) require
manual configuration to connect to HOBOlink. Refer to
the device communication steps in the station manual
at www.onsetcomp.com/support/manuals/18255-
rx3000-manual.
f. Plug in and search for wired smart sensors.
g. Connect to HOBOlink.
Once this initial setup is complete, pack up the station to
bring it to the deployment site. Disconnect smart sensors and
charging devices as needed for transport.
2 Set up the station at your site.
The following picture shows the proper mounting of sensors
and the solar panel for a typical NEWA weather station. Refer
to the installation guidelines after the picture for additional
information on the recommended setup of your system.
More details on each smart sensor is available in the sensor
manuals at www.onsetcomp.com/support/manuals.
If your system has additional sensors not represented in the
example, follow the mounting instructions in the sensor
manuals at www.onsetcomp.com/support/manuals.
For additional NEWA weather station deployment guidelines,
refer to: http://newa.cornell.edu/index.php?
page=placement-guidelines.
Installation Guidelines
Tripod
• Refer to the Tripod Setup Guide for details on setting up
both the 2-meter or 3-meter tripod at
https://www.onsetcomp.com/support/manuals/12317-
MAN-TRIPOD.
• It is recommended that you use the guy wires supplied in
the tripod kit.
HOBO RX3000
• Mount the HOBO RX3000 so that it does not shade the
solar panel. Mounting it on the north side of the mast is
recommended (note that the station in the picture is
mounted on the south side for illustrative purposes only so
that you can see the front of the HOBO).
Wind Sensor
• Mount the wind sensor (S-WCF-M003) on the north side of
the mast, at either 2 or 3 m (6.6 or 9.8 ft) depending on
the tripod you are using.
Rain Gauge
• Mount the rain gauge and solar panel on the south side of
the mast. Make sure the top of the rain gauge is above the
top of the mast. Also make sure the top of the rain gauge
is level either by using your own level or by using a
stepladder to view the built-in level inside the rain gauge.
• Use the same U-bolt to mount the wind sensor and the top
of the rain gauge bracket so that both can be near the top
of the mast.
Solar Radiation Sensor
• Mount the solar radiation sensor (S-LIB-M003) on the
southwest side of the mast, making sure that top of the
sensor is above the top of the rain gauge.
Temperature Sensor
• Mount the temperature sensor at 1.5 m ±0.3 m (5 ft ±1 ft)
above the ground.
Press the Search button for the station
to identif
y
connected smart sensors
Press the Select button to view the
smart sensor channels (pointed out
above)
Press the Connect button
Press the Select button to
return to the main LCD screen
1-800-LOGGERS (564-4377) • 508-759-9500
www.onsetcomp.com/support/contact
© 2019 Onset Computer Corporation. All rights reserved. Onset, HOBO, and HOBOlink are trademarks or registered
trademarks of Onset Computer Corporation. All other trademarks are the property of their respective companies.
23631-A
Leaf Wetness Sensor
• Mount the leaf wetness sensor on the mast about 1 m
(3.28 ft) above the ground. Make sure the leaf wetness
sensor is facing north and angled 45 degrees from
horizontal.
After the station setup is complete:
a. Make sure the wired smart sensors and solar panel are
plugged into the station.
b. Deploy any wireless sensor motes and add repeaters if
necessary (see the RX3000 station manual at
www.onsetcomp.com/support/manuals/18255-rx3000-
manual for details).
c. Install the weatherproof rubber cable channel and covers
(see www.onsetcomp.com/support/manuals/18255-
rx3000-manual for details).
d. If the number or type of sensors deployed is different
than what you initially set up in step 1, press Select and
Search on the station to make sure the sensor count is up
to date (for both smart sensors and wireless motes as
needed).
e. For additional NEWA weather station deployment
guidelines, refer to: http://newa.cornell.edu/
index.php?page=placement-guidelines.
3 Configure the station, start logging, and set
up the NEWA data feed in HOBOlink.
To configure the station in HOBOlink and start logging:
a. In HOBOlink, click Devices, then RX Devices, and then
click the icon next to your station.
b. Click Readout from the Configuration menu and set the
connection interval to 10 minutes or the maximum rate
supported by your cellular data plan. Click Save.
c. Click Smart Sensors Logging from the Configuration menu
and set the logging interval to 5 minutes. Click Save.
d. If you are using wireless motes, then click Module <1 or
2>: Wireless Sensors Logging in the Configuration menu
and set the logging interval to 5 minutes. Click Save.
e. Click individual sensors to add labels as needed to help
identify the placement of sensors (for example, 2 inch
sensor depth, SE corner). Click Save.
f. Click Alarms from the Configuration menu and set up any
sensor alarms as needed.
g. Press the Start button on the station to start logging (or
click Start/Stop from the Configuration menu in HOBOlink
and click Start).
To set up the NEWA data feed:
a. From the main HOBOlink left menu, click Data and then
select Data Feeds.
b. Click Create New Data Feed.
c. For Destination, select NEWA.
d. For Device, select the station you just configured.
e. Assign the sensors by selecting the sensors that will feed
into each NEWA measurement type. For Soil
Temperature and Soil Moisture, select the depth for the
sensor.
f. Click Save.
4 Contact the NEWA Help Desk to link your
RX3000 station location.
Contact [email protected], with a subject line of
‘RX3000 onboard request.’ You will receive a response within
1 business day that contains a web form URL link. Please
have the following information in-hand when you are ready
to complete this final step:
• Your RX3000 station serial number (found inside the
door).
• Exact latitude/longitude of your station (in decimal
degrees).
• Station owner contact information.
• Maintenance contact information.
Once your onboarding request is submitted to
[email protected], please allow 3 to 5 business
days for processing. You will receive a confirmation email
when your station is active at http://newa.cornell.edu.
For additional information:
See the HOBO
RX3000 Remote Monitoring Station Manual for
specifications and detailed operation, including
deployment guidelines, mounting instructions, and
steps for installing the weatherproof rubber cable
channels. Go to www.onsetcomp.com/support/manuals/18255-
rx3000-manual or scan the code at left.
Other manuals for RX3000 Series

9

Other Hobo Data Logger manuals

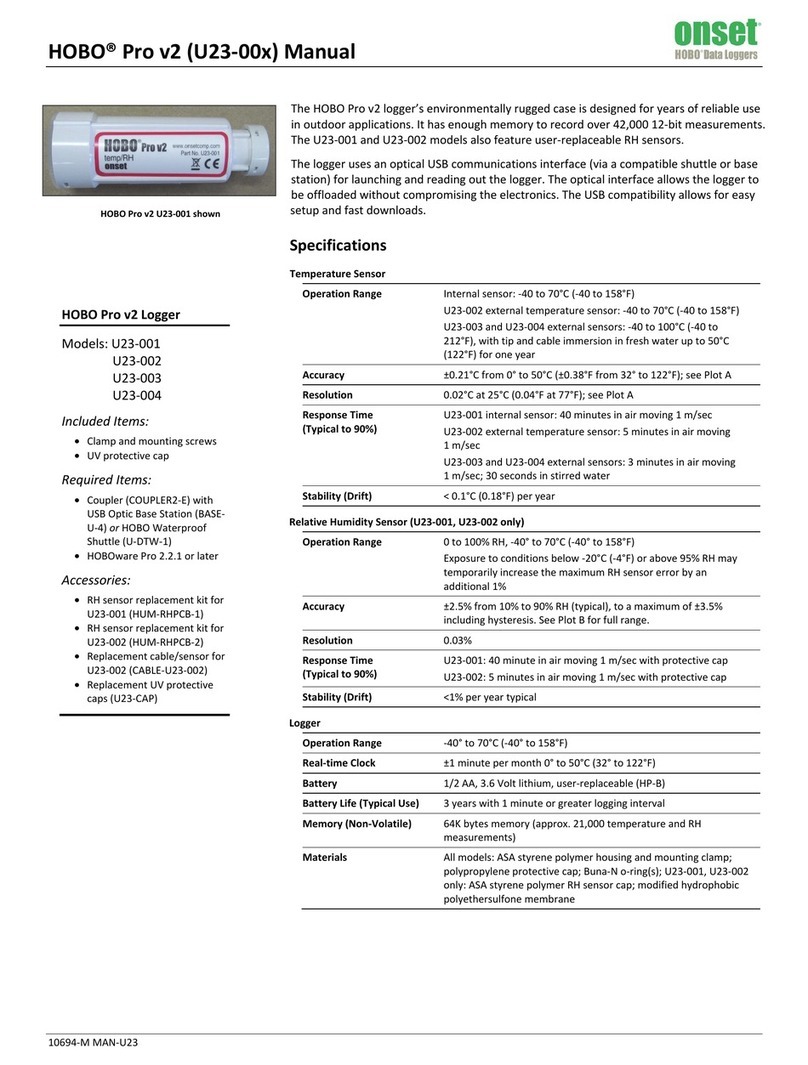
Hobo U24 User manual

Hobo

Hobo U24 User manual

Hobo MicroRX Station RX2103 User manual

Hobo

Hobo MicroRX Station RX2103 User manual

Hobo MX1104 User manual

Hobo

Hobo MX1104 User manual

Hobo RX3003 User manual

Hobo

Hobo RX3003 User manual

Hobo MX1101 User manual

Hobo

Hobo MX1101 User manual

Hobo Pendant MX Temp User manual

Hobo

Hobo Pendant MX Temp User manual

Hobo U23-001 User manual

Hobo

Hobo U23-001 User manual

Hobo Pro v2 User manual

Hobo

Hobo Pro v2 User manual

Hobo Micro Station User manual

Hobo

Hobo Micro Station User manual

Hobo Pro v2 U23-001A User manual

Hobo

Hobo Pro v2 U23-001A User manual

Hobo U12-011 User manual

Hobo

Hobo U12-011 User manual

Hobo MicroRX RX210 Series User manual

Hobo

Hobo MicroRX RX210 Series User manual

Hobo Pendant Event User manual

Hobo

Hobo Pendant Event User manual

Hobo MX2501 User manual

Hobo

Hobo MX2501 User manual

Hobo MX2501 User manual

Hobo

Hobo MX2501 User manual

Hobo MX1104 User manual

Hobo

Hobo MX1104 User manual

Hobo U12 User manual

Hobo

Hobo U12 User manual

Hobo MX series User manual

Hobo

Hobo MX series User manual

Hobo MX2001-0 Series User manual

Hobo

Hobo MX2001-0 Series User manual

Hobo H11-001 User manual

Hobo

Hobo H11-001 User manual

Hobo U12 User manual

Hobo

Hobo U12 User manual

Hobo MX1104 User manual

Hobo

Hobo MX1104 User manual

Hobo MX1102A User manual

Hobo

Hobo MX1102A User manual

Hobo MX2501 User manual

Hobo

Hobo MX2501 User manual

Popular Data Logger manuals by other brands

GRAPHTEC midi LOGGER HV user manual

GRAPHTEC

GRAPHTEC midi LOGGER HV user manual

ICP DAS USA CL-201-WF user manual

ICP DAS USA

ICP DAS USA CL-201-WF user manual

Racelogic VB2SX user guide

Racelogic

Racelogic VB2SX user guide

SS Telecoms SS-15 BRI user manual

SS Telecoms

SS Telecoms SS-15 BRI user manual

MadgeTech Cryo-Temp Product Information Card

MadgeTech

MadgeTech Cryo-Temp Product Information Card

MadgeTech PR2000 Product Information Card

MadgeTech

MadgeTech PR2000 Product Information Card

Measurement Computing WebDAQ 504 user guide

Measurement Computing

Measurement Computing WebDAQ 504 user guide

Lascar EL-PDF-1 Series quick start guide

Lascar

Lascar EL-PDF-1 Series quick start guide

LEYBOLD 666 252 instruction sheet

LEYBOLD

LEYBOLD 666 252 instruction sheet

Geonics Limited EM61LX2 operating instructions

Geonics Limited

Geonics Limited EM61LX2 operating instructions

Hioki LR8432-20 instruction manual

Hioki

Hioki LR8432-20 instruction manual

KYORITSU 5000 instruction manual

KYORITSU

KYORITSU 5000 instruction manual

PEMTECH PT2008 Series Operator's manual

PEMTECH

PEMTECH PT2008 Series Operator's manual

PCE Instruments PCE-AQD 50 user manual

PCE Instruments

PCE Instruments PCE-AQD 50 user manual

GRAPHTEC MT100 quick start guide

GRAPHTEC

GRAPHTEC MT100 quick start guide

Mace HydroMace XCi product manual

Mace

Mace HydroMace XCi product manual

Extech Instruments SD800 user manual

Extech Instruments

Extech Instruments SD800 user manual

Allen-Bradley 1770-SB user manual

Allen-Bradley

Allen-Bradley 1770-SB user manual

manuals.online logo
manuals.online logoBrands
  • About & Mission
  • Contact us
  • Privacy Policy
  • Terms and Conditions

Copyright 2025 Manuals.Online. All Rights Reserved.