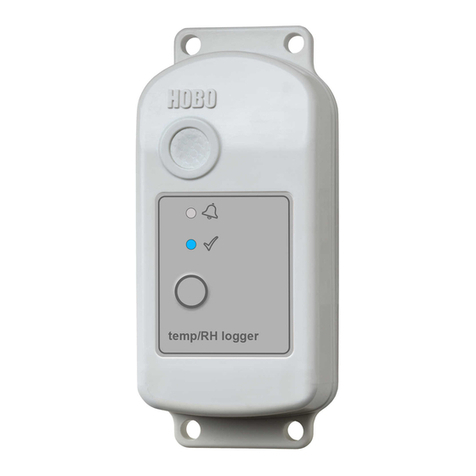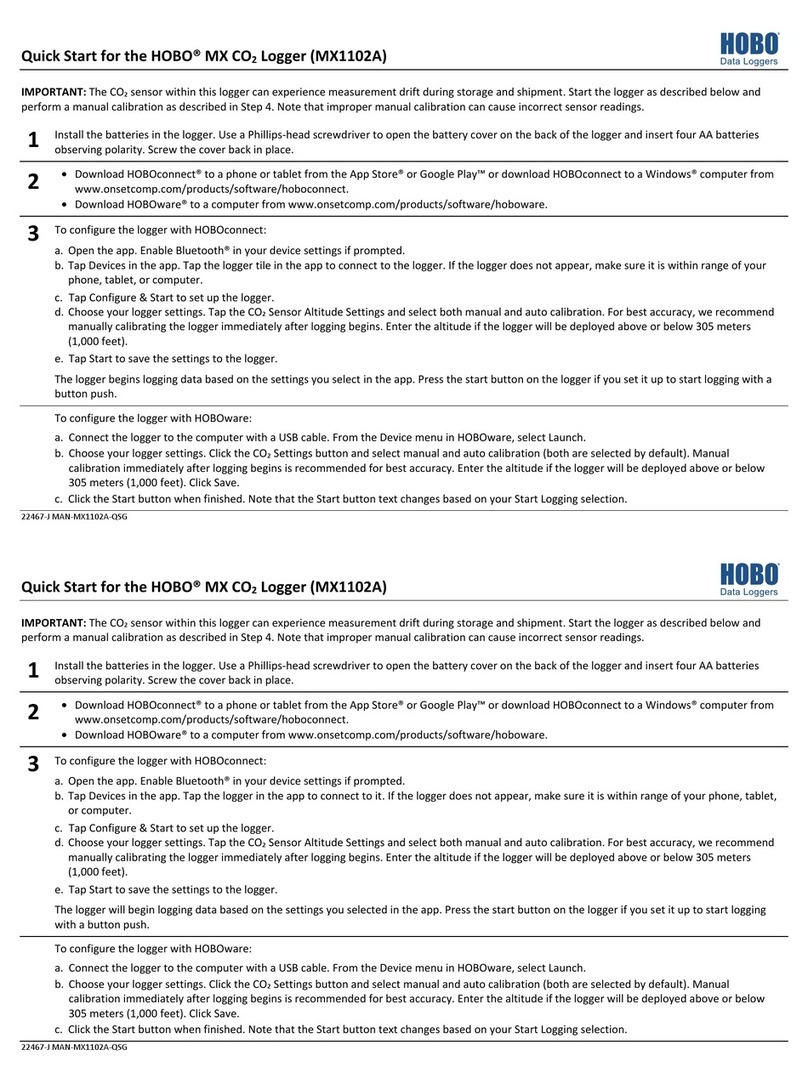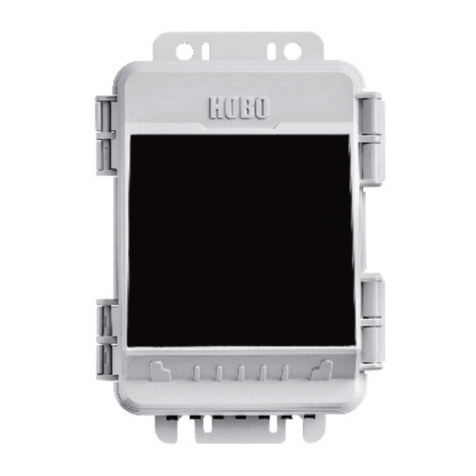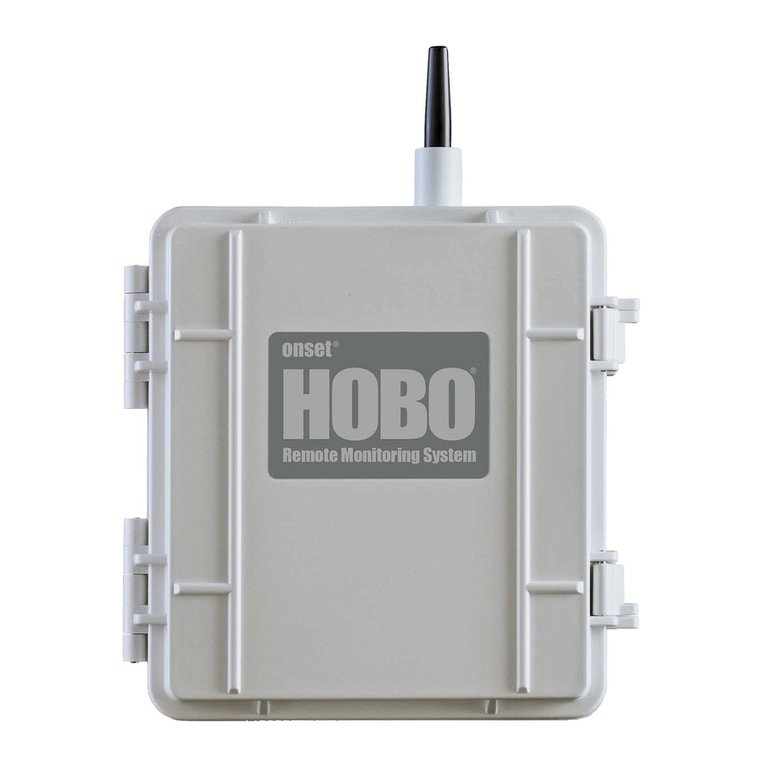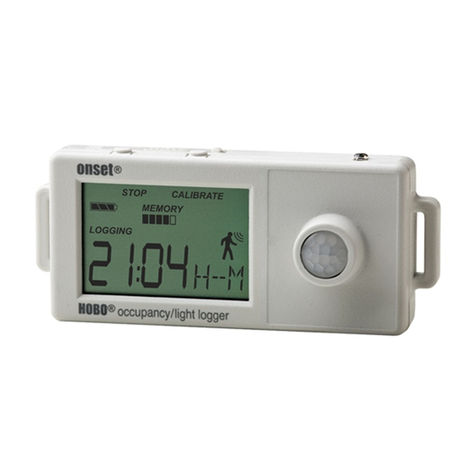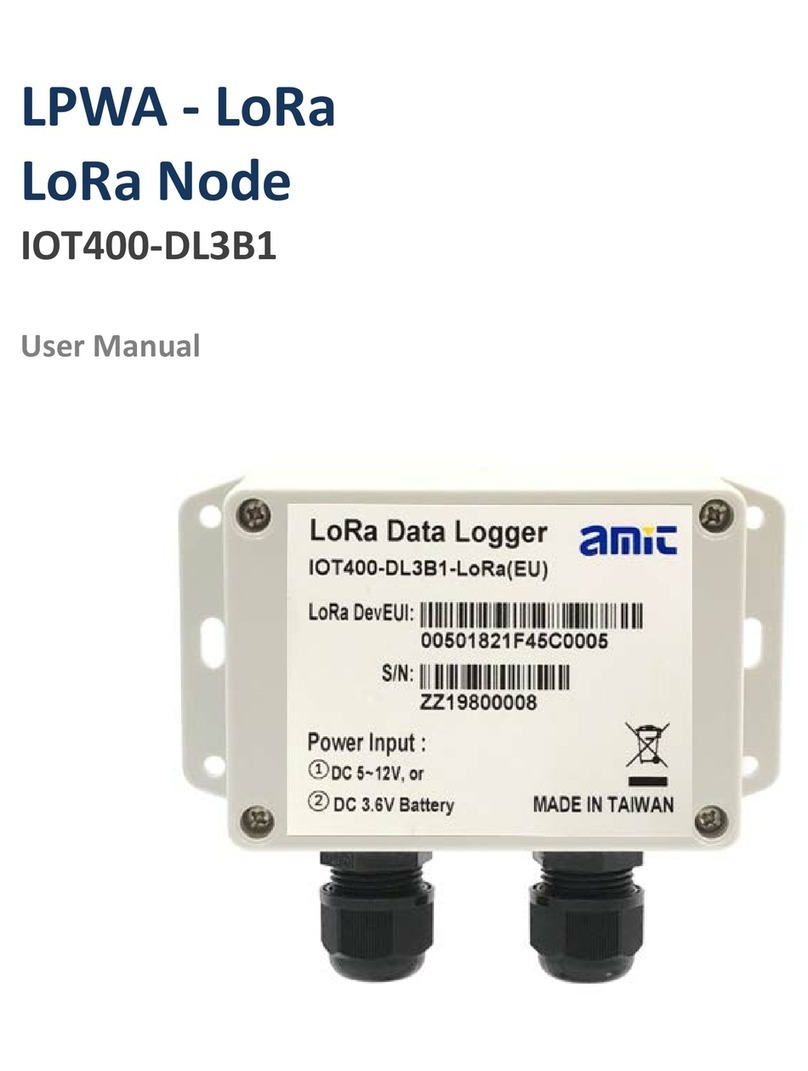
HOBO®U12 Temp/RH
Data Logger
(Part # U12-011)
© 2009–2012 Onset Computer Corporation
Inside this package:
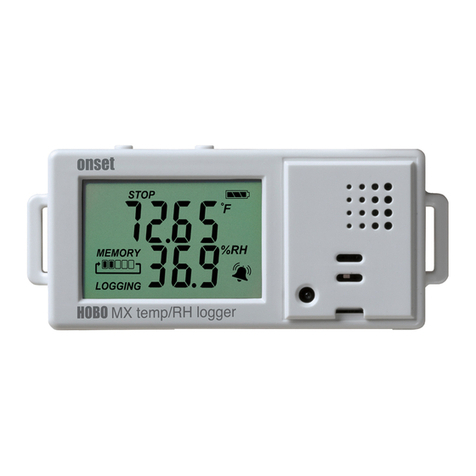
HOBO U12 Temp/RH Data
Logger
Mounting kit with magnet,
hook and loop tape, tie-wrap
mount, tie wrap, and two
screws.
Doc # 13127-B, MAN-U12011
Onset Computer Corporation
Thank you for purchasing a HOBO data
logger. With proper care, it will give you
years of accurate and reliable measurements.
The HOBO U12 Temperature/Relative
Humidity Data Logger is a two-channel
logger with 12-bit resolution and can record
up to 43,000 measurements or events. The
logger uses a direct USB interface for
launching and data readout by a computer.
An Onset software starter kit is required for
logger operation. Visit www.onsetcomp.com
for compatible software.
Specifications
Measurement
range Temperature: -20° to 70°C (-4° to 158°F)
RH: 5% to 95% RH
Accuracy
Temperature: ± 0.35°C from 0° to 50°C (±
0.63°F from 32° to 122°F), see Plot A
RH: +/- 2.5% from 10% to 90% RH
(typical), to a maximum of +/- 3.5%
including hysteresis. See Plot B.
Resolution Temperature: 0.03°C at 25°C (0.05°F at
77°F), see Plot A
RH: 0.03% RH
Drift Temperature: 0.1°C/year (0.2°F/year)
RH: <1% per year typical
Response
time in airflow
of 1 m/s (2.2
mph)
Temperature: 6 minutes, typical to 90%
RH: 1 minute, typical to 90%
Time accuracy ± 1 minute per month at 25°C (77°F), see
Plot C
Operating
temperature
Logging: -20° to 70°C (-4° to 158°F)
Launch/readout: 0° to 50°C (32° to
122°F), per USB specification
Battery life 1 year typical use
Memory 64K bytes (43,000 12-bit measurements)
Weight 46 g (1.6 oz)
Dimensions 58 x 74 x 22 mm (2.3 x 2.9 x 0.9 inches)
The CE Marking identifies this product as
complying with all relevant directives in
the European Union (EU).
Plot A Plot B
Plot C
Connecting the Logger
The U-Family logger requires an Onset-supplied USB interface
cable to connect to the computer. If possible, avoid connecting at
temperatures below 0°C (32°F) or above 50°C (122°F).
1. Plug the large end of the USB interface cable into a USB port
on the computer.
2. Plug the small end of the USB interface cable into the bottom
of the logger as shown in the following diagram.
If the logger has never been connected to the computer before, it
may take a few seconds for the new hardware to be detected. Use
the logger software to launch and read out the logger.
Important: If you configure the logger to start with a button
start, be sure to press and hold down the button on the front of
the logger for at least three seconds when you want to begin
logging.
You can read out the logger while it continues to log, stop it
manually with the software, or let it record data until the memory
is full. Refer to the software user’s guide for complete details on
launching, reading out, and viewing data from the logger.
Sample and Event Logging
The logger can record two types of data: samples and events.
Samples are the sensor measurements recorded at each logging
interval (for example, the temperature every minute). Events are
independent occurrences triggered by a logger activity. Examples
of events recorded asynchronously during deployment include
when the logger is connected to the host, when the battery is low,
the end of a data file once the logger is stopped, and button pushes.
Press the button on the front of the logger for one second to record
an event. Both a button up and down event will be recorded. This
is useful if you want to mark the datafile at a particular point. For
example, if the logger is located in an incubator, you might press
the button each time the door is opened.
The logger stores 64K of data, and can record up to 43,000
samples and events combined.
Important: Press this
button for 3 seconds
when logger is
launched with Button
Start or press for 1
second to record an
event while logging
USB interface
cable plugged
into logger
