manuals.online logo
Brands
  1. Home
  2. •
  3. Brands
  4. •
  5. Home Styles
  6. •
  7. Indoor Furnishing
  8. •
  9. Home Styles 20 06654 0083 User manual

Home Styles 20 06654 0083 User manual

Part List
Home Styles Customer Service: www.homestyles-furniture.com,
[email protected], 888-680-7460, 877-831-0319
20 06654 0083
Chaise
A.
Seat
1 pc.
B.
Arm
1 pc.
C.
Arm
1 pc.
D.
Back
1 pc.
E.
Support
1 pc.
G.
Wheel
2 pcs.
F.
Leg
2 pcs.
M8x40
Head Cap Bolt
6 pcs. (+1 extra)
M6x50
Round Head Bolt
2 pcs. (+1 extra)
Wrench
1 pc.
M8x35
Bolt
6 pcs. (+1 extra)
Flat Washer (small)
2 pcs. (+1 extra)
Spring Washer (small)
2 pcs. (+1 extra)
M6
Nut (small)
2 pcs. (+1 extra)
Nut Cap
6 pcs. (+1 extra)
M10x78
Wheel Bolt
2 pcs. (+1 extra)
Small
Hex Wrench
1 pc.
Large
Hex Wrench
1 pc.
Spring Washer (large)
2 pcs. (+1 extra)
M10
Nut (large)
2 pcs. (+1 extra)
Flat Washer (large)
2 pcs. (+1 extra)
Flat Washer (medium)
6 pcs. (+1 extra)
Spring Washer (medium)
6 pcs. (+1 extra)
M8
Nut (medium)
6 pcs. (+1 extra)
Tool(s) required for assembly: Slotted screwdriver
IMPORTANT
Carefully remove all the parts from the carton and place them
individually on a soft cloth to prevent scratches or other damage.
Carefully and strictly follow these assembly instructions
to ensure a completed product as designed.
This product is made of aluminum. Do not use power tools
above 8 volts to assemble and only tighten bolts until snug.
Over tightening can damage the aluminum.
Hardware List
Wrench (large)
1 pc.
Assembly Instructions 2/5
IMPORTANT
Use a soft cloth between these parts and the floor.
Do not use power tools above 8 volts to assemble.
Do not tighten all the bolts until each part is properly assembled.
The unit must be level to work properly. Use the included adjustable levelers to level.
Keep Hex Wrench and Wrench as the bolts may need to be tightened in the future.
Nut Cap
Nut (medium)
Spring Washer (medium)
Flat Washer (medium)
Bolt
Figure 1
STEP 1
Insert Bolts into pre-drilled holes in Seat (A), then tighten.
(See Figure 1)
Attach Legs (F) to Seat (A) with Flat Washers (medium),
Spring Washers (medium) and Nuts (medium), tightening
Nuts (medium) only halfway.
Tighten all Nuts (medium).
Cover all Nuts (medium) with Nut Caps.
F
F
A
Assembly Instructions 3/5
STEP 2
Attach Arms (B) and (C) to unit with Head Cap Bolts,
tightening Head Cap Bolts only halfway.
(See Figure 2)
Tighten all Head Cap Bolts.
Head Cap Bolt
Figure 2
C
B
Assembly Instructions 4/5
STEP 3
Orientate Wheels (G) so plastic ring in wheels (G) is to outside, then attach Wheels (G)
to unit with Wheel Bolts, Flat Washers (large), Spring Washers (large) and Nuts (large).
(See Figure 3)
Nut (large)
Flat Washer (large)
Spring Washer (large)
Wheel Bolt
Plastic Ring
Wrench (large)
Nut (large)
Spring Washer (large)
Flat Washer (large)
Plastic Ring
Wheel Bolt
Figure 3
G
G
STEP 4
Turn unit over to its upright position.
Attach Back (D) to unit with Head Cap Bolts, tightening bolts only halfway.
Attach Support (E) to Back (D) with Round Head Bolts, Flat Washers (small),
Spring Washers (small) and Nuts (small), tightening Round Head Bolts only halfway.
(See Figure 4)
Tighten all Head Cap Bolts and Round Head Bolts.
Nut (small)
Spring Washer (small)
Flat Washer (small)
Round Head Bolt
Round Head Bolt
Flat Washer (small)
Spring Washer (small)
Nut (small)
Head Cap Bolt
Figure 4
Assembly Instructions 5/5
D
E
NEVER
use glass cleaners on
finished furniture. Ammonia
chemically attacks the finish.
allow liquids to remain on furniture.
Absorption causes parts to warp
and split and finishes to delaminate.
NEVER
CARE INSTRUCTIONS
Do not use rubber
based placemats.
PREVENT
DISCOLORING
Do not use commercial
waxes and polishes.
PREVENT
YELLOWING
Do not place hot
objects on surface.
PREVENT
FINISH DAMAGE
Do not write
directly on surface.
PREVENT
MARKING
Do not use power tools
above 8 volts to assemble.
PREVENT
CRACKING
Do not place
in direct sunlight.
PREVENT
FADING
with a soft cloth moistened
in lukewarm soap and water.
Buff with a dry clean cloth.
CLEAN
Home Styles will provide replacements free of charge for missing or damaged hardware or parts within 30 days of
purchase. Digital images of the defective parts may be required. If the product was not purchased from an authorized
retail affiliate, Home Styles is under no obligation to provide replacement parts. Parts are not available for fully assembled
items nor are parts available for sale. Replacements for missing or damaged hardware or parts may be requested at:
www.homestyles-furniture.com/customer-service/replacement-parts
Home Styles Customer Service: www.homestyles-furniture.com,
[email protected], 888-680-7460, 877-831-0319

Other Home Styles Indoor Furnishing manuals
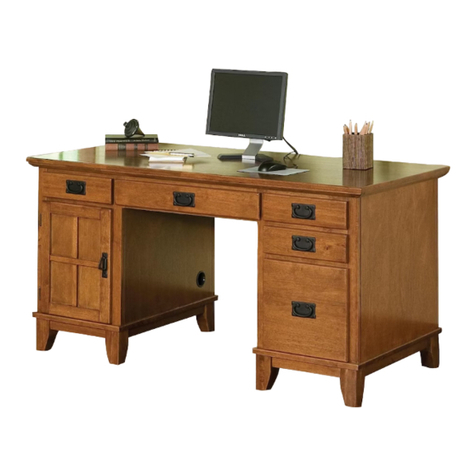
Home Styles Closet Wall Shelf Unit 20 05520 0762 User manual

Home Styles

Home Styles Closet Wall Shelf Unit 20 05520 0762 User manual

Home Styles 20 05507 0009 User manual

Home Styles

Home Styles 20 05507 0009 User manual

Home Styles 88 9001 001C User manual

Home Styles

Home Styles 88 9001 001C User manual

Home Styles Bar 20 05053 0099 User manual

Home Styles

Home Styles Bar 20 05053 0099 User manual

Home Styles 88 5527 49 User manual

Home Styles

Home Styles 88 5527 49 User manual

Home Styles HS-5132-32 Instruction manual

Home Styles

Home Styles HS-5132-32 Instruction manual

Home Styles 20 05520 0772 User manual

Home Styles

Home Styles 20 05520 0772 User manual

Home Styles Grayton 6730-21 User manual

Home Styles

Home Styles Grayton 6730-21 User manual

Home Styles 88 6000 00 User manual

Home Styles

Home Styles 88 6000 00 User manual

Home Styles Laguna 88 5600 80 Quick start guide

Home Styles

Home Styles Laguna 88 5600 80 Quick start guide

Home Styles 88 9200 002C User manual

Home Styles

Home Styles 88 9200 002C User manual

Home Styles 88 5053 42 User manual

Home Styles

Home Styles 88 5053 42 User manual

Home Styles 88 5100 301 User manual

Home Styles

Home Styles 88 5100 301 User manual

Home Styles 885519851 User manual

Home Styles

Home Styles 885519851 User manual

Home Styles 88503595 C User manual

Home Styles

Home Styles 88503595 C User manual
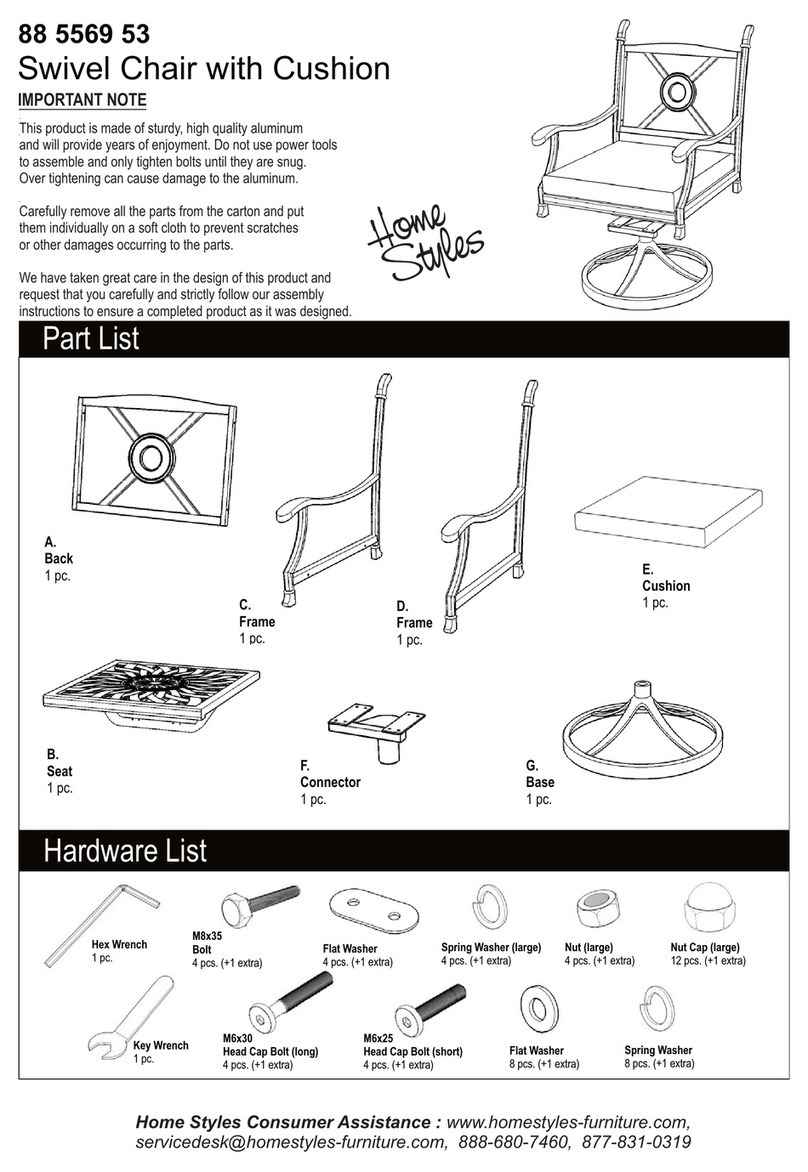
Home Styles 88 500 941 Series User manual

Home Styles

Home Styles 88 500 941 Series User manual

Home Styles 88 4512 95 User manual

Home Styles

Home Styles 88 4512 95 User manual

Home Styles 88 5645 88C User manual

Home Styles

Home Styles 88 5645 88C User manual

Home Styles 20 05617 0103 User manual

Home Styles

Home Styles 20 05617 0103 User manual

Home Styles 6700-83 User manual

Home Styles

Home Styles 6700-83 User manual

Home Styles 20 05530 0565 User manual

Home Styles

Home Styles 20 05530 0565 User manual

Home Styles 6658-53 User manual

Home Styles

Home Styles 6658-53 User manual

Home Styles 451 -95 User manual

Home Styles

Home Styles 451 -95 User manual

Home Styles 88564949 C User manual

Home Styles

Home Styles 88564949 C User manual

Popular Indoor Furnishing manuals by other brands

Takara Belmont Yume DX Quick operation guide

Takara Belmont

Takara Belmont Yume DX Quick operation guide

MAZE COTSWOLD 6 SEAT Assembly instructions

MAZE

MAZE COTSWOLD 6 SEAT Assembly instructions

Kriss Aura Assembly & operating instructions

Kriss

Kriss Aura Assembly & operating instructions

Walker Edison AF35LIB Assembly instructions

Walker Edison

Walker Edison AF35LIB Assembly instructions

IKEA ANORDNA LYX PULL-OUT STORAGE S3 16X15" instructions

IKEA

IKEA ANORDNA LYX PULL-OUT STORAGE S3 16X15" instructions

Costway HV10179 user manual

Costway

Costway HV10179 user manual

Mayline Sterling STEB2C Assembly instructions

Mayline

Mayline Sterling STEB2C Assembly instructions

Habitat BONNY BONNY-ST-AW17-A Assembly instructions

Habitat

Habitat BONNY BONNY-ST-AW17-A Assembly instructions

Metro DataVac SmartWall G3 installation guide

Metro DataVac

Metro DataVac SmartWall G3 installation guide

Mocka Georgia Assembly instructions

Mocka

Mocka Georgia Assembly instructions

SNAP OEI48S operating instructions

SNAP

SNAP OEI48S operating instructions

Heart of House 241/8762 Assembly instructions

Heart of House

Heart of House 241/8762 Assembly instructions

Ecler LEA 602 installation guide

Ecler

Ecler LEA 602 installation guide

ROOMS TO GO HLVN 56135H-40 Assembly instruction

ROOMS TO GO

ROOMS TO GO HLVN 56135H-40 Assembly instruction

Hinkle Chair Company JUMBO ROCKER 1200 Assembly instructions

Hinkle Chair Company

Hinkle Chair Company JUMBO ROCKER 1200 Assembly instructions

Dunelm Toby instructions

Dunelm

Dunelm Toby instructions

Coaster 222633 Assembly instructions

Coaster

Coaster 222633 Assembly instructions

Article LEVEL SKU15526 Assembly instructions

Article

Article LEVEL SKU15526 Assembly instructions

manuals.online logo
manuals.online logoBrands
  • About & Mission
  • Contact us
  • Privacy Policy
  • Terms and Conditions

Copyright 2025 Manuals.Online. All Rights Reserved.