manuals.online logo
Brands
  1. Home
  2. •
  3. Brands
  4. •
  5. Home Styles
  6. •
  7. Indoor Furnishing
  8. •
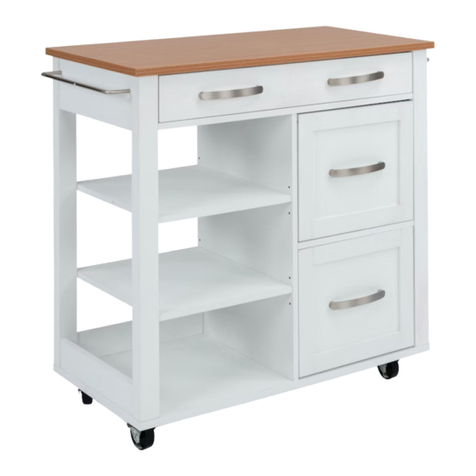
  9. Home Styles Kitchen Island 88 5047 941 User manual

Home Styles Kitchen Island 88 5047 941 User manual

IMPORTANT NOTE
Carefully remove all the parts from the carton and put
them individually on a soft cloth to prevent scratches
or other damage occurring to the parts.
We have taken great care in the design of this
product and request that you carefully and strictly
follow our assembly instructions to ensure a
completed product as it was designed.
Part List
Home Styles ConsumerAssistance: www.homestyles-furniture.com,
[email protected], 888-680-7460, 877-831-0319
88 5047 941
Kitchen Island
For assembly see instructions in carton 88 5047 942
A.
Top
1 Pc.
B.
Leaf Top
1 Pc.
C.
Base
1 Pc.
T.
Shelf
4 Pcs.
IMPORTANT NOTE
Carefully remove all the parts from the carton and put
them individually on a soft cloth to prevent scratches
or other damage occurring to the parts.
We have taken great care in the design of this
product and request that you carefully and strictly
follow our assembly instructions to ensure a
completed product as it was designed.
Part List
Home Styles ConsumerAssistance: www.homestyles-furniture.com,
[email protected], 888-680-7460, 877-831-0319
Hardware List
88 5047 942
Kitchen Island
(Please refer to the last page of these
instructions for drawer assembly steps.)
For assembly see also need the following carton 88 5047 941
Tools required for assembly : Phillips screwdriver Tools recommended for assembly : Level
Hex Wrench
1 Pc.
Small Hex Wrench
1 Pc. Cam Lock
28 Pcs.(+2 extra) Pull Handle
2 Pcs.
Knob
2 Pcs.
M4x25
Machine Screw
6 Pcs.
M5x40
Wood Screw
for Base
4 Pcs. (+1 extra)
M3.5x16
Wood Screw for Hinge
24 Pcs. (+2 extra)
M3.5x25
Wood Screw (long)
16 Pcs. (+1 extra)
M3.5x16
Wood Screw (short)
12 Pcs. (+1 extra)
Cam Lock Screw
28 Pcs.(+2 extra)
M6x30
Head Cap Bolt (short)
4 Pcs. (+1 extra) Flat Washer
4 Pcs. (+1 extra)
Adjustable Pin
20 Pcs. (+2 extra)
M6x35
Head Cap Bolt (long)
20 Pcs. (+1 extra)
D.
Side Panel
1 Pc.
E.
Side Panel
1 Pc.
F.
Back Panel
1 Pc.
G.
Back Stretcher
2 Pcs.
H.
Front Stretcher
1 Pc.
I.
Front Stretcher
1 Pc.
J.
Door
1 Pc.
K.
Door
1 Pc.
L.
Slat Panel
1 Pc.
M.
Slat Panel
1 Pc.
N.
Slat Panel
1 Pc.
O.
Slat Panel
1 Pc.
P.
Slat Panel
2 Pcs.
Q.
Slat Panel
2 Pcs.
R.
Shelf
1 Pc.
S.
Shelf
24 Pcs.
U.
Arm Support
1 Pc.
V.
Arm Support
1 Pc.
W.
Drawer
2 Pcs.
Assembly Instructions 3
IMPORTANT
* Please keep Hex Wrench in a safe place as you may need to tighten up the Head Cap Bolts in the future.
* Do not tighten up all the bolts until each part is properly assembled.
* Use a soft cloth between these parts and the floor.
*After assembly item must be level to work properly. Use the included adjustable levelers to level.
STEP 1
Insert Cam Lock Screws into the pre-drilled
holes of Top (A), Slat Panels (L), (M), (N)
and (O). (See Figure 1)
A
L
N
O
M
Figure 1
Cam Lock Screw
2/6
STEP 2
Attach Slat Panels (P) and Q) to Side Panel
(D) with Head Cap Bolts (long). (See Figure 2)
Attach Shelves (S) to unit.
Attach Slat Panels (L) and (N) to unit with
Cam Locks. (See Figure 3)
D
L
N
P
S
SQ
Figure 2 Figure 3
Head Cap Bolt (long)
Cam Lock
Assembly Instructions 4
STEP 3
Attach Slat Panels (P) and (Q) to Side Panel
(E) with Head Cap Bolts (long).
Attach Shelves (S) to unit.
Attach Slat Panels (M) and (O) to unit with
Cam Locks.
STEP 4
Attach Front Stretchers (H), (I) and Back
Stretchers (G) to unit (D) from Step 3 with
Cam Locks.
Slide Back Panel (F) into place.
E
F
G
G
H
I
D
E
M
OP
S
S
Q
Head Cap Bolt (long)
Cam Lock
Cam Lock
3/6
STEP 5
Attach unit (E) from Step 4 to unit
with Cam Locks.
Cam Lock
Assembly Instructions 5
STEP 7
Turn the unit to its’ upright
position.
Attach Arm Supports (U) and (V)
to unit with Wood Screws for Hinge.
STEP 6
Attach Base (C) to unit with
Wood Screws for Base, Flat Washers and
Head Cap Bolts (long)
C
VU
Wood Screw for Hinge
Head Cap Bolt (long)
Flat Washer
Wood Screw for Base
4/6
A
B
Wood Screw for Hinge
STEP 8
Place Top (A) and Leaf Top (B) upside down
on a soft cloth.
Attach Top (A) to Leaf Top (B) with
Wood Screws for Hinge into pre-drilled holes of Leaf Top (B). (See Figure 4)
Figure 4
Assembly Instructions 6
R
J
K
W
W
T
T
T
T
STEP 9
Turn top unit over to its’
upright position.
Attach top unit to unit with
Head Cap Bolts (short).
Insert Adjustable Pins into
side panels and slat panels
at the desired level.
Place Shelf (R) and
Shelves (T) into position.
Head Cap Bolt (short)
Adjustable Pin
Figure 5 Figure 6 Figure 7
STEP 10
Attach Knobs to Doors (J) and (K)
with Machine Screws.
(See Figure 5)
Attach Doors (J) and (K) by sliding
the door lift hinges into side panel
lift hinges. (See Figure 6)
Slide Drawers (W) into position.
To level the unit, adjust the
adjustable levelers on the bottom
of the base.
(See Figure 7)
Note : Unit must be level to work properly.
5/6
Assembly Instructions 7
Part List
Drawer (W)
W3
W3
W1
W1
W2
W4
W4
W5
W5
MAKE SURE ROLLER
IS ON THE BACK
STEP 1
Attach W1, W2 and W3 using a Phillips
screwdriver and long Wood Screws (4X),
tighten halfway.
Attach W1, W2 and W4 using long
Wood Screws (4X), tighten halfway.
(See Figure 1)
STEP 2
Slide W5 into grooves in W3 and W4. Be sure
to push W5 all the way forward so it meets W1.
(See Figure 2)
Figure 1
Figure 2
Figure 3
Figure 4
STEP 3
Insert short Wood Screws (6X) into the
pre-drilled holes in W5, tighten screws.
(See Figure 3)
STEP 4
Attach Pull Handle with Machine Screws.
(See Figure 4)
Tighten all screws used in drawer assembly.
W1.
Front Part
2 Pcs.
W2.
Back Part
2 Pcs.
W3.
Side Part
2 Pcs.
W4.
Side Part
2 Pcs.
W5.
Base
2 Pcs.
6/6

Other Home Styles Indoor Furnishing manuals
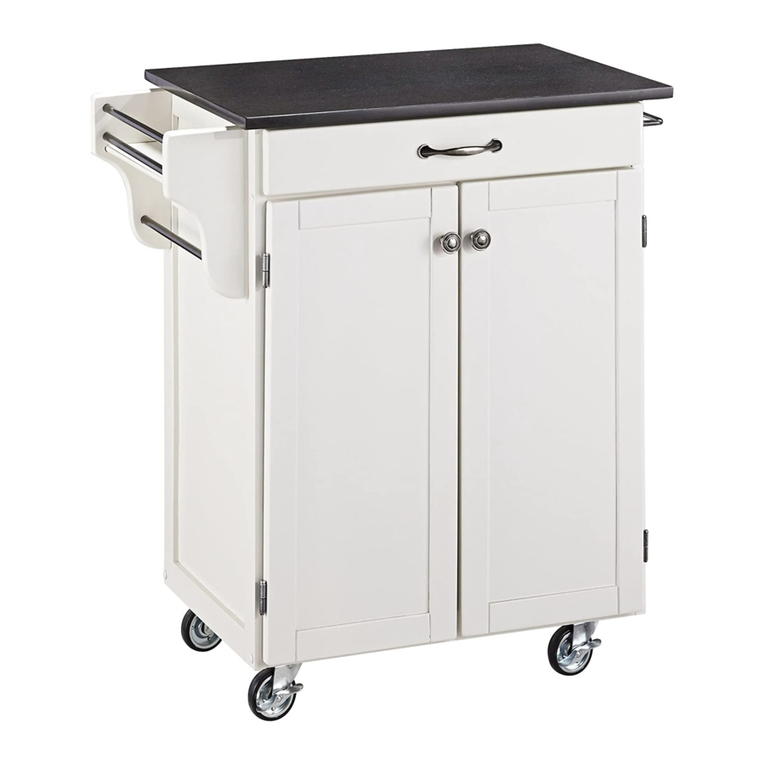
Home Styles 88 5050 351 User manual

Home Styles

Home Styles 88 5050 351 User manual

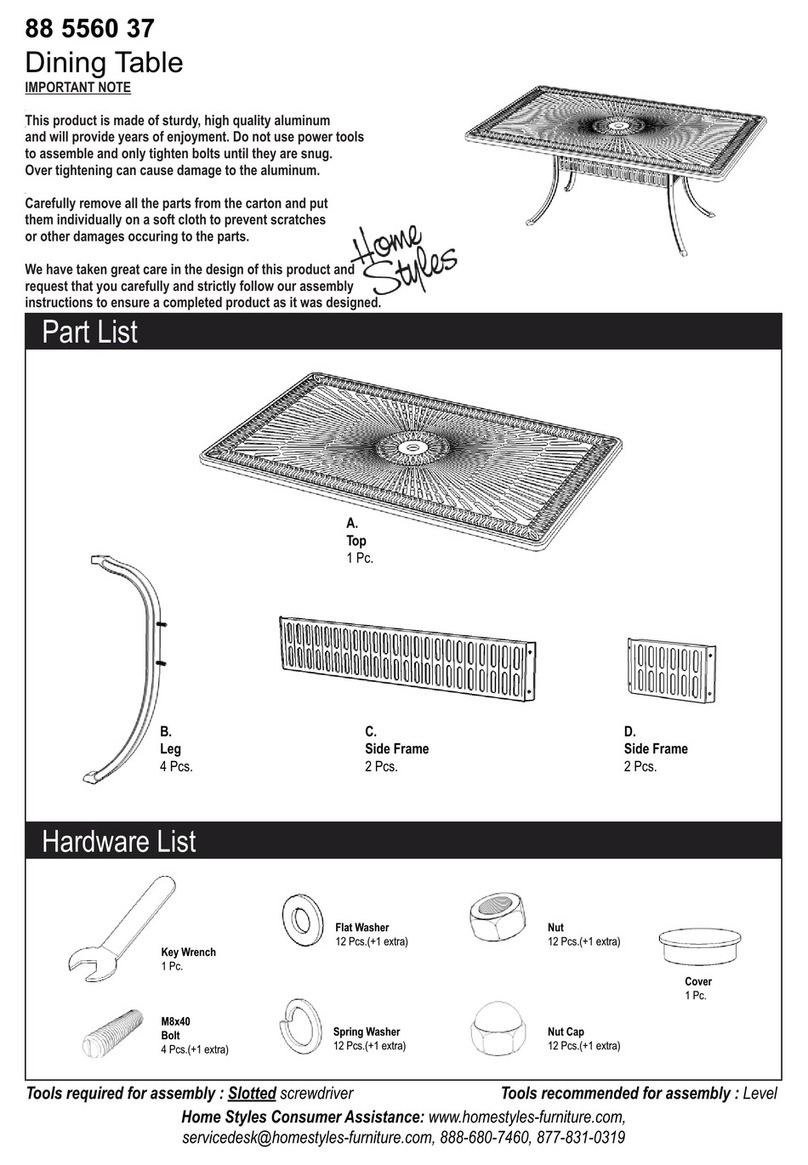
Home Styles Bar 20 05053 0099 User manual

Home Styles

Home Styles Bar 20 05053 0099 User manual

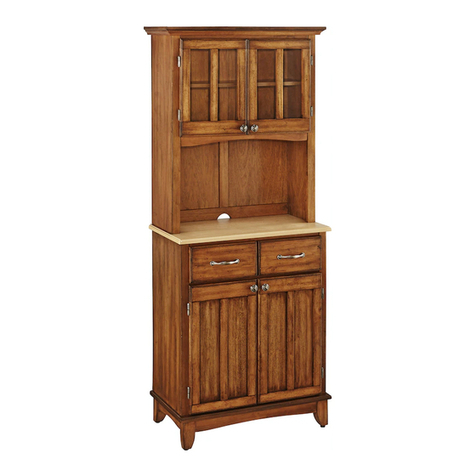
Home Styles Modern Craftsman Console Table 88 5050 22 User manual

Home Styles

Home Styles Modern Craftsman Console Table 88 5050 22 User manual

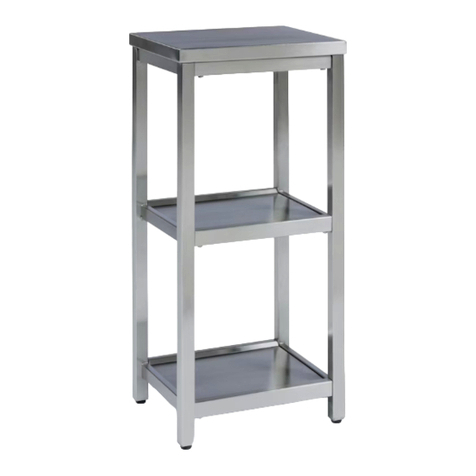
Home Styles 20 05001 0306 User manual

Home Styles

Home Styles 20 05001 0306 User manual

Home Styles 88 5530 181 User manual

Home Styles

Home Styles 88 5530 181 User manual

Home Styles 88 5008 941 User manual

Home Styles

Home Styles 88 5008 941 User manual

Home Styles 6802-10 User manual

Home Styles

Home Styles 6802-10 User manual

Home Styles 20 04420 0095 User manual

Home Styles

Home Styles 20 04420 0095 User manual

Home Styles 88 5003 991 User manual

Home Styles

Home Styles 88 5003 991 User manual

Home Styles 5427-691 User manual

Home Styles

Home Styles 5427-691 User manual

Home Styles 5216-95 User manual

Home Styles

Home Styles 5216-95 User manual

Home Styles 551 -80 9 User manual

Home Styles

Home Styles 551 -80 9 User manual

Home Styles 88 5569 30 User manual

Home Styles

Home Styles 88 5569 30 User manual

Home Styles 20 05186 0049 User manual

Home Styles

Home Styles 20 05186 0049 User manual

Home Styles 88 5180 15 User manual

Home Styles

Home Styles 88 5180 15 User manual

Home Styles 88 5531 752 User manual

Home Styles

Home Styles 88 5531 752 User manual

Home Styles 88 5543 26 User manual

Home Styles

Home Styles 88 5543 26 User manual

Home Styles 20 05530 0565 User manual

Home Styles

Home Styles 20 05530 0565 User manual

Home Styles 4514-95 User manual

Home Styles

Home Styles 4514-95 User manual

Home Styles 885519851 User manual

Home Styles

Home Styles 885519851 User manual

Home Styles 5053-106 User manual

Home Styles

Home Styles 5053-106 User manual

Home Styles 88 5538 952 User manual

Home Styles

Home Styles 88 5538 952 User manual

Home Styles 4511-95 User manual

Home Styles

Home Styles 4511-95 User manual

Home Styles 88 5515 16 User manual

Home Styles

Home Styles 88 5515 16 User manual

Popular Indoor Furnishing manuals by other brands

Bestway AlwayzAire 67624 owner's manual

Bestway

Bestway AlwayzAire 67624 owner's manual

Bostic MBT47V manual

Bostic

Bostic MBT47V manual

Nucraft Merino Casegood installation instructions

Nucraft

Nucraft Merino Casegood installation instructions

rst brands Vaughn OP-AWSOFR-VGHN Assembly instructions

rst brands

rst brands Vaughn OP-AWSOFR-VGHN Assembly instructions

BDI SEQUEL 20 instruction manual

BDI

BDI SEQUEL 20 instruction manual

modway EEI-6354 Assembly instruction

modway

modway EEI-6354 Assembly instruction

Costway HU10198 user manual

Costway

Costway HU10198 user manual

Ergotron 72” AnthroBench II Assembly instructions

Ergotron

Ergotron 72” AnthroBench II Assembly instructions

GABBY LANDRY Assembly instruction

GABBY

GABBY LANDRY Assembly instruction

Crate&Barrel Atwood manual

Crate&Barrel

Crate&Barrel Atwood manual

Safavieh Furniture Acre DTB5800A manual

Safavieh Furniture

Safavieh Furniture Acre DTB5800A manual

Kozyard Susan spring bistro set Assembly manual

Kozyard

Kozyard Susan spring bistro set Assembly manual

Furniture of America CM3376SV Assembly instructions

Furniture of America

Furniture of America CM3376SV Assembly instructions

Coaster 182175 Assembly instructions

Coaster

Coaster 182175 Assembly instructions

Next HIDEAWAY DINING SET manual

Next

Next HIDEAWAY DINING SET manual

highwood Adirondack Barcelona Double AD-KITAD02-BKE Assembly guide

highwood

highwood Adirondack Barcelona Double AD-KITAD02-BKE Assembly guide

A&L Furniture Hickory Solid Wood End Table Assembly instructions

A&L Furniture

A&L Furniture Hickory Solid Wood End Table Assembly instructions

Forte POOLE ENJH131 Assembling Instruction

Forte

Forte POOLE ENJH131 Assembling Instruction

manuals.online logo
manuals.online logoBrands
  • About & Mission
  • Contact us
  • Privacy Policy
  • Terms and Conditions

Copyright 2025 Manuals.Online. All Rights Reserved.