How to Confirm Charging Current
Operative Skills
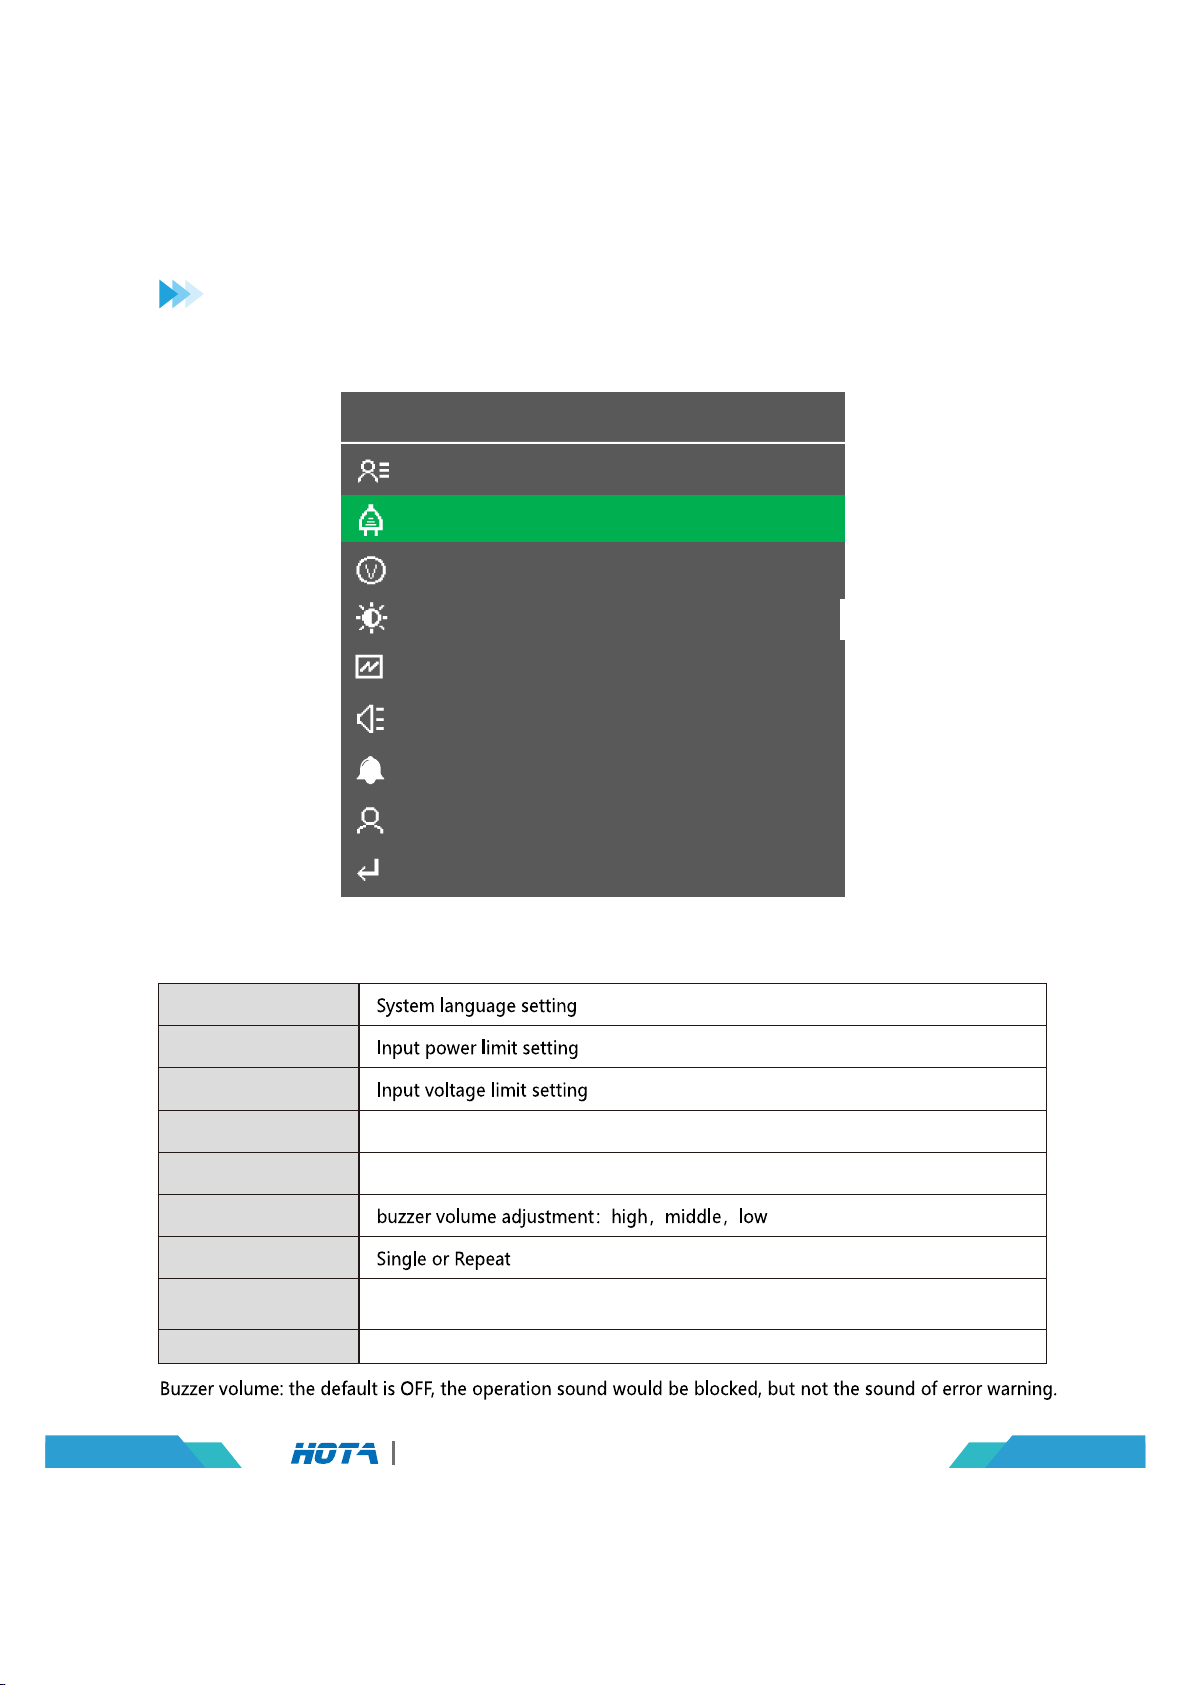
Operation and Setup
It is very important to know the maximum charging current of the battery as excessive
current could influence the life span of battery and/or cause damages. In addition, excessive
current can cause heating and/or explosion of the battery during the charging process.
The charging and discharging capacity of battery is usually marked with C value. Multiplying
the charging C value and battery capacity equals to the maximum charging current support-
ed by the battery. For example, for a 1000 mAh battery with a charging capacity of 5C, the
maximum charging current would be 1000*5=5000mA; therefore, the maximum charging
current is 5A.
For a lithium battery, if it is impossible to confirm the supported charging C value, please set
the charging current below 1C for the sake of its (lithium battery) safety.
The reference relation between C value and charging time: charging time ≥60 minutes/
charging C value (it therefore needs around 60~70 minutes to complete charging with 1C).
Due to differences in battery conversion efficiency, the period to complete the charging
might be extended.
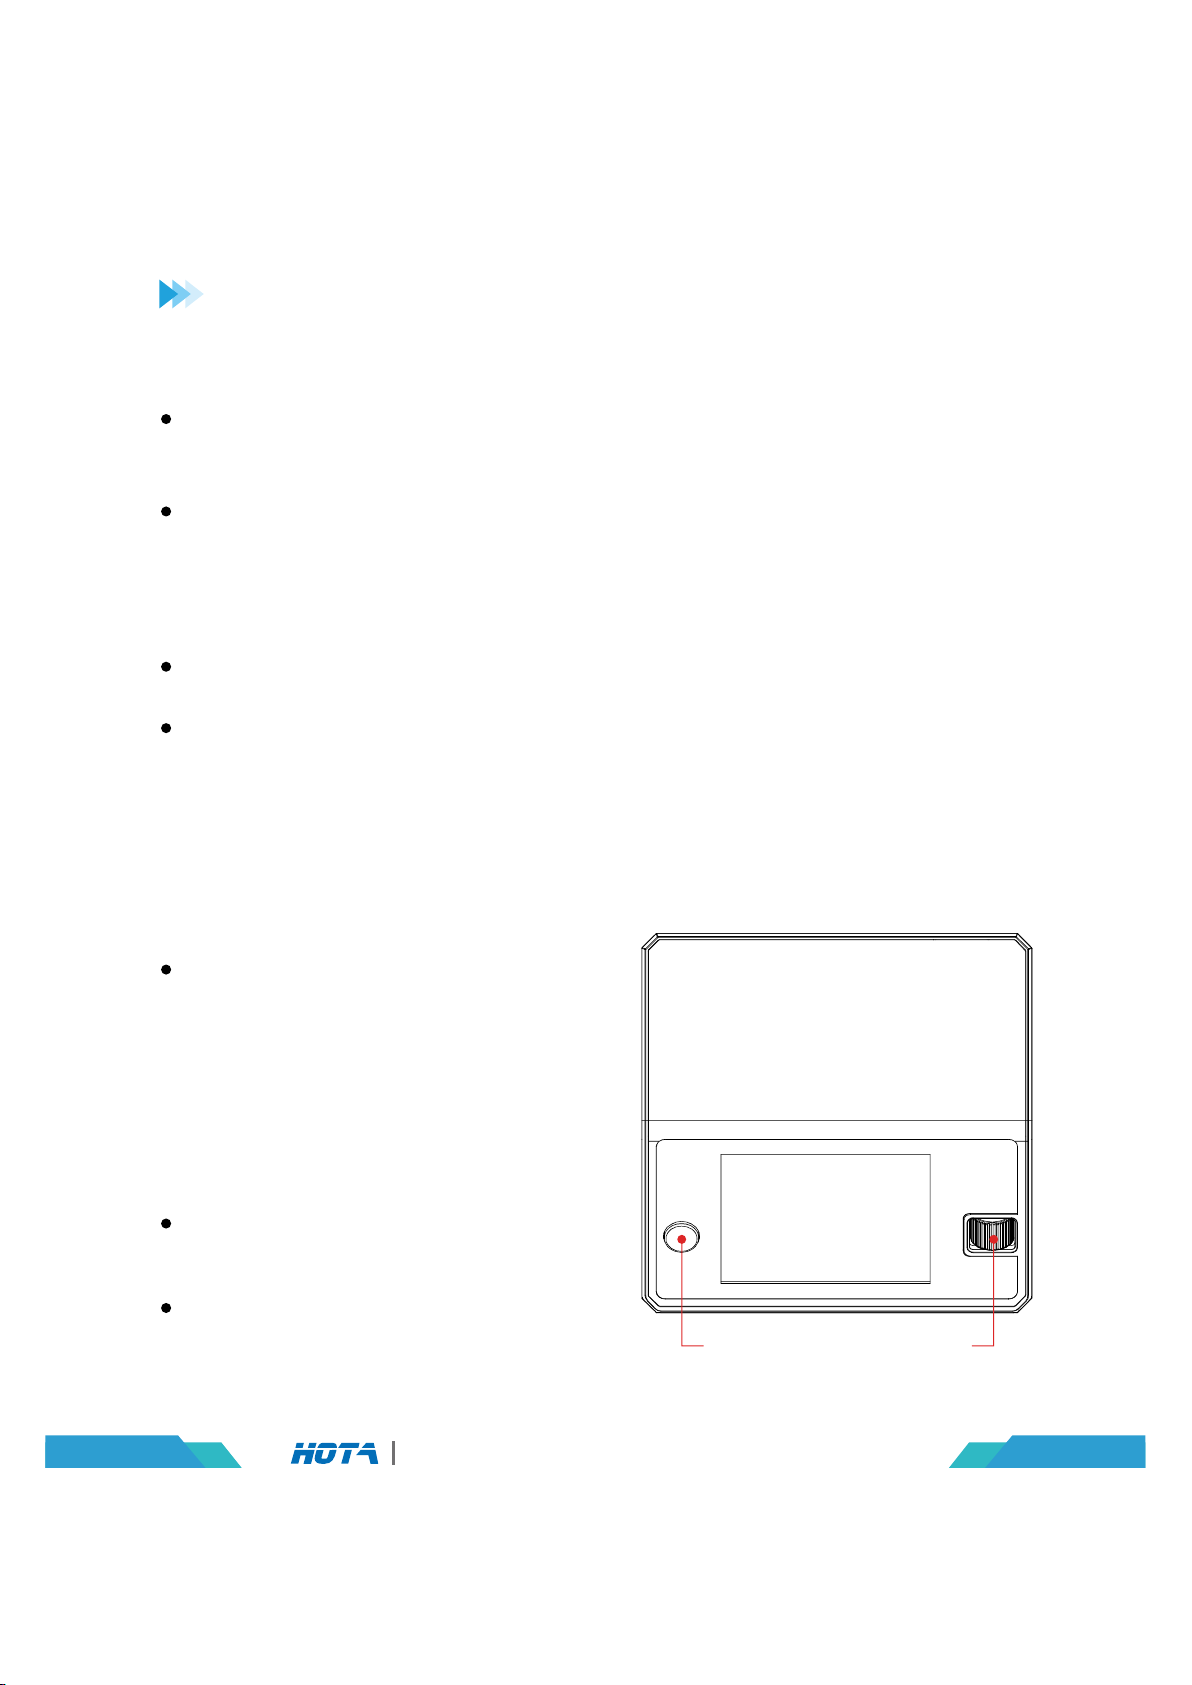
CH Key Speed
Shuttle Key
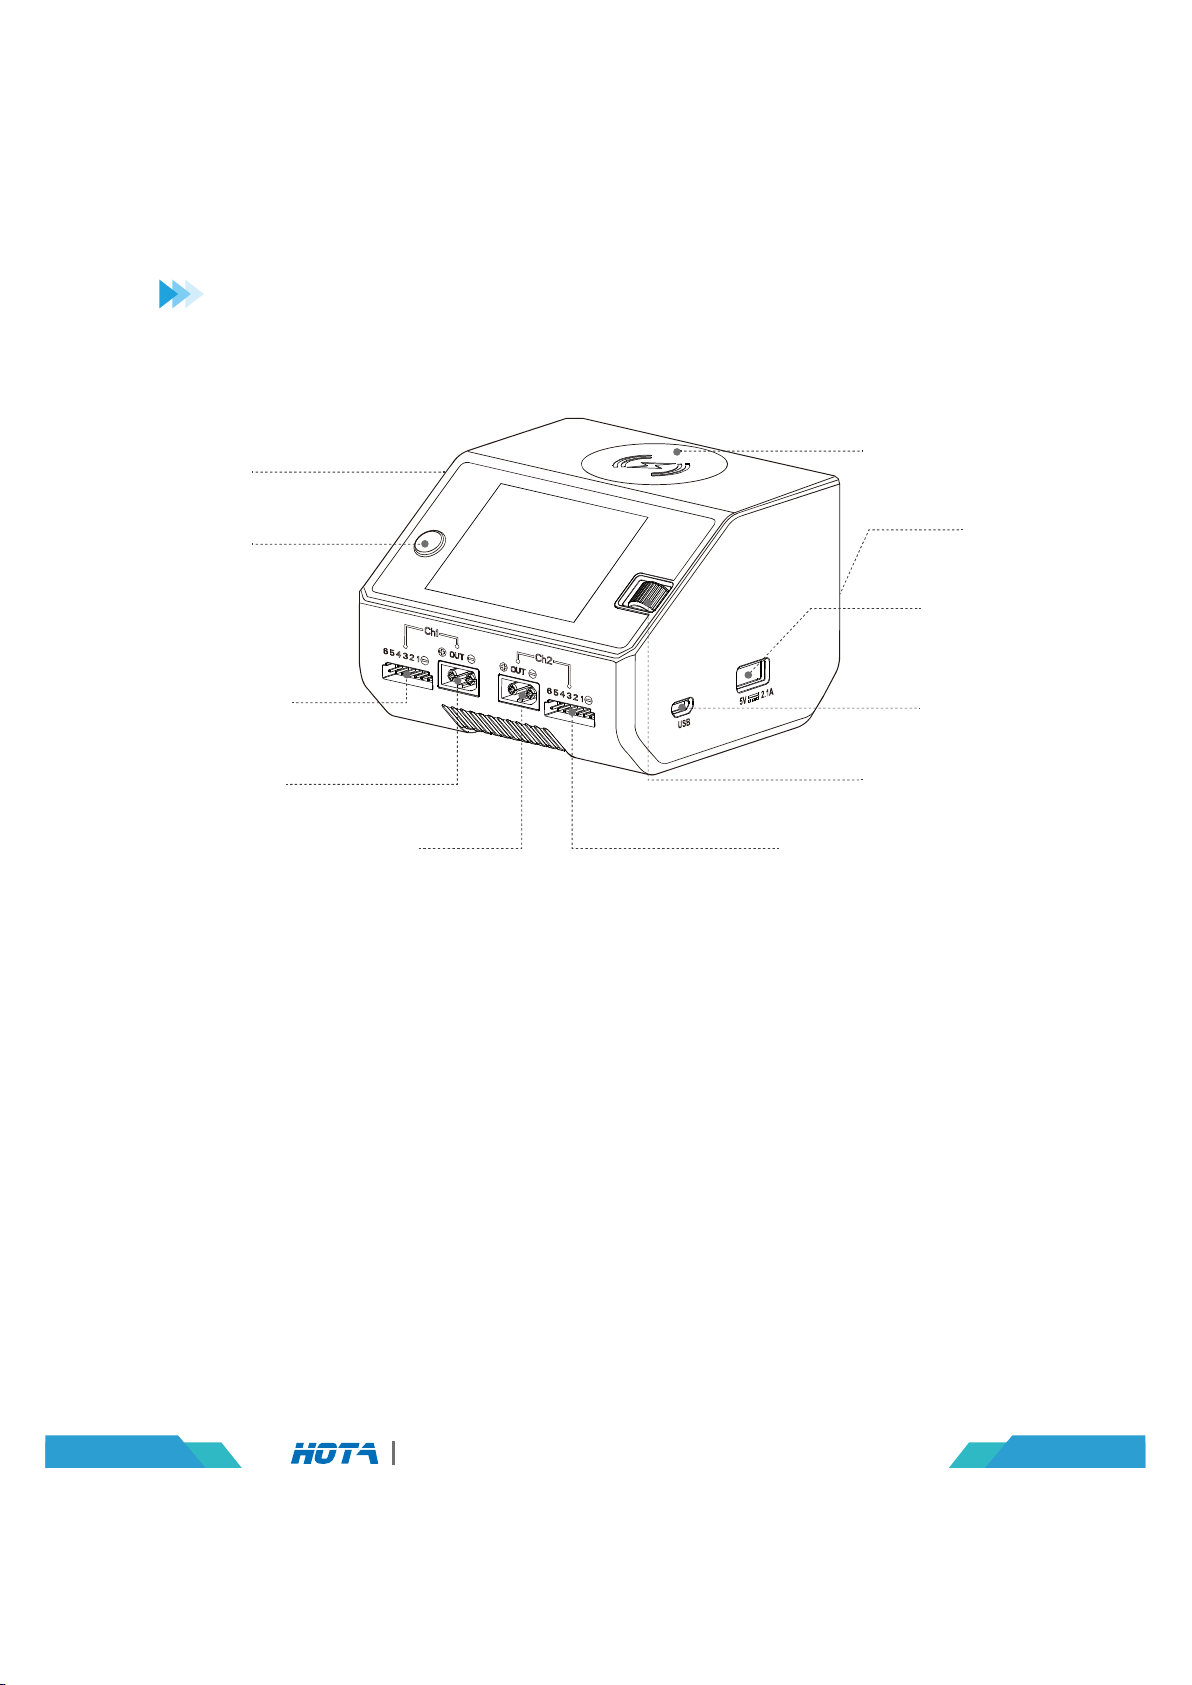
04 D6 Pro AC/DC Dual Channel Smart Charger
Connect power supply to the charger's AC or DC
port, wait for the system to complete the
self-checking. Connect the battery to the char-
ger under standby interface, and short press
the speed shuttle key to select the switching
channel freely,after select the corresponding
channel,short press the speed shuttle key to
make the“Task Setting” menu to pop up.
When the task is being executed, you can short
press the speed shuttle key to pop up the“
Adjust Task” menu to adjust the task's current .
Long press CH key to quick stop current oper-
ation or to enter the “Task Settings” menu
for corresponding channel.