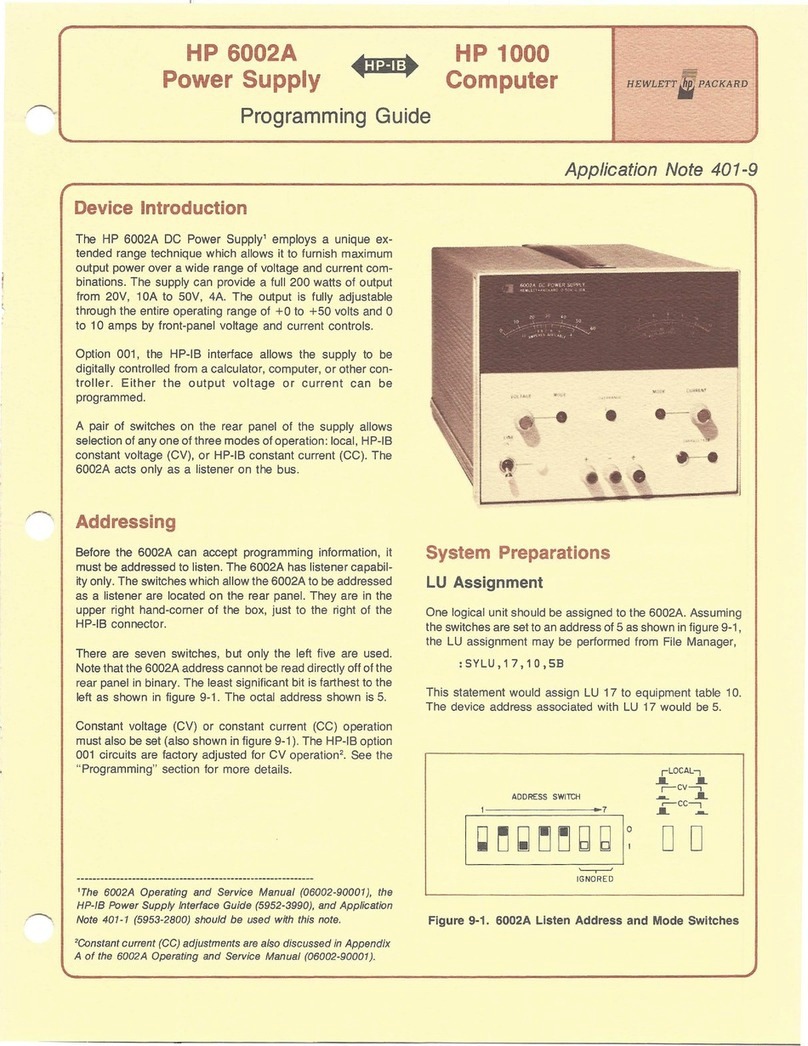
HP D7171A - NetServer - LPr Installation and operation manual

HP NetServer
LH 3000/3000r and
LH 6000/6000r
Power Supply Upgrade Guide
HP Part Number 5969-2160
Printed in November 1999

ii
Notice
The information contained in this document is subject to change without notice.
Hewlett-Packard makes no warranty of any kind with regard to this material,
including, but not limited to, the implied warranties of merchantability and fitness
for a particular purpose. Hewlett-Packard shall not be liable for errors contained
herein or for incidental or consequential damages in connection with the
furnishing, performance, or use of this material. Hewlett-Packard assumes no
responsibility for the use or reliability of its software on equipment that is not
furnished by Hewlett-Packard.
This document contains proprietary information that is protected by copyright. All
rights are reserved. No part of this document may be photocopied, reproduced, or
translated to another language without the prior written consent of
Hewlett-Packard Company.
3M®is a registered trademark of Minnesota Mining and Manufacturing Company.
Hewlett-Packard Company
Network Server Division
Technical Communications / MS 45SLE
10955 Tantau Avenue
Cupertino, CA 95104 USA
© Copyright 1999, Hewlett-Packard Company
Audience Assumptions
This guide is intended for the person who installs, administers, and troubleshoots
network servers. Hewlett-Packard Company assumes you are qualified in the
servicing of computer equipment and trained in recognizing hazards in products
with hazardous energy levels.

iii
Contents
1 Introduction ................................................................................................. 1
Accessory Kit Contents.................................................................................. 1
Tools and Related Documentation................................................................. 2
Contents of This Guide.................................................................................. 2
Precautions................................................................................................... 2
2 HP NetServer LH 3000: Installing a Power Supply and Fan....................... 5
Remove NetServer Covers........................................................................ 5
Install Power Supply Fan Module............................................................... 6
Install Power Supply.................................................................................. 8
Finishing the Installation.......................................................................... 10
3 HP NetServer LH 6000: Installing a Power Supply and Fan..................... 11
Remove NetServer Covers...................................................................... 11
Install Power Supply Fan Module............................................................. 12
Install Power Supply................................................................................ 14
Finishing the Installation.......................................................................... 16
4 Warranty and Support............................................................................... 17
HP Repair and Telephone Support .............................................................. 17
5 Regulatory Information ............................................................................. 19
Index............................................................................................................... 21


1
1 Introduction
This guide describes how to install a power supply upgrade kit, HP Product
Number D8551A, in an HP NetServer LH 3000/3000r or an HP NetServer
LH 6000/LH 6000r.
The power supply upgrade kit provides a redundant power supply that allows the
NetServer to keep operating should one of the original power supplies fail. The
redundant power supply fan module, also shipped with the upgrade kit, provides
additional cooling and allows the NetServer to keep operating in case the original
fan module fails.
After installing the power supply upgrade kit, you can remove and replace a failed
power supply without powering down the NetServer.
CAUTION If you remove a power supply on a hot-swap basis, you must
immediately install a replacement power supply or a power
supply filler panel to prevent overheating problems.
Removing a power supply on a hot-swap basis bypasses the
cooling air around the adjacent power supply. Leaving a
power supply bay empty for too long can cause the remaining
power supplies to overheat and may cause a system shutdown.
Accessory Kit Contents
The contents of the shipping box include:
l
Power supply module
l
Power supply fan module
l
Power cord for power supplies 3 and 4 (required for LH 3000/3000r only)
•HP NetServer LH 3000/3000r and LH 6000/6000r Power Supply Upgrade
Guide (this guide)

Chapter 1 Introduction
2
Tools and Related Documentation
To install a redundant power supply, you need an anti-static service kit
(3M8501/8502/8503 or equivalent). This kit includes a static-dissipating mat.
The following documents describe the HP NetServer LH 3000/3000r or
LH 6000/6000r:
•HP NetServer Installation Guide
•HP NetServer Online Documentation CD-ROM
Contents of This Guide
This guide includes the following chapters:
•Installing a power supply and fan in an HP NetServer LH 3000/3000r
l
Installing a power supply and fan in an HP NetServer LH 6000/6000r
•Warranty and support information
Precautions
CAUTION Components of this accessory kit are sensitive to static
electricity and can be damaged by improper handling. Read
the following information carefully before you handle the
accessory components:
•Leave the components in the anti-static container until you
are ready to install them.
•Use an anti-static wrist strap and a grounding mat. Read
and follow the instructions included with the wrist strap
and mat.
•Before you remove a component from its anti-static
container, touch a grounded, unpainted metal surface on
the NetServer to discharge static electricity.

Chapter 1 Introduction
3
WARNING Before removing the cover, always disconnect the power cord
and unplug telephone cables. Disconnect the power cord to
avoid exposure to high energy levels that may cause burns
when parts are short-circuited by metal objects, such as tools
or jewelry. Disconnect telephone cables to avoid exposure to
shock hazard from telephone ringing voltages.
WARNING The power switch does not turn off the standby power.
Disconnect the power cord to turn off standby power. If the
backlight on the LCD display is still on, standby power is still
on.


5
2 HP NetServer LH 3000/3000r:
Installing a Power Supply and Fan
To install a redundant power supply into an HP NetServer LH 3000/3000r, you
will follow these steps:
l
Remove NetServer covers.
l
Install power supply fan module.
l
Install power supply.
l
Finish the installation.
NOTE For instructions on installing a power supply and fan into an
HP NetServer LH 6000/6000r, see Chapter 3.
Remove NetServer Covers
1. Close all applications, log off all users, and power down the NetServer.
2. Disconnect all power and telephone cords.
WARNING Before removing the cover, always disconnect the power cord
and unplug telephone cables.
3. Remove appropriate covers as follows:
a. For the pedestal version of your NetServer, remove the front bezel and
the left cover as described in the HP NetServer LH 3000/3000r
Installation Guide.
b. For the rack-mounted version of your NetServer, follow these steps.
See the HP NetServer LH 3000/3000r Installation Guide for further
details.
1. Extend the anti-tip foot.
2. Remove the front bezel.
3. Remove the screws that secure the front of the NetServer to the
rack.

Chapter 2 HP NetServer LH 3000/3000r: Installing a Power Supply and Fan
6
4. From the front of the NetServer, pull the NetServer forward until
you hear the locking device engage with a click.
5. Remove the top cover by loosening the thumbscrew and lifting the
cover away from the NetServer.
Install Power Supply Fan Module
The redundant power supply fan module allows the NetServer to keep operating in
case the original fan fails.
1. Locate the power supply fan module, and press down on the tab to unlock
the hinged handle. As shown in Figure 2-1, this tab locks the handle in the
closed position.
Press down on the tab
to unlock the hinged handle.
Figure 2-1. Unlock the Hinged Handle on the Power Supply Fan Module
2. Locate the panel where you will insert the redundant power supply fan
module shipped with this upgrade kit. See Figure 2-2. As you insert the fan
module, this hinged panel rotates up and out of the way.
3. With the hinged handle open, insert the power supply fan module as shown
in Figure 2-2.

Chapter 2 HP NetServer LH 3000/3000r: Installing a Power Supply and Fan
7
4. Press the power supply fan module into the connector and swing down the
hinged handle to lock the fan module into place.
Hinged panel rotates up
as you insert the fan module.
Open the hinge of the
fan module, insert the
fan, and close the
hinge.
Figure 2-2. Install Redundant Power Supply Fan Module
5. If you have the rack-mounted version of the NetServer, slide the NetServer
back into the rack chassis and secure it to the rack.

Chapter 2 HP NetServer LH 3000/3000r: Installing a Power Supply and Fan
8
Install Power Supply
1. From the back of the NetServer, loosen the thumbscrews and remove a
filler panel from the power supply bay. See Figure 2-3.
NOTE You can install the redundant power supply in either of the
open power supply bays.
Thumbscrews
Figure 2-3. Remove Filler Panel from Power Supply Bay

Chapter 2 HP NetServer LH 3000/3000r: Installing a Power Supply and Fan
9
2. Set the new power supply module in the open bay. See Figure 2-4.
CAUTION When lifting a power supply module, be prepared to support
its weight. Hold the power supply module with two hands.
3. Push in the power supply module, seat it firmly, and tighten the
thumbscrews.
Figure 2-4. Insert Power Supply Module

Chapter 2 HP NetServer LH 3000/3000r: Installing a Power Supply and Fan
10
Finishing the Installation
To finish the installation, do the following:
1. Replace the covers and bezel.
2. Replace all power, telephone, and I/O cables that you disconnected earlier.
3. Install the new power cord shipped with this upgrade kit. This power cord
connects to the cage that holds power supplies 3 and 4.
4. Turn on power to the NetServer and check the LEDs on each power
supply. When a power supply is operating correctly, its LED glows steady
green.

11
3 HP NetServer LH 6000/6000r:
Installing a Power Supply and Fan
To install a redundant power supply, you will follow these steps:
l
Remove NetServer covers.
l
Install power supply fan module.
l
Install power supply.
l
Finish the installation.
Remove NetServer Covers
1. Close all applications, log off all users, and power down the NetServer.
2. Disconnect all power and telephone cords.
WARNING Before removing the cover, always disconnect both power
cords and unplug telephone cables.
3. Remove appropriate covers as follows:
a. For the pedestal version of your NetServer, remove the front bezel and
the left cover as described in the HP NetServer LH 6000/6000r
Installation Guide.
b. For the rack-mounted version of your NetServer, follow these steps.
See the HP NetServer LH 6000/6000r Installation Guide for further
details.
1. Extend the anti-tip foot.
2. Remove the front bezel.
3. Remove the screws that secure the front of the NetServer to the
rack.
4. From the front of the NetServer, pull the NetServer forward until
you hear the locking device engage with a click.
5. Remove the top cover by loosening the thumbscrew and lifting the
cover away from the NetServer.

Chapter 3 HP NetServer LH 6000/6000r: Installing a Power Supply and Fan
12
Install Power Supply Fan Module
The redundant power supply fan module allows the NetServer to keep operating in
case the original fan fails.
1. Locate the power supply fan module, and press down on the tab to unlock
the hinged handle. As shown in Figure 3-1, this tab locks the handle in the
closed position.
Press down on the tab
to unlock the hinged handle.
Figure 3-1. Unlock the Hinged Handle on the Power Supply Fan Module
2. Locate the panel where you will insert the redundant power supply fan
module shipped with this upgrade kit. See Figure 3-2. As you insert the fan
module, this hinged panel rotates up and out of the way.
3. With the hinged handle open, insert the power supply fan module as shown
in Figure 3-2.
4. Press the power supply fan module into the connector and swing down the
hinged handle to lock the fan module into place.

Chapter 3 HP NetServer LH 6000/6000r: Installing a Power Supply and Fan
13
Hinged panel rotates up
as you insert the fan module.
Open the hinge of the
fan module, insert the
fan, and close the
hinge.
Figure 3-2. Install Redundant Power Supply Fan Module
5. If you have the rack-mounted version of the NetServer, slide the NetServer
back into the rack chassis and secure it to the rack.

Chapter 3 HP NetServer LH 6000/6000r: Installing a Power Supply and Fan
14
Install Power Supply
1. From the back of the NetServer, loosen the thumbscrews and remove the
filler panel from the power supply bay. See Figure 3-3.
Thumbscrews
Figure 3-3. Remove Filler Panel from Power Supply Bay

Chapter 3 HP NetServer LH 6000/6000r: Installing a Power Supply and Fan
15
2. Set the new power supply module in the open bay.
CAUTION When lifting a power supply module, be prepared to support
its weight. Hold the power supply module with two hands.
3. Push in the power supply module, seat it firmly, and tighten the
thumbscrews. See Figure 3-4.
Figure 3-4. Insert Power Supply Module

Chapter 3 HP NetServer LH 6000/6000r: Installing a Power Supply and Fan
16
Finishing the Installation
After installing the power supply and power supply fan module, do the following:
1. Replace the covers and bezel.
2. Replace all power, telephone, and I/O cables that you disconnected earlier.
3. Turn on power to the NetServer and check the LEDs on each power
supply. When a power supply is operating correctly, its LED glows steady
green.
Other manuals for D7171A - NetServer - LPr
117
This manual suits for next models
7
Table of contents
Other HP Power Supply manuals

HP
HP PSR750-A User manual

HP
HP HPE Synergy 12000 Frame User manual

HP
HP 721A Owner's manual

HP
HP BENCH Series Service manual

HP
HP StorageWorks 2300 - Disk System Quick guide

HP
HP 6102A Service manual

HP
HP Lab Series Instruction and safety manual

HP
HP 6220B Service manual

HP
HP HVB Series User manual

HP
HP 711A Service manual