manuals.online logo
Brands
  1. Home
  2. •
  3. Brands
  4. •
  5. HP
  6. •
  7. Printer Accessories
  8. •
  9. HP C8519A - LaserJet 9000 B/W Laser Printer User manual

HP C8519A - LaserJet 9000 B/W Laser Printer User manual

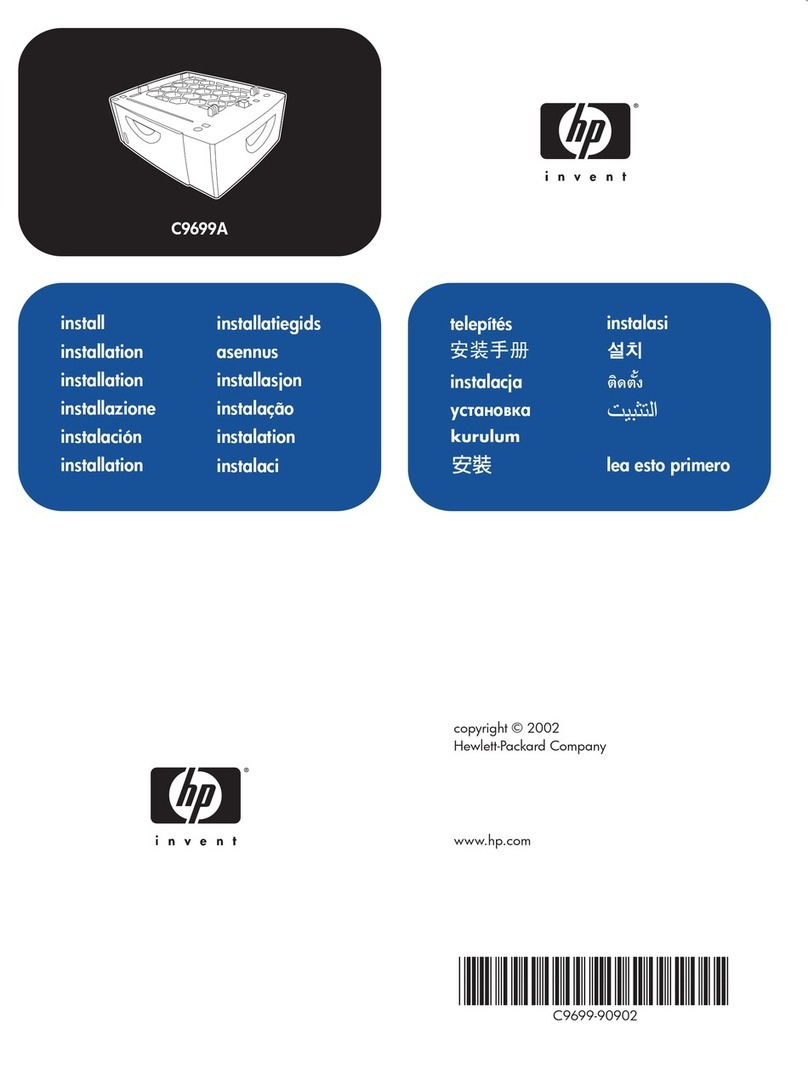
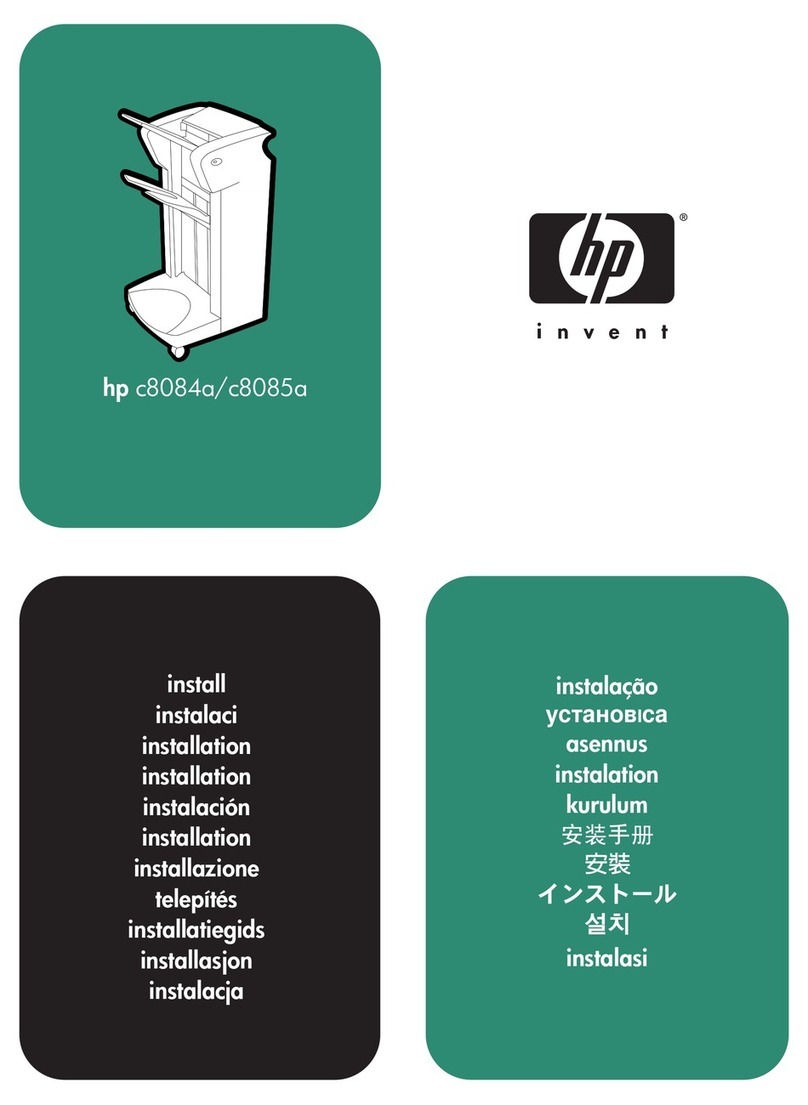
hp ca8568
install
instalaci
installation
installation
instalación
installation
installazione
telepítés
installatiegids
installasjon
instalacja
instalação
 

asennus
instalation
kurulum
instalasi
English
Česky
DanskDeutschEspañolFrançaisItaliano
1 2
Tray 1 (multipurpose tray). Remove any orange packaging material from
Tray 1. Remove the cover from the Tray 1 attachment
area on the right door of the printer.
Zásobník 1 (víceúčelový zásobník). Odstraňte veškerý oranžový balicí materiál ze
zásobník 1.
Demont jte kryt z místa pro pevnění
zásobník 1 na pravých dvířkách tiskárny.
Fach 1 (Mehrzweckfach). Entfernen Sie eventuell vorhandenes
orangefarbenes Verpackungsmaterial von
Fach 1.
Entfernen Sie an der rechten Klappe des
Druckers die Abdeckung vom Bereich zur
Befestigung von Fach 1.
Bandeja 1 (bandeja multifunción). Quite el material de embalaje de color naranja
de la bandeja 1. Separe la cubierta del área de conexión de la
bandeja 1, en la puerta derecha de la
impresora.
Bac 1 (bac multifonctions). Retirez tout emballage orange du bac 1. Sur la trappe droite de l'imprimante, retirez le
capot de la zone de fixation du bac 1.
Vassoio 1 (vassoio multiuso). Rimuovere il materiale di imballaggio dal
Vassoio 1. Rimuovere il coperchio dall'area di
collegamento del Vassoio 1 sullo sportello
destro della stampante.
Bakke 1 (multifunktionsbakke). Fjern al orange emballeringsmateriale fra
Bakke 1. Fjern afdækningen fra monteringsåbningen til
Bakke 1 på printerens højre dæksel.
3 4 5
Remove the two plugs that cover the holes in
the Tray 1 attachment area. Open the right door. Align the two mounting hooks on the top of
Tray 1 with the two notches in the door.
Demont jte dvě záslepky, které zakrývají otvory
v místě pro pevnění zásobník 1.
Otevřete pravá dvířka. Vyrovnejte dva pevňovací háčky na horní
straně zásobník 1 se dvěma zářezy na
dvířkách.
Entfernen Sie die Abdeckungen von den beiden
Vertiefungen in dem Bereich, an dem Fach 1
befestigt wird.
Öffnen Sie die rechte Klappe. Richten Sie die beiden Befestigungshaken am
oberen Rand von Fach 1 an den beiden
Aussparungen in der Klappe aus.
Quite los dos tapones que cubren los orificios
del área de conexión de la bandeja 1. Abra la puerta derecha. Alinee los dos ganchos de montaje en la parte
superior de la bandeja 1 con las dos muescas
de la puerta.
Retirez les deux chevilles qui cachent les trous
de la zone de fixation du bac 1. Ouvrez la trappe droite. Placez les deux crochets de mise en place
situés en haut du bac 1 en face des deux
encoches de la trappe.
Rimuovere i due tappi che coprono i fori
dell'area di collegamento del Vassoio 1. Aprire lo sportello destro. Allineare i due ganci di montaggio presenti sulla
parte superiore del Vassoio 1 con i due incavi
sullo sportello.
Fjern de to propper, der sidder i hullerne i
monteringsområdet til Bakke 1. Åbn højre dæksel. Juster de to monteringshager øverst på
Bakke 1 i forhold til de to indhak i dækslet.
English
Česky
DanskDeutschEspañolFrançaisItaliano
6 7 8
Insert the mounting hooks into the notches on
the top edge of the door and lower the tray into
position.
Close the right door. Push the locking pins into the two holes at the
bottom of Tray 1 until the pins lock into place.
Zas ňte pevňovací háčky do zářezů na horní
hraně dvířek a sp st’te zásobník na své místo.
Zavřete pravá dvířka. Zas ňte pojistné kolíky do dvo otvorů dna
zásobník 1, až zaklapno na své místo.
Führen Sie die Befestigungshaken in die
Aussparungen am oberen Rand der Klappe ein,
und senken Sie das Fach in die richtige
Position.
Schließen Sie die rechte Klappe. Drücken Sie die Haltestifte in die beiden
Vertiefungen am unteren Rand von Fach 1, bis
sie einrasten.
Inserte los ganchos de montaje en las muescas
de la parte superior de la puerta y baje la
bandeja hasta que quede ajustada.
Cierre la puerta derecha. Empuje los pasadores de cierre en los dos
orificios de la parte inferior de la bandeja 1
hasta que estén totalmente encajados.
Insérez les crochets de mise en place dans les
encoches du bord supérieur de la trappe.
Mettez le bac en place.
Fermez la trappe droite. Poussez les goupilles de verrouillage dans les
deux trous situés en bas du bac 1 jusqu'àce
qu'elles soient en place.
Inserire i ganci di montaggio negli incavi sul lato
superiore dello sportello e abbassare il vassoio
per posizionarlo correttamente.
Chiudere lo sportello destro. Spingere i piedini di blocco nei due fori nella
parte inferiore del Vassoio 1 fino a quando non
scattano in posizione.
Placer monteringshagerne i indhakkene på
dækslets øverste kant, og sænk bakken til den
rette position.
Luk højre dæksel. Skub låsestifterne ind i de to huller i bunden af
Bakke 1, indtil de låses påplads.
910 11
Open the Tray 1 door. Insert one or two sheets of Letter or A4 paper
with the long edge leading into the printer. Adjust the paper size guides to correspond to
the paper size you are loading.
Otevřete dvířka zásobník 1. Vložte jeden nebo dva listy papír formát
Letter nebo A4 tak, aby delší okraj arch
směřoval do tiskárny.
Nastavte vodící lišty papír tak, aby odpovídaly
rozměrům papír , který vkládáte.
Öffnen Sie die Klappe von Fach 1. Legen Sie ein oder zwei Blätter im Letter- oder
A4-Format mit der längeren Seite zuerst in den
Drucker ein.
Passen Sie die Papierführungen der
verwendeten Papiergröße an.
Abra la puerta de la bandeja 1. Inserte una o dos hojas de papel Carta o A4
con el borde largo hacia la impresora. Ajuste las guías del papel para que se
correspondan con el tamaño del papel que
estácargando.
Ouvrez la trappe du bac 1. Insérez une ou deux feuilles de papier (format
Lettre ou A4) dans le bac. Veillez àce que le
bord long soit introduit en premier dans
l'imprimante.
Réglez les guides de format de papier en
fonction du papier chargé.
Aprire lo sportello del Vassoio 1. Caricare uno o due fogli in formato Lettera o A4
inserendo prima il lato superiore nella
stampante.
Regolare le guide del formato della carta in
modo che corrispondano al formato della carta
che si sta caricando.
Åbn dækslet til Bakke 1. Indfør et eller to ark Letter- eller A4-papir med
den lange kant først i printeren. Juster papirstyrene, såde passer til det
papirformat, du vil bruge.

Other manuals for C8519A - LaserJet 9000 B/W Laser Printer

3

This manual suits for next models

2

Other HP Printer Accessories manuals

HP 2500 - Color LaserJet Laser Printer User manual

HP

HP 2500 - Color LaserJet Laser Printer User manual

HP CM6040f - Color LaserJet MFP Laser User manual

HP

HP CM6040f - Color LaserJet MFP Laser User manual

HP Smart Tank Wireless 450 series User manual

HP

HP Smart Tank Wireless 450 series User manual

HP LaserJet LaserJet4350 User manual

HP

HP LaserJet LaserJet4350 User manual

HP LaserJet Enterprise M4555 User manual

HP

HP LaserJet Enterprise M4555 User manual

HP c7065b User manual

HP

HP c7065b User manual

HP Color LaserJet CP2025 User manual

HP

HP Color LaserJet CP2025 User manual

HP C8519A - LaserJet 9000 B/W Laser Printer User manual

HP

HP C8519A - LaserJet 9000 B/W Laser Printer User manual

HP LaserJet 4MV Series User manual

HP

HP LaserJet 4MV Series User manual

HP C8519A - LaserJet 9000 B/W Laser Printer User manual

HP

HP C8519A - LaserJet 9000 B/W Laser Printer User manual

HP LaserJet LJ 5Si-8000 User manual

HP

HP LaserJet LJ 5Si-8000 User manual

HP 5100 - LaserJet B/W Laser Printer User manual

HP

HP 5100 - LaserJet B/W Laser Printer User manual

HP Designjet T1500 series User manual

HP

HP Designjet T1500 series User manual

HP Digital Sender 8100C User manual

HP

HP Digital Sender 8100C User manual

HP c6463a User manual

HP

HP c6463a User manual

HP c9704a Instruction sheet

HP

HP c9704a Instruction sheet

HP c9700a Instruction sheet

HP

HP c9700a Instruction sheet

HP Color LaserJet CP3520 User manual

HP

HP Color LaserJet CP3520 User manual

HP DesignJet 5000 cp User manual

HP

HP DesignJet 5000 cp User manual

HP LaserJet 4200dtn User manual

HP

HP LaserJet 4200dtn User manual

HP Jetdirect 2800w User manual

HP

HP Jetdirect 2800w User manual

HP LaserJet 4200dtn User manual

HP

HP LaserJet 4200dtn User manual

HP CF283X Quick start guide

HP

HP CF283X Quick start guide

HP 4500 - DesignJet Color Inkjet Printer User manual

HP

HP 4500 - DesignJet Color Inkjet Printer User manual

Popular Printer Accessories manuals by other brands

Epson T078620 Product information sheet

Epson

Epson T078620 Product information sheet

Brother TN630 instructions

Brother

Brother TN630 instructions

Formax 6204 Series Maintenance manual

Formax

Formax 6204 Series Maintenance manual

Xerox C11 - DocuPrint Color Inkjet Printer user manual

Xerox

Xerox C11 - DocuPrint Color Inkjet Printer user manual

REA JET HR pro 2K user manual

REA

REA JET HR pro 2K user manual

oliser MS 45 instructions

oliser

oliser MS 45 instructions

Xerox EFI EXP6000 Specification sheet

Xerox

Xerox EFI EXP6000 Specification sheet

Epson T6248 Product information sheet

Epson

Epson T6248 Product information sheet

Canon TonerRobot EP-27 instruction manual

Canon

Canon TonerRobot EP-27 instruction manual

Kyocera KM-6230 Instruction handbook

Kyocera

Kyocera KM-6230 Instruction handbook

Triumph Adler DF-710 Instruction handbook

Triumph Adler

Triumph Adler DF-710 Instruction handbook

Star Micronics TSP800 Series install guide

Star Micronics

Star Micronics TSP800 Series install guide

Citizen CBM-202PC Series user manual

Citizen

Citizen CBM-202PC Series user manual

Canon Color imageCLASS MF8170c installation instructions

Canon

Canon Color imageCLASS MF8170c installation instructions

Codonics Virtua 1VCX-LR833 Technical brief

Codonics

Codonics Virtua 1VCX-LR833 Technical brief

Roland DU2-64 Supplementary manual

Roland

Roland DU2-64 Supplementary manual

TonerRefillKits ReChargX RX126 instructions

TonerRefillKits

TonerRefillKits ReChargX RX126 instructions

Epson T059920 Material safety data sheet

Epson

Epson T059920 Material safety data sheet

manuals.online logo
manuals.online logoBrands
  • About & Mission
  • Contact us
  • Privacy Policy
  • Terms and Conditions

Copyright 2025 Manuals.Online. All Rights Reserved.