Huawei Mate 20 X User manual

User Guide

Contents
Essentials
Basic Gestures 1
System Navigation 3
Phone Clone 4
Lock and Unlock Your Screen 5
Notication and Status Icons 6
Shortcut Switches 7
Home Screen Widgets 8
Set Your Wallpaper 8
Screenshots & Screen Recording 9
View and Clear Notications 13
Adjust Sound Settings 14
Show Date and Time When the Screen Is O 15
Power On and O or Restart Your Device 15
Charging 15
Smart Features
AI Lens 17
Easy Projection 18
Multi-Screen Collaboration 20
Huawei Share 24
Camera and Gallery
Launch Camera 27
Take Photos 27
Master AI 29
Zoom to Take Photos 29
Super Macro 30
Take Panoramic Photos 30
Light Painting 31
Take HDR Photos 32
Moving Pictures 32
Add Stickers to Photos 33
Documents Mode 33
Pro Mode 34
Record Videos 35
Slow-Mo Recording 36
Time-Lapse Photography 37
Filters 37
Adjust Camera Settings 37
Manage Gallery 38
i

Gallery Smart Categorization 42
Highlights 43
Apps
Apps 45
Contacts 46
Phone 49
Calendar 55
Clock 57
Notepad 58
Recorder 59
Email 60
Calculator 64
Flashlight 65
Mirror 65
App Twin 66
Quickly Access Frequently Used App Features 66
Optimizer 67
Phone Clone 69
Tips 70
Settings
Search for Items in Settings 71
Wi-Fi 71
Bluetooth 72
Mobile Data 73
More Connections 77
Home Screen & Wallpaper 83
Display & Brightness 85
Sounds & Vibration 87
Notications 89
Biometrics & Password 90
Apps 93
Battery 93
Storage 95
Security 95
Privacy 98
Accessibility Features 101
Users & Accounts 102
System & Updates 103
About Phone 108
Contents
ii

Essentials
Basic Gestures
Basic Gestures
System Navigation Gestures
Go to Settings > System & updates > System navigation and ensure that Gestures is
selected.
Back
Swipe inward from the left or right edge to return to the
previous screen.
Back to the home screen
Swipe up from the bottom to go to the home screen.
View recent tasks
Swipe up from the bottom of the screen and hold to view
recent tasks.
Close an app
On the recent tasks screen, swipe up on an app preview to
close the app.
Switch apps
•Swipe in a curve along the bottom edge of the screen.
•Enable Swipe across bottom to switch apps and swipe
horizontally across the bottom edge of the screen.
1

More Gestures
Access Home screen editing mode
Pinch two ngers together on the home screen.
Display the shortcut panel on the lock screen
Swipe up from the bottom of the lock screen.
Display the search bar
Swipe down on the home screen.
Open the notication panel
Swipe down from the status bar.
Button Shortcuts
Power o and restart
Press and hold the Power button until the Power o and
Restart options appear.
Increase the volume
Press the Volume up button.
Essentials
2

Decrease the volume
Press the Volume down button.
Take a screenshot
Press the Volume down and Power buttons simultaneously.
Ultra snapshot
Double-press the Volume down button when the screen is o
or locked to take a photo.
System Navigation
Change the Navigation Mode
Go to Settings > System & updates > System navigation to select a navigation mode
according to your preferences.
Navigate with Gestures
Go to Settings > System & updates > System navigation and enable or disable
Gestures.
After enabling Gestures, you can:
•Go back to the previous screen: Swipe inward from the left or right edge.
•Return to the home screen: Swipe up from the bottom of the screen.
•Access the recent tasks screen: Swipe up from the bottom of the screen and hold.
•Close an app from the recent tasks screen: Swipe up on an app preview.
•Switch apps: Swipe in a curve along the bottom edge of the screen, or when Swipe across
bottom to switch apps is enabled, swipe horizontally across the bottom edge.
Three-Key Navigation
Go to Settings > System & updates > System navigation, and select Three-key
navigation.
Essentials
3

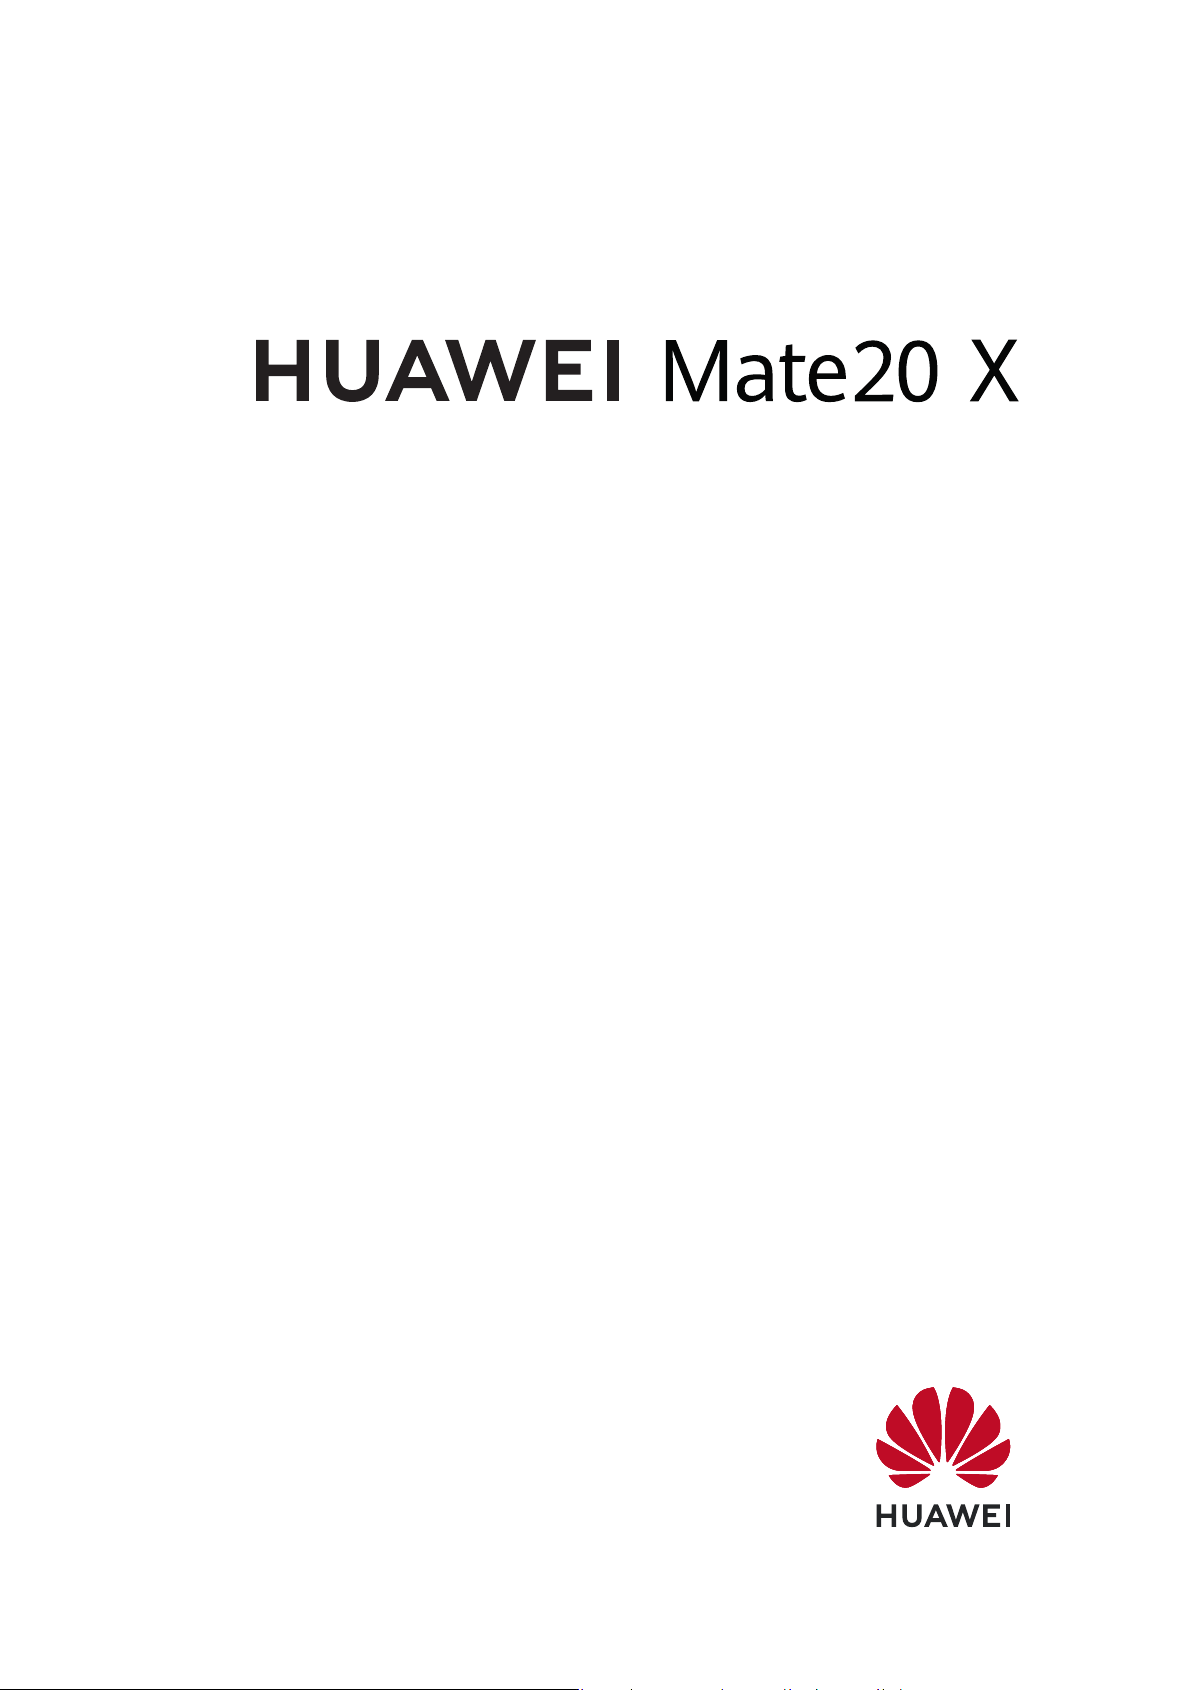
Touch Settings to select the navigation key combination you prefer.
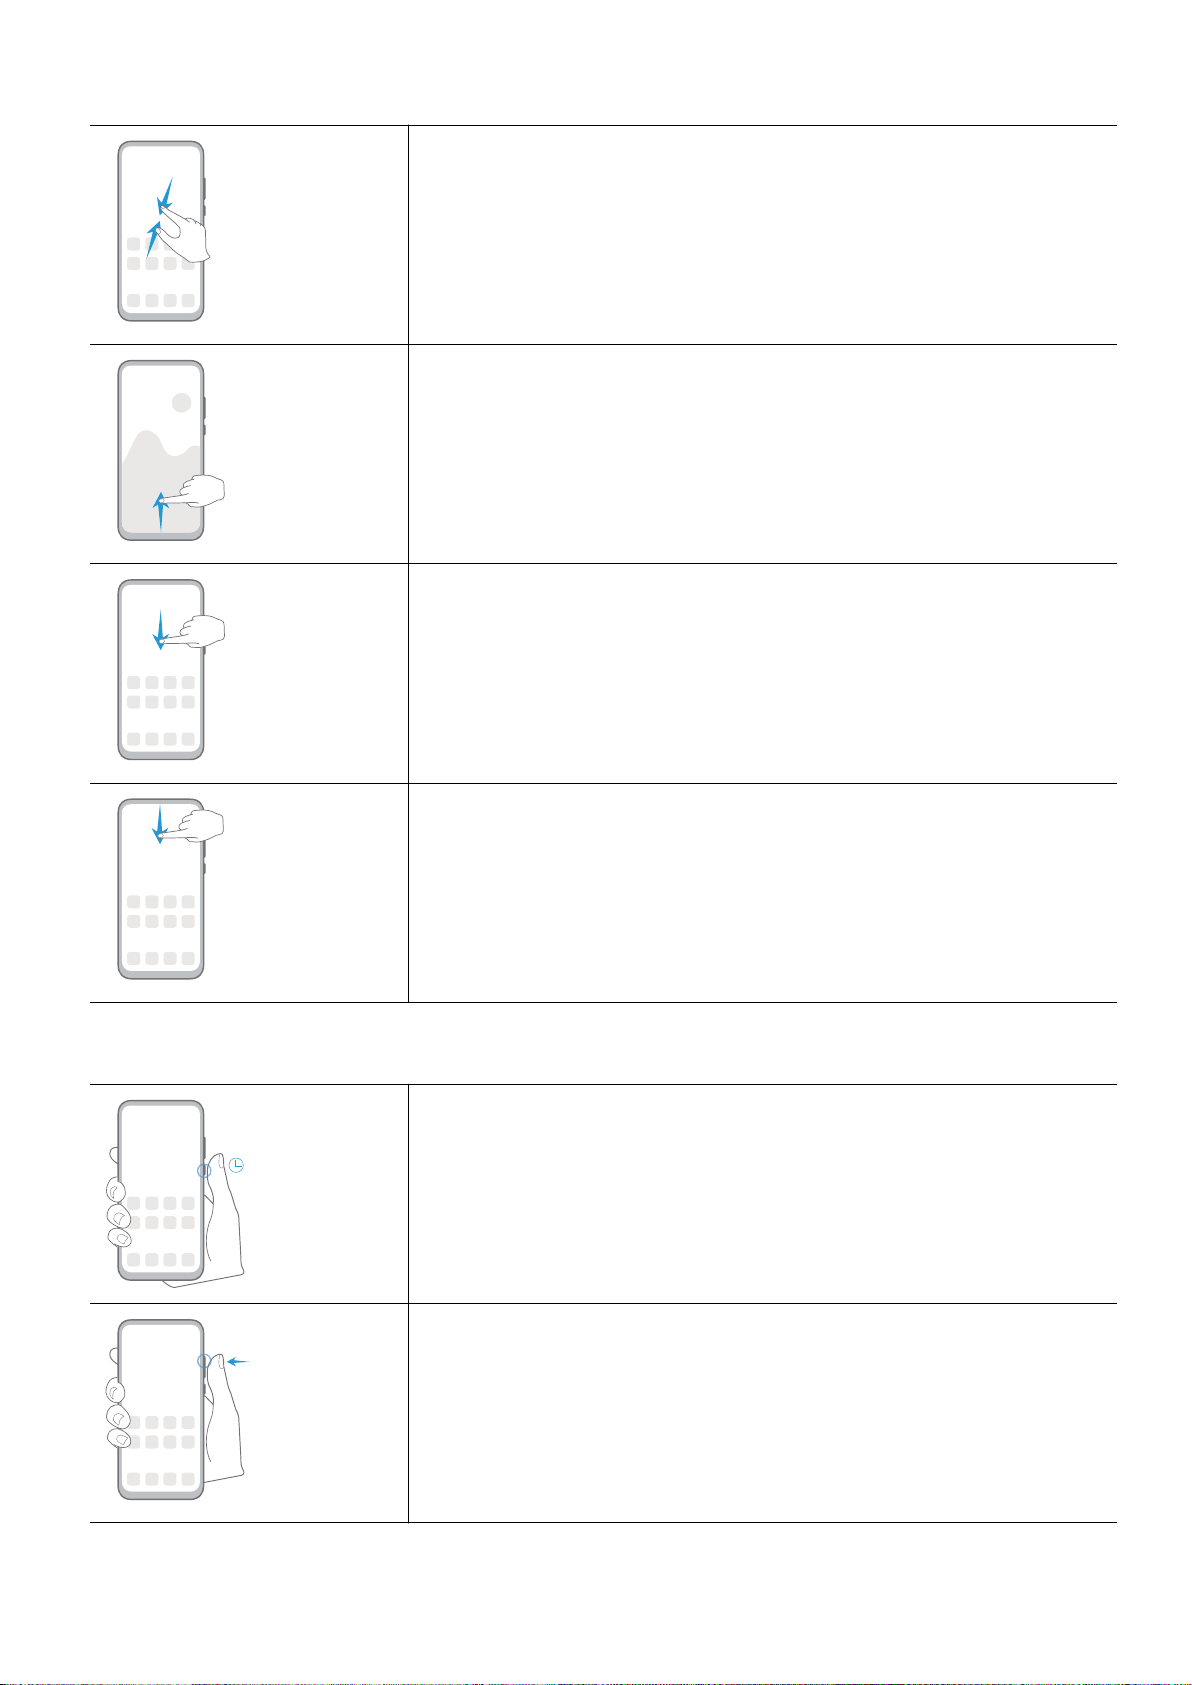
The icons on the navigation bar are as follows:
•: Back key to return to the previous screen, exit an app, or close the onscreen keyboard.
•: Home key to return to the home screen.
•: Recents key to display the recent tasks screen.
•: Notication key to open the notication panel.
Customize the Navigation Key Combination
Go to Three-key navigation > Settings. You can:
•Select a navigation key combination.
•Enable Hide navigation keys to allow you to hide the navigation bar when not in use.
Phone Clone
Phone Clone
Phone Clone lets you quickly and seamlessly move all the basic data (including contacts,
calendar, images, and videos) from your old phone to your new phone.
Clone Data from an Android Device
1On your new phone, open Phone Clone. Alternatively, go to Settings > System &
updates > Phone Clone, touch This is the new phone, then touch Huawei or Other
Android.
2Follow the onscreen instructions to download and install Phone Clone on your old device.
3On your old device, open Phone Clone and touch This is the old phone. Follow the
onscreen instructions to connect your old device with your new phone by scanning a code
or connecting manually.
4On your old device, select the data you want to clone, then touch Transfer to start
cloning.
Phone Clone is only available on phones running Android 4.4 or later.
Clone Data from an iPhone or iPad
1On your new phone, open Phone Clone. Alternatively, go to Settings > System &
updates > Phone Clone, touch This is the new phone, then touch iPhone/iPad.
2Follow the onscreen instructions to download and install Phone Clone on your old device.
Essentials
4

3On your old device, open Phone Clone and touch This is the old phone. Follow the
onscreen instructions to connect your old device with your new phone by scanning a code
or connecting manually.
4On your old device, select the data you want to clone, then follow the onscreen
instructions to complete the data cloning.
Phone Clone is only available on phones running iOS 8.0 or later.
Lock and Unlock Your Screen
Lock the Screen
If your phone remains inactive for a period of time, it will automatically lock the screen and
enter sleep mode to save power.
Alternative, you can manually lock the screen in either of the following ways:
•Press the Power button.
•On the home screen, pinch together two ngers to enter screen editing mode. Touch
Widgets, then drag the Screen Lock icon to the home screen. You can now touch the
Screen Lock icon to lock the screen.
Set the Screen Timeout Period
Go to Settings > Display & brightness > Sleep and select a screen timeout period.
Wake Screen
You can turn on the screen in either of the following ways:
•Press the Power button.
•Go to Settings > Accessibility features > Motion control > Raise and enable Wake
device.
Unlock the Screen with Password
Once the screen is turned on, swipe up from the middle of the screen to display the password
input panel. Then, enter your lock screen password.
Use Face Unlock
Turn on the screen and align it with your face. Your phone will unlock once your face is
recognized.
Use Fingerprint Unlock
Once the screen is turned on, the ngerprint icon will display on the screen. Touch the icon
with an enrolled nger to unlock the screen.
Essentials
5

Change the Lock Screen Display
When using an ocial theme, you can set to display your step count and signature on the
lock screen.
Display Your Signature on the Lock Screen
Go to Settings > Home screen & wallpaper, touch Lock screen signature, then type
text to display on the lock screen.
To remove the signature, touch Lock screen signature and delete the text.
Access Apps from the Lock Screen
You can access commonly used apps such as Camera, Recorder, and Calculator from the lock
screen.
•Turn on the screen, touch and hold , then swipe up to open Camera.
•Turn on the screen, then swipe up from the bottom of the lock screen to open the shortcut
panel. Shortcuts for Recorder, Flashlight, Calculator, and Timer will be available.
Notication and Status Icons
Network status icons may vary according to your region or network service provider.
Supported functions vary according to the device model. Some of the following icons may
not be applicable to your phone.
5G network connected 4G network connected
3G network connected 2G network connected
Full signal strength Roaming
Data saver enabled SIM card not found
Hotspot enabled Hotspot connected
Calling VoLTE enabled
Wi-Fi network connected SkyTone in use
Hotspot disconnected Network being switched by Wi-Fi
+
Airplane mode enabled Alarm set
Essentials
6

Battery empty Battery low
Charging Quick charging
Super charging Super wireless charging
Quick wireless charging Regular wireless charging
Power saving mode enabled Digital balance enabled
Bluetooth enabled Bluetooth device battery
Bluetooth device connected VPN connected
Driving mode Projection device connected
Location service enabled Eye Comfort mode enabled
Headset connected Headset with a microphone
connected
Missed call Unread SMS
Microphone disabled Muted
More notications Vibrate only
NFC enabled Do Not Disturb mode enabled
Data syncing Data sync failed
Performance mode enabled New email
Event reminders
Shortcut Switches
Shortcut Switches
Turn on a Shortcut Switch
Swipe down from the status bar to open the notication panel, then swipe down further to
show all shortcut switches.
Essentials
7

•Touch a shortcut switch to enable or disable the corresponding feature.
•Touch and hold a shortcut switch to enter the settings screen for that feature. (Only
available for some features)
•Touch to open Settings.
Customize Shortcut Switches
Touch , touch and hold an icon, then drag it to the desired position.
Home Screen Widgets
Home Screen Widgets
You can add, move, or delete home screen widgets, such as Screen lock, Weather, Notepad,
Clock, Contacts, and Calendar, according to your personal requirements.
Add a Widget to the Home Screen
1Pinch together two ngers on the home screen to access the Home screen editor.
2Touch Widgets, then swipe left to view all widgets.
3Some widgets, like Weather, come in various formats. Touch the widget to view all
formats, then swipe right to return.
4Touch a widget to add it to the home screen. If there is no room on the current screen
page, touch and hold it, then drag it to a dierent screen page.
Move or Delete a Widget
Touch and hold a widget on your home screen until your phone vibrates, then drag it to the
desired position or touch Remove.
Set Your Wallpaper
Set Your Wallpaper
Use a Preset Wallpaper
1Go to Settings > Home screen & wallpaper > Wallpaper.
2Touch an image you want to set as the wallpaper.
3Set the following according to your preferences:
•Blur: applies a blur eect, which can be adjusted by dragging the slider.
•Scrollable: enables the wallpaper to be scrollable on the home screen.
4Touch , then determine whether you'd like to set it as the wallpaper for the Lock
screen, Home screen, or Both.
Essentials
8

Set an Image from Gallery as Your Wallpaper
1Open Gallery, and open the image you want to set as your wallpaper.
2Go to > Set as > Wallpaper, then follow the onscreen instructions.
Screenshots & Screen Recording
Take a Screenshot
Use Your Knuckle to Take a Screenshot
1Go to Settings > Accessibility features > Motion control > Take screenshot, and
ensure that Smart screenshot is enabled.
2Knock the screen twice in quick succession with one knuckle to take a screenshot.
Use a Key Combination to Take a Screenshot
Press and hold the Power and Volume down buttons simultaneously to take a screenshot.
Use a Shortcut to Take a Screenshot
Swipe down from the status bar to open the notication panel, then swipe down on it again
to show all shortcuts. Touch to take a screenshot.
Share and Edit a Screenshot, or Switch to Scrollshot
Essentials
9

After you take a screenshot, a thumbnail will display in the lower left corner of the screen.
Then you can:
•Swipe down on the thumbnail to take a scrolling screenshot.
•Swipe up on the thumbnail to select a sharing mode and share the screenshot with your
friends.
•Touch the thumbnail to edit or delete it.
Screenshots are saved to Gallery by default.
Use Your Knuckle to Take a Scrolling Screenshot
Essentials
10

1Knock the screen with a knuckle and hold to draw an "S". The screen will automatically
scroll down to the bottom for you to capture the entire page.
2You can touch the screen at any point to stop the screenshot.
Take a Partial Screenshot
Essentials
11

1Knock the screen with a knuckle and hold to draw an outline around the part of the
screen that you want to capture. Make sure that your knuckle does not leave the screen.
2The screen will display the movement trajectory of your knuckle and take a screenshot of
the selected area. You can then:
•Drag the frame to the desired position or resize it.
•Touch a shape icon to determine the shape of the partial screenshot.
3Touch to save the screenshot.
Precautions for Using Knuckle Screenshots
•Please double knock the screen consecutively at the same place and at an appropriate
speed.
•Keep your knuckle vertical to the screen.
•If you want to take more than one screenshot, wait 2 seconds before knocking on the
screen again.
•If there is a screen protector on the screen, knock the screen harder or remove the screen
protector and try again.
Essentials
12

Record the Screen
Record your screen activities in sharable videos to compose a tutorial, show o your
awesome gaming skills, and a lot more.
Use a Key Combination to Start Screen Recording
Press and hold the Power and Volume up buttons simultaneously to start screen recording. To
stop recording, press and hold both buttons again.
Use a Shortcut to Start Screen Recording
1Swipe down from the status bar to open the notication panel, then swipe down on it
again to show all shortcuts.
2Touch Screen Recorder to start screen recording.
3To stop the recording, touch the timer at the top of the screen.
4The recording will be saved to Gallery.
Use Two Knuckles to Start Screen Recording
1Go to Settings > Accessibility features > Motion control > Take screenshot, and
ensure that Smart screenshot is enabled.
2Knock the screen twice in quick succession with two knuckles to start screen recording. To
stop recording, knock twice again.
Record Your Voice During Screen Recording
You can enable the microphone to record your voice while recording the screen.
After starting a screen recording, touch the microphone icon and ensure that it is displayed as
. You can now record your voice.
If the microphone is disabled (if it is displayed as ), you will only be able to record
system sounds, such as music. If you don't want any system sounds in your screen
recording, mute your phone and turn o any music or other media sounds before
starting the screen recording.
View and Clear Notications
View Notications
When there is a notication reminder, you can turn on the screen and swipe down from the
status bar to open the notication panel and view the notication.
Clear Notications
•Swipe right on a notication reminder to clear the notication.
Essentials
13

•Touch at the bottom of the notication panel to clear all notications.
Block, Silence, or Delay Notications
Swipe left on a notication, then touch to block, silence, or delay notications from that
source.
Some system notications can't be blocked, cleared, or delayed.
Adjust Sound Settings
Press a Volume Button to Adjust the Volume
Press the Volume up or down button to adjust the volume.
Press the Power Button to Mute Your Device When It Rings
When your phone rings for an incoming call or alarm, you can press the Power button to
mute it.
Flip to Mute or Raise to Reduce the Ringtone Volume
When there is an incoming call, you can ip your phone to mute it, or raise it up to reduce
the ringtone volume.
For the features to take eect, go to Settings > Accessibility features > Shortcuts &
gestures > Mute ringtone/Reduce volume and make sure that Flip to mute ringtone and
Raise to lower volume are enabled.
Set the Default Volume
Go to Settings > Sounds & vibration, then you can set the volume for the following
items:
•Media (video, games, music, and more)
•Ringtone
•Alarms
•Calls
Use a Shortcut to Switch Between Ring, Vibrating, or Mute Mode
1Swipe down from the status bar to open the notication panel, then swipe down on it
again to show all shortcuts.
2Touch the Sound, Silent, or Vibration icon to switch between dierent
modes.
Essentials
14

Show Date and Time When the Screen Is O
Always On Display
With Always On Display enabled, the lock screen will show the date, time, and more when
the screen is o.
Enable Always On Display
1Go to Settings > Home screen & wallpaper > Always On Display, and enable
Always On Display.
2Set the Start and End times according to your preferences.
Power On and O or Restart Your Device
Power Your Device On and O
To power o your device, press and hold the Power button for a few seconds, touch Power
o and Touch to power o.
To power on your device, press and hold the Power button for a few seconds until your device
vibrates and displays the logo.
Restart Your Device
Restart your device on a regular basis to clear the cache and keep the device in an optimal
state. A restart can sometimes resolve the issue when your device encounters a problem.
Just press and hold the Power button for a few seconds, then touch Restart and Touch to
restart.
Force Restart Your Device
If your device isn't working or won't turn o normally, you can force restart it.
Just press and hold the Power button for 10 seconds or longer.
Charging
Reverse Charging with an OTG Cable
On-The-Go (OTG) is a USB transmitting technology that allows a phone to directly access
les on a USB ash drive or digital camera, or connect to an external device such as a
keyboard or mouse, with the help of an OTG cable.
You can use your phone to charge other devices using an OTG cable.
Essentials
15

1Connect your phone with the device to be charged using an OTG cable.
2When the Use USB to dialog box is displayed on your phone, touch Reverse charge.
If another option has been set previously, the dialog box will not pop up. Swipe down
from the status bar to open the notication panel, touch Settings, and then select
Reverse charge.
3Follow the onscreen instructions on the device to be charged to start charging.
Essentials
16

Smart Features
AI Lens
Access AI Lens
There are multiple ways to access AI Lens.
From Camera
Open the camera and select Photo mode. Touch to access AI Lens.
From the Search Bar
While the device is unlocked, swipe down on the screen to display the search bar. Then, touch
to access AI Lens.
From the Lock Screen
When the device is locked, swipe up from the bottom of the screen. Touch , then unlock
the device to access AI Lens.
Scan Codes
AI Lens can read QR codes and instantly direct you to the relevant app.
1Open the camera, touch , then touch .
2Position the QR code within the frame and wait for it to be recognized.
Scan to Translate
AI Lens has an Instant translation feature that can help you quickly translate text, such as
road signs, menus, or even descriptions on a medicine or cosmetic bottle.
1Open the camera, touch , then touch .
2Select the source and target languages from the language list.
3Align the text you want to translate, and wait for it to be translated.
Scan to Shop
AI Lens has a Shopping feature that lets you scan products when you are out shopping or
reading a fashion magazine and gives you purchase recommendations for similar items
online.
1Open the camera, touch , then touch .
17
Other manuals for Mate 20 X
1
This manual suits for next models
3
Table of contents
Other Huawei Cell Phone manuals

Huawei
Huawei C2931 User manual

Huawei
Huawei Sonic User manual

Huawei
Huawei U8860-51 User manual

Huawei
Huawei AMN-LX3 User manual

Huawei
Huawei U8100 User manual

Huawei
Huawei C6110 User manual

Huawei
Huawei DBY2-W09 User manual

Huawei
Huawei U8300 User manual

Huawei
Huawei G5726 User manual

Huawei
Huawei U8655 User manual

Huawei
Huawei U9200 User manual

Huawei
Huawei ALP-L29 User manual

Huawei
Huawei Honor 7X Application guide

Huawei
Huawei C8650+ User manual

Huawei
Huawei U9105 User manual

Huawei
Huawei C206s User manual

Huawei
Huawei U8185-1 User manual

Huawei
Huawei Ascend Y320 User manual

Huawei
Huawei G3620 User manual

Huawei
Huawei T261L User manual